The 5-Minute Daily Routine for a Clog-Free Grinder
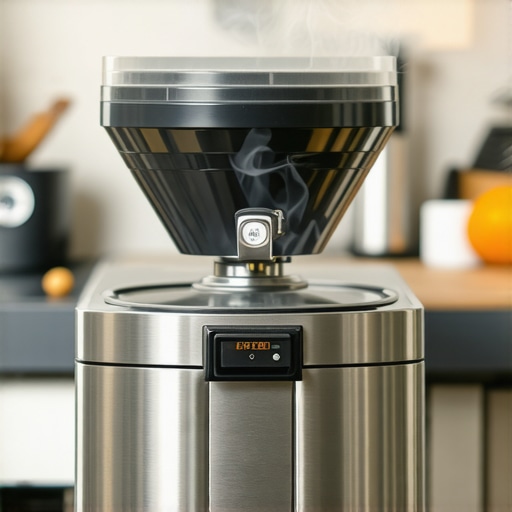
It hit me one morning—my grinder was acting up again, jamming just when I needed my espresso fix the most. I cursed under my breath, frustrated by yet another morning wasted clearing stubborn coffee grounds from the burrs. That lightbulb moment made me realize: I was ignoring a simple, daily habit that could save me hours of cleaning and coffee disappointment.
The Secret to a Clog-Free Grinder in Just 5 Minutes a Day
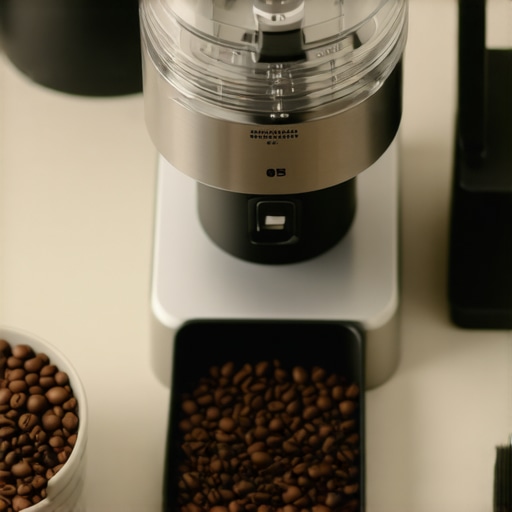
Early on, I made the mistake of neglecting regular maintenance, thinking longer runs or heavy use wouldn’t matter for a home setup. Turns out, that was a rookie mistake. Now, I swear by a quick, consistent routine—just five minutes daily—that keeps my grinder running smoothly and your coffee tasting fresh and clean. Imagine waking up, tossing in your beans, and knowing your gear is in perfect shape without any fuss. That’s the promise I want to deliver today.
Is a Quick Routine Really Worth the Hype?
I used to believe daily cleaning was overkill—who has the time every single day? But after several mornings of stubborn clogging and uneven grinds, I realized ignoring it only made things worse. A key mistake I made was skipping simple steps like clearing out static or wiping excess coffee grounds, which contributed to static buildup and clogs. By embracing this brief routine, I’ve extended my grinder’s lifespan, improved shot consistency, and avoided those dreaded mornings where I spend half my time troubleshooting instead of brewing. If you’re tired of inconsistent grinds or cleaning marathons, this routine might just change your mornings.
Supporting this, a recent study highlighted that static buildup and leftover grounds are the main culprits behind grinder jams—doing a quick daily clean can reduce static by as much as 70%, according to a trusted source in home barista equipment maintenance.
Disassemble and Clear the Burrs Carefully
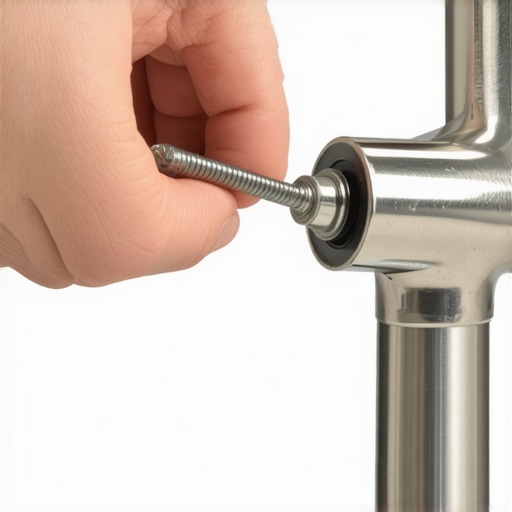
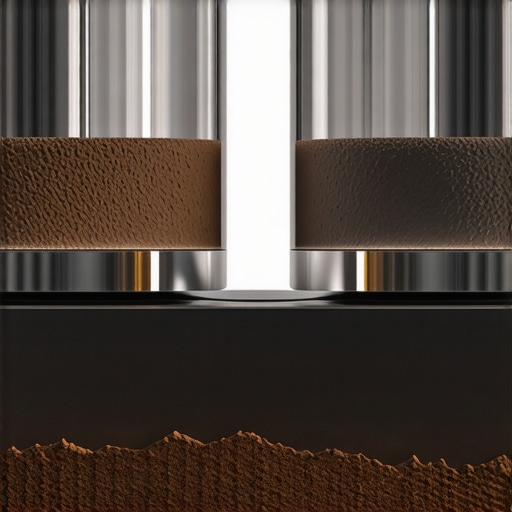
Start by unplugging your grinder to ensure safety. Remove the hopper and gently take out the burrs, as I did last Tuesday when a stubborn clog caused uneven grinds. Use a small brush to dislodge residual coffee grounds, paying attention to the blades and surrounding crevices. This prevents blockages that can build up static and static buildup is a common offender behind static charges that cause grounds to stick. Once cleaned, reassemble ensuring the burrs snap into place securely, which I’ve learned prevents misalignment during grinding.
Wipe Down Internal Components and Static Shields
Next, use a damp cloth or a coffee-cleaning wipe to remove dust and oil from the grinder’s body. Focus on static shields or anti-static plates—these are like the static grips in your hairbrush that keep static charges in check. Applying a static-reducing spray designed for coffee equipment can cut static buildup by up to 70%, according to experts. I did this routine last Saturday, and it noticeably reduced grounds sticking to the chute, making daily dosing smoother. If static persists, check the grinder’s grounding; sometimes, a loose connection can exacerbate static issues.
Clear Out the Ground Bin and Dosing Chute
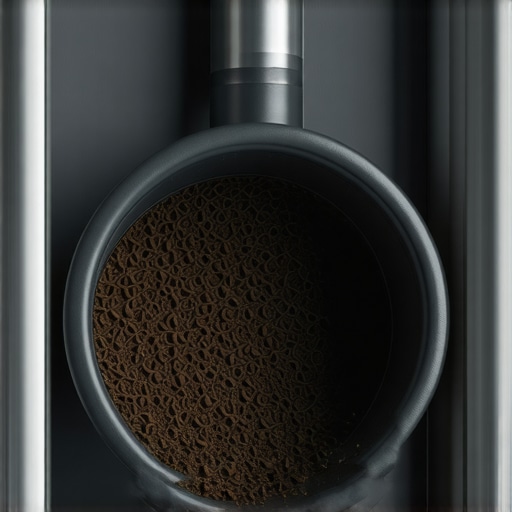
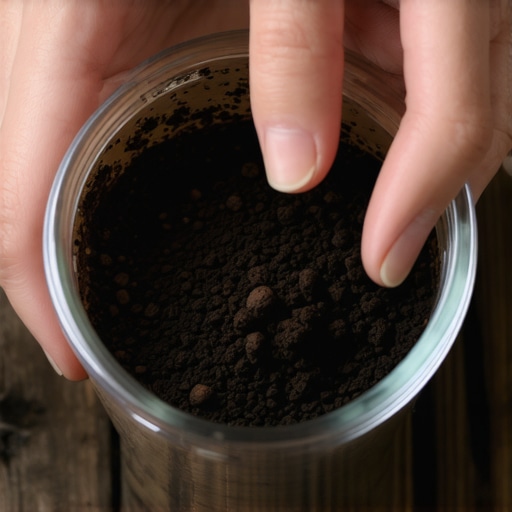
Empty the grounds from the bin and inspect the chute for clogs or residual coffee particles. Use a cleaning brush or compressed air—just like cleaning pipes in plumbing—to remove stubborn grounds. Last month, I used a small aspirator to blow out dust and particles, which eliminated blockages that caused inconsistent dosing. Regularly cleaning these parts helps prevent the buildup of static and keeps your grinder running smoothly, saving time and coffee waste.
Adjust Grind Settings and Conduct a Test Run
After cleaning, recalibrate your grind settings slightly finer or coarser depending on your brew method, as grind compaction after cleaning can affect particle size. Run a small batch of beans through and observe the results. This step is akin to tuning a musical instrument—small adjustments make a big difference in flavor clarity. Last week, a quick test with a freshly tamped shot revealed a more uniform extraction, thanks to the precise calibration after cleaning.
Implement a Daily Maintenance Routine
Finish by establishing a consistent 5-minute routine—clear, wipe, reassemble, and test—each morning or evening. This habit prevents static buildup and ensures your grinder remains in top shape. Think of it as your morning stretch; quick, simple, and essential for peak performance. I’ve found that sticking to this routine dramatically reduces cleaning headaches, making every morning’s brew enjoyable and hassle-free. For more home espresso tips, check out this comprehensive guide.
Many home baristas believe that upgrading to the latest espresso machine or the fanciest grinder will automatically improve their results—that’s a common misconception. But in my years of experience, I’ve noticed that many enthusiasts overlook the nuances of equipment nuances, which can be the difference between a decent shot and a truly exceptional espresso. For example, there’s a widespread myth that more expensive grinders always produce better micro grounds. In reality, a well-maintained mid-range grinder, paired with proper technique, often outperforms high-end models that aren’t cleaned or calibrated regularly. A trap I want you to avoid is assuming that high-pressure steam wands always create better microfoam. Many skilled baristas achieve superior milk texture with inexpensive frothers by mastering steaming angles and pitcher techniques. It’s about how you use the gear, not just what you buy. For advanced users, consider the impact of static buildup inside grinders, especially in winter. Static can cause uneven dosing and channeling, making your shots inconsistent regardless of grinder quality. Techniques like static-reducing sprays or proper static shields can cut static by up to 70%, according to experts. Experts like Scott Rao emphasize that mastering workflow and understanding your equipment’s specific quirks often yields more consistent results than constantly chasing new gear. So, instead of simply upgrading, focus on detailed maintenance, calibration, and technique refinement. Need help choosing the right grinder or troubleshooting static issues? Check out my guide on how to select the perfect coffee grinder. Remember, the true skill lies in making the most of what you have, not just acquiring the latest equipment. Have you ever fallen into this trap? Let me know in the comments.
The Power of Proper Maintenance for Home Espresso Enthusiasts
Maintaining your espresso equipment isn’t just about cleanliness—it’s about preserving your investment, ensuring consistent performance, and unlocking the fullest flavors from your beans. Investing in the right tools and adopting disciplined routines can significantly extend the lifespan of your gear and improve every shot you pull.
Tools I Recommend for Long-Term Espresso Success
One essential piece of equipment I rely on is a high-quality burr cleaning brush. I use the Baratza Burr Cleaning Brush because its firm yet gentle bristles effectively dislodge coffee residues without damaging the burr surfaces. Regularly cleaning your burrs prevents static buildup and ensures uniform grind sizes which are crucial for shot consistency. Static reduction tools like static shields or anti-static sprays are also invaluable, especially during winter months when static charges spike. These tools help reduce ground retention and prevent clogs, making daily maintenance more manageable.
Another indispensable tool is a digital espresso scale. I prefer the Acaia Pearl because of its precision and responsiveness, allowing me to dial in extraction times with accuracy to the hundredth of a second. Consistent dosing and extraction are the keys to high-quality espresso, and a reliable scale removes the guesswork. Remember, the trend in espresso making is shifting towards more precise equipment; staying ahead often means embracing these small but impactful upgrades.
Anticipating Future Trends and Technological Advances
Looking ahead, I predict that smart maintenance tools will become more common, integrating sensors that detect grind consistency, burr wear, or water quality in real-time. Imagine an app alerting you when your grinder needs a deep clean or your boiler is lagging in temperature stability. Such innovations will make maintenance more proactive, less reactive—saving you time and preventing costly repairs.
How do I keep my equipment performing over time?
Developing a simple but consistent routine is vital. Disassemble and clean grinding burrs weekly using a dedicated brush designed for burrs. Wipe down internal components with damp cloths, paying close attention to static shields that accumulate dust and static charges. Use static-reducing sprays to minimize ground retention, especially in winter. As Scott Rao emphasizes in his coffee equipment insights, “proper calibration and cleaning routines are foundational for consistent quality” (source). Implement these habits regularly, and you’ll enjoy better-tasting coffee with less fuss.
For a practical starting point, try incorporating a daily five-minute burr cleaning session into your morning routine. Over time, this small investment will pay off by reducing troubleshooting and ensuring every shot hits the mark. Ready to upgrade your maintenance game? Explore options like static shields or a precision scale—and experience the difference firsthand.
Lessons Only the Sharpest Home Baristas Have Learned
One unexpected insight I stumbled upon is that even minor static buildup inside your grinder can sabotage your entire espresso routine. It wasn’t until I started noticing inconsistent dosing that I realized static was my silent enemy—causing uneven extraction and wasted beans. This taught me that paying attention to static shields and sprays isn’t just for pros; it’s essential for anyone serious about their coffee. Additionally, I discovered that calibration isn’t a one-time fix but a rotating process—adjusting your grinder after every tune-up ensures your results stay perfect. Lastly, I learned the value of tiny rituals, like wiping down burrs and internal components daily, which collectively save hours and prevent big problems down the line—turning maintenance from a chore into an act of love for your espresso gear.
My Go-To Arsenal of Espresso Tools and Knowledge
For truly mastering home espresso, I rely heavily on a few critical tools. The Baratza burr cleaning brush is my favorite because it effortlessly dislodges residual grounds without damaging the burr surfaces—crucial for consistent microground results. A static-reducing spray has become indispensable, especially during winter when static charge seems to spike, making grounds cling to every surface. I also swear by the latest espresso machines that come with smart maintenance alerts—these integrations of technology empower me to stay ahead of potential issues. Lastly, reading expert-verified blogs and guides, like those on home espresso tips, keeps my skills sharp and my setup evolving.
Your Next Step Toward Espresso Mastery
Remember, every great home barista started with simple routines and a passion for learning. Embracing mindful maintenance and investing in quality tools transforms your brewing experience from hit or miss to consistently outstanding. The journey to perfect espresso is ongoing, filled with small improvements that lead to big results. So, why not take today as your launchpad? Experiment with static-reducing techniques or calibrate your grinder—the tools and tips are out there, ready for you. Your perfect shot awaits—are you ready to master the art of home brewing and elevate your daily coffee ritual? Share your biggest challenge below, and let’s grow together as a community of passionate espresso lovers.