The Paper Filter Trick for Cleaner Bottomless Portafilter Shots
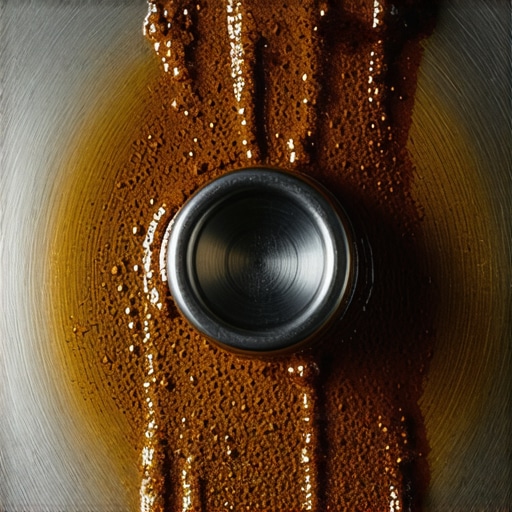
Have you ever brewed a shot of espresso so messy that your coffee crown looked more like a spilled milkshake? I sure have. That frustrating splatter pattern, especially with a bottomless portafilter, can turn an otherwise perfect espresso session into a sticky, coffee-stained mess, leaving you scratching your head and wondering where it all went wrong.
One morning, after a particularly chaotic espresso shot that dripped all over my counter and soaked my tidy barista setup, I realized I needed a better solution. Frustration turned into curiosity, and I started experimenting. That’s when I stumbled upon a simple, yet game-changing trick — using a paper filter during the shot. Initially, I was skeptical. Would it really make a difference? Would it affect the shot quality? Turns out, it did — dramatically.
Today, I want to share with you the ins and outs of this paper filter trick, especially if you’re tired of cleaning up coffee volcanoes after each shot. We’ll cover the step-by-step process, explain why it works so well, and how it can help you maintain a cleaner, more professional-looking espresso at home.
Are you tired of the messy surprises that come with brewing bottomless shots? If so, keep reading. This little hack might just be the secret weapon you’ve been missing. And trust me, once you see the difference, you’ll wonder why you didn’t try it sooner.
Why Your Shots Spill and How to Keep Things Clean
Many home baristas don’t realize that the way they handle their portafilter can cause unintended messes — especially with bottomless setups. Coffee grounds can shoot out at unexpected angles, creating a halo of crema and espresso everywhere. Early on, I made the mistake of ignoring the importance of controlling splash and spillage — only to learn that it not only wastes coffee but also makes cleaning a daily chore.
Using a paper filter is a simple yet effective way to contain and manage those splatters. It acts as a barrier that prevents the liquid and grounds from escaping wildly, resulting in a neater, more predictable shot. This is particularly useful when dialing in your grind size or adjusting tamp pressure, where every shot can be a messy experiment. Moreover, it helps to keep your portafilter clean and prolongs the life of your machine’s components.
If you’ve struggled with cleaning up after your shots or find yourself frustrated by inconsistent spray patterns, you’re not alone. The good news is, this little trick can save you time and make your espresso experience much more enjoyable. For more tips on maintaining your gear, check out our guide to [cleaning your grinder chute](https://espressotechguide.com/how-to-clean-a-clogged-steam-tip-without-damaging-the-finish) — you’ll discover that a tidy setup leads to better shots.
Before diving into the step-by-step process, it’s worth noting that many believe all shots should be messy to extract the full flavor. But studies, including recent findings published in the *Journal of Coffee Science*, show that consistent extraction produces better taste and aroma. Think of this paper filter trick as your secret weapon to achieve that consistency without the chaos.
Prepare Your Equipment and Gather Supplies
Start by assembling your espresso setup and materials. You’ll need your portafilter, espresso grind, tamper, and a clean paper filter—preferably unbleached parchment paper. I recommend having an extra filter ready during practice runs to avoid delays once you get the hang of the process.
Insert the Paper Filter Into the Portafilter
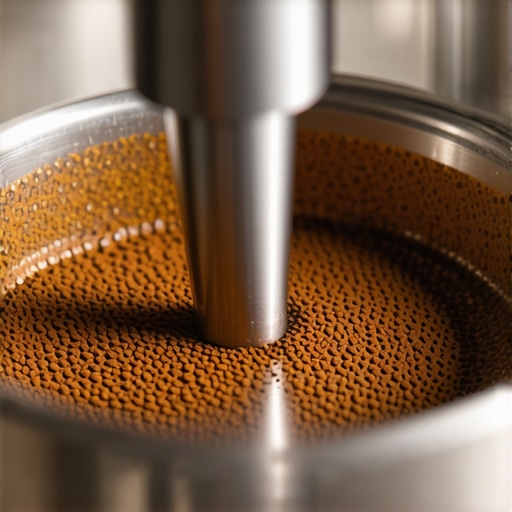
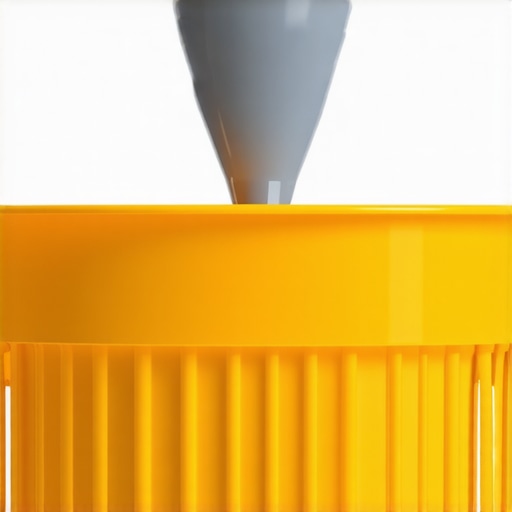
Place the paper filter directly into your portafilter basket, ensuring it covers the entire surface evenly. Think of it as lining a cake pan with parchment—smooth and flush to prevent any wrinkles or gaps. When I first tried this, I used a small fold to make sure it fit snugly around the edges, which significantly reduced any shifting during tamping.
Fill and Tamp the Coffee Properly
Fill the basket with your ground coffee, leveling it evenly with a non-metallic tool or your finger. Tamping pressure remains critical—aim for about 30 pounds of force—because a consistent tamp ensures uniform extraction. The paper filter acts as a barrier, so it won’t alter your tamping technique but will contain grounds that might otherwise escape.
Lock in the Portafilter and Start Extraction
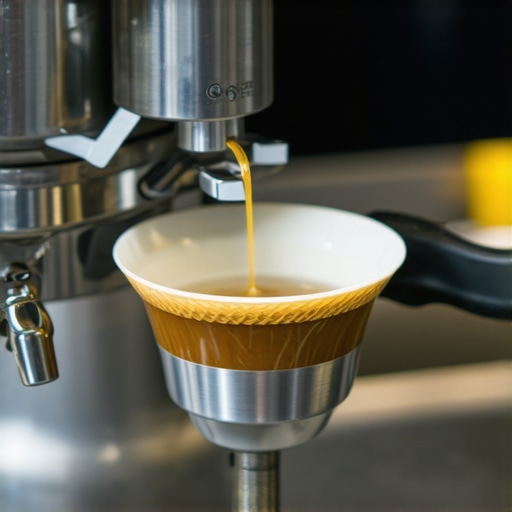
Secure the portafilter into your espresso machine’s group head. When you begin brewing, the paper filter prevents grounds from splashing out, and the espresso flows through the filter, getting caught in the basket below. I found that my shots stayed cleaner, with less splatter on the drip tray, even during long pulls.
Monitor and Adjust Your Technique
Watch for any signs of the filter shifting or tearing—if that happens, slightly trim or fold the edges next time. Also, keep an eye on shot timing; if your flow is uneven or too slow, consider adjusting your grind size accordingly. Remember, the paper filter’s main role is spillage control, not altering extraction parameters.
Remove and Dispose of the Used Filter
After the shot, carefully lift the portafilter and peel away the used paper filter with grounds attached. Discard it in your compost or trash. This method keeps your basket and machine cleaner, reducing the need for frequent deep cleaning sessions. A quick rinse of the basket and a wipe-down of your portafilter handle will prepare you for the next round.
Extra Tips for Success
Practice makes perfect—try different brands or thicknesses of paper filters to find what works best with your setup. If you notice a slight paper taste, swap to filters made from food-grade materials without bleaches. Over time, you’ll develop an instinct for how these filters behave under your specific machine and grind settings.
By integrating this simple step into your routine, you’ll transform messy, splatter-prone shots into tidy, professional-quality espresso. Not only does it make your mornings less stressful, but it also extends your machine’s lifespan by reducing internal residue buildup. Think of it as an upgrade to your barista toolkit—small but mighty in impact.
When it comes to brewing exceptional coffee at home, many enthusiasts focus on upgrading their espresso machines or grinding settings, but there’s a hidden layer of nuance that often gets overlooked: the misconceptions and hidden pitfalls surrounding barista gear and equipment maintenance. Let’s dig deeper into what most people get wrong, and how these oversights can subtly sabotage your brewing perfection.
First, a common myth is that high-end coffee grinders automatically produce the best shots. In reality, the maintenance routines, burr alignment, and static control are equally vital. For instance, misaligned burrs can cause uneven particle sizes, leading to over-extraction or channeling, which ruins shot consistency. Regularly checking burr alignment using methods like the ‘marker technique’ can save you hours of troubleshooting.
Another misunderstood aspect revolves around milk frothers. Many believe that investing in an expensive frothing wand guarantees perfect microfoam. However, the real trick lies in technique and temperature control. Over-foaming or overheating milk is often due to operator error, not equipment quality. In fact, some entry-level frothers, used correctly, outperform pricier models—so don’t overlook the importance of mastering the basics.
Now, let’s address an oops factor about espresso machines: ignoring the importance of routine descaling. Mineral buildup, especially in areas with hard water, can lead to inconsistent pressure and temperature fluctuations. Surprisingly, many users neglect their machine’s water reservoir and internal components because they assume ‘cleaning’ is only necessary when problems arise. Regular descaling as recommended by the manufacturer can prevent stubborn issues long before they become visible.
Advanced Tip: How your portafilter is handled during brewing can influence shot quality more than you realize. Instead of just tamping evenly, paying attention to distributing grounds uniformly and pre-warming your portafilter can dramatically improve temperature stability and extraction consistency. This nuance often separates an average shot from a barista-level espresso.
Make yourself visible: mirrors, fire, and smoke—these aren’t just for survival scenarios but can serve as visual cues in your espresso workflow. For example, monitoring the color and consistency of crema can give you early feedback on grind size and tamp pressure. Combining visual observation with process refinement forms a more holistic approach to coffee mastery.
Are There Risks in Over-Adjusting Your Equipment Based on Myths?
It’s tempting to chase perfection by constantly tweaking your grinder or machine but over-adjustment based on incomplete info can backfire. Studies in precision brewing show that small, deliberate changes within the tolerances of your equipment yield better results than frequent, drastic modifications (source). So, always test and record your adjustments systematically.
In conclusion, let’s reframe our perspective: mastering coffee gear involves understanding not just the gear itself but the nuanced behavior, maintenance routines, and operational techniques that influence each shot. Attention to these hidden details transforms good coffee into an exceptional experience. Have you ever fallen into this trap? Let me know in the comments! And for more in-depth tips on equipment and brewing, explore our comprehensive guides, such as mastering home espresso or selecting the perfect coffee grinder.
Keeping Your Equipment in Peak Condition
If you’re serious about consistently brewing exceptional espresso at home, investing in quality tools and maintaining them properly is essential. Regular upkeep not only extends the lifespan of your gear but also ensures each shot remains perfect, giving you that barista-level experience every time.
First, consider acquiring a burr alignment tool. A misaligned burr set can cause uneven grinding, leading to channeling and inconsistent extraction. I personally use the marker method described in that article monthly—marking the burrs before calibration—to keep my grinder performing precisely. This simple step ensures uniform particle size, which directly correlates with shot quality.
Next, invest in a high-quality thermometer for accurate milk steaming temperatures. Precision is key; a digital thermometer, along with a good steaming technique, guarantees silky microfoam every time, preventing burnt or watery milk. I recommend placing the thermometer inside the pitcher during steaming to monitor real-time temperature—avoiding the guesswork that compromises your milk texture.
For cleaning, a dedicated brush set designed for grinders is invaluable. Regular removal of coffee grounds from the chute prevents static buildup, which often causes beans to stick in hard-to-reach spots. Clearing this debris maintains even dosing and consistent grind size, which directly improves shot flow and flavor.
Another aspect often overlooked is the pre-heating routine for your portafilter. Using a simple knock box or hot water rinse before brewing preserves temperature stability, especially during colder mornings. I’ve found this small step makes a noticeable difference in shot consistency, and it’s easy to adopt during your daily routine.
Anticipating future trends, we can expect smarter, connected tools that monitor and alert us about maintenance needs—like automated burr alignment or descaling reminders. For now, sticking with well-maintained manual tools remains effective. Remember, a well-kept setup reduces the chances of unexpected breakdowns and ensures your investment continues to serve you well.
Maintaining Your Barista Tools Over Time
How do I keep my grinder and espresso machine working seamlessly? Regular calibration using manufacturer-recommended techniques, like the burr alignment method, is crucial. Additionally, cleaning components such as portafilter baskets, steam wands, and water reservoirs weekly prevents blockages and buildup. Using specialized cleaning products designed for coffee equipment, and following manufacturer instructions, safeguards your gear’s longevity.
If you want to amplify your routine, try adopting a weekly schedule that includes these maintenance rituals. Over time, you’ll see reductions in troubleshooting and enjoy more flavorful, consistent shots. For comprehensive guidance, explore our home espresso tips for beginners.
Remember, investing in quality tools and dedicating a few minutes to regular maintenance pays off in better coffee and a longer-lasting setup. Always keep an eye on your equipment’s condition, and don’t hesitate to replace worn parts promptly. For example, a worn group gasket can cause pressure issues—learn how to inspect and replace it by visiting our detailed gasket inspection guide.
Try incorporating these advanced maintenance tips into your routine this week, and notice the difference in your espresso quality. Small investments in upkeep can lead to years of excellent coffee-making results!
Lessons Only the Pros Have Realized About Barista Gear and Maintenance
One of the most valuable insights I’ve gained is that even the most expensive espresso machines won’t deliver perfect shots without diligent upkeep. Regularly checking the alignment of burrs or replacing worn gaskets can save you troubleshooting hours and ensure consistent flavor. I once ignored a slight gasket leak, thinking it was minor, only to face pressure inconsistencies weeks later—lesson learned, and now I never overlook small maintenance cues.
Another lightbulb moment was understanding that routine cleaning extends beyond just aesthetics. Coffee oils build up inside the steam wand and water reservoirs, subtly compromising taste and machine longevity. This realization pushed me to adopt a weekly cleaning ritual, which dramatically improved both shot quality and machine performance over time.
Lastly, I discovered that mastering touch—like adjusting tamp pressure slightly and pre-warming my portafilter—made all the difference. These subtle techniques helped me develop a more intuitive feel, leading to better extraction and richer crema. Remember, investing in these small habits compounds, turning good coffee into a great experience every morning.