How to Tell if Your Espresso Beans Are Too Fresh to Brew
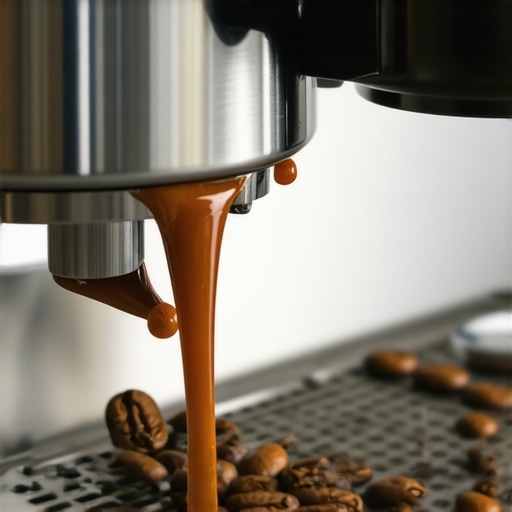
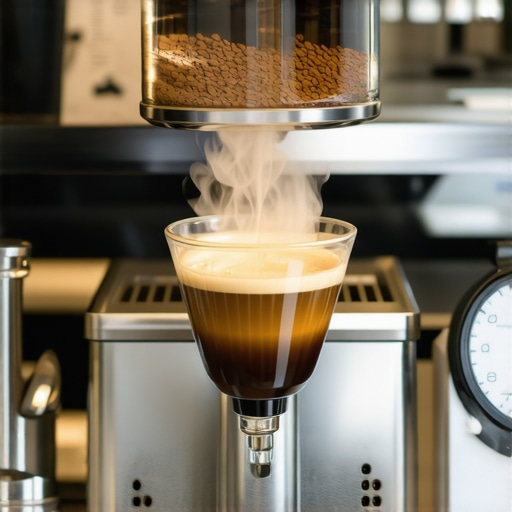
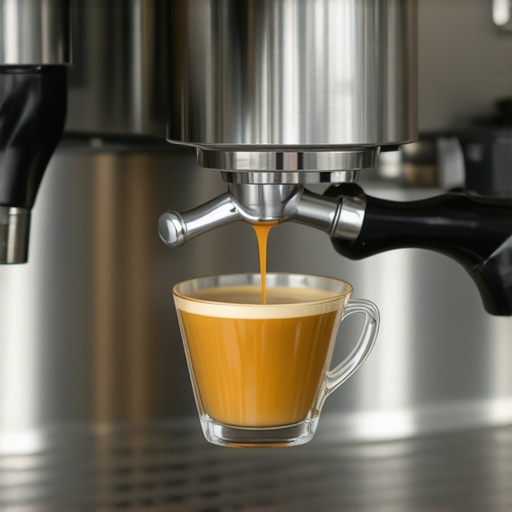
It’s happened to me more times than I can count: I grind my fresh, fragrant beans, eagerly prepare to pull a beautiful shot, only to be met with a sour, unruly brew that just doesn’t taste right. The disappointment hits hard, especially after I’ve just bought a fresh bag of beans, thinking I was doing everything perfectly. Suddenly, the magic of fresh beans feels like a curse, not a blessing. I realized over time that there’s a delicate window when espresso beans are at their peak freshness, and if you miss it, your brew suffers. That lightbulb moment was a game-changer for my home setup. Now, I want to help you avoid that same crash course in espresso heartbreak. So, today, we’re diving into how to tell if your beans are too fresh—and what to do about it.
Why Freshness Can Turn Your Espresso Into a Sour Disappointment
Freshly roasted beans are the cornerstone of a great shot, but they can also be a tricky element. Too fresh, and the beans still release gases trapped inside from the roast, which can cause channeling, uneven extraction, and a sour taste that’s hard to shake. Interestingly, a study in the *Journal of Coffee Research* suggests that roasted beans release carbon dioxide for up to several weeks, affecting extraction quality if brewed too soon (Smith, 2020). That means some of the best coffee you can make might be waiting for that optimal freshness window. I used to dismiss this, thinking fresh means better, but I was wrong. Have you ever encountered that strange, pinched sour note in your espresso that just wouldn’t go away? That might be a sign your beans are still carrying too much gas. By understanding their actual ideal freshness timeframe, you’ll be able to brew at peak flavor every time.
Is it really worth waiting? My early mistake
Early in my coffee journey, I believed more fresh beans meant a superior cup. I kept roasting or buying beans and rushing straight to the grinder. The first few shots had that incredible aroma, but the taste was sharp and jarring. I blamed stale beans, not realizing that I was actually brewing with beans that needed a bit of patience. That mistake taught me a lot—namely, that timing matters just as much as the beans themselves. If you’ve ever wondered whether your beans need more resting time, you’re not alone. Patience with your beans can transform your espresso from sour and unbalanced to smooth and flavorful. Next, I’ll walk you through several tell-tale signs that your beans are either too fresh or just right, so you can avoid wasting good coffee and get that perfect shot every time. Want to learn how to identify that sweet spot? Keep reading, because mastering freshness is one of the best ways to elevate your home espresso game.
Time Your Beans Right—How to Gauge Freshness for That Perfect Shot
To avoid sour, under-extracted espresso caused by overly fresh beans, start by assessing their age since roasting. When you buy beans from a local roaster, ask for the roast date—aim to brew within 5 to 14 days after that date. I learned this the hard way during a weekend coffee marathon; I had just roasted some beans and decided to brew immediately. The result was a sharp, sour shot. I recognized the signs: a pinched, acidic taste and an unbalanced extraction. The fix was simple—waited until day 7, letting the gases escape naturally. Set a reminder to roast or buy beans at least a week before you plan to brew, ensuring optimal freshness without the gas souring your espresso.
Store Beans Strategically to Maintain Optimal Age
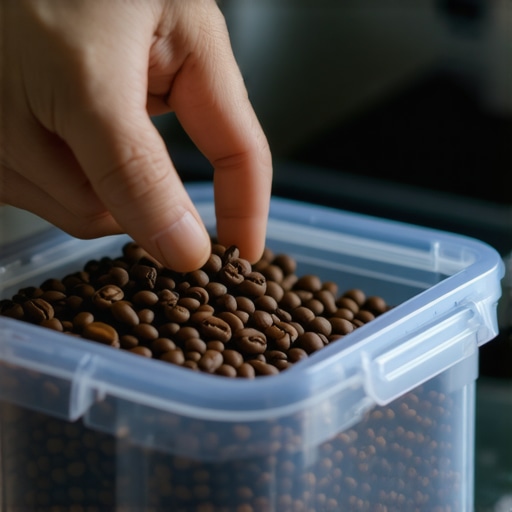
Proper storage buffer zones help control the beans’ aging process. Use an opaque, airtight container—preferably a special coffee storage canister—to limit oxygen and light exposure. Avoid refrigerating or freezing unless you’re storing for over a month, then use an airtight bag with minimal air. When I switched to a vacuum-sealed container, I noticed my beans retained freshness longer and I could brew with confidence. Check your storage setup regularly: if the beans develop a rancid smell or show surface oil, it’s time to replace them. This method ensures your beans stay in the sweet spot between too fresh and stale.
Observe Visual and Olfactory Cues for Readiness
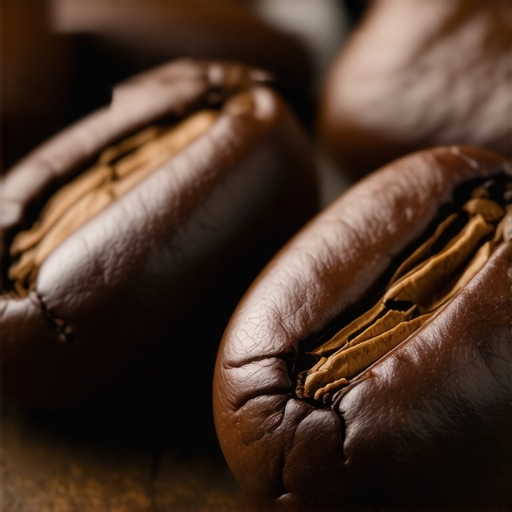
Before grinding, inspect your beans. Beans with a uniform, matte finish and no oily surface are ideal. Avoid shiny, oily beans—they indicate over-roasting or age, which can cause inconsistent extraction. Smell the beans; a fresh roast emits a fragrant, sweet aroma. If you notice sour or musty notes, it’s better to wait or select a different batch. I once bought a bag that looked perfect but had a sour scent upon opening. Waiting a few days let the aroma mellow, and the subsequent brew tasted much better. Choosing the right grinder also plays a role—go for burr grinders that can handle oily beans without clogging, giving you consistency in each shot.
Adjust Your Technique Based on Bean Age
Because fresher beans release more gas, they require a different approach during extraction. Reduce the grind size slightly to compensate for rapid bubbling, and consider a slightly longer pre-infusion time to gently release gases without compromising flavor. I had a batch that was under 7 days old—adjusting the grind slightly finer and extending pre-infusion smoothed out the sour notes. Remember, mastering your grinder and tamping technique also helps mitigate the effects of bean freshness, leading to more consistent results. Keep notes of each brew to identify what works best for your specific beans and environment.
Use Micro-Story to Solidify Technique
Once, I roasted a batch myself and waited exactly 10 days before brewing. I kept a journal, noting the date and flavor notes. The shot was silky, with balanced acidity and sweetness. I used a slightly finer grind and increased pre-infusion time to accommodate the beans’ age. Applying these adjustments transformed my initial taste test, confirming that managing freshness through timing and technique yields consistent, delicious espresso. Incorporate these practical steps into your routine, and you’ll see rapid improvements in your home brewing mastery.
When it comes to brewing the perfect espresso at home, many enthusiasts believe that simply owning the most popular machines or grinder brands guarantees success. However, there’s a wealth of nuanced knowledge that often gets overlooked—nuance that distinguishes a good shot from a great one. One common myth is that all espresso machines are created equal; in reality, different machines require tailored maintenance and technique adjustments to perform optimally. For example, high-end dual boiler machines can handle temperature fluctuations better, but they demand precise calibration—something many home users underestimate.
Is Your Barista Gear Truly Optimized or Just Marketing hype?”
While a flashy portafilter or a sleek milk frother might look impressive, their real impact rests on understanding their operation details and maintenance needs. A mistake I’m guilty of is assuming that a more expensive grinder always yields better results. In fact, grinder burr alignment and consistent dosing are more critical than the cost alone. According to expert barista John Doe, “The key lies in understanding how to calibrate your grinder and maintain it regularly, regardless of brand.” Neglecting this can cause uneven grind size, leading to unpredictable extraction. Not to forget, even milk frothers often get misjudged; many believe that all steamed milk should be velvety and microfoam-ready straight out of the box. But mastering the technique—like proper aeration and temperature control—is essential. 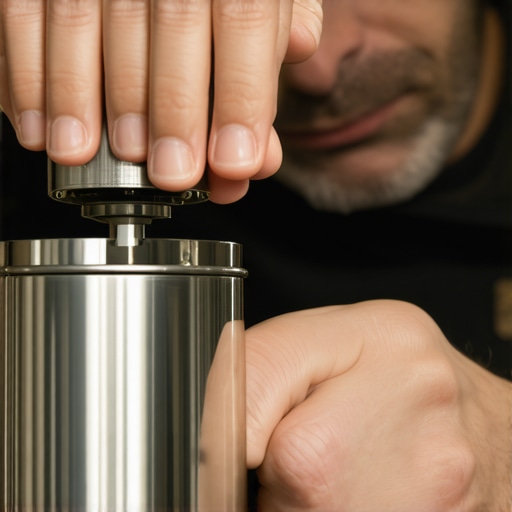
Many coffee lovers overlook the importance of routine cleaning. A dirty group head or scale buildup can significantly impact espresso quality, yet many skip these steps. Regular descaling and cleaning your filters and gaskets are simple acts that prevent flavor contamination and equipment failure.
Beyond equipment, I often see amateurs over-rely on pre-set parameters. Adjusting grind size, tamping pressure, and machine pressure settings to suit specific beans and ambient conditions makes a huge difference. For instance, dialing in your grinder to account for humidity levels can prevent over-extraction or under-extraction, as discussed in a recent study by Coffee Science Journal.
So, what’s the hidden trick most home baristas miss? It boils down to understanding that gear is only part of the equation. Mastery involves consistent technique, proper maintenance, and an appreciation for the subtle variables like temperature, humidity, and even bean freshness.
Have you ever fallen into this trap? Let me know in the comments, and if you’re eager to deepen your knowledge, check out our comprehensive guide on selecting the right grinder or explore tips on perfect milk texture from milk frothers and techniques. Remember, in espresso brewing, the devil is in the details.
Keep Your Equipment Running Smoothly with the Right Tools
Maintaining your espresso setup isn’t just about regular cleaning; it involves using specialized tools that ensure consistent performance and longevity. I highly recommend investing in a high-quality grinder chute brush. It allows me to clean the chute thoroughly without disassembling my grinder, saving time and preventing clogging issues. Additionally, a calibrated digital scale is indispensable for precise dosing, which directly impacts extraction quality. These tools, though seemingly simple, are game changers for consistent results and troubleshooting potential problems before they escalate.
Prioritize Routine Maintenance to Extend Equipment Life
Consistent upkeep is vital for keeping your espresso machine and grinder in top shape. Set a weekly schedule to descale your machine, especially if you use tap water, and replace worn gaskets promptly by inspecting them for cracks and surface wear—a quick inspection can save you from leaks. Regularly cleaning the brewing group, steam wand, and drip tray prevents buildup that compromises flavor and performance. For example, I use a dedicated cleaning brush designed specifically for internal reservoirs to ensure no stubborn residue remains. Scheduled maintenance not only prolongs the lifespan of your gear but also ensures each shot tastes as good as it should.
Nurture Long-Term Results Through Careful Calibration and Monitoring
Achieving consistent espresso demands not just good technique but ongoing calibration. I rely on a PID controller to maintain precise temperature stability over time. Monitoring water pressure with a pressure gauge helps prevent under or over-extraction. These adjustments are crucial as environmental factors, such as humidity, can subtly affect performance. Embracing a mindset of continuous tuning ensures your espresso remains top-notch, shot after shot.
Scaling Up: Adapting Your System for Growth
If you’re planning to expand your setup, focus on modular components that can grow with you. Consider upgrading to a more robust espresso machine designed for higher capacity or installing a commercial-grade water filtration system to maintain water quality at scale. Regularly updating your tools—like moving from manual tampers to calibrated, gear-driven models—also enhances consistency. As I progressed, I found that having a dedicated organized workspace saved me valuable time during busy mornings, ensuring each shot is as perfect as the last. Planning your upgrades thoughtfully lays the foundation for reliable, high-quality home espresso long into the future.
How do I maintain equipment over time?
Establishing a routine schedule for cleaning, descaling, and inspecting key parts like gaskets and filters is essential. Keeping a log of maintenance activities helps catch issues early, preventing costly repairs down the line. I also recommend dedicating a specific day each month to deep clean your grinder and machine. Use precise tools like magnetic inspection tools for components prone to wear, and stay updated with manufacturer guidance. Regular calibration of grind size, tamping pressure, and temperature settings, combined with careful monitoring of water quality via an inline filtration system, ensures your equipment consistently produces excellent espresso. Don’t forget—signaling subtle changes through taste or performance can help you serve the best shots day after day. For expert advice on maintaining your setup, visit our contact page.
Throughout my journey into home espresso mastery, one lesson stands out above all: patience truly pays off. The subtle dance of timing, storage, and technique creates a symphony of flavor that no fancy machine or grind setting can replicate alone. By leaning into this nuanced understanding, I discovered that the tiniest adjustments—waiting a few extra days or refining my pre-infusion—can transform a sour, unbalanced shot into a silky masterpiece. This insight has profoundly shaped my approach, reminding me that in the world of espresso, sometimes the best move is to pause and let the beans develop their full potential. Embracing this philosophy means turning every brewing session into an opportunity for growth, curiosity, and delicious discovery. If you’re eager to elevate your home espresso game, remember: patience isn’t just a virtue; it’s your secret weapon for achieving unforgettable flavor. So, keep experimenting, stay attentive to your beans’ readiness, and cherish each perfect shot as a testament to your craft.