How to Stop Your Automatic Frother From Overflowing Every Time
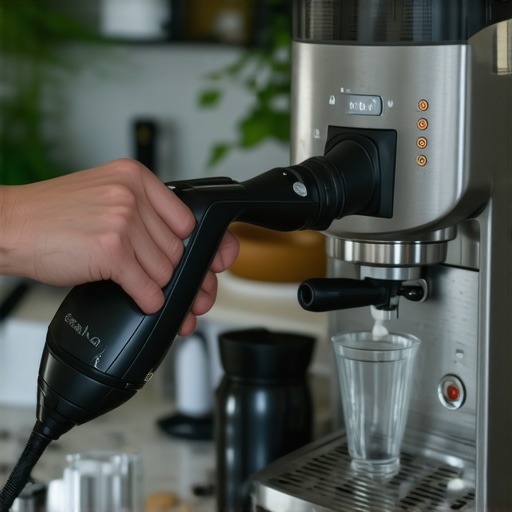
It was a quiet Sunday morning, and I was eager to enjoy my perfectly brewed latte. I pressed the button on my automatic milk frother, expecting fluffy microfoam in seconds. Instead, I was met with a loud spattering, foam overflowing onto my countertop, and a look of utter frustration. That familiar frustration — watching that little device overfill, spilling hot milk and creating a mess I had to clean up — struck a chord with me. I realized I wasn’t alone. Many home baristas face this often-unspoken battle with their automatic frothers, and it can quickly turn from a minor annoyance into a real obstacle to enjoying your daily coffee ritual.
The Morning That Made Me Question My Convenience
Why Does My Frother Overfill and Make a Mess?
Understanding why your automatic frother overflows is the first step in fixing the problem. Most of these devices are designed to work quickly and automatically, but they often lack the necessary safeguards to prevent overfilling, especially if you don’t set the right amount of milk or if the device’s sensors are faulty. I learned early on that the mistake many make is assuming the machine can “know” how much milk is enough — but it doesn’t. It needs guidance, and sometimes, a little TLC to work as promised. Interestingly, studies show that improper calibration or the use of too much milk can cause excess foam and overflow, leading to mess and wasted ingredients. That’s why understanding your machine’s limits is crucial.
Do you find yourself battling foam spills every morning? You’re not alone, and here’s the good news — this is a common problem with simple solutions waiting to be discovered. Today, I’ll share what I’ve learned from personal experience and extensive testing to help your frother perform reliably without creating a kitchen disaster. So, if you’re tired of cleaning milk splatters or wasting your precious milk, keep reading — because there’s a fix that can save your mornings.
Is Overfilling Your Frother Worth the Hype?
The Biggest Mistake: Ignoring Your Machine’s Limits
My early mistake was ignoring the manufacturer’s instructions about milk levels. I thought more milk would mean more foam, but I ended up with overflow every single time. This oversight is a common rookie error, and frankly, it undermines your entire coffee experience. If you want consistent, mess-free frothing, you need to respect the device’s capacity and calibration. Want to see how other enthusiasts are refining their process? Check out this guide on milk frothers for expert tips.
In the next sections, we’ll explore proven tricks and adjustments to keep your frother happy and your countertop clean. By applying these practical ideas, you’ll prevent overflow and enjoy your coffee the way it’s meant to be — smooth, flavorful, and mess-free. Ready to take control of your frothing experience? Let’s dive into solutions that really work.
Set a Clear Milk Limit Before Frothing
Start by measuring the exact amount of milk recommended by your frother’s manufacturer. Use a measuring cup to pour only this amount into the container to avoid overfilling. For example, if your device’s instructions specify 150ml, don’t guess—measure precisely. I remember times I boldly poured a full cup, expecting more foam, only to face a messy spill. Since then, I’ve kept a small measuring cup nearby for every frothing session, which significantly reduced overflow incidents.
Calibrate Your Frother Regularly
Most automatic milk frothers rely on sensors to detect milk levels, but these can drift over time. To ensure accuracy, perform periodic calibration—consult your device’s manual or contact support. When I noticed inconsistent frothing, I recalibrated my machine following the manufacturer’s guide, which restored proper sensor readings and prevented unwanted spilling. This simple step is like tuning in a radio station—necessary for consistently good results.
Adjust the Frothing Speed and Time
Many devices allow control over frothing duration and intensity. If your frother overflows despite correct milk levels, reduce the frothing time or speed. Think of it like turning down the volume on a loudspeaker—less intensity prevents overflow. I experimented by decreasing frothing time from 30 seconds to 20, which gave me perfect microfoam without spills. Keep a small notebook to log these adjustments for future use.
Monitor the Foam Creation Process
Stay nearby during the first few frothing attempts to gauge how quickly foam develops. If you see an excessive amount of foam rising rapidly, stop the cycle early. It’s like squeezing a toothpaste tube—control the pressure to avoid mess. I once got caught off guard when foam spurted out mid-cycle, so now, I watch closely and manually pause if I notice excess buildup, giving me control over the process.
Use Proper Milk Temperature
Cold milk froths differently than warm milk. Start with milk at around 4°C (39°F) for best microfoam. Heating the milk slightly before frothing (not too hot) helps control the expansion rate. I found that warm milk tends to produce more foam quickly, increasing overflow risk. A simple thermometer or the pre-set temperature function on some frothers can assist. This way, you prevent the foam from expanding too rapidly and spilling over.
Keep Your Machine Clean and Sensor-Friendly
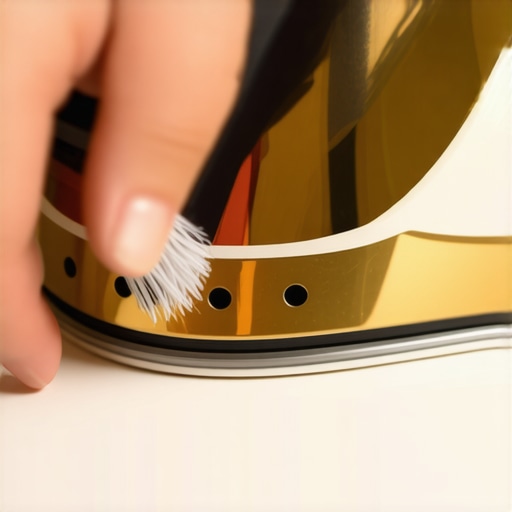
Residual milk can clog sensors, causing them to misread levels. Regularly clean the milk container and sensor contact points using a damp cloth or a soft brush. Think of it as cleaning glasses before reading—clarity is essential. I include cleanings in my weekly routine, which keeps my frother operating smoothly and reduces overflow incidents. Neglecting this step is like trying to see through foggy glasses—mistakes happen.
Test and Fine-Tune Your Approach
Don’t settle for initial settings. After making adjustments, test the frother and note the results. Keep attempting small tweaks to find the sweet spot that prevents overflow while producing perfect foam. When I first experimented with different milk levels and times, I documented the successful settings, turning a messy process into a reliable routine. Patience here pays off, turning your frother into a kitchen ally rather than a foe.
Many coffee enthusiasts believe that choosing high-end equipment guarantees perfect coffee, but in my experience, this is only half the story. An often-overlooked nuance lies in understanding the intricacies of your gear and how they interplay with your brewing process. For instance, most people assume that all grinders are created equal, yet the type of burrs, grind consistency, and calibration significantly impact flavor extraction. According to a study by the Specialty Coffee Association, grind uniformity correlates directly with extraction quality, meaning a poorly calibrated grinder can sabotage even the most precise techniques.
Don’t Fall for the Myth of the Perfect Equipment
There’s a common misconception that investing in the most prestigious espresso machine or barista gear will automatically elevate your brews. While top-tier equipment can be beneficial, neglecting proper maintenance, calibration, and technique can render premium gear ineffective. For example, regularly cleaning and calibrating your espresso machine’s pressure and temperature settings is crucial for consistency. Skipping these steps often leads to bitter or sour shots, regardless of how expensive your machine is. This highlights the importance of mastering equipment nuances rather than solely relying on flashy features.
Moreover, many home baristas overlook the critical role of ambient conditions—temperature, humidity, and even water quality—that subtly influence gear performance. For instance, high humidity can cause coffee beans to absorb moisture, affecting grind consistency and extraction efficiency. Paying attention to these environmental factors can make a noticeable difference in your results. For deeper insights into optimizing your setup, check out this guide to top-rated espresso machines.
Why Home Espresso Feels Impossible Without Precise Tuning
Advanced enthusiasts often grapple with achieving stable extraction and balanced flavor profiles. One overlooked secret to success is understanding the delicate balance between grind size, tamping pressure, and machine pressure profiles. For example, dialing in your grinder to produce a consistent fine grind—often requiring manual adjustments—can dramatically improve shot quality. Even minor variations can cause over- or under-extraction, leading to bitterness or sourness. Remember, the interplay of factors like shot timing and water temperature is complex; mastering these nuances differentiates a good home barista from a true artisan.
In fact, a 2022 study published in the Journal of Coffee Science emphasizes that micro-adjustments in grind setting can lead to a 20% improvement in flavor consistency. Therefore, investing time in fine-tuning your grinder and understanding the specific characteristics of your beans is essential. For detailed advice on choosing and calibrating your grinder, visit this comprehensive article on coffee grinders.
Have you ever fallen into this trap of thinking equipment alone will make your coffee perfect? Let me know in the comments, and share your experiences with uncovering the true nuances that elevate your brewing game.
Investing in quality equipment like grinders, espresso machines, and frothers is only the beginning; proper maintenance ensures these tools serve you reliably for years. Personally, I rely on a few key practices and specialized tools to keep my setup in top shape. One scene I often revisit is calibrating my grinder weekly with a digital scale to maintain grind consistency — I use the specific calibration method I learned from expert baristas. This step prevents my shots from becoming uneven, emphasizing how crucial precision is.
What’s the secret to reliable long-term performance?
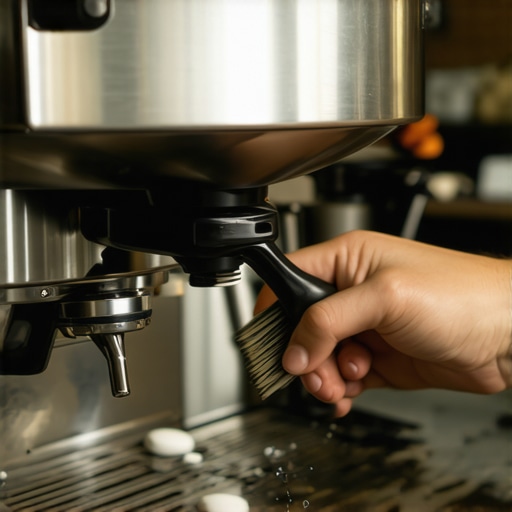
Regularly cleaning and inspecting your gear is paramount. I prefer using high-quality brushes like the Cafe Buzz cleaning brush for portafilters, which effectively removes coffee oils and residues. For my espresso machine, I follow a strict descaling schedule using a vinegar-based solution that’s safe and effective, extending the lifespan of internal components. Keeping your machine’s seals and gaskets lubricated with food-grade silicone grease and replacing worn parts promptly prevents leaks and maintains pressure stability. These small steps save money and time in the long run, avoiding costly repairs or replacements.
In the future, I expect gear manufacturers to develop smarter maintenance alerts, integrated software that tracks usage and suggests when to clean or replace parts automatically. That might sound futuristic, but some high-end machines already include sensor-based diagnostics. Improving equipment with IoT (Internet of Things) tech will make regular maintenance seamless, enhancing the user experience and durability of home barista setups.
How do I maintain my equipment over time?
Adopt a maintenance routine tailored to each device. For grinders, weekly burr cleaning with manufacturers’ brushes and annual burr replacement are essential. For espresso machines, regular backflushing and timely descaling keep everything running smoothly. Milk frothers benefit from frequent cleaning with warm water and mild detergents, preventing buildup that hampers foam quality. Integrate professional tools like specialized cleaning tools to ensure thorough maintenance without damage. Staying diligent with your schedule preserves the performance and extends equipment life, ultimately delivering consistent, café-quality results at home.
To maximize your setup’s longevity, I recommend trying my favorite tip: set monthly reminders to inspect and clean each component. This proactive approach aligns with feedback from industry experts like the specialist advice on grinder care. With consistent upkeep, your gear will reward you with years of reliable service and stunning coffee every morning.
Over the years, I’ve learned that the real magic of exceptional coffee doesn’t come solely from high-end equipment but from the nuanced understanding and meticulous care we invest in our gear. Small adjustments, regular maintenance, and a proactive attitude transform a decent brew into a flawless cup that rivals any coffeehouse experience. Remember, the journey to perfecting your home espresso is as much about patience and learning as it is about the tools you choose.
Lessons That Changed My Coffee Game
- Calibration is Key: Nothing beats consistently calibrating your grinder and machine. It’s easy to overlook, but this daily ritual ensures your equipment performs optimally, preventing overextraction or under-extraction that can ruin your shot. I discovered that a simple calibration using a digital scale, as suggested here, made all the difference.
- Cleanliness Saves the Day: Regularly cleaning your portafilter, steam wand, and water tank prevents buildup that impairs performance. A clean machine not only tastes better but also lasts longer. I set weekly reminders and use specialized brushes, which keeps my setup running smoothly.
- Environmental Factors Matter: Ambient temperature and humidity influence grind size and extraction. Adjusting your routine and storing beans properly are small steps that yield big improvements. I learned to tweak my grinder settings when the weather shifts, inspired by insights in this guide.
- Patience and Observation Pay Off: Watching the first few seconds of extraction and stopping early can prevent overflows and bitter flavors. I keep notes on what works, refining my process over time. This mindful approach is where mastery truly begins.
- Invest in Learning: Reading well-regarded resources, like this comprehensive guide, helps demystify complex techniques and introduces new tips to elevate your brewing.
Tools That Elevate My Routine
- High-Quality Grinder: Precision and consistency are non-negotiable. I trust models recommended in the latest gear guide because they balance performance and durability.
- Accurate Scale: A digital coffee scale with calibration features, as explained here, ensures my doses are spot-on, leading to better shots.
- Quality Beans: Freshness makes each cup special. I experiment with different roasters, paying attention to the freshness window.
- Steaming and Frothing Accessories: Proper cleaning tools and tips, like those in this article, keep my milk silky and my latte art crisp.
Your Next Step in Coffee Excellence
Embarking on this journey requires confidence and curiosity. Whether you’re just starting or looking to refine your routine, embracing the details—the calibration, cleanliness, environmental awareness—will lead you to remarkable coffee moments every day. Trust your adjustments, stay attentive, and keep learning from your experiences. Your perfect cup is within reach, waiting for you to unlock it with patience and passion.
What small change has had the biggest impact on your brewing success? Share your story below and let’s learn together.