The Best Routine for a Five-Minute Barista Close
It was a typical Sunday morning. I was rushing to get my shot pulled before the kids stormed the kitchen, and in my haste, I forgot to turn off my machine’s steam wand. The next thing I knew, I was faced with a soggy, uneven coffee puck and a lingering smell of burnt milk—classic signs that I hadn’t closed down my setup properly. That frustrating moment made me realize one thing: I needed a better routine for shutting down my espresso station, and it had to be quick, reliable, and stress-free.
The Power of a Simple Five-Minute Routine
Have you ever felt the same rush, the last-minute scramble to clean things up, only to end up neglecting your equipment or wasting time trying to figure out what to do next? Trust me, I’ve been there more times than I’d like to admit. The truth is, most of us want that perfect, professional-level cleanup without sacrificing too much time—especially after every shot. That’s where developing an efficient, five-minute close routine becomes a game-changer.
A well-crafted routine ensures your machine stays in top shape, prevents oil and milk residue buildup, and extends the lifespan of your gear. Plus, it gives you peace of mind: knowing that your setup is ready for the next brew, rather than a brewing mess to deal with later. And who doesn’t want to save a few minutes and avoid the dreaded morning grind of cleaning?
When I first started, I made the mistake of quickly wiping the portafilter and leaving all the milk residues inside the steam wand. That neglect led me to costly repairs and tasteless shots. Over time, I learned that a consistent, quick-close routine is surprisingly straightforward—once you know what steps matter most.
So, today, I’m going to share my tried-and-true method that takes just five minutes but pays off big in performance and durability. Whether you’re new to home espresso or an experienced enthusiast, this routine will help you wrap up your coffee session with confidence and minimal fuss.
If you’ve ever faced the dilemma of leaving your equipment dirty or rushing through cleanup, stick around. I’ll show you exactly how to streamline your closing process. And for those curious about how to keep your gear pristinely clean, check out my recommendations on [milk frothers](https://espressotechguide.com/milk-frothers-that-transform-your-coffee-experience) and learn how a quick “maintenance moment” can boost your brew quality.
Ready to turn your busy mornings into smooth, stress-free routines? Let’s dive into the practical steps that will have your setup spotless—and your mind at ease—in just five minutes.
Clear the Brew Bed to Prevent Residue Buildup
Start by knocking out the used coffee puck from your portafilter into a knock box or compost bin. Use a puck knife or the back of a brush to gently loosen any remaining grounds in the basket. This quick action prevents oil and old coffee from contaminating your next shot and keeps your machine cleaner. I remember a morning when I skipped this step—it resulted in a clogged drain and a bitter brew. Consistently knocking out the puck keeps everything flowing smoothly and saves you cleaning time later.
Backflush for Machine Longevity
Prepare the Cleaning Process
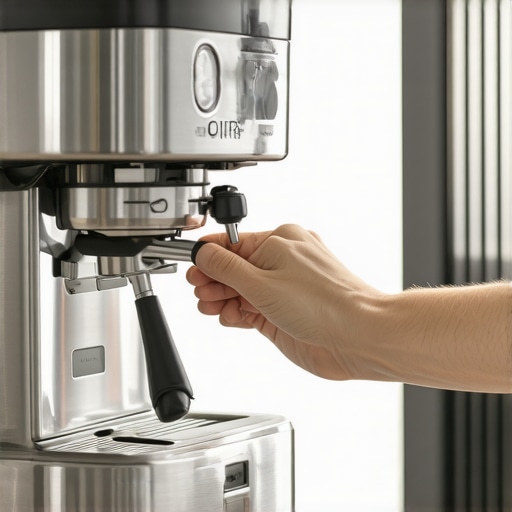
Insert a blind filter or blind basket into your portafilter, then pour a small amount of espresso machine cleaner or hot water into the filter. Lock it into the brew head tightly. This simulates a shot, allowing your machine to circulate water through its internal pathways, flushing out coffee oils and residue. This step is like giving your machine a quick detox—don’t skip it. If your machine has a three-way valve, this process helps prevent pressure buildup, extending its lifespan. A quick backflush session lasts about 30 seconds but vastly improves performance.
Perform the Backflush
Activate the brew cycle, allowing water to flow through the system. Turn off the machine before releasing the brew button to let pressure drop gradually. Remove the portafilter, rinse the filter basket, and repeat if necessary. This process ensures you’re not brewing with old oils, which can cause bitter flavors and machine issues. I once neglected this, and a stubborn clog caused a week-long headache—since then, it’s become a non-negotiable part of my routine.
Clean the Steam Wand and Milk Frother
Wipe away milk residue with a damp cloth immediately after steaming. But for thorough cleaning, purge the wand by opening the valve briefly, releasing any residual milk steam or dribble. Next, dip a damp cloth or use a specialized cleaning brush to scrub the wand tip. If your wand has a removable tip, detach it and soak it in hot water or descaling solution. Regular cleaning prevents gunk buildup that causes hissing, leaking, or poor frothing. Personally, inspecting my steam wand daily has kept my milk silky and my machine running efficiently.
Flush Hot Water Through the Group
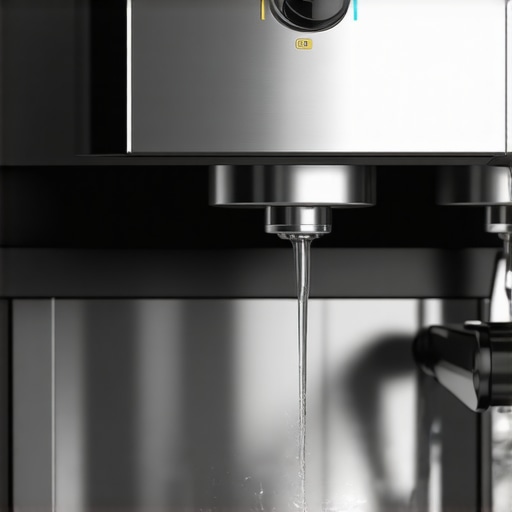
Run hot water through the brew head for 5 seconds to warm and clear any residual coffee or oils. Use a damp cloth to wipe the shower screen and gasket area afterward. This ensures every shot starts fresh, avoiding cross-flavor contamination. When I skipped this in a rush, I noticed my next espresso tasted sour and metallic. Incorporating a quick flush elevates your drink quality and prolongs equipment life.
Wipe and Store Equipment Properly
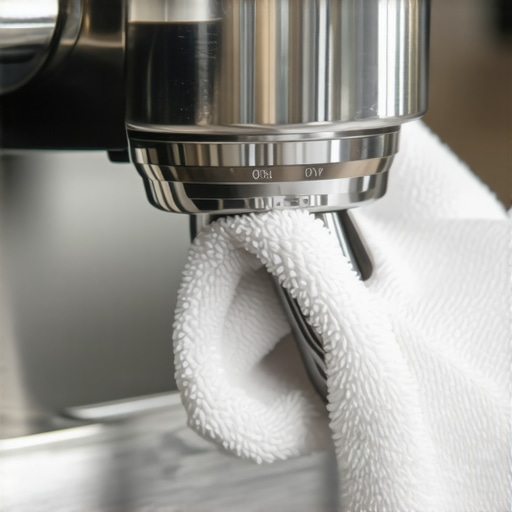
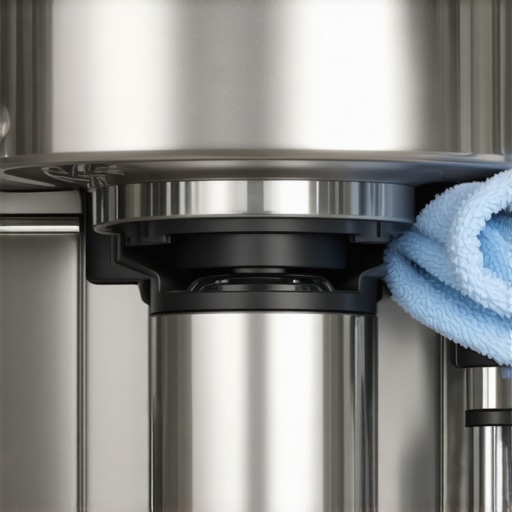
Finish by wiping all surfaces—group head, drip tray, portafilter, and steam wand—with a clean, damp cloth. Dry thoroughly to prevent rust or mold buildup. Store your tools in designated areas like a tidy drawer or hanging rack, ready for the next session. Keeping your station organized minimizes cleanup time and maintains hygiene. After implementing this, I found my mornings less frantic, with everything ready to go for the next brew.
 While many espresso enthusiasts believe that simply owning high-end gear guarantees perfect coffee, the truth is there’s a lot more nuance involved in mastering your home setup. One prevalent myth is that grinder quality alone determines shot quality, but in reality, even premium grinders can underperform if not calibrated correctly or if the burrs are dull. Regular maintenance and understanding your grinder’s behavior are essential to extracting the best flavors. Moreover, many assume that more expensive milk frothers produce superior microfoam; however, with proper technique and clean equipment, even budget-friendly models can deliver excellent results.
Is Your Barista Gear Truly Optimized for Consistency?
Many users overlook the importance of proper calibration and maintenance routines, which can lead to unpredictable shots despite having the right gear. Calibration errors, inconsistent tamping pressure, or dirty components can all sabotage your efforts. For example, inconsistent tamping may seem trivial but significantly impacts extraction quality. Remember, expertise isn’t solely about the equipment but how you use and care for it. Want to master your equipment instead of fighting it? Check out [mastering the art of home espresso](https://espressotechguide.com/mastering-the-art-of-home-espresso-tips-for-beginners) for advanced tips.
Another common misconception involves espresso machines: many believe that a bigger boiler automatically means better shots. While a larger boiler can help stabilize temperature, factors like thermostatic control, group head design, and pressure stability play crucial roles. Skimping on maintenance, such as neglecting descaling or group gasket replacement, can lead to inconsistent pressure and flavor issues. Additionally, some think that high-end barista gear is always necessary for excellent results, but understanding the fundamentals like grind size, tamping, and shot timing can elevate even modest equipment.
What Advanced Mistakes Do Home Baristas Often Make?
One trap I see often is over-reliance on default factory settings without fine-tuning for specific beans or climate conditions. Beans oxidize quickly, and the ideal grind and brew temperature vary with humidity and roast profile. Failing to adjust can lead to sour or bitter shots, regardless of your equipment’s quality. For those ready to elevate their game, I’d recommend exploring [the importance of proper grinder calibration](https://espressotechguide.com/how-to-calibrate-your-coffee-scale-using-a-standard-coin) to ensure consistent extraction. In summary, mastering the art of home espresso isn’t just about owning the best gear—it’s about understanding its nuances, maintaining it properly, and fine-tuning your techniques. Have you ever fallen into this trap? Let me know in the comments.Maintaining your home espresso equipment is essential to ensure consistent quality and longevity. Choosing the right tools and adopting a disciplined routine can transform your coffee experience from casual to barista-level professional. One of my favorite investments is a high-quality calibration scale, like the Acaia Lunar, which I use to fine-tune my shot weight and temperature with pinpoint accuracy. This has dramatically improved my extraction consistency. Additionally, a dedicated maintenance kit that includes descaling solutions and cleaning brushes tailored for espresso machines and grinders ensures I keep my equipment clean without risking damage. Regularly replacing worn gaskets and seals, like the group gasket, is another step that prevents pressure leaks and maintains optimal flow. For instance, consulting technical manuals, such as those from La Marzocco, offers precise instructions on gasket replacement, helping me avoid costly repairs.
Lessons That Changed My Barista Game
My biggest revelation came when I realized that consistency in cleaning and maintenance is more important than upgrading my equipment. Small adjustments, like calibrating my grinder regularly, made a noticeable difference in shot quality. Another lightbulb moment was understanding that milk frothing isn’t just about having a fancy frother but about technique and cleanliness. These insights came from trial, error, and deep dives into expert blogs, but the most valuable lessons were born from personal experience and reflection. Embracing a disciplined routine transformed my coffee mornings from chaotic to confident — and that change is priceless.
Tools and Sources That Keep My Coffee Career Sharp
First, I swear by the Mastering the Art of Home Espresso guide, which offers nuanced techniques that go beyond beginner tips—it’s like having a mentor in your kitchen. I also rely on a precision coffee scale like the accurate scale for perfect shot timing and consistency. For cleaning tools, my dedicated milk frother cleaning kit keeps residue at bay. Finally, I follow trusted blogs and forums, like the site you’re reading, to stay updated on the latest maintenance tricks and gear tips—continuous learning is the true secret to excellence.
Embrace the Journey — Your Perfect Coffee Awaits
Turning your coffee routine into a ritual of mastery can feel daunting at first, but every small step counts. Remember, the goal isn’t perfection from day one; it’s progress and enjoyment. Imagine waking up confident that your machine is clean, your technique is sharp, and each shot is getting better—your home espresso journey is just beginning, and the rewards are worth every effort. Dive into those new cleaning routines, experiment with your grinder adjustments, and don’t shy away from asking questions or sharing your experiences. You’re not just making coffee; you’re crafting moments of happiness and connection. So, take that first step today and watch your skills—and your mornings—transform.