The Simple Logic Behind Steaming Small Amounts of Milk
Have you ever stood in front of your espresso machine, trying to steam just a tiny splash of milk for a perfect microfoam, only to end up with a mess or an underwhelming texture? I’ve been there. It’s that frustrating moment when the milk you desperately want to be velvety and smooth turns into a frothy, unwieldy blob. I remember the lightbulb moment when I realized that the problem wasn’t my milk, nor my machine—it was my approach to steaming small amounts of milk.
Why Steaming Small Batches Can Be Tricky—but Not Impossible
Getting that delicate microfoam when steaming just a few ounces of milk isn’t as straightforward as it seems. It’s a nuanced dance that many home baristas struggle with, especially when we forget that milk steaming follows a simple logic: heat, air, and texture work together, regardless of quantity. But here’s the thing—if you don’t understand that logic, it’s easy to cause clogs, uneven heating, or worst of all, wasted milk. I’ve personally made the mistake early on of overfilling my pitcher or trying to rush the process, thinking more milk would be easier to manage. Turns out, it’s quite the opposite.
Getting to the Heart of the Matter
Today, I promise we’ll demystify the science behind steaming small amounts of milk, so you can consistently produce silky microfoam without fuss or waste. You’ll learn why just a little milk requires just a bit more attention—no special gadgets needed, just a clear understanding of the basic principles. Inside my experience, I’ve discovered that mastering this skill not only improves your coffee but also makes your morning routine more enjoyable and less stressful. For those of us who love the art of espresso but struggle with small-batch steaming, this guide is for you.
To kick things off, I want to ask—have you ever been frustrated because your tiny milk portion turned out watery or weirdly bubbly? If so, don’t worry—you’re not alone. Even seasoned baristas sometimes overlook the simple logic that makes or breaks small-batch milk steaming. In fact, early on, I made the mistake of trying to force more air into a tiny pitcher, which only caused sputtering and uneven texture. I learned that respecting the proportions and understanding the mechanics can make all the difference—like the expert advice found here.
With that in mind, let’s dive into the straightforward steps to steam small amounts of milk perfectly every time. Trust me, once you get the hang of these ideas, you’ll wonder why it seemed so complicated at first. Are you ready to turn your tiny milk tricks into total mastery? Let’s go!
Control Your Pitcher Position
Start by placing your milk pitcher at a slight angle so the steam wand just touches the surface of the milk, not submerged. This angle creates a swirling motion that promotes even heat and foam formation. I once struggled with uneven microfoam until I adjusted my stance, noticing how the angle allowed a gentle release of air and prevented splashing—making my frothing smoother.
Adjust the Steam Wand Distance
Keep the steam wand close enough to create a whirlpool effect but not so close that it touches the milk surface or causes splattering. Think of it like placing a broom just above a dust pile—you want enough proximity to stir without knocking everything over. In my experience, a distance of about one to two centimeters from the milk surface works best for small quantities, ensuring consistent microbubbles.
Master the Sound and Feeling of Steaming
Listen for the gentle hissing—this indicates you’re in the optimal zone. When I first tried, I was too aggressive, causing loud splats. By paying attention to the sound and feeling the pitcher’s temperature with my hand, I learned to control the heating. Use your hand on the pitcher to gauge proper temperature; it should become comfortably warm without risking scalding the milk. This tactile feedback is crucial, especially with small amounts.
Use Small, Quality Pitchers
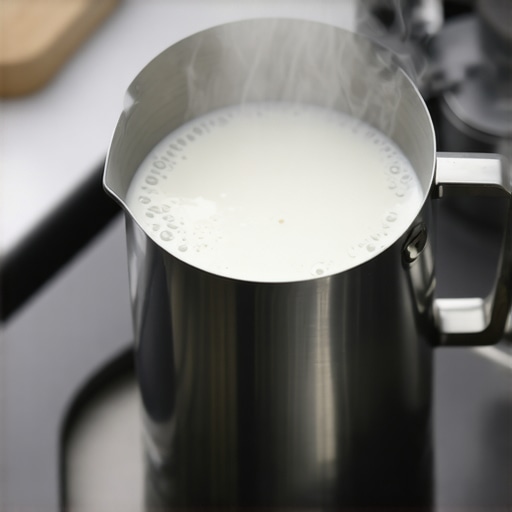
Choose a pitcher with a narrow spout and a small capacity—around 200ml or less. This setup gives you precision and control. I upgraded from a large one and immediately saw improvements; small pitchers react more quickly to your movements, akin to steering a bicycle versus a cargo truck. Practice with a quality pitcher, and you’ll find microfoam becomes more manageable and consistent.
Control Air Incorporation
Introduce air in short bursts, almost like gently tapping the steam wand to a rhythm. I once tried to inject a lot of air at once, resulting in large bubbles. Instead, slow, controlled bursts produce tiny microbubbles necessary for silky microfoam. Think of it as humming a tune—gentle and deliberate—rather than shouting. Once the sound and sensation are synchronized, your foam will have that perfect velvety texture.
Mind the Milk Temperature
Aim for around 140°F to 150°F (60°C to 65°C); over the limit and you’ll risk burning the milk or creating a thin texture. Use a thermometer or gauge by hand—your hand should feel warm but not hot. I once ignored this, and the foam was too thin; now, I keep a thermometer handy, which has vastly improved my results. It’s like cooking: timing and temperature are everything for a perfect outcome.
Practice the Technique Consistently
Repetition is key. Set aside time for deliberate practice, focusing on pitcher angle, wand distance, and timing. Record your sessions if needed; I found that visual feedback helps to identify and correct small mistakes. Remember, small quantities demand more finesse, much like juggling delicate eggs—steady hands and patience lead to mastery. By applying these precise movements and attentiveness, your microfoam will go from patchy to polished, transforming your coffee experience.
For further insights into essential barista tools that can elevate your skills, check out this guide on milk frothers. Shaping your technique with the right gear and consistent practice turns small batch steaming into an art form—break the ice, and your mornings will thank you.
 Many home espresso enthusiasts fall into misconceptions about the gear they invest in, often leading to subpar results or unnecessary upgrades. One prevalent myth is that expensive equipment automatically yields better coffee. While high-end machines and accessories offer advantages, mastering fundamental techniques often outweighs the benefits of flashy gadgets. For instance, a quality milk frother can significantly improve microfoam, but only if you understand how to use it properly—it’s not a magic bullet. Another misconception involves coffee grinders: many believe that blade grinders are sufficient for home brewing, but studies show that burr grinders provide more consistent particle size, crucial for optimal extraction. Avoid the trap of thinking that small, inexpensive grinders can’t produce quality espresso; with proper calibration and maintenance, they can perform remarkably well. When it comes to espresso machines, some think that larger boilers automatically mean better temperature stability, but many compact models incorporate advanced thermal systems that rival expensive commercial setups. To truly excel, focus on understanding your gear’s nuances—such as grinder burr alignment or machine temperature management—rather than relying solely on brand prestige. An advanced mistake many overlook is neglecting regular cleaning. Mineral buildup and coffee oils impair performance more than most realize. Regular descaling and backflushing extend your machine’s life and ensure consistent extraction. To deepen your knowledge, check out this comprehensive guide on selecting the right barista gear. Remember, even the best equipment can’t compensate for poor technique. If you’re struggling with your home setup, revisit your basics and fine-tune your routine—sometimes, less is more. Have you ever fallen into this trap? Let me know in the comments.
Investing in quality espresso machines and accessories is only half the battle; ensuring they stay in top shape over time makes a significant difference in your brewing success. Regular maintenance not only prolongs the lifespan of your equipment but also guarantees consistently excellent coffee. One of the most overlooked aspects is proper cleaning, which prevents grinder clogging and scale buildup, especially in complex machines. For example, descaling your espresso machine every three to six months using a recommended solution keeps performance optimal. Additionally, inspecting seals and gaskets for wear and tear can preempt leaks and pressure issues—see this detailed guide for tips on gasket care. Lubricating moving parts periodically is vital; a tiny amount of food-grade lubricant on the tamper mechanism or portafilter hinges prolongs their function and prevents squeaking. When it comes to grinders, regularly cleaning burrs with a brush and using a burr cleaning tablet prevents flavor contamination caused by old grounds or oil build-up, which can negatively affect extraction consistency. Using high-quality tools designed specifically for your equipment makes this process much more manageable. For instance, many baristas swear by professional-grade cleaning brushes and maintenance kits.
How do I maintain my espresso gear over time?
The future of equipment maintenance is leaning toward smart diagnostics and IoT integration, enabling real-time alerts for descaling, filter replacements, or worn parts. This proactive approach minimizes downtime and enhances longevity. Some high-end espresso machines now feature app-connected sensors that monitor temperature stability and pressure—see reviews of the latest models. To stay ahead, establishing a regular cleaning schedule—like every few espresso sessions—helps catch issues early, saving time and money. Make it a habit to keep your grinder’s grind path clear; dust and grounds can cause inconsistent flow, as shown in this expert article.
One advanced tip I recommend trying now is using a burr cleaning tablet during your routine maintenance; this reduces residual oils and grounds more thoroughly than manual brushing alone. Incorporate this step into your weekly routine, and you’ll notice an immediate improvement in flavor clarity and machine responsiveness. Proper maintenance isn’t just about avoiding breakdowns—it’s the secret to elevating your brewing game consistently. So, if you haven’t already, pick up a cleaning tablet or schedule a thorough inspection of your equipment this weekend.
Regular upkeep of your home espresso gear might seem tedious, but the payoff is undeniable—delicious, consistent coffee every time. Ready to take your equipment maintenance to the next level? Start by scheduling your next descaling session or cleaning your burrs with a quality brush today. Trust me, your taste buds will thank you!
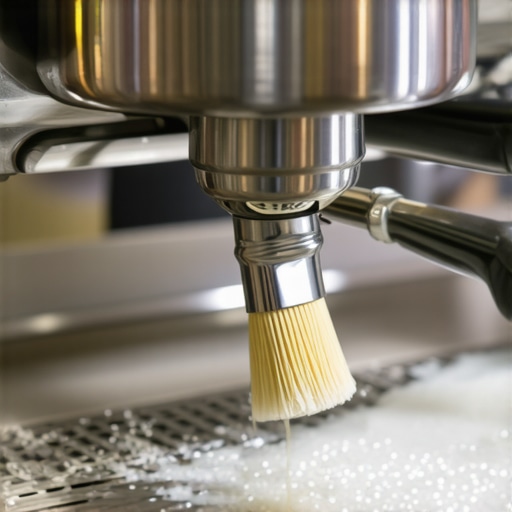
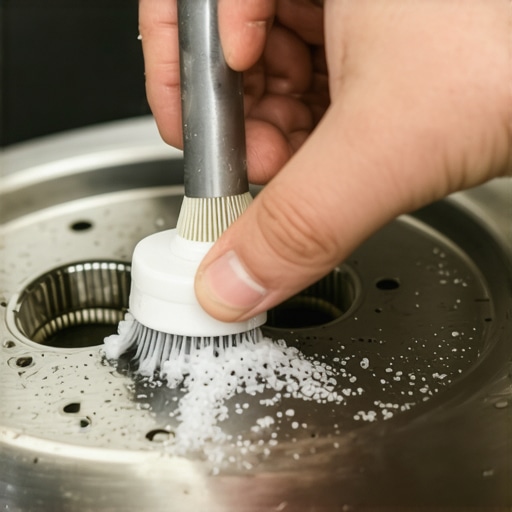
Image prompt: A detailed shot of a barista cleaning an espresso machine’s group head with a specialized brush, showing foam and cleaning tools. Alt: Close-up of espresso machine maintenance; Title: Proper Maintenance of Espresso Equipment; Alt: Barista cleaning group head with brush.
Lessons the Coffee World Often Overlooks
One of the most eye-opening lessons I learned was how crucial pitcher diameter is; a narrow pitcher responds more swiftly to subtle movements, making microfoam control easier. I used to believe that perfect microfoam came down solely to equipment quality, but it’s truly about technique—small adjustments in angle, distance, and timing can be transformative. Early on, I thought rushing the process would speed things up; instead, patience earned me creamy, velvety foam every time. These lightbulb moments taught me that mastery comes from refining your approach, not just upgrading gear.
Tools That Elevated My Home Barista Game
My must-haves include a high-precision thermometer, a quality small pitcher like the milk frother suited for microfoam, and a reliable steamer wand with adjustable steam levels. I firmly trust the top-rated espresso machines in 2025; their thermal stability and steam power make small-batch microfoaming not just possible but consistent. For keeping everything in top shape, I swear by regular use of proper cleaning tools; clean equipment equals better milk quality and foam texture. These curated resources have been pivotal in my journey toward professional-level microfoam at home.
Embrace the Rookie Mindset: Your Coffee Journey Continues
Getting comfortable with small-batch steaming is less about perfect execution and more about enjoying the learning process. Every tiny foam I create feels like a small victory—each session an opportunity to improve. Remember, even seasoned baristas are constantly adjusting, experimenting, and learning. So, don’t be discouraged by initial failures; instead, celebrate the progress. Your passion for perfect microfoam fuels your growth. Take action today—refine your technique, invest in key tools, and savor each step forward. With patience and persistence, your home espresso setup will become your personal barista’s studio. What’s one small change you’re excited to try next time you steam milk? Share your thoughts below and keep the coffee magic alive!