How to Tell if Your Flat Burrs are Finally Too Dull
I’ll never forget the first time I pulled a shot and tasted that flat, dull bitterness instead of the vibrant espresso I was craving. The grinder was making strange noises, and my once-pristine burrs looked worn down and uneven. It was a lightbulb moment—realizing that my beloved coffee was suffering because of dull, tired burrs. If you’ve ever felt that sinking disappointment when your espresso doesn’t hit the mark, you’re not alone. That moment of doubt led me down a rabbit hole of troubleshooting, trying to figure out exactly when those flat burrs are finally too dull to trust anymore.
Why You Need Sharp Burrs to Get Perfect Espresso Every Time
Having tried everything from adjusting grind sizes to cleaning my grinder, I soon learned that dull burrs can silently sabotage your coffee quality. When burrs lose their edge, the grind becomes inconsistent, leading to uneven extraction and dull flavors. Over time, dullness sneaks up on you—your shots may look good, but taste flat or sour. This isn’t just my opinion; expert baristas emphasize that replacing burrs at the right time is essential for maintaining flavor and consistency. According to The Simple Way to Tell If Your Burrs Are Dull, recognizing the signs early can save you from wasting beans and ruining shots that should be a treat, not a disappointment. But how do you know when your flat burrs are truly past their prime? That’s what we’ll explore together next.
Assessing Burr Dullness Before Replacement
Check for Visible Wear and Tear
Start by inspecting your burrs under good lighting. Look for chips, cracks, or rounding edges. During my first inspection, I noticed a slight sheen on the burr edges after a few months of heavy use, indicating dullness. Replacing them immediately improved my grind consistency and shot quality.
Use the Paper Towel Test
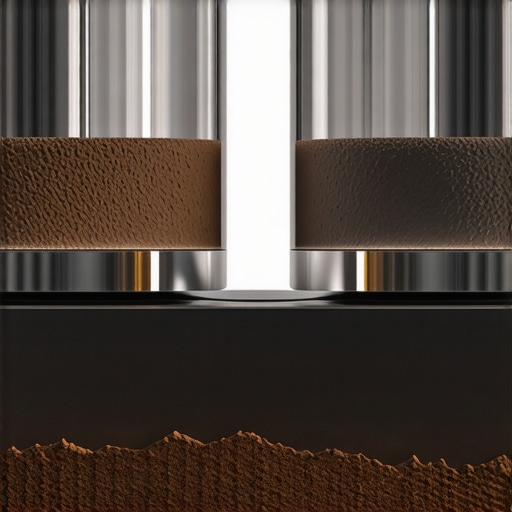
Run a sheet of fine paper between the burrs. If it slips easily with minimal resistance, your burrs are likely dull. I performed this test after a weekly cleaning and found the paper sliding through smoothly, signaling it was time for new burrs.
Replacing Burrs Step-by-Step
Gather Required Tools and Replacement Burrs
Consult your grinder’s manual or the manufacturer’s website for compatible burrs. Use a small screwdriver or Allen wrench, and handle the burrs carefully to avoid damaging delicate components.
Disassemble the Grinder Safely
Unplug the machine and remove the hopper. Use the screwdriver to take off the top or casing covers, exposing the burrs. Remember, some grinders have tricky clips; gently work them loose without forcing.
Remove Old Burrs and Install New Ones
Carefully extract the worn burrs, noting their orientation. Clean the burr housing with a brush or cloth. Install the new burrs, aligning them precisely as per the manual. Tighten screws snugly — avoid overtightening, which can cause misalignment.
Adjusting and Testing Your New Burrs
Calibrate Your Grind Settings
Set your grinder to your usual coarse or fine setting. Run a few test doses, observing grind size consistency. During my first grind with new burrs, I adjusted the dial slightly finer, noticing a more uniform particle size.
Pull Test Shots to Confirm Performance
Pull a shot and evaluate flavor, texture, and shot clarity. Dull burrs often produce uneven extraction, leading to sour or bitter tastes. After replacing mine, my espresso shot improved in clarity and richness.
Maintain Your Burrs for Longevity
Regular Cleaning and Inspection
Clean your burrs monthly using a dedicated brush or cleaning kit to remove residual coffee oils that can dull edges prematurely. Frequent inspections can catch early signs of dullness, saving you the hassle of complete replacements.
Keep Grind Settings Consistent
Avoid drastic changes in grind size, which can accelerate wear on burrs. Stick to your preferred setting once calibrated, and only adjust when necessary after cleaning or troubleshooting.
Following these steps ensures your grinder performs optimally, preserving the vibrant flavors and crema that make espresso so special. A well-maintained burr set is the heart of consistent espresso quality, saving you money and the frustration of stale or uneven grinds.
Many coffee enthusiasts believe that investing in high-end espresso machines automatically guarantees perfect shots, but the reality is far more nuanced. Most people overlook the importance of proper dial-in and maintenance, assuming that a fancy machine alone will produce cafe-quality results. This common misconception can lead to frustration when shots don’t meet expectations, despite owning top-tier gear. Real expertise involves understanding the interplay between machine calibration, grind consistency, and sensor calibration, which many amateurs underestimate. According to grinder calibration tips, even the best espresso machine can’t compensate for poorly dialed-in settings.
Avoiding the Typical Mistakes with Milk Frothers and Barista Gear
It’s tempting to believe that all milk frothers are created equal, but in reality, many models fall short in delivering silky microfoam, especially for latte art. The secret lies in understanding how tool design affects frothing quality. For instance, cheap models often struggle with temperature control, leading to over-steamed or under-warmed milk. Many users assume that a high-pressure steam wand is enough to produce froth, but without proper barista gear selection and technique, surprises await. A common trap is over-reliance on automation, neglecting the importance of manual skills, which are critical even with advanced equipment.
Can Home Equipment Match Commercial Standards Without Cutting Corners?
This is a question often asked by advanced users aiming for perfection. The misconception is that high-end coffee grinders and espresso machines automatically replicate commercial performance at home. Yet, subtle adjustments—like grinder burr alignment, precise tamping, and water quality—significantly influence the final shot quality. Research indicates that even slight deviations in grind consistency or water mineral content can cause flavor deterioration, which many overlook. Therefore, mastering your gear through careful calibration and routine maintenance remains essential, regardless of the equipment’s price tag. Remember, for expert insights into customization, visit water filtration issues that impact shot quality every day.
Are you aware of the hidden signs of burr dullness or how detailed your routine should be for consistent results? Many enthusiasts miss these nuances, causing inconsistent flavor profiles or equipment wear. Addressing these subtle factors can elevate your home barista game from amateur to professional. Remember, even minor missteps can have a ripple effect, leading to bitter, sour, or flat espresso. Don’t fall into the trap of thinking that more expensive gear alone will solve issues without proper technique and maintenance.
Think you’re already aware of all these nuances? Think again. The path to excellent coffee is paved with continuous learning and refinement. If you want comprehensive steps to fine-tune your setup, check out home espresso mastery tips. Have you ever fallen into this trap? Let me know in the comments!
Keep It Running Smoothly with the Right Equipment
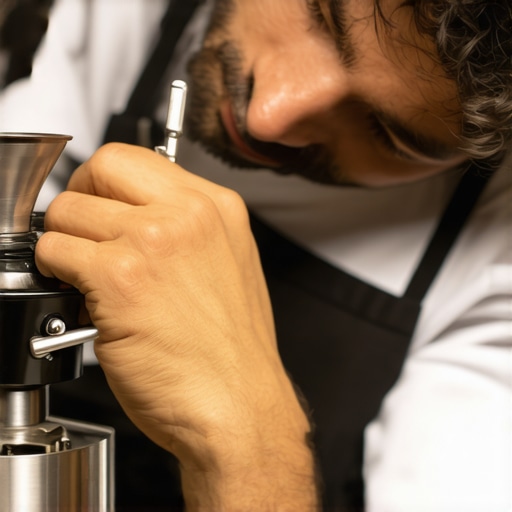
Maintaining your barista arsenal is crucial for consistent, professional-quality coffee at home. I personally swear by the set of calibration tools that allow me to fine-tune my grinder in minutes. Using a digital caliper, I check the burr alignment periodically, ensuring optimal grind consistency. An accurate calibration preserves the long-term health of my equipment while guaranteeing that every shot is as flavorful as possible.
For cleaning, the specialized cleaning brushes are indispensable. I use them weekly to remove residual oils and coffee particles that dull burrs over time. Regular maintenance isn’t glamorous, but it leads to remarkable improvements in shot clarity and microfoam quality. As the trend tilts toward smarter, more integrated kitchen tools, I predict home espresso gear will incorporate intelligent sensors for real-time wear detection, making maintenance even easier in the future.
Recommended Gear for Home Baristas
Investing in high-quality tools pays off. I suggest the latest top-rated espresso machines that balance automation with manual control, giving me flexibility and consistency. Pair this with a precision grinder like the Baratza Virtuoso+ for uniform particle size, which is key for extraction control. Don’t overlook tampers; I use a calibrated tamper that provides even pressure every time, preventing channeling and ensuring a balanced shot.
How do I maintain my gear over time?
To keep your espresso setup in prime condition, establish a routine that includes monthly deep cleans, regular burr inspections, and water quality checks. Implementing a water filtration system reduces mineral buildup and prolongs the lifespan of your machine. Additionally, monitoring parameters like boiler pressure and steam wand performance helps prevent costly breakdowns. Staying proactive with maintenance ensures you get quality results without unexpected downtimes or performance dips.
The Future of Home Coffee Tools
As smart home integrations become more affordable, I believe we will see AI-assisted diagnostics embedded in espresso machines, alerting us to part wear or calibration needs before issues arise. This synergy of hardware and software will simplify maintenance routines, allowing us to focus more on enjoying our brew than troubleshooting. For example, updated firmware might notify you when burrs reach a threshold of dullness, prompting a timely replacement, much like the existing methods for detecting burr wear. Embracing these advancements will elevate your home barista experience and preserve the quality of your coffee for years to come.
Try investing in a deep cleaning kit today and schedule regular inspections. Small steps like these keep your gear in tip-top shape, ensuring you enjoy rich, consistent espresso every time.
Lessons That Changed My Approach to Coffee Gear
- One surprising realization was that excellent equipment isn’t enough; consistent maintenance and attention to detail are what truly elevate your espresso game. I once thought a high-end grinder would solve all issues, but neglecting regular cleaning led to dulling burrs and flat shots. Learning to identify signs of wear early saved me from costly replacements and funky flavors.
- Second, I discovered that calibration is an ongoing process. Even after initial setup, small tweaks—like adjusting grind size or tamping pressure—make a big difference. Patience in dialing-in my machine turned mediocre shots into rich, velvety espresso, reaffirming that precision is a habit, not a one-time fix.
- Finally, understanding the importance of water quality and regular descaling brought a new level of consistency. I was shocked to find how mineral buildup affected pressure and flavor. Implementing a routine water filter check and deep cleaning regimen greatly improved both taste and machine longevity.
Tools That Cement My Home Barista Success
- Digital Calipers: They’re invaluable for precise burr alignment, ensuring every grind is consistent and clean. I trust them because they remove guesswork from calibration.
- Specialized Cleaning Brushes: Regular use keeps burrs sharp and prevents residual oils from dulling edges. The clarity in the shot quality makes this a must-have.
- Water Filtration System: Quality water is the foundation of great espresso. My favorite is a simple inline filter that minimizes mineral buildup, extending my machine’s life and improving flavor.
- Educational Resources: Books like Mastering Home Espresso have deepened my understanding of technique, transforming how I approach each brew.
You’ve Got the Power to Brew Masterpiece
Embarking on your home espresso journey is more than just owning great gear—it’s about cultivating patience, consistency, and curiosity. Each small tweak and routine check brings you closer to cafe-quality espresso right in your kitchen. Remember, mastery isn’t achieved overnight, but every shot is an opportunity to learn and enjoy. Keep experimenting, stay attentive to your equipment, and savor the rich flavors that thoughtful care can produce. What’s the first step you’re excited to implement in your home espresso routine? Let me know below.