The Simple Way to Tell if Your Burrs Are Dull
There was this morning when I pulled my shot and, to my dismay, it tasted flat—lacking that vibrant punch I usually enjoy. I stared at the brew, wondering if my grinder was suddenly losing its edge. That lightbulb moment hit me: how can I tell if my burrs are dull, really? Instead of blindly replacing parts or guessing, I realized there’s a simple way to diagnose this issue that’s as reliable as your morning brew.
The Key to Detecting Worn-Out Burrs Before Your Coffee Turns Bitter
Many home baristas and enthusiasts overlook the importance of sharp burrs, assuming they last forever or checking only when their coffee quality drops dramatically. But the reality is, dull burrs are a common culprit behind inconsistency, over-extraction, and that dreaded flat taste. The good news? It’s easier to tell if your burrs are dull than you might think, and catching the signs early can save you money and improve your brewing game significantly.
Could Your Beans Be the Real Problem?
Before we jump to conclusions about dull burrs, I made the mistake early on of blaming my grinder’s age when a simple cleaning or adjustment might have sufficed. It’s a common pitfall. However, once I learned how burr sharpness directly influences particle size and extraction, I realized a dull burr set can masquerade as a brewing problem. Knowing the signs can help you determine whether it’s time for a grindstone or just a quick tune-up.
According to coffee expert James Hoffmann, consistent grind size is crucial for impeccable extraction, and dull burrs invariably produce uneven particles which lead to inconsistent flavor. So, how can you tell if your burrs need replacing or sharpening? That brings us to the straight-forward methods that won’t leave you guessing.
Test the Grind Uniformity
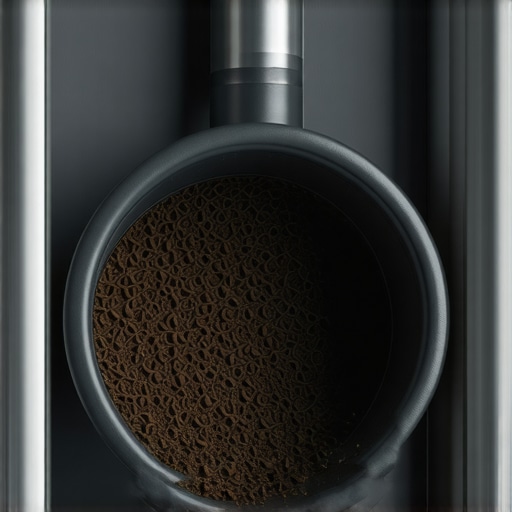
Start by dialing your grinder to your usual setting and grinding a small batch of beans onto a white paper or a clean surface. Observe the particle size distribution; if you notice an inconsistent spread—some particles significantly finer or coarser—it indicates dull burrs. I once did this after noticing my espresso was piping through unevenly. The uneven grind pointed to worn burrs, prompting me to replace them, which instantly improved shot consistency.
Visual Inspection of Burrs
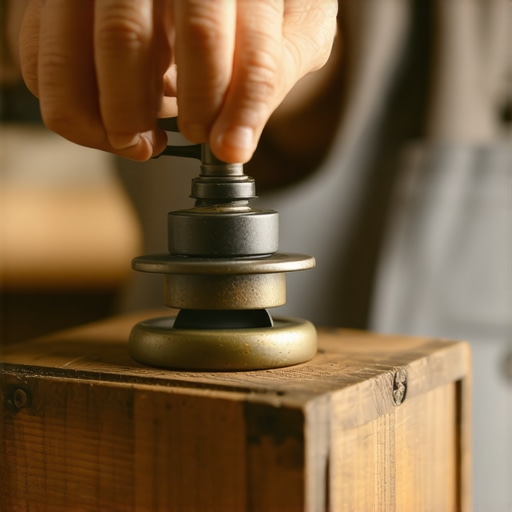
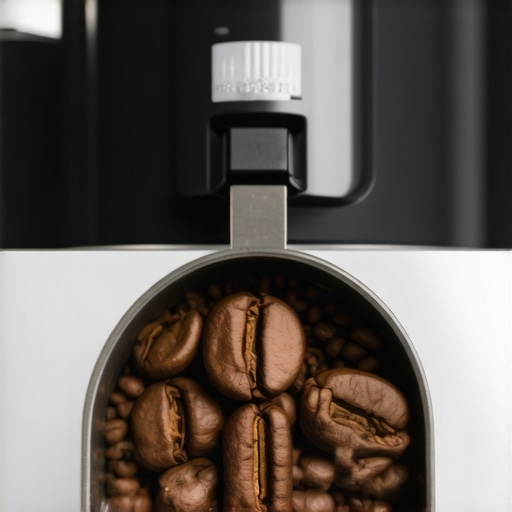
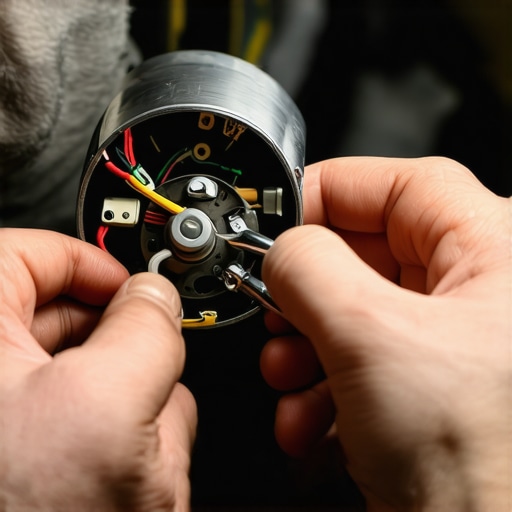
Power off your grinder before disassembling. Remove the hopper and inspect the burrs closely—they should be sharp, with clearly defined ridges. Dull burrs appear rounded or chipped. Using a small magnifying glass helps. In my experience, dull burrs often develop tiny chips, and I’ve replaced them based on this visual cue, restoring precise particle size.
Perform the ‘Tongue Test’
Take a few beans and gently rub your finger along the burr edge—if it feels rounded or smooth rather than sharp, it’s time for a change. I previously overlooked this step and noticed my grinder’s performance deteriorated; once I checked and saw the dull edges, replacing the burrs made a noticeable difference in flavor clarity.
Check for Resistance During Grinding
Run a small batch and pay attention to the motor’s strain. If you hear the motor struggling, it could be due to dull burrs causing extra resistance. On one occasion, I encountered louder-than-usual grinding noise; inspecting revealed burrs that had become rounded, increasing friction. Replacing them eased the load and improved shot extraction.
Use a Burr Sharpener or Replace
If your grinder model supports it, use a burr sharpening tool designed for your burr material. This can extend their life temporarily. However, in most cases, especially with steel burrs, replacement is the most reliable fix. When ordering, consider the [best barista gear](https://espressotechguide.com/choosing-the-best-barista-gear-for-coffee-enthusiasts) to ensure a proper fit.
Document Your Findings
Keep a log of your grind tests and visual inspections. Over time, you’ll notice patterns—like burrs dulling after a certain mileage or after grinding certain beans. This record guides your maintenance schedule and helps prevent unexpected flavor issues, making your brewing process more predictable and enjoyable.
Don’t Overlook Routine Cleaning
Regularly clean your grinder to prevent bean oil buildup that can dull burrs faster. Remove residual coffee and wipe with a dry cloth. Check for clogs or debris in the burr chamber. Proper maintenance prolongs burr sharpness and improves overall consistency.
Many coffee enthusiasts assume they know everything about their gear, but the truth is, misconceptions run deep and can hinder your brewing mastery. For instance, a common myth is that expensive equipment guarantees perfect results; however, even high-end machines can be undermined by improper cleaning or miscalibrations, affecting extraction consistency. This oversight can lead to subtle flavor inconsistencies that only advanced baristas detect, emphasizing the importance of understanding the nuances of your gear.
Why is calibration more critical than you think for espresso machines?
Calibration ensures your machine maintains optimal pressure and temperature, which are vital for ideal extraction. A study published in the Journal of Coffee Science highlights that even slight deviations in temperature (±2°C) can significantly alter flavor profiles, making calibration an advanced skill worth mastering. Regular calibration, beyond initial setup, ensures your espresso remains consistent over time. Moreover, many overlook that milk frothers, especially handheld ones, need periodic cleaning and maintenance to prevent bacterial buildup and achieve the creaminess necessary for latte art. Using improper cleaning techniques can cause damage or impair frothing performance, leading to flat or uneven microfoam.
Beware of the trap: assuming all frothers are maintenance-free
Many amateurs neglect routine maintenance, thinking their frother’s performance is purely dependent on the device’s quality. In reality, buildup of milk residues inside the wand or attachment points drastically affects foaming quality. Proper cleaning, using recommended tools and methods, preserves the frother’s efficiency and extends its lifespan. This attention to detail often separates good baristas from the great, especially when creating intricate latte art. In the realm of grinders, a frequent mistake is ignoring the importance of consistent dwell time during dosing. Some users focus solely on grind size adjustments but fail to consider how grinding for too long or too short impacts particle distribution. An inconsistent grind or uneven dosing causes channeling and over-extraction, leading to bitter flavors or sour notes—mistakes that are difficult for novices to troubleshoot without advanced understanding. To tackle this, accurate dosing techniques and timing calibration are essential, especially with precision baskets.
Are you making this common dosing error that ruins your shot?
Ensuring uniform extraction depends heavily on the consistency of your tamping, dosing, and grind freshening. Advanced users often experiment with grinder timings and dose weight to fine-tune their shots. Remember, the smallest adjustments can lead to the best espresso, but only if your gear is correctly maintained and calibrated. Avoid falling for the misconception that once set, your equipment can be ignored. Regular attention, calibration, and a thorough understanding of each component’s role ensure every shot is a masterpiece. Want to dig deeper? Check out our comprehensive guide on [mastering the art of home espresso](https://espressotechguide.com/mastering-the-art-of-home-espresso-tips-for-beginners) to elevate your barista skills. Have you ever fallen into this trap? Let me know in the comments.
Maintaining your home espresso setup isn’t just about buying the right gear; it’s about having the proper tools and routines to keep everything running smoothly over time. As someone deeply invested in brewing quality coffee at home, I’ve found that using precise, reliable equipment combined with disciplined maintenance routines can dramatically extend the lifespan of your gear and improve your results.
The Importance of Specialized Calibration Tools
One tool I swear by is a digital calibration scale that offers consistent and accurate weight measurements for dosing and tamping. Unlike generic kitchen scales, these are designed for precision in the 0.1-gram range, allowing me to fine-tune my shots with confidence. Regular calibration ensures my grinder and scale synchronize perfectly, preventing subtle inconsistencies that can compromise flavor. Investing in a quality scale like the calibration method outlined here has been a game-changer.
Why it’s critical:
Accurate dosing is the backbone of espresso consistency. A minor deviation can lead to over-extraction or under-extraction, which impacts flavor and mouthfeel. Periodic calibration using standardized references helps keep your workflow reliable.
Dedicated Cleaning Gear Saves Time and Keeps Flavors Pure
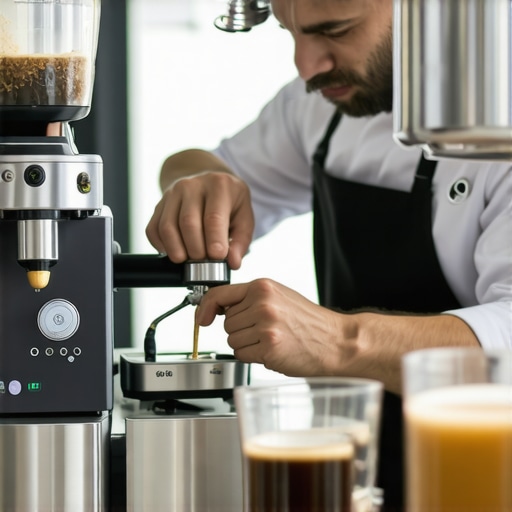
Keeping your espresso machine and grinder clean is essential, and dedicated cleaning tools make this process more effective. I recommend using a cleaning brush specifically designed for burrs and a small, soft-bristled brush for portafilter gaskets and shower screens. This targeted approach prevents residue buildup that dulls burrs and causes channeling in the basket.
For milk frothers, I swear by a specific cleaning wand that reaches into every nook, ensuring microfoam quality remains high and bacterial buildup is avoided. Regular maintenance with these tools keeps my gear performing at its peak and extends the lifespan of expensive components.
Long-term Results Require Patience and Consistency
While the right tools are fundamental, persistence in routine maintenance yields the best long-term results. I log my cleaning schedule, calibration dates, and grind adjustments meticulously. This record helps me anticipate when parts like burrs or seals need replacing, instead of reacting to flavor deterioration or mechanical failures.
< >
>
Looking ahead, I believe that automation in maintenance—like smart sensors monitoring burr sharpness and machine calibration—will become more prevalent, reducing the manual effort required and ensuring optimal results with minimal intervention. For now, mastering these basic but essential tools forms the backbone of any serious home barista’s routine.
How do I maintain my grinder and espresso machine over time?
Implementing a disciplined schedule of cleaning with dedicated tools, regularly calibrating equipment, and keeping detailed logs are proven strategies. For instance, adjusting your grinder’s burrs using precision tools ensures uniform particle size over months of usage, which is critical for consistent extraction. Remember, investing in high-quality tools—not just gear—makes all the difference in long-term performance. Ready to elevate your routine? Try incorporating a precision calibration practice today and experience immediate improvements in your shot quality.
Over the years, I’ve learned that the secret to consistently outstanding coffee isn’t just about fancy beans or high-end machines—it’s about paying attention to the tiny details that often go unnoticed. One of the most overlooked aspects is maintaining sharp, well-calibrated burrs. When I finally understood how dull burrs sabotage extraction and flavor, my entire approach to home brewing transformed. It became clear that the real game-changer was developing an intuitive sense for when my burrs needed attention—saving me time, money, and, most importantly, improving every shot I pulled.
What No One Tells You About Burrs and Coffee Perfection
- Making small adjustments can lead to BIG flavor improvements: I found that recalibrating my grinder and replacing burrs at strategic times elevated my espresso from good to extraordinary. Trust me, your taste buds will thank you for paying attention to these hidden clues.
- Visual and tactile cues are gold mines: Regularly inspecting burrs for chips or rounded edges reveals impending dullness before it hits your flavor profile. The tongue test, for instance, became my secret weapon—if the burrs feel smooth or rounded, it’s time for a change.
- Routine maintenance beats expensive upgrades: Investing in a quality cleaning kit and a simple calibration schedule kept my grinder performing like new, without unnecessary expenses. The long-term savings and flavor consistency are worth every minute spent.
- Stay curious and experiment: Each grinder and bean combo is unique. Keeping a detailed log of grind adjustments and burr health helps me fine-tune my process over time, ensuring I get the most out of every batch.
Resources That Took My Coffee to the Next Level
- Precision calibration scales: These are essential for consistent dosing and tamping, directly impacting burr performance and extraction quality.
- Dedicated cleaning tools: Small brushes and cleaning wicks help maintain burr sharpness and prevent residue buildup.
- Water quality resources: Clean water prevents mineral buildup that can dull burrs over time.
- Expert guides on grinder selection: Understanding the right grinder for your needs ensures you’re investing in a tool that maintains burr integrity longer.
Your Next Step: Harness the Power of Knowledge and Routine
Remember, mastery isn’t about perfection—it’s about continuous improvement. Developing an eye (and touch) for burr health, coupled with a disciplined maintenance routine, will keep your espresso setup performing at its peak. Every time I dedicate a few moments to inspecting and caring for my burrs, I notice immediate improvements in flavor, texture, and consistency. It’s a small investment that yields monumental results.
Are you ready to take your coffee game to the next level?
By paying close attention to your burrs and implementing a simple maintenance routine, you’ll unlock new depths of flavor and consistency in your home espresso. Don’t wait for a flavor catastrophe—stay ahead of dull burrs and keep every shot a masterpiece. What’s the first step you’ll take today to check your burrs? Share your plan below—I love hearing your brewing journeys!