Why You Should Never Use Rice to Clean Your High-End Grinder
Ever had that sinking feeling when your premium grinder suddenly jams or tastes off, and you realize you might have been using a quick fix that actually does more harm than good? I remember one morning, eager to get my perfect espresso, only to find my grinder clogged and smoky. The culprit? I thought a handful of rice would do the trick—an old barista trick that many swear by. But that lightbulb moment led me down a rabbit hole of cleaning myths, and I want to share what I learned.
Don’t Let Something Small Damage Your Coffee Experience
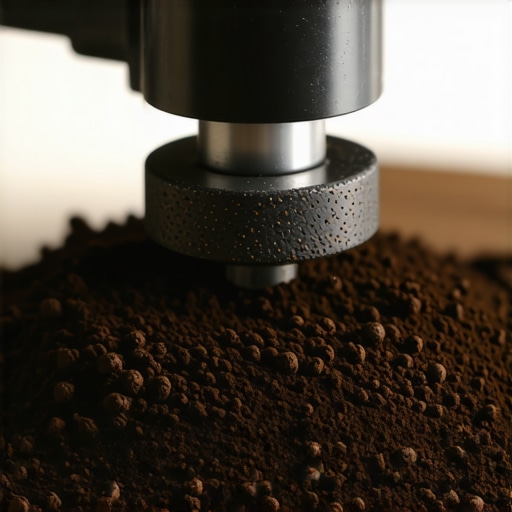
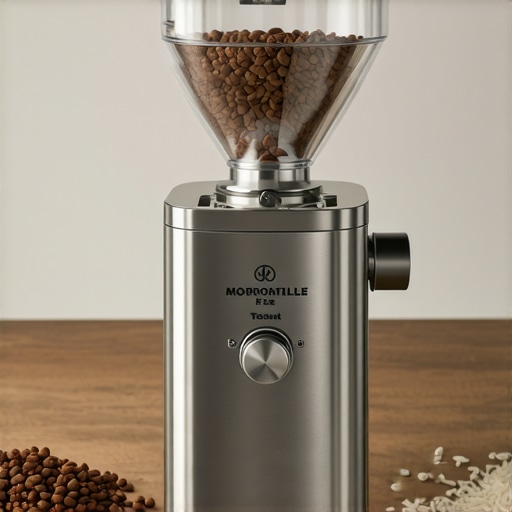
Using rice as a cleaning tool seems like a quick and inexpensive solution, especially when you’re eager to maintain your precious equipment. The idea is simple: run dry rice through your grinder to absorb oils and debris, then clear out the grit. Sounds straightforward, right? But in reality, this method might be more harmful than helpful, especially for high-end grinders designed with precision burrs and delicate mechanisms. I used to swear by rice cleaning until I noticed my grind consistency worsening and tiny kernels getting lodged where they shouldn’t. Think about it—those tiny rice particles can get stuck in the burrs or grind chamber, leading to uneven grinding or even mechanical damage over time. A study by coffee equipment experts indicates that abrasive particles like rice can scratch or dull your burrs, negatively affecting flavor and longevity.
Today, I’m going to show you why rice isn’t the hero you think it is, and what safer, more effective methods exist to keep your grinder in tip-top shape. No more risking damage for a quick fix. Ready to learn how to properly maintain your beloved coffee gear? Let’s dive into the real do’s and don’ts of cleaning your high-end grinder.
Is the Rice Myth Actually Worth the Hype?
One of the biggest mistakes I made early on was blindly trusting this supposed hack without understanding my grinder’s mechanics. I thought, “If it works for others, it must be fine.” But I ignored the subtle signs—like irregular grounds or strange noises—that told me I was doing more harm than good. If you’ve ever wondered whether this method is truly safe or just a popular misconception, you’re not alone. Many enthusiasts are surprised to learn that more reliable cleaning alternatives exist, like using specialized grinder brushes or compressed air. Curious? Check out our guide on safe cleaning practices for your grinder to ensure you’re doing it right.
Remove and Disassemble Your Grinder Carefully
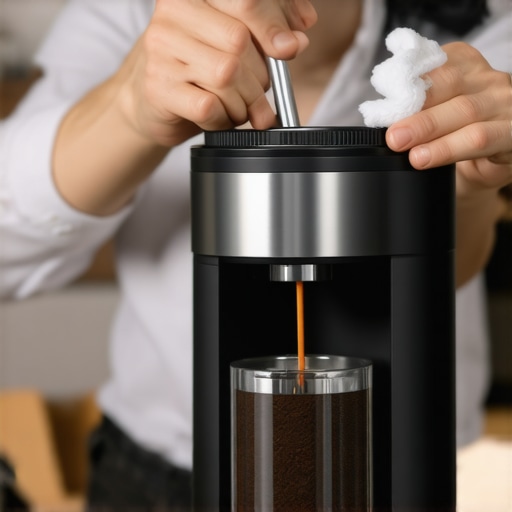
Start by turning off and unplugging your grinder to ensure safety. Remove the hopper and grounds catcher, then detach the burrs according to your machine’s manual. I once forgot to unplug my grinder and nearly tipped over the hopper—be cautious. Use a soft brush or cloth to wipe away loose debris, avoiding aggressive scrubbing that could harm delicate parts.
Clean the Burrs with Precision Tools
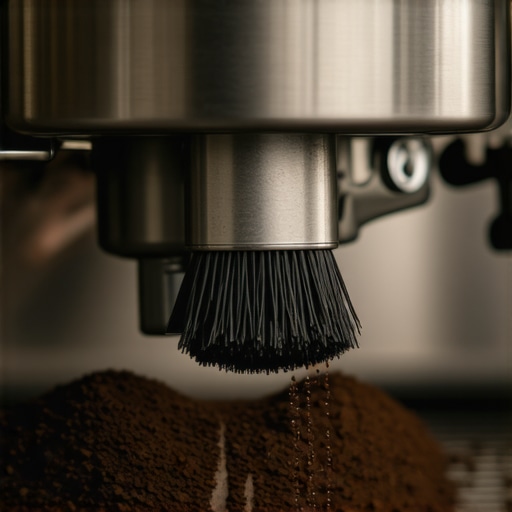
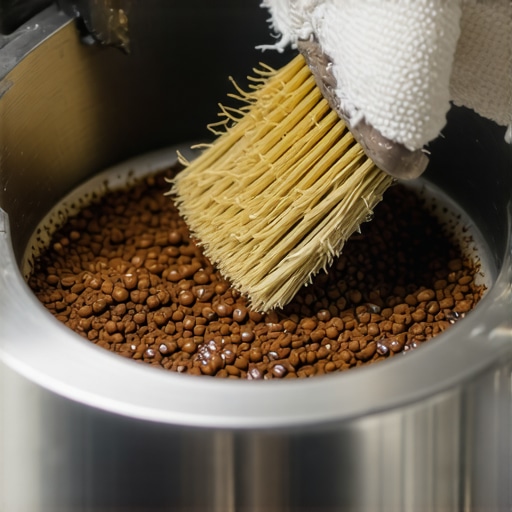
Utilize a dedicated grinder brush or a soft, natural-bristle toothbrush to gently clean the burrs. Do not use abrasive materials like rice or harsh chemicals, as they can scratch or dull the burr surface. For stubborn chaff buildup, a vacuum with a soft nozzle can help remove fine particles. I once used a small paintbrush, which effectively reached tricky edges without causing damage.
Use Compressed Air for Hard-to-Reach Areas
Hold a can of compressed air upright and blow away dust from the burr chambers and other crevices. Keep the nozzle at a safe distance to prevent propellant from entering your grinder. This step keeps internal components clean without invasive disassembly. Once, I sprayed too close and accidentally dislodged a small part—proceed carefully.
Reassemble with Proper Alignment
After cleaning, align the burrs precisely, ensuring they sit flush and parallel. Use the “chalk trick”—placing a piece of chalk between burrs before tightening—to ensure proper spacing, which enhances grind consistency. I’ve found that skipping this step results in uneven grounds, so take your time. Refer to your grinder’s manual or guides for exact torque specifications to avoid over-tightening.
Perform a Test Grind and Fine-Tune
Reinsert the burrs and reassemble your grinder. Run a few test shots or grind some beans into a trash container. Observe the consistency and adjust grind settings as needed. If you notice static buildup or uneven particle size, revisit the alignment and cleaning process. This practical step ensures your machine performs optimally and prolongs its lifespan. Don’t forget to check the calibration for perfect results.
When it comes to coffee equipment, many enthusiasts rely on simplified advice or popular myths that can hinder perfect brewing. A common misconception is that upgrading to an expensive grinder alone guarantees barista-quality espresso, but the nuance is often overlooked: grinder calibration and maintenance are equally vital. Failing to regularly tune your grinder can lead to inconsistent extraction, no matter how expensive your machine is. Moreover, many assume that starting with high-end gear is necessary, yet without proper technique and understanding, even top-tier equipment won’t reach its full potential. Advanced mistakes like misadjusted tamp pressure or neglecting group head cleaning can sabotage your efforts. Recognizing these subtle factors distinguishes casual brewers from expert home baristas. Studies by the Specialty Coffee Association emphasize that small, consistent adjustments have a greater impact than equipment alone. Have you ever fallen into this trap? Let me know in the comments. For comprehensive guidance on dialing in your setup, explore our home espresso mastery tips.Maintaining your espresso setup isn’t just about cleaning; it’s about investing in the right tools and adopting best practices that extend the lifespan and performance of your gear. Personally, I rely on a few specific tools that have revolutionized my routine. For instance, I swear by the 10-second flush technique using a specialized brush and compressed air, which effectively removes residual oil and debris without risking damage. This simple move keeps my group heads and boilers pristine and ensures the longevity of critical components.
How do I maintain my grinder and espresso machine over time?
Regular calibration is essential; I use the rubber band hack to keep my grinder dials from slipping, maintaining consistent grind size. For deeper cleaning, I incorporate a vacuum with soft nozzle to clear out fine chaff and dust from internal chambers, preventing buildup that could compromise flavor and machine health. When it’s time for detailed disassembly, I follow expert advice from the step-by-step gasket replacement guide, ensuring I don’t damage sensitive seals or components.
Looking ahead, I believe the trend will shift towards smarter, AI-driven maintenance alerts integrated directly into espresso machines, helping hobbyists and professionals alike stay ahead of wear and tear. As technology evolves, investing in versatile tools that adapt to these innovations will become more critical than ever.
To truly master your equipment, I highly recommend trying the pressure gauge calibration technique to spot potential clogs early and prevent costly repairs. Precise pressure management can make a notable difference in shot quality and machine durability. Start integrating these advanced tips into your routine today—it’s the difference between a good cup and a perfect one.
What I Didn’t Know About Grinder Burrs Until I Broke One
After years of troubleshooting inconsistent grinds, I finally realized that improper cleaning could dull my burrs and impair flavor extraction. Discovering this taught me the importance of gentle, dedicated cleaning tools over makeshift solutions like rice, which can scratch delicate surfaces. Protect your investment by understanding that burrs are precision tools—treat them with care and patience.
How I Learned to Trust the Perfectly Calibrated Machine Over My Eyes
Initially, I believed my taste buds alone could determine perfect calibration, but I was missing subtle pressure inconsistencies. Learning to use tools like pressure gauges and calibration guides transformed my brewing. My tip? Don’t hesitate to rely on reliable tools instead of guesswork—your espresso will thank you.
Why Small Adjustments Outperform Upgrades Every Time
It struck me that tiny tweaks to tamp pressure, grind size, and shot timing often yield better results than splurging on the latest machine. Embracing this mindset saved me money and improved my cups significantly. Remember, mastery comes from attention to detail—not just high-end gear.
When I Realized Quick Fixes Can Do More Harm Than Good
Using shortcuts like rice cleaning or aggressive brushing seemed efficient, but I quickly learned they can cause irreparable damage. Switching to proper methods, like using a soft brush or compressed air, prolonged my equipment’s lifespan. The lesson? Respect your tools and adopt proper maintenance routines for consistent quality.
Curated Recommendations to Elevate Your Home Barista Skills
- The Espresso School’s Guide to Perfect Shots: Offers detailed techniques for dialing in your grinder and extracting ideal espresso, trusted for its clarity and depth.
- My Personal Grinder Brush: A soft-bristled, dedicated brush that gently cleans burrs without scratching, ensuring longevity and optimal performance.
- Pressure Gauge and Calibration Kit: Helps me ensure my machine operates at the right pressure, directly impacting shot quality. I rely on this combo to achieve consistency every time.
- Compressed Air Canister: An essential tool for removing dust from hard-to-reach areas, preventing buildup without disassembly.
Your Turn to Elevate Coffee Craftsmanship
Remember, every great barista learns to treat their equipment with respect and patience. The real magic happens when precision and care become habitual. Keep experimenting, stay curious, and don’t hesitate to seek out reliable tools and guides to refine your skills. Your perfect espresso is just a few attentive tweaks away.
Have you ever overlooked the importance of proper grinder maintenance? Share your experiences below—I’d love to hear your story!
,