The Secret to Steaming Alternative Milks Without the Bubbles
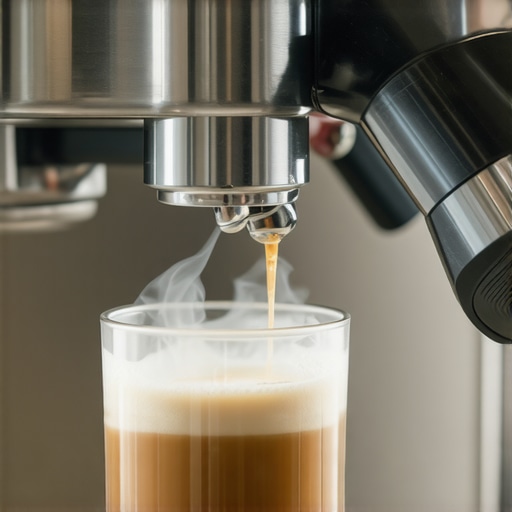
Yesterday morning, I nearly threw my milk pitcher across the kitchen counter. After finally brewing my dream espresso, I poured the milk—only to get a frothy mess full of giant bubbles instead of silky microfoam. It’s a familiar scene for many home baristas, and honestly, it can be quite deflating. That moment of frustration made me realize: the secret to steaming alternative milks without the bubbles isn’t just about fancy equipment—it’s about technique and understanding the nuances of milk behavior. I want to share what I’ve learned so you can skip the trial-and-error and achieve that smooth, velvety foam every time.
The Bubble Dilemma: Why Your Milk Froths Like a Soda
There’s nothing worse than waiting patiently through the steaming process, only to be greeted with a mess of foam full of large bubbles instead of the creamy microfoam that makes a latte art-worthy drink. When steaming plant-based milks or other alternatives, the challenge multiplies. Why do some milks produce gorgeous foam, and others turn into bubbly disaster? The answer lies in the way the milk is heated and aerated. A common mistake I made early on was steaming too aggressively or at the wrong temperature, which introduced excessive air and created those stubborn large bubbles. It’s a surprisingly delicate balance that requires understanding, patience, and a few simple tricks.
What’s Really Happening When You Steam Milk
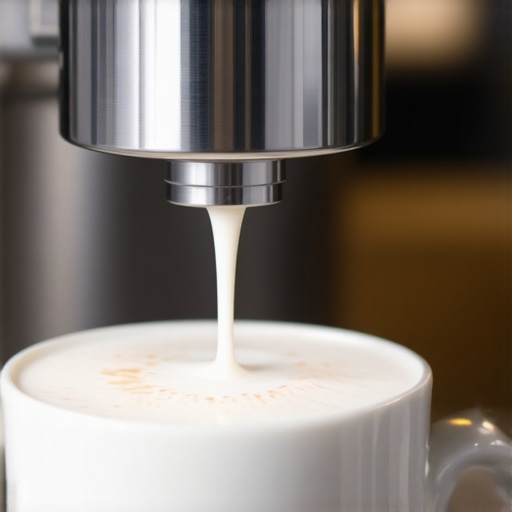
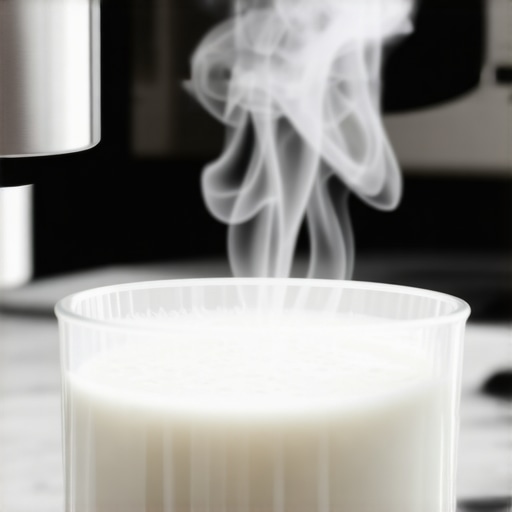
At its core, steaming milk involves introducing microbubbles—tiny air pockets that blend seamlessly into the liquid to create that smooth, creamy texture we love. But if too much air gets in too quickly, or if the temperature is off, those bubbles grow larger or burst, leaving behind a frothy, bubbly mess. According to food scientists, controlling the temperature and the way air is incorporated during steaming is crucial to achieve a bubble-free microfoam. This understanding finally clicked for me when I realized I was rushing the process and not paying attention to the milk’s temperature.
My breakthrough came when I adjusted my steaming technique, focusing on a gentle, steady motion and monitoring the temperature carefully—most importantly, avoiding overheating. Trust me, when you get this right, your milk transforms. If you’re tired of battling the bubbles and want that luscious microfoam to elevate your home espresso game, you’re in the right place. Ready to learn the secrets that will make steaming alternative milks easy and foolproof? Let’s dive into the practical steps that changed my espresso mornings forever.
Have you faced this frothing frustration with alternative milks or other types? Share your experience, and I’ll help you troubleshoot!
Start by setting your milk’s temperature target—ideally between 140°F to 150°F (60°C to 65°C). Use a milk thermometer to keep an eye instead of relying solely on feel. When I first attempted this, I was steaming right past 160°F, which caused the milk proteins to collapse and create large bubbles. Using a thermometer kept me steady and consistent, leading to smoother foam.
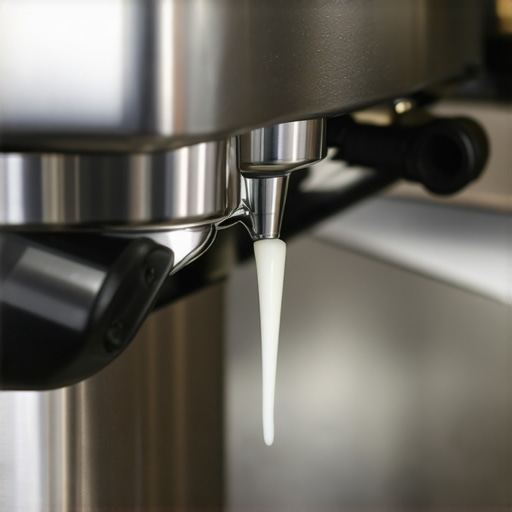
Insert your steam wand just below the milk surface at a slight angle, then turn on the steam with a gentle, circular motion—much like stirring a pot. Instead of plunging the wand deep or moving aggressively, keep it just beneath the surface to introduce microbubbles gradually. I remember once trying to rush this step; the milk overflowed with big bubbles because I defaulted to quick movements. Practicing slow, controlled motions made a huge difference.
Most steamer wands have a small valve that regulates airflow. Open it slightly—just enough to create tiny bubbles without over-aerating. When I first experimented, I opened it fully, resulting in an explosion of foam. Now, I open it incrementally, observing the change in foam texture, leading to a creamy microfoam instead of foam with large bubbles.
Almond, soy, oat, or other alternative milks each respond differently. For example, oat milk tends to froth more easily, while almond milk can be stubborn. I learned to modify my approach: softer steam for creamy oat milk, a slightly higher temperature for soy, and avoiding overheating almond milk. Check out this guide for more tips on managing steam pressure, especially when dealing with alternative milks.
Begin by steaming just half a cup of milk until you master the process. I did this during my early trials, resulting in less waste and more focus on refining my technique. The goal is to reach that perfect, silky microfoam without large bubbles. Over time, this practice built my confidence and consistency.
Don’t rush the process. Watch how the milk’s surface changes, listen for the hissing sound, and keep an eye on the temperature. When I first slowed down and paid attention, I saw that the milk starts to foam smoothly just before overheating or introducing too much air. This awareness helps you intervene before a mess occurs and leads to perfect microfoam every time.
Many enthusiasts believe that investing in high-end espresso machines automatically guarantees perfect shots. However, even top-tier equipment can underperform if used improperly or misunderstood. One prevalent misconception is that more expensive grinders always produce superior espresso. While quality grinders are crucial, they require proper calibration and understanding of burr types; a cheap burr grinder can sometimes outperform an expensive one if cleaned and maintained correctly. Furthermore, the myth that pressure gauges tell the full story is widespread—most home machines rely on visual cues and taste rather than just pressure readings. According to barista expert James Hoffmann, “Machine settings are just a part of the equation; extraction technique and grinder consistency are equally vital” (source).
Why Do Many Home Baristas Fail to Harness Their Gear’s True Potential?
The biggest mistake is overlooking the nuanced interplay between temperature, tamping, and grind size. For instance, some assume that pressing harder during tamping yields better extraction, but excessive pressure can restrict water flow, leading to under-extracted, bitter espresso. One often-ignored factor is small variability in grind distribution—clumping or uneven tamping can cause uneven extraction, resulting in inconsistent flavor and channeling. Recognizing these subtleties separates the casual hobbyist from the dedicated home barista. Also, many neglect routine maintenance like backflushing or replacing worn seals, leading to pressure drops or inconsistent brewing. These overlooked details form the crux of mastering home espresso—it’s not solely about the equipment but understanding how to optimize every element. Going beyond the basics might involve exploring advanced tamping techniques, such as using a leveler or WDT tools, to ensure uniformity (more info here).
Is There a Hidden Advantage to Using a Nano-Granular Burr Set?
Absolutely. Many seasoned baristas swear by precision burrs that produce ultra-fine grind adjustments, but recent research indicates that nano-precision burrs can improve consistency and extraction even further (see how). The nuanced difference lies in the ability to dial in grind size with fractions of a micron, which helps prevent over- or under-extraction. This kind of control is especially beneficial when brewing light roasts or blends with complex profiles. Keep in mind, though, that such advanced burrs often demand meticulous cleaning, calibration, and sometimes, more frequent maintenance to deliver optimal results. For those willing to dig deeper, integrating a high-quality burr set with precise grinding and consistent dosing can elevate your home espresso experience to professional levels.
Maintaining your home espresso gear is crucial for consistent, high-quality coffee every morning. From precise grinders to reliable milk frothers, investing in the right tools and understanding maintenance routines can significantly extend the lifespan of your equipment and elevate your brewing experience.
Invest in Quality Barista Equipment
Starting with a dependable grinder is fundamental. I personally use the Baratza Virtuoso+ because of its micro-adjustments, which allow me to dial in grind size for different beans effortlessly. A high-quality grinder ensures uniform particle size, leading to even extraction and better flavor. When selecting your grinder, prioritize models with flat burrs for consistency, and consider digital dose controls to streamline your workflow.
For espresso machines, I lean towards the top-rated models in 2025 that offer precise temperature control and durable build quality. Regular calibration is key—learn how to adjust the boiler pressure and check seals periodically. Staying updated with manufacturer firmware can also fix bugs and improve stability, much like software updates for your smartphone.
Master Your Milk Frothing Setup
The right tool for smooth microfoam is non-negotiable. My go-to milk frother is the Breville Milk Cafe because it offers adjustable temperature and steam control, making it easier to get consistent texture with plant-based milks. Regularly descale and clean your frother’s steam wand to prevent clogs and bacterial buildup. Using a dedicated brush, I clear the tip after each use to ensure optimal performance and hygiene.
Routine Maintenance to Keep Gear Running Strong
Consistent maintenance extends device longevity, saving you money and frustration. I recommend scheduling monthly deep-cleaning sessions. For grinders, use the cleaning brush and grinder cleaner to remove coffee oils and residue that siliconize burrs and motor parts. Espresso machines benefit from descaling every 3-6 months, depending on water hardness. The descaling process is straightforward if you follow specific procedures—neglecting this can cause pressure drops and flavor degradation over time.
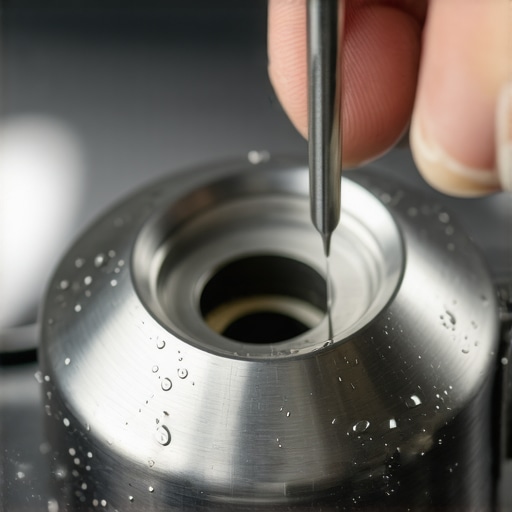
Replacing worn seals and gaskets, such as the group head gasket, ensures optimal pressure during extraction. Clean your steam wand weekly with a pin to clear blockages and prevent milk leaks. I also recommend keeping a journal of maintenance tasks to track what has been done and schedule upcoming care sessions.
How do I maintain my espresso setup over time?
Adopt a routine of cleaning and calibration—daily rinses, weekly backflushing, and monthly descaling—depending on usage. Leveraging software tools like specialized calibration apps can help fine-tune your machine’s parameters for perfect pulls. Remember, a well-maintained setup not only produces better coffee but also prevents costly repairs down the line. As barista community forums often stress, systematic upkeep is the key to long-term brewing success.
Finally, try implementing the 10-second flush trick after each shot, which prevents channeling and build-up, or explore the cotton swab method for cleaning hard-to-reach grinder parts. Consistent care will keep your gear operating flawlessly and your coffee tasting exceptional for years to come. Happy brewing!”} }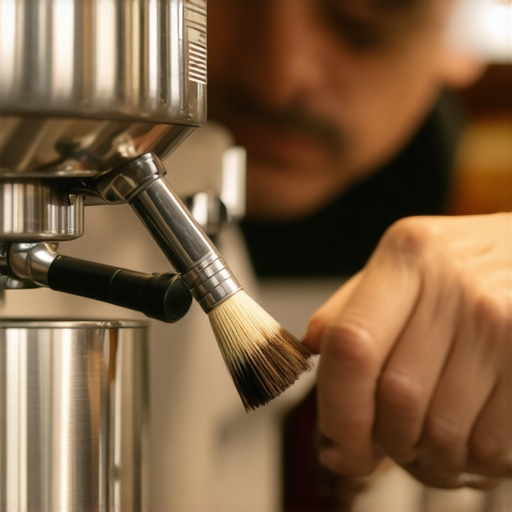 }
}
Looking back, one of the most profound insights I’ve gained is that even the best equipment can’t compensate for technique. The subtle art of steaming milk requires mindfulness and precision, not just fancy gadgets. This realization transformed my approach and led to consistently creamy microfoam. It’s a reminder that the smallest details—temperature, motion, and patience—make all the difference. Embracing this has elevated my home espresso routine from sporadic success to trusted mastery.
What Most Gave Me a Lightbulb Moment About Barista Gear
I used to think that investing in high-end espresso machines guaranteed perfect shots. But I learned that understanding how each component interacts—like pressure, grind size, and tamping—was far more impactful. The real game-changer was discovering that routine maintenance and calibration are essential to unlocking my gear’s full potential. The lesson? Invest wisely, but equally important, learn to listen and adapt to your machine’s quirks.
Unseen Tactics That Elevated My Coffee Game
One secret I wish I’d discovered sooner is the importance of small adjustments. Whether it’s tweaking your grind or controlling the airflow when frothing, these tiny changes can drastically reduce issues like large bubbles or uneven extraction. Practicing patience and observation—like watching the milk surface or listening to the steam—has been my shortcut to consistent excellence. Mastering these nuances means fewer surprises and more satisfaction with every cup.
Where to Elevate Your Home Barista Skills
Beyond equipment, I found that expanding my knowledge base fuels continuous improvement. The resources on choosing the right gear have been instrumental. Additionally, exploring detailed guides on grind calibration and comparing machines has helped me refine every step. These tools are not just purchases—they’re pathways to mastery.
Believe in Your Journey, One Espresso Shot at a Time
Achieving perfect microfoam and espresso quality isn’t about reaching perfection overnight. It’s about trusting the process, staying curious, and celebrating small wins along the way. Every mistake, like over-aerated milk or uneven tamping, is a stepping stone. Keep learning, experimenting, and refining your technique. Your home espresso experience will flourish when you combine the right tools with genuine passion. Now, tell me—what’s the next step you’re excited to try in your brewing adventure? Comment below and let’s chat about it!