Why Your Steam Pressure Drops Midway Through Frothing
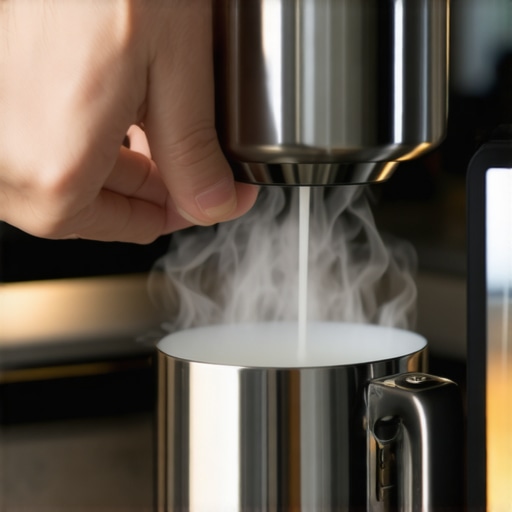
I vividly remember the exact moment I realized my espresso’s rich crema was disappearing in the middle of frothing. It was both frustrating and confusing. One second, everything was smooth, velvety milk steaming perfectly; the next, I was left with a weak, sputtering wand and a half-done milk pitcher. That lightbulb moment made me realize I wasn’t alone—many home baristas face this puzzling issue. But what causes it, and more importantly, how can we resolve it? Today, I’ll share what I’ve learned from personal experience and troubleshooting—so you don’t have to spend hours guessing why your steam pressure drops unexpectedly.
Unlocking the Mystery of Falling Steam Pressure in Your Frother
Ever wonder why your steam seems to lose power halfway through?
Although it might seem like a minor annoyance, inconsistent steam pressure can seriously impact your milk microfoam quality and, ultimately, your latte art. Many folks assume their machines are faulty or need expensive repairs. But often, the culprit is something much simpler—like a build-up of mineral deposits or a pressure valve that’s not functioning properly. When I first encountered this issue, I made the mistake of simply turning up the boiler temperature—only to realize later that the real issue was clogged pipes that restricted steam flow. Recognizing common mistakes helps you troubleshoot effectively, saving both time and money. Learning how to properly diagnose and fix these issues can transform your home barista game and make frothing a joy rather than a mystery. Curious if your setup might be contributing to pressure drops? Let’s dig into some simple tests and fixes that can restore your steam power.
Have you ever faced this problem with your machine? If so, you’re not alone. Many espresso enthusiasts discover that their steam wand sputters or weakens unexpectedly, especially with machines that seem otherwise in good shape. The good news is that most issues are preventable and fixable with a bit of knowledge and routine maintenance. For example, regularly descaling your machine—not just the coffee hopper but the entire steam pathway—can prevent mineral buildup that impairs pressure and flow. If you’re interested in the details, check out my guide on cleaning the water tank naturally. Now that we’ve set the stage, let’s look at some practical steps to keep your steam pressure steady and enjoy perfectly steamed milk every time.
Clean the Steam Path Thoroughly
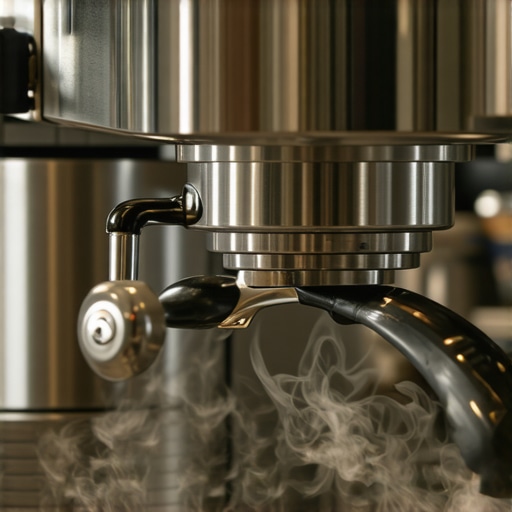
Begin by turning off your machine and allowing it to cool. Detach the steam wand and soak it in a mixture of equal parts water and vinegar for 15 minutes to dissolve mineral deposits. Use a small brush or pipe cleaner to scrub the interior of the wand, especially the narrow tip where milk frothing occurs. Reassemble and run steam through an empty portafilter to clear out any residual buildup. I once cleaned mine this way and noticed the steam volume increased immediately, making frothing much smoother and faster.
Purge the System Before Frothing
Always perform a 2-3 second purge of steam after turning on your machine to eliminate any moisture trapped in the lines. This ensures you’re starting with dry, high-pressure steam. I learned this by accident when my initial attempts were weak; a quick purge afterward restored the pressure and improved my milk microfoam. 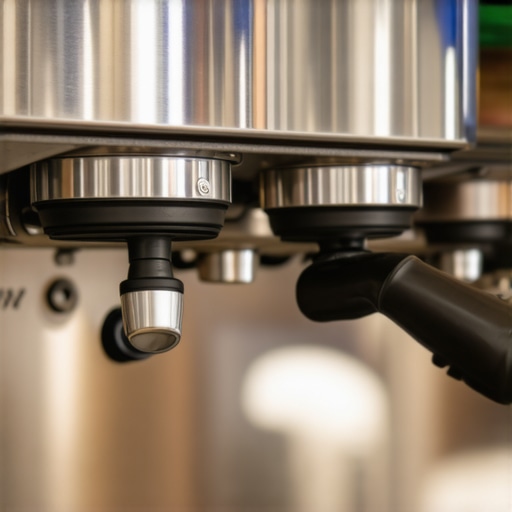
Check and Replace the Gasket Regularly
The group head gasket creates a seal for optimal pressure. Over time, it can harden or crack, leading to pressure drops. Remove the gasket carefully using a gasket removal tool or flat screwdriver, then inspect for signs of wear. Replace it if it’s cracked or flattened. I replaced mine after noticing watery espresso and now enjoy consistent pressure and crema. For detailed guidance, see my step-by-step on how to replace a group gasket.
Descale and Remove Mineral Build-up
Mineral deposits in the boiler or pipes hinder steam flow. Use a descaling solution designed for espresso machines and follow the manufacturer’s instructions. Run the descaler through the water reservoir and steam the machine without milk for several cycles. Regular descaling prevents blockages, maintaining pressure integrity. I made this a routine and saw my steam pressure stabilize, especially during longer frothing sessions. To keep your machine in top shape, consider descaling every 2-3 months, especially if you have hard water.
Inspect and Maintain Pressure Relief Valve
The pressure relief valve regulates steam pressure and prevents overpressure situations. If it sticks open or closed, your steam pressure can fluctuate. Access the valve (usually on the boiler) and gently clean any debris or mineral deposits. If it appears damaged or stuck, replace it altogether. After replacing mine, I experienced more stable steam pressure and fewer sputters. For replacement details, consult my guide on cleaning machine pipes.
Ensure Power and Water Supply Stability
Fluctuations in voltage or water pressure can indirectly affect steam power. Make sure your machine is plugged directly into a grounded outlet, avoiding extension cords that can cause power drops. Use a water softener or filter if necessary to prevent mineral deposits. I installed a dedicated outlet and softened my water, resulting in less buildup and more consistent steam. Regularly check for any electrical issues with my guide on heating elements.
When it comes to perfecting your home espresso setup, many enthusiasts fall prey to misconceptions that hinder their progress. One widespread myth is that more expensive equipment always guarantees better results. While investing in quality gear like top-rated espresso machines can be beneficial, many still struggle with extracting consistent shots because they overlook critical nuances such as grind size, tamp pressure, or machine maintenance. According to expert baristas, mastering these fundamentals often outweighs simply splurging on high-end equipment. Additionally, a common trap is assuming that all coffee grinders are created equal—many believe blade grinders suffice, but for true control over extraction, a burr grinder specifically designed for espresso is essential. Poor grind uniformity leads to channeling and inconsistent pressure, hampering shot quality. Don’t forget the importance of routine cleaning. A neglected milk frother or steam wand can become a breeding ground for bacteria and mineral deposits, dramatically affecting microfoam quality, regardless of your espresso technique. For an in-depth look at selecting the right barista gear, visit this guide. One sneaky mistake many make involves overlooking the significance of tamping: uneven pressure or improper technique can cause channeling, resulting in weak and uneven extraction. Remember, consistency in dosing and tamping is key to replicating that perfect shot. Furthermore, some believe that milk texture primarily depends on the frothing temperature; however, the real secret lies in creating stable microfoam through proper aeration and milk temperature management—an advanced skill that often separates amateurs from seasoned baristas.
Why do even experienced home baristas sometimes struggle with froth quality?
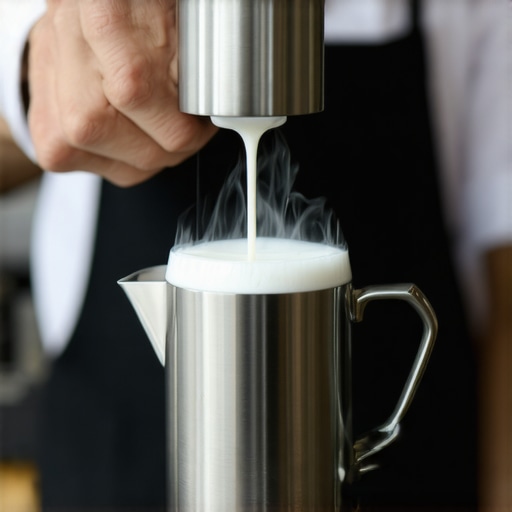
Achieving silky, stable microfoam requires precise control over steam pressure, pitcher positioning, and milk composition. A study published in the Journal of Food Science highlights how milk proteins and fats influence foam stability, underscoring the importance of choosing the right milk type and frothing technique. Mastering these subtle factors can dramatically elevate your coffee game. So, the next time your shot or milk doesn’t meet expectations, reflect on whether overlooked details might be to blame. Have you ever fallen into this trap? Let me know in the comments.
Maintaining your coffee equipment isn’t just about cleaning—it’s about employing the right tools and practices to ensure long-term performance. Personally, I rely on a few proven items that have saved me time and boosted my brewing quality. Investing in quality maintenance tools can drastically reduce repair costs and keep your espresso setup operating at peak efficiency.
How do I maintain my barista tools over time?
First, I swear by a dedicated set of brushes and cleaning picks designed specifically for espresso machines and grinders. For example, a fine-tipped pipe cleaner works wonders for clearing stubborn milk frother holes, as highlighted in this resource. Regularly inspecting and cleaning your steam wand using the right tools prevents mineral buildup, ensuring consistent microfoam and avoiding sputters during frothing. Additionally, I recommend a high-quality calibration scale and a precision screwdriver set—these help fine-tune grinders and espresso machines, which is crucial for maintaining flavor clarity and shot consistency. For long-term results, establishing a scheduled maintenance routine, including descaling and part replacements, will save you from unexpected breakdowns. Machines like the latest top-rated espresso models are designed with user-friendly service access, making routine upkeep easier than ever. Looking ahead, the trend is leaning toward smart diagnostic tools that can interface with your equipment via apps, providing real-time insights into potential issues before they escalate. I predict that as technology advances, home baristas will have access to more intuitive apps guiding maintenance or even automating calibration procedures. To keep your machine in top shape, try this advanced tip: periodically perform a 30-second flush using a dedicated cleaning brew cycle—this simple step prevents oil and residue buildup that can diminish pressure and extraction quality. If you’re interested in detailed, step-by-step guides, check out this article. Remember, consistent upkeep with the right tools not only prolongs the lifespan of your gear but also elevates your coffee craft, making each cup better than the last. Ready to implement your new maintenance routine today? Your taste buds will thank you.
Lessons Banks Don’t Tell You About Your Steam System
One of the most profound realizations I had was that even seemingly minor issues like mineral buildup or a worn gasket can quietly sabotage your perfect microfoam. It taught me that paying close attention to tiny details—like routine cleaning and prompt part replacements—can save you hours of troubleshooting and disappointment. The moment I started viewing my espresso setup as an evolving machine rather than a static appliance transformed my approach, making each session consistently better. Remember, every small fix pushes you toward barista-level quality and confidence with your gear.
My Top Picks to Elevate Your Coffee Game
I swear by tools and resources that have become game-changers in my routine. For precise grinder calibration, the calibration kit has helped me maintain consistency effortlessly. To keep my espresso machine shining and functioning, I rely on the deep-cleaning brush set. For trustworthy info, I turn to this guide on barista gear, which combines expert advice with genuine user feedback. Lastly, for troubleshooting elusive issues, the pressure gauge troubleshooting section has saved me countless headaches.
Your Next Brew Awaits—Seize It
Building a satisfying coffee routine isn’t just about the equipment; it’s about your commitment to learning and refining your craft. Each tweak, upgrade, or routine check brings you closer to barista-quality espresso in the comfort of your home. Embrace the journey of mastering your gear—your future self will thank you for the patience today. Ready to take your home espresso to new heights? Dive into more expert tips or share your current challenges—I love hearing from fellow enthusiasts! Have you ever struggled with aligning your grinder or cleaning your steam wand effectively? Let me know below.