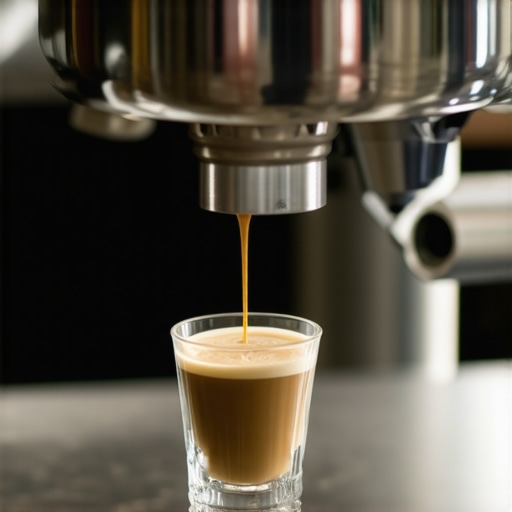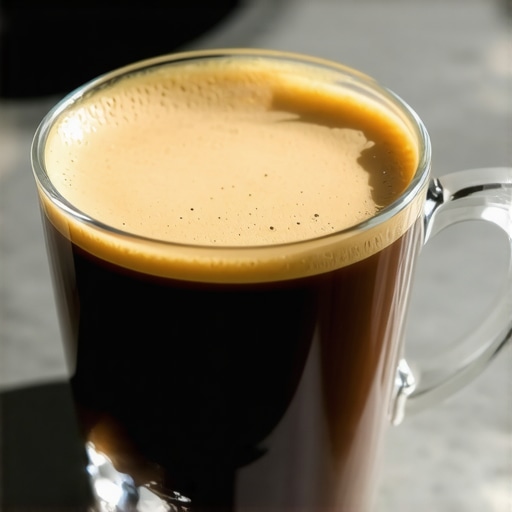
Why your espresso shot is blonde from the very start
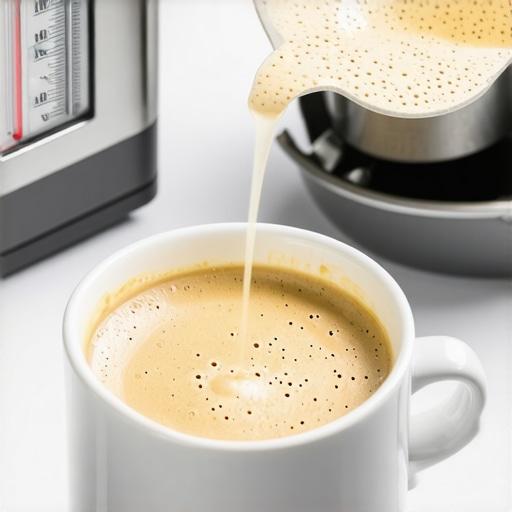
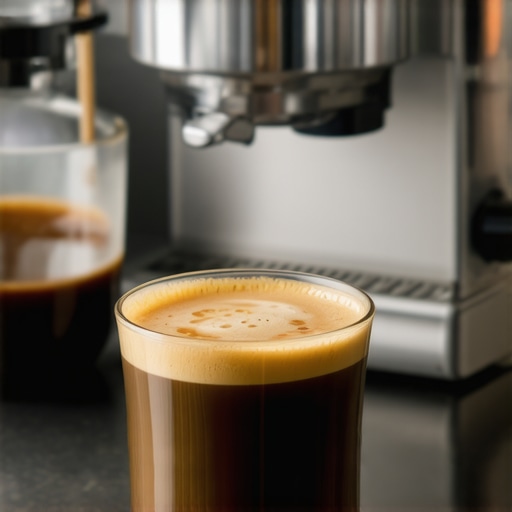
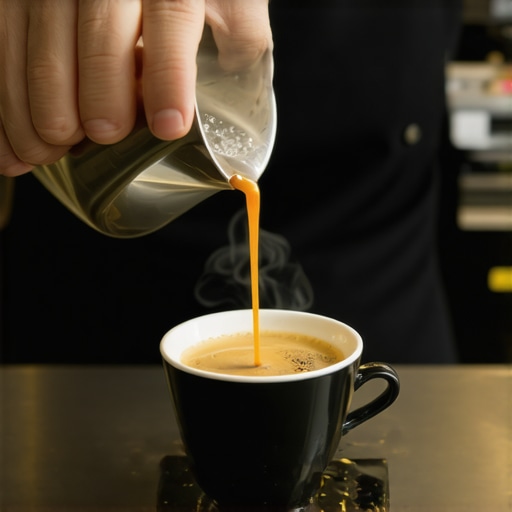
It happened again—another morning, another shot of disappointing espresso that looked more like a pale latte than rich, velvety coffee. I remember the sinking feeling in my stomach when I saw it. After all the effort I put into my home setup—my gleaming espresso machine, freshly ground beans, and perfectly steamed milk—my shot was a shade of blonde from the very first drop.
That light, washed-out appearance was more than just a visual letdown; it signaled that something was off, even if I couldn’t quite put my finger on it at first. Have you ever experienced this? That frustrating moment when your espresso is clearly under-extracted right from the start? Well, I want to share what I discovered through plenty of trial, error, and a fair share of messes in my kitchen.
The Hidden Clues Inside Your Machine and Technique
If your espresso shot starts blonde and stays that way, you’re likely facing one or more common issues that many home baristas overlook. Early in my coffee journey, I made a crucial mistake: I assumed I just needed to dial up the grind size, but the real problem lay elsewhere. I found out that factors like tamp pressure, water temperature, and machine maintenance play pivotal roles. For instance, even a tiny variance in water temperature can cause uneven extraction, leading to that unappealing pale stream.
Investing in the right tools and adjustments can sometimes seem daunting, but trust me, the difference is astonishing. For a comprehensive guide on mastering these adjustments, I recommend checking out [this resource](https://espressotechguide.com/mastering-the-art-of-home-espresso-tips-for-beginners). The key is understanding that your espresso machine is a complex system; a small tweak in one area can dramatically improve your shot’s color and flavor.
And here’s a fun fact: studies have shown that extraction temperature significantly impacts espresso quality, with even a 2°C difference resulting in a noticeably lighter or darker shot. That’s why ensuring your machine heats properly and maintains that temperature is crucial.
Do you often find yourself frustrated because your espresso doesn’t look or taste right from the first drop? You’re not alone, and there’s a lot we can uncover together. Up next, we’ll explore specific strategies to get that rich, golden crema and avoid those underwhelming blond shots that seem to happen out of nowhere.
Dial in Your Grind Size Correctly
Start by adjusting your grinder while watching your espresso flow. A micro-story: I initially guessed my grind was fine, but my shot remained pale. I turned the grind slightly finer, and within a few pulls, I saw a richer color with a steady, golden stream. Use a high-quality grinder such as those recommended in this guide to achieve consistent particle size. Remember, finer grounds increase resistance, slowing water flow and improving extraction.
Perfect Your Tamp Pressure
Apply consistent tamp pressure—about 30 pounds—using a tamper that fits your portafilter. I once used a heavy-handed approach and compacted too much, causing water to bypass the puck and resulting in a pale shot. Practice with a bathroom scale to develop a tactile sense of uniform pressure. Check out this resource for tips on preventing leaks caused by uneven tamping. An even tamp ensures uniform resistance and extraction, leading to a golden, caramel-colored crema.
Maintain and Calibrate Your Machine
Ensuring your espresso machine heats correctly is crucial. Sometimes, a clock-like melody from your boiler or a temperature gauge reading can be deceiving. I once experienced unexpectedly blond shots after neglecting descaling, which clogged the boiler’s flow. Regularly run descaling solutions and check water hardness levels using insights from this guide. Additionally, verify that your machine reaches and maintains the optimal temperature (around 93–96°C). Use a thermocouple for precise readings, avoiding the pitfalls outlined in this article.
Time Your Extraction for Optimal Results
Extraction time influences shot color; aim for 25–30 seconds. I used to rush, leading to under-extraction and a blonde appearance. Installing a timer or stopwatch helps maintain consistency. When I adjusted my shot to hit that timeline, I noticed a significant improvement in color and flavor. If your shot is too fast, consider finer grinding or increased tamp pressure; too slow, and you’ll need to coarsen your grind. Experimenting methodically produces the best results and avoids wastage.
Leverage Resources and Tools
Utilize online guides like this beginner-friendly resource for detailed troubleshooting and calibration tips. Incorporate tools such as a pressure gauge or a dedicated shot timer—these investments drastically improve consistency. Remember, each adjustment should be incremental; a small change can amplify your shot quality. If you’re struggling with consistent results, don’t hesitate to seek expert advice through this contact page.
When it comes to crafting the perfect espresso at home, many enthusiasts fall prey to misconceptions about equipment that can hinder their progress. A common myth is that investing in the most expensive gear guarantees stellar results. In reality, understanding the nuances behind barista tools, like grinders, espresso machines, and milk frothers, is what truly sets seasoned home baristas apart. One pervasive mistake is dismissing the importance of properly calibrated grinders. Many assume that a high-end grinder alone ensures perfect extraction, but without adjusting grind size for specific beans or brew methods, you’re likely to face uneven shots or dull colors, as discussed in this guide. Another often-overlooked aspect is the misconception that all milk frothers produce silky microfoam effortlessly. In truth, many small devices struggle with consistency or produce overly dry foam, especially if the frothing techniques aren’t tailored to the machine’s capabilities. For advanced users, understanding the aeration limits and adjusting jug angle or temperature is key. Additionally, many home baristas believe that any espresso machine will perform well with little maintenance, but the reality is that occasional descaling, calibration, and component checks are vital. Neglecting these details can cause subtle issues like uneven temperature stability or flow inconsistency, leading to bland or insipid shots. Have you ever fallen into this trap? Let me know in the comments.
Are High-End Machines Truly Worth It If You Skip the Maintenance?
Research indicates that even the best espresso machines can underperform if neglected. A study published in the Journal of Coffee Science emphasizes that regular calibration and descale routines significantly impact shot quality, often more than the machine’s initial price. So, rather than chasing the latest model, focusing on proper maintenance and understanding your gear’s nuances yields superior results. Remember, comprehensive knowledge about your equipment’s quirks and capabilities helps you troubleshoot issues before they become frustrations. For detailed troubleshooting advice, check out this contact page. Let’s elevate the home coffee experience by mastering the subtleties most overlook.Maintaining your home espresso setup is crucial for consistently excellent shots and long-term enjoyment. One of my favorite tools for this is a high-quality **coffee grinder** like the Baratza Sette 270Wi, which I chose because of its precise micro-adjustments and consistent grind size, essential for dialing in perfect extraction. Regular calibration of your grinder ensures that your grind size remains optimal over time, preventing dull or uneven shots. I perform this calibration every few months using the ‘Chalk Test,’ which helps verify the burrs are aligned correctly and still producing uniform particles. For detailed calibration methods, check out this guide.
The Biggest Oops That Taught Me to Never Overlook Calibration
One of my most eye-opening lessons was realizing that even the priciest espresso machine won’t deliver perfect shots if it’s not properly calibrated. Ignoring regular calibration led to inconsistent temperatures and pale shots, teaching me that maintenance and fine-tuning are as vital as pouring the shot itself. Don’t assume your gear is set and forget—regular calibration using tools like a thermocouple guarantees that each shot is as vibrant as it should be.
The Power of Mindful Tamping Beyond Just Pressure
I discovered that tamp pressure isn’t just about the number—it’s about consistency and technique. Applying tamp pressure by feel and ensuring uniformity across pulls transformed my shots from underextracted pale streams to rich, caramel hues. Remember, small adjustments and a steady hand make a huge difference, and practicing with a scale or tamper guide can elevate your tamping game.
Don’t Chase the Carrots—Focus on Small Wins Regularly
I used to get distracted by chasing the perfect shot right away, but I’ve learned that celebrating incremental improvements—like slightly darker crema or more balanced flavor—keeps motivation high. Patience with each tweak—grind size, tamping, timing—builds up to that elusive perfect espresso, and trust me, the journey beats the destination when it comes to home barista mastery.
Mastering Your Equipment’s Quirks Is What Separates Amateurs from Pros
Every espresso setup has its quirks—be it a slightly inconsistent steam wand or a burr that needs re-aligning. Taking the time to understand and adapt to these nuances, rather than fighting them, keeps your workflow smooth and your shots consistent. For example, I learned that descaling more often than suggested improved temperature stability, leading to better, more reliable shots. Dive into dedicated guides and don’t hesitate to reach out—your equipment is an ally, not an obstacle.
Curated Recommendations for Your Coffee Confidence
To keep my setup in top shape, I swear by tools like grinder calibration kits, which ensure my grind is perfect every time. I also trust the insightful articles on this site for troubleshooting, and the high-quality coffee beans from local roasters that keep flavor profiles consistent. These resources have been game-changers, transforming my home espresso experience from experimentation to artistry.
Your Turn to Elevate Your Espresso Craft
Remember, the magic of great espresso isn’t just in the machine but in understanding and respecting its quirks through patience and learning. Every shot teaches us something new, so embrace the process and keep experimenting. With the right mindset and resources, you’ll find your unique rhythm in creating stunning, flavorful shots at home. Are you ready to refine your technique and trust your gear? Share your biggest lessons or questions below—let’s learn together!