How to Fix a Steam Wand That Only Blows Out Weak Air
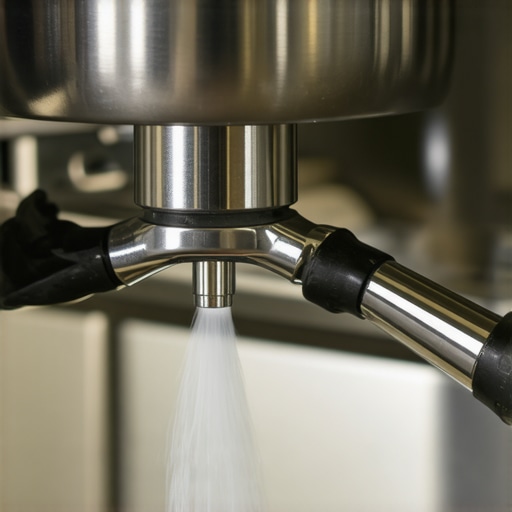
I stood in my kitchen at 6:45 AM, eyes half-closed, waiting for that glorious, metallic hiss. I turned the knob on my machine, expecting a jet of dry steam capable of spinning milk into glossy white silk. Instead, I got a sad, wet wheeze. It was the espresso equivalent of a flat tire on a rainy Monday. If you are currently staring at a wand that barely has enough power to ripple the surface of your milk jug, I know exactly that sinking feeling in your gut. You start wondering if you need to shell out for high-end espresso machines or if your current gear has finally given up the ghost. But before you panic and start browsing for replacements, let me tell you something: I’ve been there, and it’s almost always a fixable nuisance rather than a fatal flaw.
The Day I Almost Ruined My Sanity with a Sewing Needle
Years ago, when I was first mastering the art of home espresso, I made a massive mistake that I still cringe about. I noticed the steam pressure dropping and, instead of looking for the root cause, I grabbed a thick sewing needle. I thought I was being clever by reaming out the holes. All I did was scratch the chrome finish and jam a piece of calcified milk protein deeper into the assembly, making the blockage permanent. It was a total disaster. I eventually learned that weak air is rarely a sign of a broken boiler; it is usually a cry for help from a neglected maintenance routine or a simple vacuum seal issue. Today, I am going to show you how to diagnose if your wand is truly failing or if it just needs a little tough love.
Is my machine actually broken or just being stubborn?
I get it. You think the heating element is toasted and you are looking at a $400 repair bill. But the truth is, most “weak” steam issues are just mechanical blockages or pressure-stat settings that have drifted over time. According to research by the Specialty Coffee Association, consistent steam pressure requires a delicate balance of boiler temperature and clean exit points; even a tiny 10% reduction in hole diameter can lead to a massive drop in the velocity needed for microfoam. We are going to tackle everything from the habits that prevent clogs to checking if your pressure is cutting out prematurely. Have you ever turned your steam knob only to have it spit more water than air? It’s frustrating, isn’t it?
Why Air Flow Is Not the Same as Steam Pressure
If you’ve spent any time choosing the best barista gear, you know that pressure is king. But there is a huge difference between “air is coming out” and “steam is projecting.” When your wand only blows weak air, it often means the boiler isn’t recovering fast enough or the tip is partially obstructed by what I call “milk concrete.” If you have ever wondered why your wand makes huge bubbles instead of that wet-paint texture, the lack of exit velocity is your primary culprit. I remember thinking my machine was a lemon until I realized the vacuum breaker valve was stuck—a tiny, five-dollar part causing a massive morning headache. Let’s get your power back so you can stop settling for flat lattes.
Clear the Path Before You Blame the Boiler
Most people assume the boiler has died when steam gets weak, but steam is a lot like water in a showerhead; if the holes are blocked, the pressure builds up behind the obstruction but never makes it to your milk. I remember one Tuesday morning I was so frustrated with my Breville that I almost threw it in the trash. The wand was just sighing like a tired athlete. I finally unscrewed the tip and found a solid, white plug of dried milk that had calcified into something resembling plastic. It wasn’t a broken heater; it was just a dirty tip. 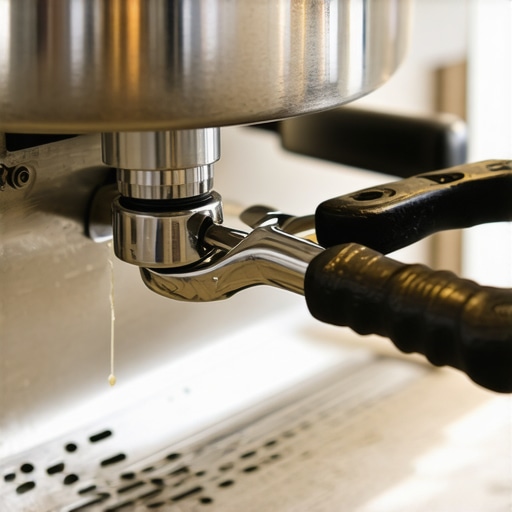
Soak the Tip Instead of Prodding It
Instead of grabbing a needle like I did in my early days, the best move is to let chemistry do the work. Fill a small pitcher with hot water and a dedicated milk cleaner or even a bit of specialized solution. Submerge the wand tip and let it sit for twenty minutes. This softens the milk concrete that the 2-minute habit that prevents clogged steam wands usually stops from forming. If why your steam tip holes keep clogging every single day is a mystery to you, it is often because you aren’t purging the wand immediately after every use, allowing milk to be sucked back into the holes as the metal cools and creates a vacuum.
Flush the System to Push Out the Gunk
Once the tip is soaking, turn the steam knob or flip the switch for just a second. You want to see a clear, forceful blast of steam. If the air coming out of the bare pipe without the tip is strong, then you know the problem was just the tip. If the air is still weak even with the tip removed, you are likely dealing with a scale issue inside the boiler or a failing pressure-stat. You should check how to tell if your machine boiler is accumulating lime scale before you start tearing the machine apart. Scaling acts like insulation, making the machine work twice as hard to reach the same temperature, which directly kills your steam volume.
Watch for Pressure Dropouts After 10 Seconds
Does your machine start strong and then suddenly lose its breath? This is a classic symptom of a vacuum breaker valve that is stuck open. Steam is leaking out into the machine casing rather than waiting for you to open the wand. If why your steam wand pressure cuts out after 10 seconds is a question you find yourself asking, listen for a persistent hissing sound coming from inside the machine while it is heating up. That hiss is your pressure escaping into the room. If you find your machine is also struggling with basic functions or you need to learn how to fix a milk frother that wont spin, it might be time for a deep descale. Use the best way to descale a boiler without using harsh vinegar to clear out the mineral buildup without ruining the taste of your next shot.
Master the Purge to Regain Control
Sometimes the weak air isn’t air at all; it is just water that has condensed in the wand pipe. If you do not purge properly, that first blast of water kills the temperature of your milk and adds weight without texture. This is often the reason your steam wand is making huge bubbles only because the water is splashing rather than aerating. Always purge until you see dry steam before you dunk the wand into the pitcher. This is especially vital when the secret to steaming alternative milks without the bubbles is what you are after, as oat and almond milks are even more sensitive to temperature fluctuations caused by excess water.Many home baristas believe that more pressure equals better foam, but that is a dangerous oversimplification. In reality, too much raw pressure on a small-diameter steam tip often creates a hurricane effect in the pitcher, making it impossible to integrate microfoam before the milk hits its 140°F limit. This is one of the biggest myths in choosing the best barista gear; we prioritize high numbers on a spec sheet over the actual quality of the steam. If your wand feels like a jet engine but your milk is still soapy, you are likely dealing with wet steam—an invisible thief that dilutes your milk with hot water before the air can even do its job. 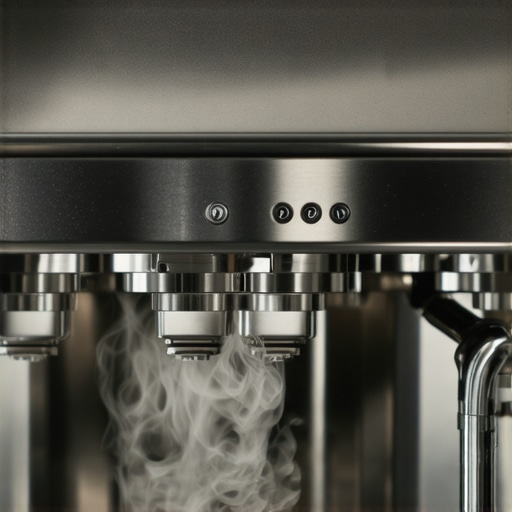
Is your boiler actually too small for your latte art ambitions?
The Oops factor I see most often is people trying to steam 12-ounce lattes on entry-level machines without realizing their boiler’s thermal mass is physically incapable of holding pressure for that long. According to a technical analysis by Barista Hustle, steam quality is directly tied to the headspace in your boiler; if your water level is too high, you’re essentially trying to blow bubbles with boiling water instead of dry vapor. This is often the reason your milk tastes sweet without adding sugar—which comes from the proper caramelization of lactose—is so hard to achieve on smaller units. You might be blaming your technique when you’ve simply hit the hardware ceiling of your current setup.
Stop Chasing the Pressure Gauge
I used to think that if my gauge didn’t hit 1.5 bars, I was failing. But some of the best texture I have ever achieved was on a manual machine where I had to find the simple way to measure your pump pressure without a gauge just to understand my baseline. If you find yourself constantly losing power halfway through, you might be falling for the Double Purge trap. This is when you purge so much steam before starting that the boiler’s heating element kicks in too late to compensate for the sudden drop. Instead, try a shorter 1-second burst and see if you can find the move for better espresso without buying a new machine by timing your steam start right as the heating light flicks on. This surfing technique gives you a massive boost in longevity. Before you go out and buy top-rated espresso machines with dual boilers, consider if your current setup just needs a smaller pitcher to match its output. Have you ever fallen into this trap of thinking your gear was broken when it was just a capacity issue? Let me know in the comments. If you’re still struggling with consistency, checking the secret to getting consistent shots on a dual boiler might reveal how professional-grade thermal stability changes the game entirely.I’ve learned that the biggest threat to your machine isn’t a one-time failure; it’s the slow, creeping accumulation of minerals that you can’t even see. If you’ve noticed your wand losing that ‘out-of-the-box’ punch, you need to be proactive. Learning how to tell if your machine boiler is accumulating lime scale is the first step toward saving your morning routine. I used to ignore the slight whistle from my machine until it turned into a full-blown scream, which is a classic sign of internal blockage. Now, I stick to a strict descaling schedule using the best way to descale a boiler without using harsh vinegar to avoid that lingering sour aftertaste. If you’ve ever had to figure out how to get rid of the vinegar smell after descaling your machine, you know why I prefer professional citric-acid-based solutions. Neglecting this leads to the dreaded metallic tang in your lattes, and the reason your espresso tastes metallic after descaling is usually because the scale has already pitted the internal copper.
Replace your gaskets before they fail
There is nothing quite as jarring as a gasket blowing mid-shot, spraying hot water across your kitchen. I’ve seen so many people ask why your group head gasket is leaking after just one month, and the answer is usually either a cheap rubber part or the dish soap mistake that ruined your group head seal. I personally made the switch to silicone gaskets and I’ll never go back to rubber; they remain pliable for years and don’t bake onto the group head. If you see steam escaping from the top of your machine, check why your espresso machine is leaking steam from the top before you assume the boiler is cracked. It is almost always a loose Teflon tube or a worn O-ring.
How do I maintain my machine’s performance for the next decade?
Long-term performance is about more than just the machine; it is about the entire ecosystem of your barista gear. You need to keep your grinder in peak condition too. I recommend learning the best way to clean a grinder without losing your settings so your extraction remains consistent with your steam pressure. I use the cotton swab trick for cleaning hidden grinder crevices every Sunday. According to the technical team at La Marzocco Home, water quality is the single most influential factor in machine longevity. I predict that in the next few years, we will see home machines with built-in digital TDS (Total Dissolved Solids) sensors that alert you to scale risk before it even happens. 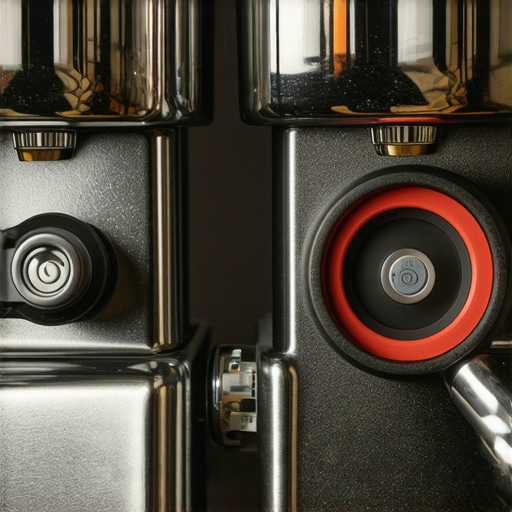 Until then, stay vigilant with your cleaning. If you are feeling brave, I challenge you to unscrew your steam tip right now and see if there is any residue hiding in those tiny holes. Clean it out, and you might find that you don’t need a new machine after all.
Hard-Earned Truths from My Coffee Station
Through years of trial and error, I have realized that steam pressure is less about the machine’s price tag and more about the discipline of the user. Here are a few lightbulb moments that changed my workflow forever:
- Steam tips are smaller than you think. Even a microscopic layer of milk protein can reduce your pressure by half. If you aren’t practicing the 2-minute habit that prevents clogged steam wands, you are fighting a losing battle against physics.
- Water quality is the silent killer. I spent weeks blaming my pump when the real culprit was mineral buildup. Now, I never skip a maintenance cycle and always use the best way to descale a boiler without using harsh vinegar to protect the flavor profile of my beans.
- Listen to the machine. A subtle hiss from the casing usually means a leak. Learning to identify why your espresso machine is leaking steam from the top early on can save you from an expensive boiler replacement later.
Resources to Elevate Your Barista Game
If you are ready to move beyond basic troubleshooting and really refine your setup, these are the tools and guides I personally rely on. For those just starting, mastering the art of home espresso requires a blend of patience and the right technical knowledge. When your current gear hits its limit, I always suggest looking at top-rated espresso machines that offer better thermal stability. I also highly recommend the technical forums at Home-Barista and the deep-dive video tutorials from James Hoffmann for understanding the fluid dynamics of steam. These resources helped me stop guessing and start diagnosing with confidence.
Believe in Your Barista Skills
At the end of the day, a weak steam wand is just a temporary hurdle on your path to the perfect latte. Don’t let a bit of “milk concrete” or a stubborn valve discourage you from the ritual of home espresso. With a clean tip and a well-maintained boiler, you have everything you need to create café-quality texture in your own kitchen. Consistency comes with practice, so keep purging, keep cleaning, and keep pouring. Have you ever spent an entire morning trying to figure out why your milk wouldn’t foam, only to find a tiny blockage? Let me know your most frustrating steam wand stories in the comments below!