How to Stop Your Espresso Machine’s Feet from Vibration Walking
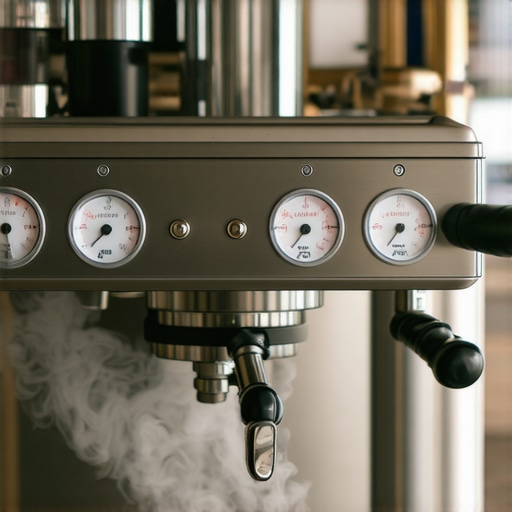
I remember standing in my kitchen, bleary-eyed at 6:00 AM, waiting for a double shot to finish pulling. I turned my back for just a second to grab a milk pitcher, and when I looked back, my three-thousand-dollar investment was literally inching its way toward the edge of the granite. It was like watching a very slow, very expensive suicide attempt. My machine was vibration walking, a common but nerve-wracking phenomenon where the internal pump’s rhythm turns the feet into tiny, motorized legs. If you have ever felt that sudden jolt of panic seeing your gear migrate across the workspace, you are in the right place. Today, I am going to share exactly how I cured my machine of its wanderlust so you can focus on the coffee, not on catching a falling boiler.
Get Your Espresso Machine to Sit Still and Stay Put
Vibration walking is more than just a nuisance; it is a sign that your setup isn’t absorbing the energy it creates. Early on, I made the classic mistake of thinking I could fix this with those little adhesive felt pads you use for chair legs. Huge error. Not only did they lose their grip the moment a drop of water touched them, but they also did nothing to dampen the high-frequency hum of the vibratory pump. In fact, stopping your drip tray from vibrating across the counter is often just the first step in a larger battle against physics. You might also notice similar issues if you are trying to balance a grinder that is wobbling nearby. The secret lies in decoupling the machine from the hard surface of your counter. According to vibration isolation principles often cited in mechanical engineering resources like The Engineering Toolbox, using materials with high internal damping—like specialized rubber—is the only way to effectively neutralize these micro-movements.
Is a little bit of movement actually dangerous?
Absolutely. Beyond the obvious risk of the machine hitting the floor, constant vibration can loosen internal fittings over time. I once saw a friend’s machine develop a leak because a copper pipe had literally rubbed itself raw against the frame from months of shuffling. This is especially true for even the top-rated espresso machines if they aren’t seated on a stable, grippy surface. Have you ever walked into the kitchen to find your machine in a different zip code than where you left it? Trust me, you don’t have to live with the noise or the anxiety. We are going to fix this today using a few simple, cheap, and effective methods that I have personally tested in my own home lab—including why that simple cardboard trick you might have heard about is usually just a temporary band-aid.
Take Control of the Countertop Drift
Vibration walking is essentially a physics problem: kinetic energy from your pump is looking for an exit, and if it can’t be absorbed, it translates into movement. Think of your espresso machine like a washing machine with an unbalanced load; if it isn’t anchored, it starts a slow-motion sprint for the door. The first and most critical step is ensuring your surface has enough friction to fight back. I once spent an entire afternoon scrubbing a layer of nearly invisible coffee oils off my granite counter because my dual-boiler was sliding like an Olympic curler. The moment I stripped that residue away, the machine stayed put for three days straight without any other intervention.
Scrub the Machine Feet and the Surface
Over time, steam, spilled milk, and coffee oils create a slick film on your workstation. This film acts like a lubricant between your machine’s rubber feet and the counter. Take a microfiber cloth with some isopropyl alcohol and wipe down both the bottom of the feet and the area where the machine sits. If you are also struggling with auxiliary gear, learning how to balance a grinder that is wobbling on the counter can help reduce the sympathetic vibrations that travel through the shared surface. Often, the ‘walking’ isn’t just from the machine itself but from a chaotic harmony of multiple vibrating appliances. 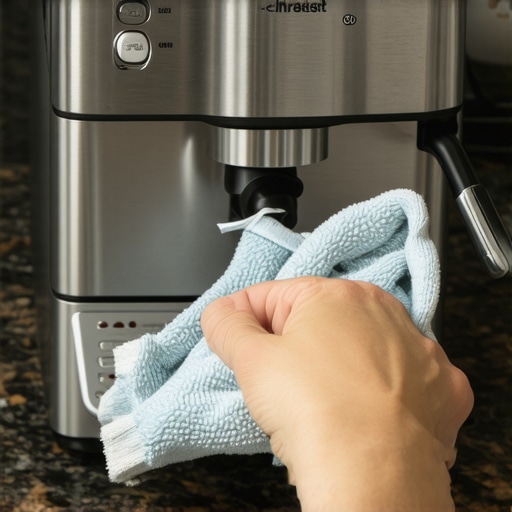
Switch to a High-Grip Isolation Mat
If cleaning doesn’t cut it, you need to decouple the machine from the hard surface. This is where a dedicated rubber mat becomes your best friend. In my own home lab, I moved away from aesthetic wooden trays to a heavy-duty silicone mat. The result was night and day. Not only did the machine stop its morning migration, but the decibel level dropped significantly. You can actually use similar logic when you want to know how to quiet a loud grinder using only a rubber mat. These mats act like shock absorbers in a car, soaking up the high-frequency thumping of a vibratory pump before it can turn your countertop into a sounding board. This also helps with smaller annoyances, such as how to stop your cup from sliding during a shot because the entire platform becomes more stable.
Check for Loose Internal Parts
Sometimes the walking is caused by something knocking around inside the casing. I remember a specific instance where a friend’s machine was practically jumping. We opened the top and found a high-pressure hose was vibrating against the side panel. By applying the zip tie fix for loose espresso machine tubing, we secured the line and the walking stopped instantly. This is a common part of mastering the art of home espresso tips for beginners because it teaches you that the machine is a mechanical beast that needs internal maintenance to run smoothly. If the internal mass is shifting irregularly, no amount of external rubber will keep it perfectly still.Many enthusiasts assume that buying a heavier machine is the end-all fix for movement. They think that 60 pounds of stainless steel is immune to physics. In my experience, that is actually when things get dangerous. A heavy machine with a powerful rotary pump generates massive torque; if it starts to walk, it is not just sliding—it is a wrecking ball. I have seen granite countertops chipped because someone assumed weight equals stability. Beyond the machine, even your accessories can suffer from similar mechanical fatigue. For instance, knowing how to stop the squeak in your manual coffee mill is not just about the noise; it is about preventing friction that eventually loosens the internal housing.
Stop Smothering Your Machine with Sticky Pads
Here is the trap: people buy those thick, non-slip adhesive pads and stick them under every corner. Within a month, the heat from the boiler causes the adhesive to liquefy, creating a gummy mess that is impossible to clean. Worse, these pads trap moisture against the machine’s chassis. I once investigated a case where a user wondered why your espresso machine is leaking steam from the top, only to find the entire base had rusted out because the ‘protective’ pads were holding a puddle of spilled water against the metal. 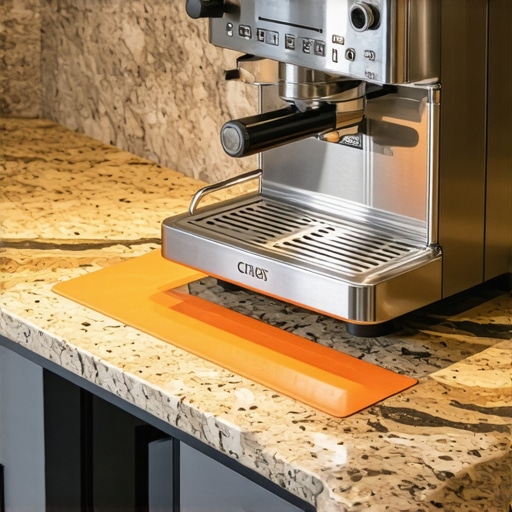
Does pump vibration actually ruin your extraction?
It is a nuanced debate, but the answer is yes. Excessive vibration creates micro-channels in the coffee puck. According to the ISO 2017-1 standard for mechanical vibration and shock, improperly damped machinery can lead to accelerated component wear and structural fatigue. In the context of coffee, if the machine’s frequency matches the resonant frequency of the portafilter, you get a ‘shimmering’ effect that disrupts the water flow. This is why some shots feel inconsistent even when the grind is perfect. If you have ever noticed the reason your grinder adjustment ring feels gritty or stuck, you know that micro-vibrations can migrate through the counter and settle fine dust into every possible crevice.
The Danger of Over-Cleaning and Descaling
We often talk about maintenance as a cure-all, but I have seen it cause more problems than it solves when done incorrectly. For example, some people go overboard with aggressive acids and then wonder about the reason your espresso tastes metallic after descaling. You are stripping away the protective ‘seasoning’ of the internal pipes. Similarly, while a clean machine runs better, you have to be careful with motorized components. If you have ever had to figure out how to fix a milk frother that won’t spin, you likely realized that dried milk or excessive scrubbing of the magnetic drive can kill the component faster than neglect. Have you ever fallen into this trap of over-engineering your setup only to have it backfire? Let me know in the comments.
Give Your Gear a Decent Life Expectancy
Maintaining a high-end setup isn’t just about the occasional backflush; it’s about a holistic approach to your morning workflow. I’ve found that choosing the best barista gear for coffee enthusiasts often means prioritizing the boring stuff—like high-quality brushes and food-grade lubricants. For instance, I use a specific Molykote 111 lubricant on my lever machine pins because cheaper alternatives simply wash away under the intense heat of the boiler. If you ignore these friction points, you’ll eventually find yourself searching for how to fix a broken boiler temperature sensor because the machine had to work twice as hard to regulate thermal mass due to internal resistance.
How do I maintain my espresso machine’s health over the long haul?
The secret is a preventative mindset rather than a reactive one. Every three months, I perform a deep-dive inspection where I don’t wait for a leak; I check the gaskets and the pressure stats. As noted in the La Marzocco Home preventative maintenance guide, ignoring the group gasket for more than six months can lead to irreversible wear on the group head’s metal seating surface. You also need to keep an eye on your water chemistry. Learning how to tell if your machine boiler is accumulating lime scale is vital because scale is the number one killer of home espresso machines. I use a simple TDS meter and a GH/KH drop test kit once a month to ensure my filtration hasn’t exhausted itself. 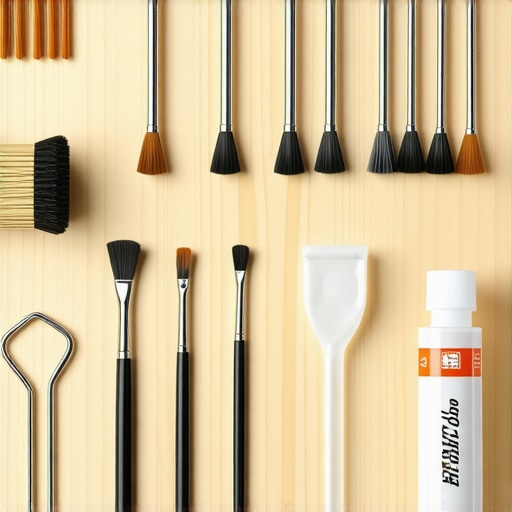
The Barista Toolkit You Actually Need
Beyond the machine, your grinder is the heart of the operation. I’ve learned the hard way that a clogged grinder doesn’t just produce bad coffee; it strains the motor. I keep a dedicated vacuum and a set of pipe cleaners nearby at all times. Knowing how to clear a jammed chute without damaging your grinder has saved me hundreds in potential repair costs when I accidentally used an oily dark roast. If you also use milk systems, investing in milk frothers that transform your coffee experience requires keeping the steam tips immaculate. I use a needle tool to clear the holes after every single session to prevent milk protein from baking into the metal and restricting flow.
Where the Home Barista Scene is Heading Next
I predict the next five years will see a massive shift toward predictive maintenance via IoT sensors. Imagine your machine sending a push notification to your phone saying, ‘Your vibration levels have increased by 15%, check your pump mount.’ This technology already exists in industrial settings and is rapidly trickling down to the home enthusiast level. Until then, we are the sensors. I want you to try one specific thing: pull your drip tray out right now and check the feet of your machine. Wipe them and the counter with isopropyl alcohol today. It’s a five-minute task that will immediately improve the stability and noise levels of your shots.
The Hard Truth About My Five-Year Battle With Vibration
After years of chasing machines across the granite, I’ve realized that vibration isn’t just a sound; it’s a symptom. First, I learned that weight is a double-edged sword. While a heavy machine feels premium, its inertia can actually cause more damage if it begins to walk. Second, I discovered that micro-vibrations are the silent killers of electronics. Those tiny shakes eventually lead to why your espresso machine takes longer to heat up lately because sensors jiggle loose over time. Lastly, never underestimate the power of a simple surface wipe. Most machine migration is caused by invisible coffee oils rather than mechanical failure.
Gear That Actually Earned a Spot on My Counter
If you’re tired of DIY cardboard fixes, I highly recommend investing in a few professional-grade staples. I personally swear by heavy-duty silicone mats because they provide the necessary decoupling for both machines and grinders. If you’ve ever wondered how to stop your grinder from bouncing on the counter, a high-density rubber mat is the only real answer. #IMAGE_PLACEHOLDER_E# I also keep a tube of Molykote 111 handy; it is the gold standard for lubricating seals without contaminating your brew. Finally, for anyone serious about choosing the best barista gear for coffee enthusiasts, a reliable TDS meter is non-negotiable to prevent the scale buildup that causes internal rattling.
Your Path to a Rock-Solid Morning Ritual
Don’t let a migrating machine ruin the Zen of your morning brew. By taking these small steps to stabilize your setup, you aren’t just stopping a noise—you’re extending the life of your equipment. Whether you are troubleshooting why your espresso scale is jumping numbers while the shot is pulling or just trying to keep your cups from sliding, a stable foundation is the key to consistency. Take ten minutes today to clean those feet and level your workspace; your espresso machines will thank you for it with years of perfect, stationary service.
Have you ever caught your machine mid-slide, or found it in a different spot than you left it? Let me know your funniest runaway machine story in the comments below!