Why Your Freshly Roasted Beans Are Making Your Espresso Taste Like Grass
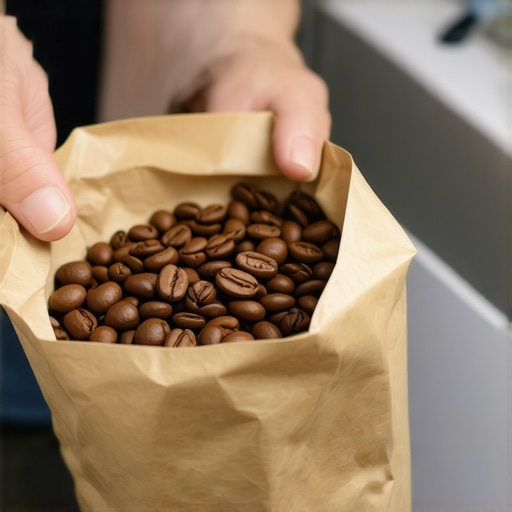
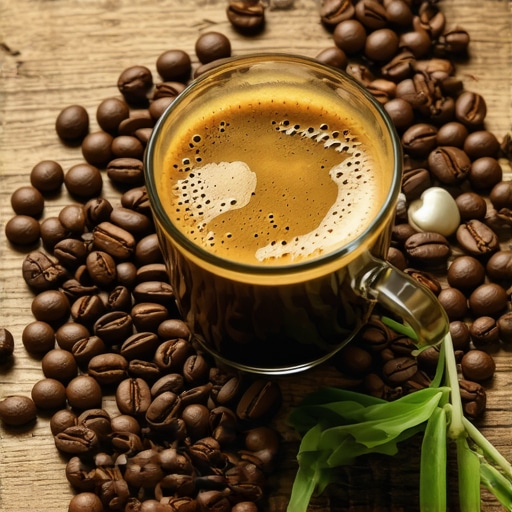
I’ll never forget the morning I excitedly tore into a bag of Ethiopian Yirgacheffe that had been roasted less than 24 hours prior. I’d spent a small fortune on the bag and even more on my setup, but that first sip didn’t taste like blueberry or jasmine. It tasted exactly like I’d just mown the lawn and decided to chew on the clippings. I actually checked my coffee grinder to see if a stray leaf had fallen in. It was frustrating, confusing, and honestly, a bit embarrassing. I thought fresh was always better, but I was dead wrong. If you’ve ever pulled a shot that looked beautiful but tasted like a damp field, you aren’t doing it wrong—you’re just too early to the party. Today, we’re going to stop the waste and get those beans tasting like the premium coffee you paid for.
The hidden science of the three-day grass flavor
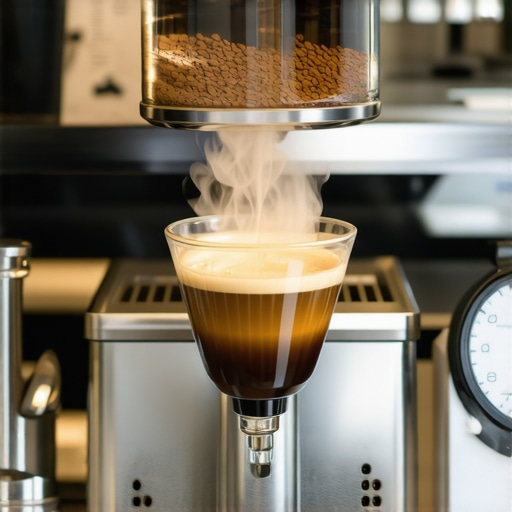
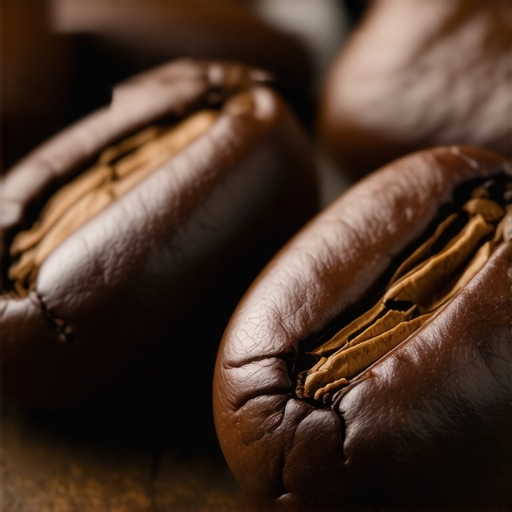
When coffee is roasted, it undergoes massive chemical changes that trap carbon dioxide inside the bean. If you try to brew it too soon, that gas doesn’t just sit there; it fights your water. It creates a physical barrier that prevents the water from actually getting inside the coffee grounds to extract the oils and sugars we love. This often leads to a phenomenon where your espresso tastes like vinegar or, in the case of lighter roasts, an herbal, grassy mess. According to research from the Specialty Coffee Association, roasted coffee can contain significant amounts of trapped CO2 that acts as a buffer against extraction, making it nearly impossible to get a balanced shot within the first 48 hours. I made the mistake early on of thinking my struggle with consistent shots on a dual boiler was a machine failure, when in reality, I was just fighting a gas bubble. [image placeholder]
Is ultra-fresh coffee actually worth the hype?
The “fresher is better” mantra has been drilled into us for years, but there’s a limit. For espresso, using beans that are too fresh is like trying to drive a car while someone is constantly pushing back on the steering wheel. You might be wondering if you should just buy older beans from the supermarket instead. Don’t do that! The sweet spot exists, and it’s usually much later than you think. Have you ever felt like you were “failing” at brewing because your high-end beans tasted like a salad? Let me know, because I’ve definitely been there too. We need to talk about resting times and why your mastering the art of home espresso journey requires a little more patience than the bag’s roast date suggests.
Why resting is actually non-negotiable for flavor
Think of a fresh roast like a steak pulled straight off the grill. If you cut into it immediately, all the juices run out and the texture is tough. Coffee needs that same ‘rest’ to let the CO2 depart and the internal chemistry stabilize. When you use your coffee grinder on beans roasted yesterday, you are effectively trying to brew a gas-filled sponge. I once ignored this and tried to pull a shot of a medium-dark roast only 36 hours post-roast. The result was a disaster; my bottomless portafilter shows channels every time because the gas was literally pushing the water away from the grounds, creating massive holes in the puck. It looked like a tiny, brown volcano and tasted like battery acid.
Give those light roasts at least two weeks
If you are into light roasts, the ‘grass’ flavor is your biggest enemy. These beans are denser and hold onto their CO2 like a secret. For these, a minimum of 10 to 14 days is often required. If you try to rush it, you’ll find that why your coffee grounds are clumping together doesn’t even matter because the extraction won’t happen evenly anyway. I’ve found that high-elevation beans, like those from Ethiopia or Colombia, don’t even peak until day 21.
Darker beans reach the peak much faster
Because dark roasts have a more compromised cell structure from the longer time in the roaster, they ‘outgas’ much quicker. You can usually get away with brewing these in 3 to 5 days. If you wait too long, like three weeks, you’ll run into the opposite problem: staleness and oil rancidity. Knowing the secret to pulling sweet shots from very dark roasts involves catching them right as that gas dissipates but before the oils oxidize on the surface.
Master the storage while you wait
The way you store your beans during the resting phase is just as important as the wait itself. You aren’t just letting them sit; you are managing a delicate gas exchange.
Why the bag valve is your best friend
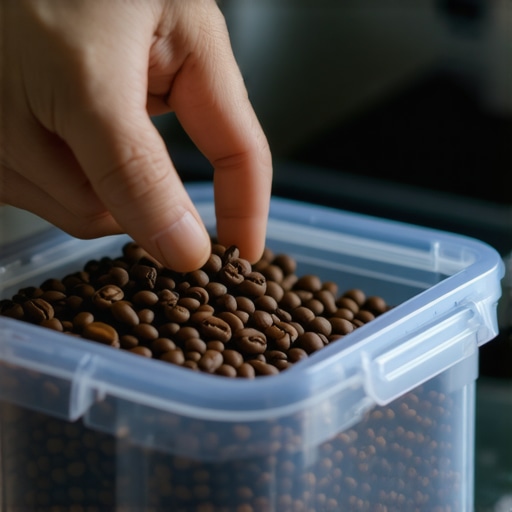
Most specialty coffee comes in bags with a small, plastic circular vent. That’s a one-way degassing valve. It lets the CO2 out so the bag doesn’t explode, but it prevents oxygen from entering and staling your beans. If you transfer your beans to a basic jar too early, the pressure build-up can actually change the flavor profile for the worse. When I was first learning, I moved a fresh batch to a generic Tupperware, and the lid literally popped off in the middle of the night. This is the move for better espresso without buying a new machine: just leave them in the original bag in a cool, dark cupboard for at least 7 days.
Test the readiness with a simple bloom
If you aren’t sure if the beans are ready for your consistent shots on a dual boiler, do a quick manual pour-over test. If the ‘bloom’ (the way the grounds swell when they hit water) is aggressive and fizzy like a shaken soda, they need more time. You want a controlled, gentle rise. When the fizzing stops being violent, your espresso will finally stop tasting like a lawnmower’s collection bag.Wait, I know what you’re thinking: ‘If I just crank up the pressure, I can force that water through the gas.’ That’s the most common trap I see. Everyone assumes 9 bars of pressure is the holy grail, but in my experience, pushing for higher pressure often just leads to disaster. When you’re fighting fresh beans, more pressure doesn’t equal more flavor; it just equals more mess. In fact, many modern baristas are finding that dropping to 6 or 7 bars actually produces a sweeter, more forgiving cup, especially with tricky light roasts. If you push too hard, your bottomless portafilter shows channels every time because the high pressure finds the path of least resistance through those gas pockets.
The high-pressure myth that’s ruining your shots
This leads to the ‘Oops’ factor many enthusiasts miss: the basket headroom. If you’ve ever wondered how to tell if your basket is too large for your dose, look at the top of your puck after the shot. If it’s a soupy mess, you’re leaving too much space. This gap allows the water to crash onto the puck with too much turbulence, destroying the surface before the extraction even begins. I spent months thinking my coffee grinder was inconsistent, but I was actually just under-filling my basket.
Why does your perfectly dialed-in grind suddenly fail the next morning?
It’s not your imagination, and it’s likely not your machine. This is the hidden nuance of hygroscopy. Coffee beans are incredibly porous and act like sponges for moisture. According to a study published by the Association for Science and Information on Coffee, changes in ambient humidity can alter the roast’s brittle nature, changing how the beans shatter in the burrs. This is why your grinder settings feel like they changed overnight. If it rained last night, your grind will likely need to be finer to achieve the same flow rate. This is also why your espresso shot is extracting from only the edges of the basket; the moisture-laden grounds clump differently, creating uneven density. Mastering this requires a proactive approach to consistent shots on a dual boiler, where you anticipate the weather before you even weigh your first dose. Have you ever fallen into this trap of chasing your tail with the grinder dial? Let me know in the comments below, I’d love to hear how you fixed it!
Keep your gear from failing on a Tuesday morning
One of the biggest lessons I’ve learned is that a $3,000 setup can still produce mud if you don’t keep it clean. I remember the first time my steam wand pressure dropped and I panicked, thinking my heating element was toast. It turned out to be nothing more than milk proteins hardening inside the tip because I hadn’t purged it properly. This is why I religiously use a dedicated brush and follow a routine for choosing the best barista gear for coffee enthusiasts that includes heavy-duty cleaning supplies, not just shiny tampers. If you want that cafe-quality shot every morning, you have to treat the hardware with a bit of respect.
How do I maintain my espresso setup over the long haul?
Maintenance isn’t just about wiping the drip tray once a week. You need to be proactive about the components you can’t see. For example, if you notice your flow is off or pulsing, you should learn how to check your espresso machines group head flow rate before assuming the pump is failing. I’ve found that most issues, like why your group head gasket is leaking after just one month, come down to scale buildup or simple coffee debris preventing a tight seal.
The DIY fixes that save hundreds in repair bills
Sometimes the solution to a loud or leaking machine is incredibly low-tech. I once had a vibration issue that sounded like a jackhammer on my counter. Instead of calling a technician and paying a $150 bench fee, I used the zip tie fix for loose espresso machine tubing to secure the internal lines that were rattling against the casing. It cost me five cents and ten minutes. You also need to keep an eye on your solenoid. If you know how to spot a failing solenoid valve before it floods your kitchen, you’re miles ahead of the average home barista.
Why a simple pipe cleaner saves your morning
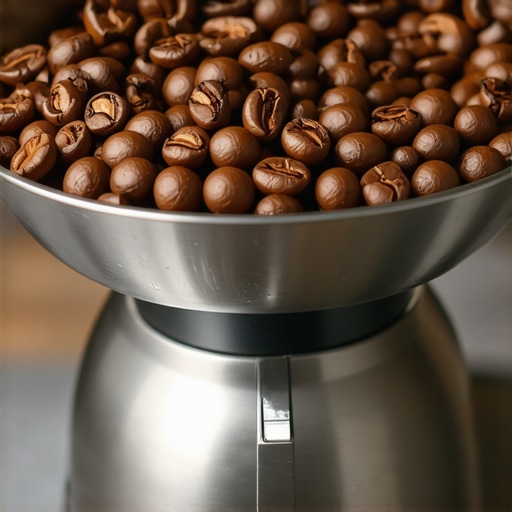
Grinders are notoriously difficult to keep clear, especially with oily beans. I personally use the technique of how to clean your grinders discharge chute with a pipe cleaner every Sunday. This prevents the old, stale oils from tainting your fresh beans and causing that weird rancid aftertaste. According to the technical specifications from Ulka, the manufacturer of most vibratory pumps used in home machines, these pumps have a specific 2/1 minute duty cycle that can be severely shortened by scale buildup causing back-pressure. This is why the best way to descale a boiler without using harsh vinegar is so vital; you need to protect the pump’s lifespan without eroding the internal brass seals with aggressive acids.
My prediction for the future of home espresso
I suspect that within the next five years, we are going to see ‘Smart Maintenance’ become the industry standard for prosumer gear. High-end machines will likely feature internal conductivity sensors that alert you to exactly when a descale is needed based on your specific water hardness, rather than just a generic shot counter. We are already seeing the beginning of this with connected apps for top rated espresso machines for coffee lovers in 2025. For now, the best thing you can do is get hands-on. I challenge you to pull your shower screen off today—just use a screwdriver and see what’s hiding behind it. You might be surprised at what’s been affecting your flavor. If you need help with the technical side, don’t hesitate to contact us or check out our guide on mastering the art of home espresso for the fundamentals.
Why Your Machine Isn’t The Problem When Coffee Tastes Bad
After years of trial and error, I’ve realized that the ‘freshness’ myth is the single most expensive mistake a home barista can make. If your espresso tastes like vinegar or lawn clippings, don’t blame your pump—blame the calendar. I used to think I needed a better machine, but I actually just needed to let my beans breathe. It’s a hard pill to swallow when you want that caffeine hit right now, but patience is the only thing that unlocks those sweet, chocolatey notes we all crave.
- Trust the rest, not the label: Just because a bag was roasted yesterday doesn’t mean it’s ready for your cup.
- Density matters: High-altitude beans are like stubborn wine; they need time to open up and shed their CO2.
- Consistency is a habit: Keeping your gear spotless is more important than having the most expensive grinder on the block.
[image placeholder]
The Tiny Toolkit That Saved My Morning Routine
You don’t need a massive budget to fix extraction issues. Some of the most helpful items in my kitchen are actually the simplest. For instance, I’ve found that choosing the best barista gear for coffee enthusiasts often starts with maintenance tools rather than shiny upgrades. I highly recommend keeping a few pipe cleaners on hand—it is the most effective way for how to clean your grinders discharge chute to prevent old, rancid oils from ruining a fresh batch. If you are looking to upgrade, check out the top rated espresso machines for coffee lovers in 2025 to see where the technology is heading.
Start Pulling Better Shots Today
The journey to the perfect cup is rarely a straight line. It’s filled with grassy shots, messy pucks, and occasional frustration. But once you understand the science of resting and the importance of a clean machine, everything starts to click. Don’t be afraid to experiment with longer rest times; you might find that the 21-day-old beans in the back of your cupboard are actually the best ones you’ve ever tasted. Keep refining your skills and mastering the art of home espresso will become second nature. Have you ever tried to brew beans the day they were roasted? Let me know in the comments below how it tasted!