How to Recover from a Failed Descaling Process
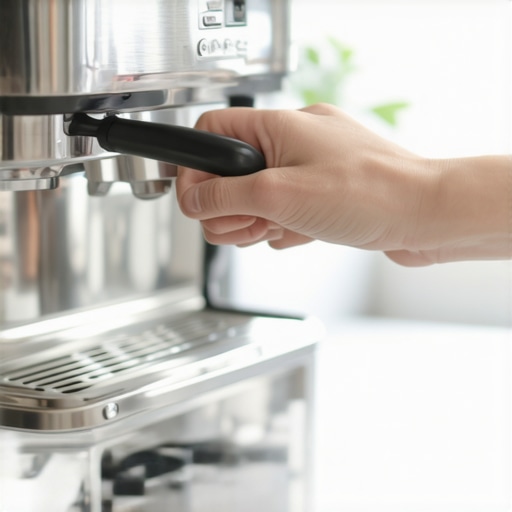
The silence in my kitchen last Saturday morning was absolutely deafening. I had my favorite beans ready, my portafilter was polished, and I decided to be a ‘responsible owner’ by running a descaling cycle. Halfway through, the pump made a sound like a gravel crusher and then just… stopped. My heart sank. I was staring at a half-finished chemical bath sitting inside a machine that cost me two months’ rent. If you have ever been there—stuck with a machine that won’t prime or, worse, one where the espresso tastes like vinegar after descaling—then you know the specific brand of panic I am talking about. It feels like you tried to do the right thing and got punished for it. We are going to get your machine back to life today, because a failed maintenance cycle shouldn’t mean a trip to the repair shop.
My biggest mistake early on was thinking I could just ‘wing it’ with the ratios. I ended up with an airlock so stubborn I thought I’d burned out the motor. Today, I am going to show you how to purge those air pockets, neutralize those lingering funky flavors, and ensure your boiler actually survives the process. Have you ever felt that sinking feeling when your pump runs but nothing comes out of the group head? Drop a comment below; I need to know I am not the only one who has fought with a stubborn boiler.
The Panic-Free Way to Clear an Airlock
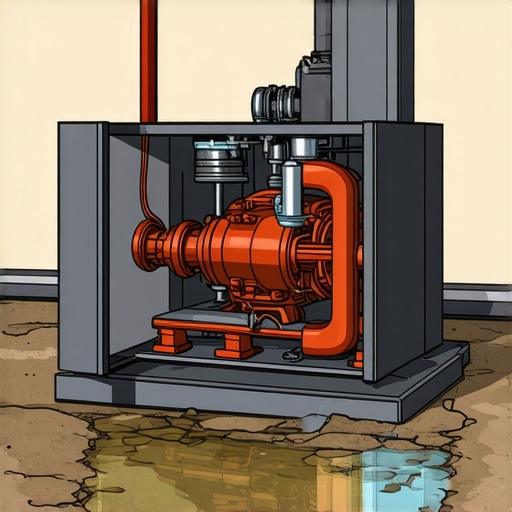
If your pump is screaming but your water reservoir level isn’t budging, you are likely dealing with a classic airlock. This happens when the pump loses its prime during the descaling process, often because the tank ran dry for just a second too long. It is a common frustration, especially with top-rated espresso machines that have complex internal plumbing. When this happens, the pump is basically spinning in a vacuum. I used to think this meant the pump was dead, but usually, it just needs a little manual help to get the water flowing again. According to a study by the Specialty Coffee Association, mineral buildup can reduce heating efficiency by up to 30%, making descaling necessary, but it’s the air trapped in the lines that often causes the most immediate post-cleaning drama. You might even find that your espresso machine pump runs non-stop without actually moving any fluid. The trick is to force water into the system using a priming bulb or by gently blowing air into the intake hose while the pump is active.
Is descaling actually worth the risk of breaking my machine?
It is a valid fear. I’ve seen people avoid maintenance for years because they are afraid of a failed cycle. But the alternative is worse: a completely calcified boiler that can’t be saved. The key is using the right solution. I’ve learned the hard way that the best way to descale a boiler without using harsh vinegar is to stick to citric-acid-based cleaners that won’t linger for weeks. If you’ve already started and things have gone south, don’t worry. We can still flush the system. Whether your coffee tastes like vinegar or you are worried about the reason your espresso tastes metallic after descaling, the recovery process is almost always just a matter of persistent, structured flushing and patience.
Force the Flow When the Pump Stalls
If you are hearing that dry, vibratory rattle, your pump is essentially trying to drink through a straw full of air. You have to prime it. The most effective way is to use a simple kitchen tool: a turkey baster or a large plastic syringe. Fill it with water, shove it into the intake hose inside your reservoir, and squirt while the pump is running. This manual pressure acts as a jumpstart. I remember my first Gaggia Classic—I spent three hours sweating over a ‘dead’ machine until I realized the intake hose was slightly pinched, creating a vacuum. Check that first. If your water isn’t moving, you might also have a clogged water filter in your reservoir that got stirred up during the descaling turbulence. 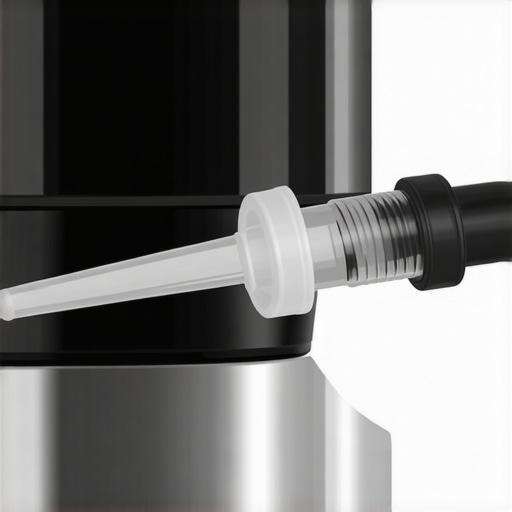
Open the Steam Wand to Relieve Pressure
Sometimes the pump is working fine but the air is trapped behind the group head solenoid. Turn the machine on, hit the brew button, and immediately open the steam wand valve. This gives the air a ‘back door’ to escape. You will hear a series of spatters and hissed breaths, and then—finally—a steady stream of water. If the water only comes out of the wand but not the group head, you might be looking at a more serious issue, such as how to spot a failing solenoid valve before it floods your kitchen. Scale often breaks loose during a cleaning cycle and gets jammed right in that tiny valve opening. This is why many top-rated espresso machines actually have a specific ‘rinse’ mode that pulses the solenoid to prevent this exact problem.
Flush Away the Chemical Aftertaste
Even after the water flows, the battle isn’t won if your morning cup tastes like a laboratory. If your coffee tastes like vinegar after descaling, the solution is volume. You should be running at least two full reservoirs of fresh water through the group head and the steam wand. Don’t just run it all at once; let the pump rest every 60 seconds so you do not overheat it. If the metallic tang persists, it could be the reason your espresso tastes metallic after descaling: the acid has stripped away the protective ‘coffee seasoning’ and is reacting with the bare metal of the boiler. In this case, you simply need to pull a ‘sacrifice’ shot—a double espresso you throw away—to coat the internals with coffee oils again.
Scour the Group Head for Loose Scale
During a heavy descale, chunks of calcium can break off like mini-glaciers. These chunks love to hide behind your shower screen. If your flow is uneven, use the trick to removing a stuck shower screen without stripping the screw and give it a thorough scrub. While the screen is off, run the pump for five seconds to blast out any grit from the group head. If your machine is still acting erratic—maybe the lights are flickering or the temperature is jumping—you might need to fix a broken boiler temperature sensor that got coated in loose debris during the flush. This is essential for mastering the art of home espresso because you can’t hit your target temperature if the sensor is insulated by a layer of lime.Let’s dig deeper into what happens when the ‘obvious’ fixes don’t work. One of the most common myths I see in the home barista community is the idea that descaling is a cure-all. In reality, over-descaling can be just as damaging as mineral buildup. Frequent exposure to citric or tartaric acid can pit the internal metal of your boiler, leading to that metallic tang I mentioned earlier. Experts like Jim Schulman, author of the ‘Insanely Long Water FAQ’, emphasize that managing your water hardness from the start is far more effective than trying to chemically ‘strip’ a machine later. If you aren’t careful, you might end up needing to test your machine’s water hardness at home to prevent this cycle from starting again. Have you ever fallen into the trap of thinking a more expensive machine would solve your consistency issues? Let me know in the comments, because for most of us, the culprit is actually sitting right next to the machine: the grinder. People often spend thousands on top-rated espresso machines but pair them with a grinder that can’t hold a setting. If you’ve ever noticed that your grinder settings feel like they changed overnight, it’s likely due to ‘retention’ or heat-related burr expansion.
The Dangerous Myth of the Rice-Cleaned Grinder
One of the most persistent ‘hacks’ is using uncooked rice to clean out coffee oils. This is a massive ‘oops’ factor that can destroy your equipment. Rice is significantly harder and more dense than roasted coffee beans; using it can strain the motor and dull your burrs instantly. If you are using dark, oily roasts, you might find that your coffee grinder is stalling because the oils act like a glue for the coffee ‘fines.’ Instead of risking a mechanical failure, learn the best way to clean a grinder without taking it apart using specialized cleaning tablets designed to absorb oils without stressing the motor. 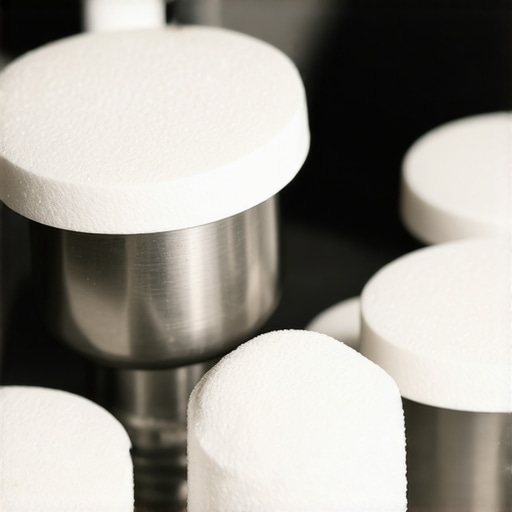 While you are at it, don’t overlook the simple things. If you have a super-automatic, you should know why you should never use oily beans—they will gum up the internal brew group faster than you can say ‘macchiato.’
How do I stop my grinder from stalling during a session?
Heat is the silent enemy of grind consistency. In a study by the Manchester Institute of Biotechnology, researchers found that the temperature of the beans significantly affects the particle size distribution. As your burrs heat up during a long session, they expand, narrowing the gap and causing the motor to work harder. This is often why your grinder burrs are getting hot during a single dose. When choosing the best barista gear, look for grinders with larger burr sets or slower RPMs to mitigate this. Furthermore, many people struggle with milk texture and blame their frother, when the issue is actually the angle of the pitcher. If you find your milk pitcher position is ruining your texture, no amount of ‘pro’ gear will fix your latte art. Mastering the art of home espresso is about recognizing these small, nuanced interactions between your water, your beans, and your hardware.It’s easy to get obsessed with the pull and forget the residue left behind. I used to ignore the spouts on my portafilter until I realized the coffee was starting to taste like burnt rubber. That’s the danger of leaving old coffee oils in your portafilter spouts; they oxidize and turn rancid faster than you’d think. Now, I soak my portafilter (metal parts only!) in backflush detergent every single weekend. It’s a non-negotiable ritual if you want to keep your flavor profile clean. You might also notice the trick for aligning your portafilter ears every time becomes harder when the gasket is coated in old grit. Cleaning isn’t just about hygiene; it’s about mechanical smooth-sailing.
Stop Your Scale from Lying to You
Another gear-killer people often overlook is their scale. I’ve had many moments where my espresso scale is jumping numbers while the shot is pulling, and it’s usually because of vibration or steam interfering with the sensitive load cell. If you want accuracy, ensure your scale is rated for high humidity and has enough clearance. If your coffee scale doesn’t fit under your portafilter, don’t force it—use a lower profile drip tray or a smaller cup. Precision is the difference between a ‘good enough’ shot and one that actually makes you sit down and stare at the wall for five minutes in pure bliss.
How do I maintain my espresso machine’s performance over years?
Maintenance isn’t just about descaling. If you have an E61 group head, you need to know how to properly lubricate your e61 group head cam. Over time, backflushing with detergent strips away the food-grade grease, making the lever feel crunchy and stiff. Technical guides from espresso machine experts like Dave Corbey recommend using Dow Corning Molykote 111 because it is highly water-resistant and won’t wash away after just three shots. If your grinder adjustment ring feels gritty or stuck, that’s your sign to deep clean the threads before you strip them entirely. In the next few years, I suspect we will see machines with built-in conductivity sensors that tell you exactly when the metal is starting to fatigue or scale is reaching a critical level, finally taking the guesswork out of the equation. 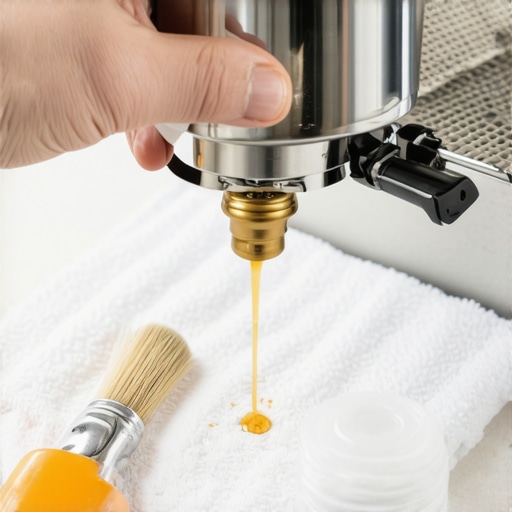 When choosing the best barista gear, think about long-term serviceability. Can you get the parts? Can you open it up without a proprietary tool? Before you buy your next upgrade, I challenge you to do one thing: take apart your grinder’s adjustment collar today. Clean the threads, apply a tiny bit of food-grade lube if the manufacturer allows it, and feel the difference in how smooth it turns. It’s like driving a car with a freshly greased gearbox—you’ll never want to go back to a gritty dial again.
Three Truths That Saved My Sanity and My Boiler
After years of tinkering, I’ve realized that maintenance is less about the chemical reaction and more about the mechanical rhythm. First, your water is everything. If you don’t test your machine’s water hardness at home, you are just guessing when to descale, which leads to either a calcified mess or a pitted, ruined boiler. Second, the ‘sacrifice shot’ is mandatory. It isn’t just about flavor; it’s about re-lubricating the seals with natural coffee oils. Finally, remember that mastering the art of home espresso means accepting that things will occasionally go wrong. An airlock isn’t a death sentence; it’s just a hurdle.
The Toolkit I Keep for My Maintenance Sundays
You don’t need a professional workshop, but a few specific items make choosing the best barista gear worth the investment. I always keep a food-grade lubricant like Molykote 111 on hand. If you have an E61 machine, you absolutely must know how to properly lubricate your e61 group head cam to prevent that heart-wrenching metallic grind. I also recommend a simple turkey baster for priming stubborn pumps and a high-quality citric-acid-based descaler. Avoid the grocery store vinegar; it is too aggressive and the smell lingers forever, which is usually why your coffee tastes like vinegar after descaling or the reason your espresso tastes metallic after descaling.
#IMAGE_PLACE_HOLDER#
Don’t Let the Scale Win the Long Game
It is easy to feel defeated when your expensive machine starts acting like a temperamental teenager. But every time you fix a stuck valve or clear an airlock, you are gaining a deeper connection to the ritual of the brew. These espresso machines are built to be serviced, not thrown away. Treat the process with patience, and your machine will reward you with years of incredible shots. Don’t be afraid to get your hands a little dirty—it is part of the journey toward the perfect cup. Have you ever fought a stubborn airlock after descaling? Let me know in the comments below!