How to Clean the Tiny Air Hole in Your Automatic Milk Frother
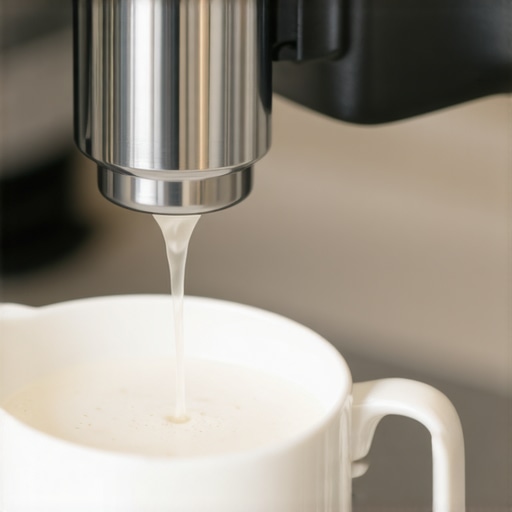
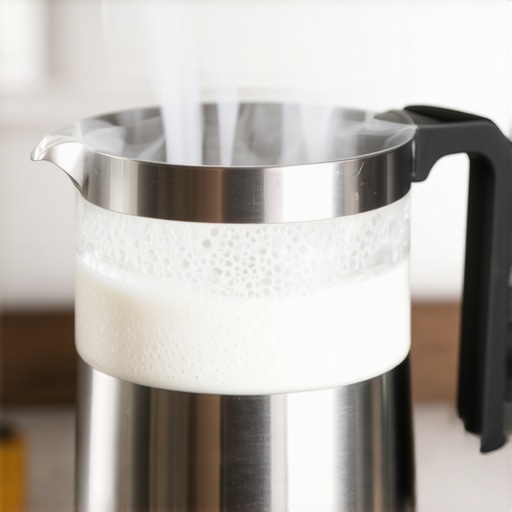
I stood there in my pajamas, staring at a cup of sad, flat, lukewarm milk. My fancy machine was whirring away, but the microfoam looked more like a puddle. I felt betrayed by my own kitchen. We’ve all been there—you spend good money on barista gear for coffee enthusiasts, expecting cafe-quality results, only to end up with a mess. For months, I thought my machine’s pump was dying. I even considered browsing for top-rated espresso machines just to escape the frustration. But the truth was much smaller—literally. It was a microscopic speck of dried milk protein blocking a hole no bigger than a needle tip. Today, I’m going to show you exactly how to find and clear that stubborn air hole so you can get back to those velvety lattes without spending a dime on repairs. Have you ever felt like throwing your frother out the window after it failed you during the morning rush? [image_placeholder_1]
Stop Buying New Parts Before You Check This One Spot
When I first started mastering the art of home espresso, I made a massive mistake: I assumed that if a machine didn’t work, it was a major mechanical failure. I once threw away a perfectly good frothing attachment because I didn’t understand the Venturi effect. In automatic frothers, that tiny air hole is the lungs of the operation. If it can’t breathe, it can’t foam. Scientific studies on dairy processing, such as those highlighted in the Journal of Dairy Science, confirm that milk proteins are incredibly sticky when heated, forming a tenacious film that can plug small orifices in seconds. If you find that your milk foam is turning into a big bubble or just staying flat, the air-to-milk ratio is off. Often, the reason your steam wand only makes thin hot milk is simply because that intake is choked.
Is it really just a tiny hole causing all this trouble?
It sounds too simple to be true, doesn’t it? We want to believe it’s something complex so we can justify a new purchase. But think about it: air must be introduced to the milk stream at a very specific rate to create microfoam. If that hole is even partially restricted, you get spluttering steam or just hot milk. I’ve spent hours troubleshooting why steam is wet and spluttery, and nine times out of ten, it is a cleanliness issue inside the air path. In the next section, I’ll walk you through the precise tools—mostly things you already have in your kitchen—to clear the blockage without scratching the delicate internals of your gear.
Find the Air Path Before You Start Poking Around
Most people assume the steam comes out and the air just magically appears, but your machine is actually a delicate balance of pressure. Think of the air intake hole like a snorkel; if it is even partially covered by your thumb, you are going to have a bad time. On automatic frothers, this hole is often a tiny, pin-sized opening on the rubber connector or the top of the frothing attachment. If you are mastering the art of home espresso, you need to realize that even a film of milk thinner than a human hair can ruin the Venturi effect. I remember a morning where I was so frustrated with my flat lattes that I almost bought a whole new set of milk frothers that transform your coffee experience, only to find a single dried flake of milk from three days ago was the culprit.
Strip the Wand to the Bone
To get a real look at what is happening, you have to disassemble the frothing mechanism. If you have an automatic machine, pull the rubber or plastic housing off the metal pipe. You will likely see a small notch or a hole that looks like a manufacturing defect—it isn’t. That is your air intake. If you find that your steam wand tips keep getting blocked by milk residue, it is usually because the internal moisture has bonded with the proteins. I once tried to clear mine with a wooden toothpick and the tip snapped off inside the hole. It took me two hours with a pair of tweezers and a lot of swearing to get it out. Don’t be like me.
Your Kitchen’s Secret Weapon is a Safety Pin
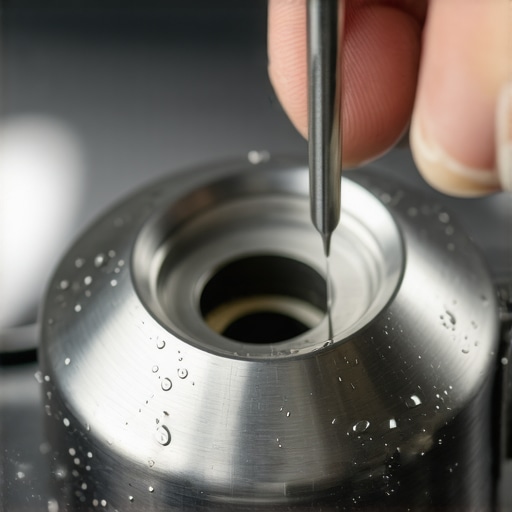
Instead of wooden tools, use a thin safety pin or a dedicated cleaning needle. Gently insert it into the air intake hole and wiggle it to break up the calcified milk. You aren’t trying to drill a new hole; you are just clearing the path. This is a common part of how to clean the inside of your steam wand pipe properly. If the blockage is stubborn, soak the part in a mixture of warm water and a specialized milk cleaner. This is much more effective than force. While you are at it, check the rest of your path to ensure the screen on your automatic milk frother is also clear of debris.
The Final Flush to Prove it Works
Once you think the hole is clear, don’t just put it back and hope for the best. Blow through the intake hole (or use a can of compressed air) to see if you feel the flow. If air moves freely, reassemble the unit. If you still see the machine struggling, it might be that your steam wand only blows out weak air due to an internal seal issue rather than just a clog. After I cleared my first major blockage, the difference was night and day—the screeching sound of the steam changed into a soft, paper-tearing hiss, and I finally got that silk-textured milk I had been craving for weeks. Always remember to purge your steam wand immediately after every single use to prevent this from happening again.I’ve seen enthusiasts spend thousands on barista gear for coffee enthusiasts, only to treat it like a standard kitchen appliance. The biggest myth in the home coffee community is that professional-grade equipment is ‘set and forget.’ In reality, the more sophisticated the machine, the more temperamental it becomes. For instance, many beginners believe that a machine’s pressure gauge is the ultimate truth. However, the secret to getting consistent shots on a dual boiler isn’t just watching the needle—it’s managing thermal stability and puck resistance. If you’ve ever wondered why your espresso pressure drops suddenly during the shot, it is rarely a pump failure; it is usually the coffee puck degrading and losing its structural integrity.
Why does your four-hole steam tip feel weaker than a two-hole?
This is where physics often surprises users. There is a common belief that more holes in a steam wand tip lead to faster or better frothing. But if you are using a home machine with a smaller boiler, adding a four-hole tip actually reduces the velocity of the steam by spreading the limited pressure too thin. According to the Specialty Coffee Association (SCA), high steam velocity—not just volume—is what creates the rolling vortex necessary for true microfoam. If the pressure isn’t concentrated enough to push through multiple openings, you end up with ‘wet’ steam that dilutes your milk rather than aerating it. This is a primary reason why your espresso machine steam is wet and spluttery even after a full heat-up cycle. One massive ‘trap’ I see people fall into is the over-reliance on descaling. We are told to descale frequently, but if you have heavy lime scale buildup, a standard descaling cycle can actually dislodge a large flake that then travels into the tiny Gicleur orifice. Suddenly, you go from a slightly slow machine to one that has zero flow. I’ve seen many people assume their pump died when they simply needed to check your espresso machines group head flow rate and manually clear the internal pathway. Furthermore, if you use a super-automatic, understanding why you should never use oily beans in a super-automatic is vital for survival; those oils turn internal coffee dust into a thick sludge that no standard cleaning cycle can reach. Have you ever fallen into this trap? Let me know in the comments. Whether it’s a blocked air hole or a scale flake that ruined your morning, we’ve all been there. It is a mandatory rite of passage in mastering the art of home espresso. Before you look at how to select the perfect coffee grinder for your brew or upgrade your machine, make sure you’ve mastered the mechanical quirks of the gear you already own.Once you have cleared that stubborn air hole, you might think you are out of the woods, but true coffee longevity requires looking at the parts that usually hide in the shadows. I learned this the hard way when a blowout mid-shot sprayed boiling water across my counter. If you notice leaks from the top of your handle, you need to learn how to check if your portafilter gasket is actually sealed before the rubber becomes brittle and fused to the group head. Similarly, if you have ever wondered why your drip tray is filling up even when you arent pulling shots, it is likely a sign that an internal three-way solenoid valve is beginning to weep. These small red flags are the machine’s way of asking for help before a catastrophic failure occurs.
My personal tackle box for espresso repairs
I keep a small plastic bin in my kitchen cabinet dedicated entirely to spare parts. In it, you will find food-safe silicone grease, a short-handled stubby screwdriver, and a pick set. Having a short screwdriver is a lifesaver for the trick to removing a stuck shower screen without stripping the screw, especially on machines with low clearance. According to the technical documentation for the E61 group head—a standard in high-end home machines—failing to use proper lubrication on the internal cam and pins can lead to mechanical binding. This is why I always make time for how to properly lubricate your e61-group head-cam every six months. It prevents that ‘spongy’ lever feel and keeps the pressure transition smooth as silk.
What does it take to keep your espresso gear alive for a decade?
Consistency isn’t just about your tamping technique; it is about the chemistry of what goes into the boiler. The biggest threat to your machine isn’t usage—it is water. I strongly recommend the easy way to test your machines water hardness at home using a simple titration kit. If your water is too hard, you’ll find yourself in a cycle of heavy descaling that can lead to disaster. I’ve had to help friends learn how to recover from a failed descaling process more times than I can count because a loose piece of calcium got stuck in the gicleur. If you want the move for better espresso without buying a new machine, focus on your water filtration first. It is the single most effective way to extend the life of your heating elements and sensors.
Smart sensors are the next big thing in home coffee
Looking ahead, I predict we are going to see a massive shift toward integrated diagnostic sensors in mid-range home gear. We are already seeing high-end machines that alert you to flow-rate deviations before you even taste the bitterness. Soon, your machine will likely tell you exactly which seal is failing via a smartphone app. Until then, we have to rely on our eyes and ears. I challenge you to take five minutes this weekend to how to check your espresso machines group head flow rate. If the water isn’t falling in a clean, even rain-like pattern, it’s time to pull that shower screen and give it a deep soak. Your morning lattes will thank you for it.
The Hardest Lesson I Learned About Chasing the Perfect Microfoam
After years of tinkering, I’ve realized that expensive equipment can’t compensate for poor maintenance habits. One major ‘aha’ moment was discovering that why your milk pitcher position is ruining your texture is often the hidden link between ‘hot milk’ and ‘silky microfoam.’ I also spent weeks frustrated by bitter shots before realizing why your espresso tastes burnt even with light roast beans—it was simple overheating of the group head. My biggest takeaway? Listen to your machine. If it sounds different, it is trying to tell you something is wrong. [image_placeholder_5]
The Small Toolkit That Saves My Espresso Machine Every Time
You don’t need a degree in mechanical engineering, but a few specific items are non-negotiable. First, a set of dental picks and safety pins for those tiny air intakes. Second, a high-quality food-grade lubricant for your lever. Third, a small jar of ’emergency’ parts like gaskets, because the simple fix for a portafilter that leaks from the top is usually just a five dollar rubber ring. If you find yourself in a bind with your grinder, knowing how to fix a grinder adjustment ring that is stuck can save you a trip to the professional repair shop. These tools give you the confidence to maintain your gear rather than fearing its complexity.
Stop Overthinking and Start Tinkering
The path to mastering the art of home espresso is paved with failed shots and messy counters. Don’t let a blocked air hole or a slightly off-tasting shot discourage you; every mechanical issue is just a puzzle waiting for a solution. Whether you are trying to figure out the secret to making latte art with almond milk or just trying to get through the Monday morning rush, remember that you are in control of the process. Your machine is a tool, and with a little bit of care, it will serve you thousands of perfect drinks for years to come. Have you ever spent hours troubleshooting a problem only to find it was a tiny, simple fix? Let me know your biggest ‘coffee win’ in the comments below!