How to Tell if Your Milk is Too Old for Latte Art
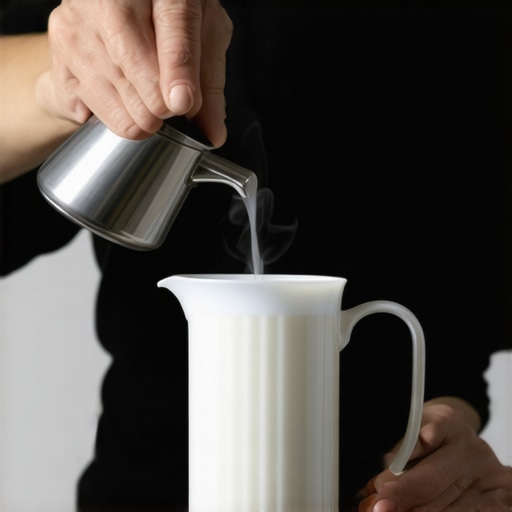
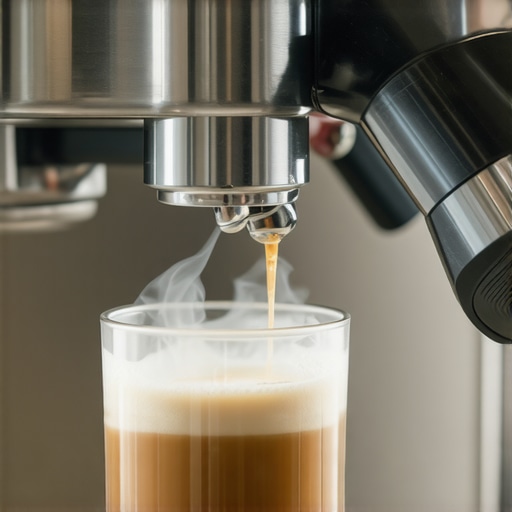
I was standing in my kitchen last Tuesday, feeling quite proud of myself. I’d finally managed to dial in my espresso machine perfectly, the aroma of the beans filling the room like a high-end cafe. I pulled a gorgeous, syrupy shot, but the moment I started steaming my milk, things went sideways. The milk looked fine in the jug, it smelled sweet enough, and it wasn’t even past the date stamped on the carton. Yet, instead of that glossy, wet-paint microfoam I was aiming for, I got a pitcher full of stiff, dry bubbles that looked like dish soap. I tried to pour a simple heart, and it just collapsed into a sad, white blob. It was a visceral reminder that the ‘best before’ date is a total liar when it comes to the delicate chemistry of latte art.
Stop Blaming Your Steam Wand for That Crumbly Foam
It is so easy to think your equipment is the problem. I’ve spent hours wondering why some steam wands have two holes and others have four, thinking a different tip would fix my texture issues. But more often than not, the culprit is the milk itself. Even if your milk hasn’t ‘turned’ in the sense of smelling like a gym locker, it can still be way too old for professional-grade foam. This happens because of a process called lipolysis, where enzymes break down the fats and proteins that give milk its structural integrity. According to research published in the Journal of Dairy Science, these chemical changes can start happening just days after the milk is bottled, long before the ‘sour’ smell ever hits your nose.
Is Slightly Old Milk Actually Ruining Your Morning?
You might be skeptical. After all, if it tastes fine in cereal, it should work for a latte, right? Not quite. I made the mistake early on of thinking I could force the texture by perfecting the trick to getting the perfect swirl in your milk pitcher, but you can’t polish a stone. If the proteins are compromised, your foam will never have the elasticity needed for complex designs. Today, I’m going to show you exactly how to diagnose your milk before you waste a perfectly good shot of espresso. We are going to look at the ‘stretch’ test and the visual cues that tell you it’s time to buy a fresh gallon. Have you ever had a morning where your foam just wouldn’t cooperate despite your best efforts? I’d love to hear if you’ve been struggling with why your latte art foam always slumps to one side or stays too stiff to pour. Let’s figure out if your milk is the hidden enemy in your workflow. Knowing how to texture milk for a flat white versus a latte is only half the battle; the other half is knowing when your ingredients have simply given up on you.
Run the Stretch Test to See if Your Milk Is Dead
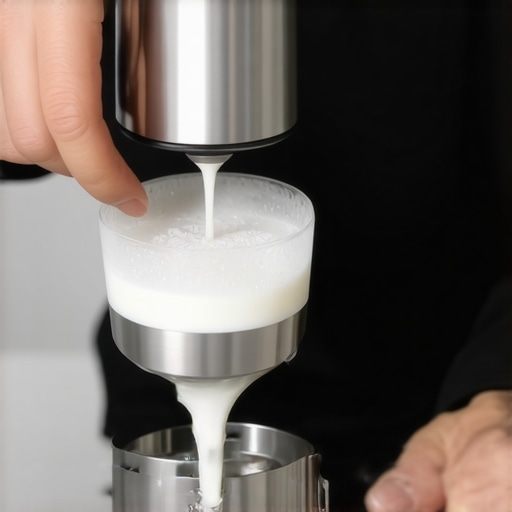
When you start aerating, the air should be integrated into the milk like ink into water—seamless and fluid. If you hear that paper-tearing sound but the milk stays thin and watery, the proteins are likely fractured. Think of milk proteins like tiny balloons; as they age, the walls get thin. Eventually, they can’t hold the air you’re forcing in. This is the ‘stretch test.’ If you can’t get the volume to increase by at least 20% within the first few seconds of steaming, your milk has chemically checked out. I remember a particularly frustrating Tuesday where I went through three different pitchers, convinced I’d forgotten how to hold a jug, only to realize the carton had been sitting in the back of my fridge for six days. It looked white, it tasted sweet, but the protein structure was effectively a ghost. Even if you are mastering the art of home espresso tips for beginners, you cannot overcome the physics of broken proteins.
How to Spot the Dish Soap Texture Early
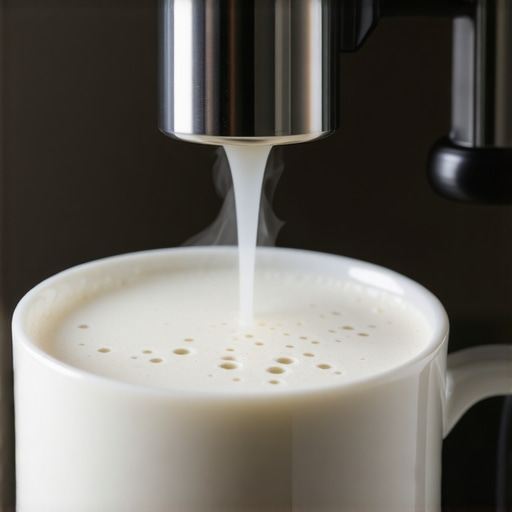
Fresh milk produces microfoam that looks like wet paint. If your foam looks like the bubbles in a kitchen sink, it’s a sign of high free fatty acids. The transition from glossy to soapy happens fast. You’ll notice that instead of a whirlpool of cream, the milk stays separated, with large, dry bubbles floating on top of hot, thin liquid. This is why knowing how to texture milk for a flat white versus a latte is secondary to ingredient quality; the former requires a very specific, tight emulsion that old milk simply cannot sustain.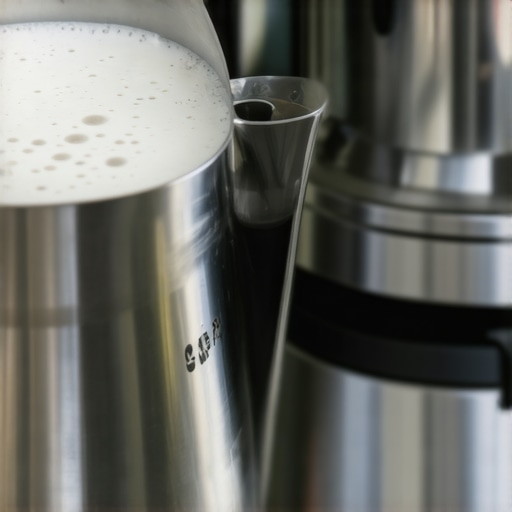
Rule Out a Clogged Wand Before You Blame the Carton
Before you dump the milk, check your gear. A partial blockage in the steam tip can mimic the effects of old milk by introducing air inconsistently or at the wrong velocity. If you have been curious why some steam wands have two holes and others have four, remember that the hole configuration dictates the force of the steam. If one hole is partially blocked by dried milk, your vortex will be lopsided and weak, resulting in poor integration. I always recommend using the one way to fix a clogged steam wand without chemicals to ensure you have full, unobstructed pressure before deciding your milk is the culprit. A clear wand is the baseline for any diagnostic.
Stop the Big Bubble Effect with Better Aeration
If you’re noticing your foam is separating instantly, you might be introducing air too late in the process. You need to finish all your ‘stretching’—the part where you hear the chirping sounds—before the pitcher reaches body temperature (around 100°F or 37°C). After that, it’s all about the vortex. Mastering the trick to getting the perfect swirl in your milk pitcher is the only way to polish the microfoam you’ve created. If you miss this window, the heat will set the bubbles in place, and you will eventually be searching for how to stop your milk foam from turning into a big bubble as the texture becomes unmanageable and stiff. For the best results, always prioritize fresh, cold milk and a clean steam path.Even if you manage to fix the milk, you might still find your final cup lacking. I used to think that as long as my microfoam was glossy, I was a pro. But then I started noticing that my shots tasted flat or, worse, like old paper. This is where most enthusiasts fall into a classic trap: they assume the machine is the star of the show. In reality, the most expensive top-rated espresso machines are practically useless if your grinder isn’t up to the task. We often obsess over milk texture because it’s visual, but the silent killer of home espresso is actually grind retention.
Stop Chasing Pressure and Start Watching Your Retention
Most home baristas believe that a consistent shot comes from ‘dialing in’ once and leaving it. I’ve found that even if you’re mastering the art of home espresso tips for beginners, you will get sabotaged by the half-gram of stale coffee stuck in your machine’s chute. This is why your coffee grinder retains more grounds than it should, leading to a mix of fresh and oxidized coffee that ruins the clarity of your shot. I’ve had mornings where my latte art was a masterpiece, yet the drink itself tasted like a library. If you aren’t purging a few grams of beans before your first shot, you are basically seasoning your fresh coffee with yesterday’s leftovers.
How Do Professional Baristas Maintain Consistency While the Weather Changes?
You might notice that your shots pull differently at 8 AM than they do at 2 PM. It’s not your imagination. A study in the Journal of Agricultural and Food Chemistry confirms that coffee beans are highly hygroscopic, meaning they absorb moisture from the air, which changes how they shatter under the burrs. This is the primary reason why your grinder settings feel like they changed overnight. When the humidity spikes, the beans become more ‘plastic’ and less ‘brittle,’ requiring a finer adjustment to maintain the same flow rate. If you don’t account for this, you’ll find that why your espresso shot volume varies even with the same dose becomes a daily headache. 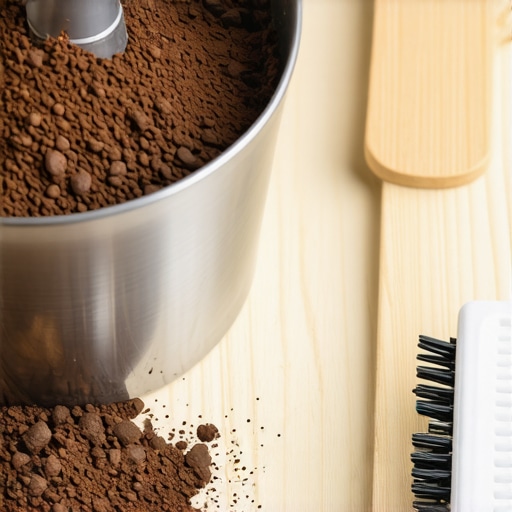
The Seasoning Myth That’s Costing You Flavor
Another common mistake is thinking burrs are perfect straight out of the box. I remember being so frustrated that my brand-new, high-end grinder was producing ‘muddy’ shots. It turns out I didn’t know how to properly season new steel burrs for better consistency. New burrs have microscopic burrs (the bad kind) and sharp edges that need to be worn down slightly—usually by running 5 to 10 pounds of cheap beans through them—before they produce a uniform particle distribution. Without this, your espresso will often suffer from micro-channeling, which is a major reason why your espresso shot tastes like cardboard. When you are how to select the perfect coffee grinder for your brew, you have to factor in this break-in period.
Don’t Overlook the Simple Mechanics of Your Gear
We often look for complex electrical failures when things go wrong, but it’s usually something mechanical. I’ve seen people replace entire pumps when all they needed was a better understanding of choosing the best barista gear for their specific workflow. Have you ever fallen into the trap of thinking your machine was broken, only to realize it was just a dirty grinder or a humid kitchen? Let me know in the comments, because we’ve all been there—standing over a machine at 7 AM wondering where it all went wrong.It usually starts with the water. If you aren’t paying attention to the minerals in your tank, you’re on a collision course with a professional technician and a very expensive repair bill. I’ve learned the hard way that the invisible buildup inside your machine is far more dangerous than a few spilled coffee grounds on the counter.
Clean Your Shower Screen Before It Ruins Your Morning
I used to ignore the shower screen until I noticed my shots were coming out lopsided and bitter. A clogged screen is a fast track to ruinous channeling because the water can’t distribute evenly across the puck. You’ll want to know why your group head shower screen is getting clogged so fast to avoid those uneven extractions that make even the best beans taste like battery acid. It’s not just about the screen; if you don’t occasionally how to check your espresso machines group head flow rate, you’re essentially guessing at the health of your pump. I make it a habit to backflush every single day, but once a week, I take a screwdriver to that screen and give it a deep soak. #IMAGE_PLACE_HOLDER_D#
Why Scale is the Silent Killer of Home Espresso
Limescale is the absolute enemy of longevity. I check my boiler’s health every few months by inspecting the heating element or the water sensors. If you are wondering how to tell if your machine boiler is accumulating lime scale, you need to be proactive before your steam pressure starts to dip. According to the Specialty Coffee Association (SCA) Water Quality Standard, total alkalinity should be at or near 40 mg/L to buffer acidity without causing excessive scale buildup. When the buildup does happen, I always look for the best way to descale a boiler without using harsh vinegar, as the smell of vinegar can haunt your group head for weeks.
How can I keep my espresso gear working like new for years?
Maintenance is a rhythm, not a chore. Beyond the boiler, you have to think about the moving parts. I recently had to learn how to properly lubricate your e61 group head cam because the lever started to feel gritty and resistant. For the grinder, I’ve found that a vacuum isn’t enough; you really need to know how to clean your grinders discharge chute with a pipe cleaner to remove the oily residue that causes clumps.
Ditch the Guesswork with the Right Barista Gear
When it comes to scaling your results, the tools you choose matter. I’ve seen people spend thousands on top-rated espresso machines for coffee lovers in 2025 only to use a kitchen scale that lags by three seconds. This is often why your espresso scale is jumping numbers while the shot is pulling, making it impossible to hit your yield. When choosing the best barista gear, I prioritize responsiveness over aesthetics every time. Looking forward, I predict we will see smart sensors built directly into filter baskets that measure resistance in real-time, effectively ending the era of ‘blind’ dialing-in. For now, try the ‘flashlight test’ on your shower screen tonight to see if your dispersion is truly even—you might be surprised by what you find.
Lessons I Had to Learn the Hard Way Behind the Counter
I used to think my hands were the problem, but it was usually the calendar. I’ve realized that milk isn’t just a liquid; it’s a living, changing ingredient. Once those proteins start to degrade, no amount of skill can save the pour. Also, remember that your equipment is only as good as its last cleaning. I spent weeks trying to figure out why my latte art foam always slumps to one side before realizing my steam wand was partially blocked internally. The biggest lightbulb moment for me was accepting that consistency is about controlling the variables you can see—like your grind—and respecting the ones you can’t, like the age of your milk. #IMAGE_PLACEHOLDER_E#
Gear That Actually Earned a Permanent Spot in My Kitchen
If you want to stop guessing, you need the right kit. I always point people toward top-rated espresso machines for coffee lovers in 2025 that prioritize temperature stability. For maintenance, don’t overlook simple tools; I’ve found that knowing how to clean your grinders discharge chute with a pipe cleaner is more effective than any expensive chemical. And if you’re just starting and want to build confidence before stepping up to a prosumer machine, look into milk frothers that transform your coffee experience to practice your texture without the pressure of a full steam wand.
Your Next Shot Will Be Better Than Your Last
Home espresso is a craft that rewards patience and curiosity. You will have bad mornings where the milk won’t stretch and the shot tastes like grass, but those are the moments that teach you the most about mastering the art of home espresso tips for beginners. Every failed heart and every sour sip is just data for your next pour. Keep pulling, keep tasting, and don’t let a bad carton of milk ruin your passion for the perfect cup. What’s the most frustrating thing that’s ever happened during your morning coffee routine? Let me know in the comments below!