The Reason Your Steam Pressure Dips When You Open the Valve
I’ve been there. It’s 7:00 AM, the house is quiet, and I’m ready to pull the perfect shot. I purge the wand, and everything looks great. But the moment I bury that tip into my milk pitcher and open the valve full-bore, the needle on my pressure gauge dives like it’s training for the Olympics. It’s frustrating, right? You want that powerful, dry steam, but instead, you get a weak hiss that barely swirls the milk. Early in my coffee journey, I actually thought I had a leak and spent three hours taking apart my first Gaggia, only to find absolutely nothing wrong with the hardware. I was just fighting against basic physics and some bad habits. Today, I’m going to show you exactly why that pressure dip happens and how you can manage your boiler to keep those bubbles tiny and that texture like melted ice cream. We’re going to turn that weak puff into a jet engine.
Your Boiler is Fighting a Losing Battle with Physics
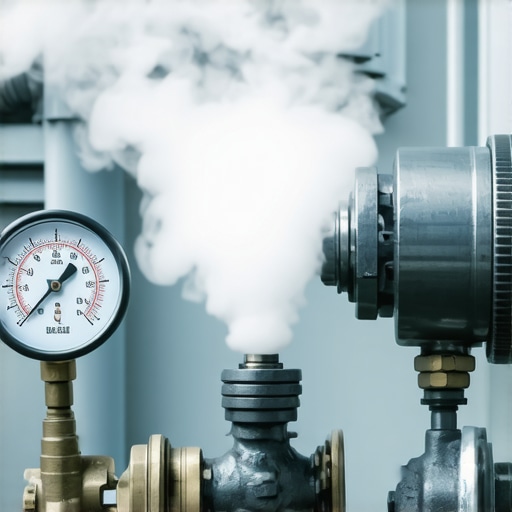
If you’ve ever felt like your machine is personally insulting you by losing power mid-stretch, you aren’t alone. When you open that steam valve, you’re creating an immediate exit for the pressure that’s been building up. According to engineering principles regarding saturated steam, as soon as you release steam, the temperature in the boiler drops, which instantly lowers the pressure because the two are physically linked. It’s a literal race between the heating element and the escaping gas. I used to make the mistake of purging my steam wand for way too long, basically emptying my ‘fuel tank’ before the race even started. Especially on a single boiler machine, this effect is dramatic because you don’t have the sheer volume of a massive commercial tank to fall back on. To get technical, the American Society of Mechanical Engineers notes that steam quality is highly dependent on maintaining a constant thermal equilibrium, something a small home boiler struggles with.
Is your machine just too small for the job?
It’s easy to look at those high-end espresso machines and think that spending more money is the only way to avoid a pressure drop. While a bigger boiler helps, even a prosumer machine will show a dip if you don’t know how to time the heating cycle. Have you ever noticed that your second latte always seems to have better texture than the first? That’s a huge clue about how your machine recovers. If you’ve been dealing with a steam wand that only blows out weak air, it might not be a broken part, but a timing issue. I want to know—have you ever stood there staring at your gauge, wondering if you should just give up and drink it black? Let’s get into the nitty-gritty of why that air is thinning out on you and how to stop it.
Catch the Wave Before the Heating Light Dies
To stop the pressure from crashing, you have to change how you view your machine’s heating cycle. Think of your boiler like a capacitor that stores energy; once you open the valve, that energy starts draining immediately. On most home machines, the heating element kicks in only after the temperature drops below a certain point. If you wait for the ‘steam ready’ light to stay solid, you’re actually starting your frothing at the peak of the cycle, meaning the heater might stay off for the first ten seconds of your stretch. By the time the machine realizes it needs more heat, your pressure is already in the basement. I’ve found that the real trick in mastering the art of home espresso tips for beginners is to start steaming about ten seconds before the light indicates the boiler is ready. This forces the heating element to stay active through the entire process, effectively ‘surfing’ the heat wave so the pressure remains constant instead of diving.
Keep Your Steam Dry and Powerful
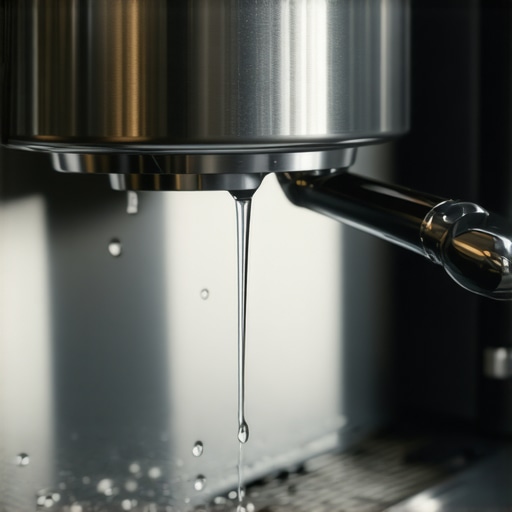
One of the biggest culprits of a weak, sputtering start is residual water trapped in the wand. If you don’t clear this out, you’re essentially injecting cold water into your milk, which kills the temperature and ruins the texture. This is exactly why your espresso machine steam is wet and spluttery. Give the valve a quick, two-second blast into the drip tray right before you submerge the tip. You want to see a clean, invisible jet of gas, not a white cloud of water droplets. I learned this the hard way during a sleepy Monday morning session where I skipped the purge. I ended up with a pitcher of ‘hot milk water’ that looked more like dish soap than velvet. It was a mess, and the lack of initial pressure meant I couldn’t even get the milk spinning.
Find the Sweet Spot for a Perfect Vortex
Pressure is only half the battle; the other half is how you use the force you have. If you’re seeing the reason your pump pressure drops when you engage the steam wand, it’s often because the boiler is struggling to keep up with the volume of air you’re trying to incorporate. Instead of burying the wand deep, keep it just below the surface to create a tight, controlled ‘chirping’ sound. This is the air being folded in. Once the pitcher feels like the temperature of your palm, tilt the jug slightly to create a whirlpool. Using the trick to getting the perfect swirl in your milk pitcher ensures that the pressure you do have is concentrated into a spinning motion, which breaks down large bubbles into microfoam.
Adjust Your Technique for Different Drinks
Consistency is key, but you also need to know when to stop. The pressure requirements change depending on whether you are learning how to texture milk for a flat white versus a latte. A flat white requires a shorter ‘stretching’ phase (less air) which preserves more of that precious steam pressure for the ‘rolling’ phase. I once tried to froth a giant 20oz pitcher on my small single-boiler machine, and by the time I got enough air in, the boiler was completely exhausted. The milk just sat there, warm and flat, because the pressure gauge had hit zero. Now, I stick to smaller pitchers to ensure the steam-to-milk ratio stays in my favor, allowing the machine to finish the job before it runs out of breath.
It’s a common myth in the home barista community that more pressure always equals better microfoam. I used to think that if I could just get my gauge to stay at 1.5 bar, my latte art would suddenly look like a world champion’s. But here’s the contrarian truth: high pressure without high-velocity control is just a recipe for big, soapy bubbles. When you have too much raw force, the ‘stretching’ phase happens so fast that you don’t have time to properly incorporate the air before the milk hits its limit temperature. This is often the reason your steam wand only makes thin hot milk—you’ve heated the liquid but haven’t actually textured the proteins. I’ve seen enthusiasts spend a fortune on choosing the best barista gear for coffee enthusiasts only to struggle because they are fighting a jet engine they can’t steer.
The ‘Oops’ factor that most people miss is the cumulative effect of scale. Even if you use filtered water, knowing how to tell if your machine boiler is accumulating lime scale is vital because minerals act as a thermal insulator. This forces your heating element to work harder and longer, leading to those inconsistent pressure drops we talked about. Scott Rao, a renowned coffee expert, notes in his technical guides that thermal stability is the foundation of espresso quality; without it, you’re just guessing. I once spent a week trying to figure out how to select the perfect coffee grinder for your brew to fix a sour taste, only to realize my boiler was so scaled up it wasn’t reaching the right steam temperature. It’s a humbling reminder that the ‘hidden’ parts of your machine matter as much as the shiny ones on the outside.
Does your steam tip have too many holes for its own good?
Many people believe that a four-hole steam tip is a mandatory upgrade for any serious machine. However, on smaller home units, a four-hole tip can actually be a disadvantage. Because the boiler volume is limited, four holes allow the steam to escape too quickly, causing the pressure to bottom out before you’ve finished the ‘roll’ phase. If you’re using a single-boiler machine, sticking to a one or two-hole tip increases the velocity of the steam, which is what actually creates that beautiful, silky vortex. Have you ever fallen into the trap of buying an ‘upgrade’ that actually made your workflow harder? Let me know in the comments below, I’d love to hear your gear-regret stories.
It’s one thing to master a single shot, but it’s another to keep that machine screaming with power six months down the line. If you’ve started noticing a gradual decline in steam velocity, you’re likely dealing with the silent build-up of milk proteins and minerals. I used to be lazy about my post-session wipe-down until I realized that every time I didn’t purge properly, a tiny amount of milk was being sucked back into the arm. Over time, this creates a literal ‘milk-stone’ that restricts flow. I’ve found that how to clean the inside of your steam wand pipe is the most overlooked maintenance task in the home kitchen. If you’re already at the point where the steam feels wheezy, you might need to use the one way to fix a clogged steam wand without chemicals before you do permanent damage to the heating element.
How do I keep my espresso setup running for a decade?
The secret isn’t a specialized tool; it’s your water. According to the La Marzocco Home Technical Specifications, nearly 90% of all espresso machine failures are directly related to scale build-up from hard water. I personally use a dedicated water softening pouch in my reservoir, but you shouldn’t guess your local chemistry. You should use the easy way to test your machines water hardness at home to see if you’re actually feeding your boiler liquid rock. Beyond water, if you own an E61 group head machine, you need to learn how to properly lubricate your e61 group head cam. That ‘crunchy’ feeling in the lever isn’t just annoying; it’s metal-on-metal wear that will eventually lead to a costly rebuild.
#IMAGE_PLACE_HOLDER_D#
In terms of workflow tools, I’ve stopped chasing the flashiest gear and started focusing on precision. For example, I struggled for months with inconsistent shots until I realized my scale was drifting. This is often why your espresso scale is jumping numbers while the shot is pulling—vibration and moisture. Now, I use a low-profile, water-resistant scale that actually fits the workspace. If you’ve ever wondered why your coffee scale doesn’t fit under your portafilter, it’s usually a sign you need to switch to a dedicated espresso scale rather than a generic kitchen one. This small switch changed my extraction game because it allowed me to stop the shot at the exact gram every single time.
Looking ahead, I predict we are moving toward ‘smart’ maintenance alerts where sensors inside the boiler will track mineral accumulation in real-time, sending a notification to your phone before the pressure even starts to dip. Until then, you have to be the sensor. I highly recommend that you try this tomorrow: use the trick to removing a stuck shower screen without stripping the screw and take a look at the dispersion block. If it’s covered in black oils, that’s exactly why your morning latte tastes ‘off’ despite your best efforts. Clean it, and you’ll feel like you bought a brand-new machine.
The Most Expensive Mistake I Made With Steam
For years, I believed that if I couldn’t get my machine to hold a rock-steady 1.5 bar, I was destined for mediocre lattes. I spent a fortune on ‘upgrades’ only to realize that technique trumps tech every single time. One major lightbulb moment was realizing that the sound of the steam is actually more honest than the needle on your gauge. If it sounds like a jet engine but the milk isn’t moving, your angle is wrong, not your pressure. I also learned that the secret to silky microfoam on a single boiler machine is often about finding that tiny sweet spot where the air ‘chirps’ just once a second. If you’re rushing the stretch, you’re just creating heat without texture. Another realization was that the ambient temperature of your pitcher matters; if you start with a warm jug, you have less time to incorporate air before the milk hits the limit.
Tools That Saved My Morning Routine
If you are tired of guessing why your shots and steam feel inconsistent, I highly recommend looking at your foundational equipment. I personally rely on a few specific resources and tools to keep my workflow sane. First, stop fighting with cheap hardware and focus on choosing the best barista gear for coffee enthusiasts that is built to last. If your boiler is truly too small for your needs, checking out the top-rated espresso machines for coffee lovers in 2025 can give you an idea of what a dual-boiler setup could do for your workflow. For those mornings when you just want a quick drink without the ritual, I still keep one of these milk frothers that transform your coffee experience in my cabinet for pure convenience. Reliability is the only way to ensure your skills actually improve over time.
Your Boiler is Ready When You Are
The transition from a frustrated beginner to a confident barista doesn’t happen overnight, and a few pressure drops shouldn’t discourage you from the craft. Every time you ‘surf’ the heating cycle or perfectly time your purge, you’re building the muscle memory that makes home espresso such a rewarding hobby. Don’t let a dipping needle ruin your morning; adjust your timing, trust your ears, and keep pouring until that texture looks like liquid silk. Have you ever had your steam pressure die right in the middle of a perfect swirl? Let me know your most frustrating steam wand stories in the comments below!