The Trick to Finding the True Zero Point on Your Grinder
I still remember the gut-wrenching sound of my first high-end flat burr grinder screaming in protest. I was trying to pull a shot of a particularly stubborn Ethiopian bean, and in my quest for the perfect extraction, I kept clicking that adjustment collar tighter. I thought I knew where zero was because the little sticker on the front told me so. Then came the metallic chirp—the sound of expensive steel burrs grinding against each other instead of coffee beans. It’s a mistake that makes your stomach drop, and honestly, it’s one I see new home baristas make far too often when choosing the best coffee grinder for your brew.
Your Grinder’s Dial is Probably Lying to You
Here is the cold, hard truth: the number 0 on your adjustment ring is almost never the actual point where your burrs touch. It’s just a reference point someone at a factory slapped on. When you don’t know your true zero, you’re essentially flying blind. You might think you’re grinding for espresso, but you’re actually miles away from the sweet spot, leading to those sour, watery shots that ruin your morning. My goal today is to help you find that touch point safely so you can finally stop guessing. We’re going to walk through the Chirp Method and why it’s the secret to consistent extraction.
Is finding the zero point actually worth the risk of damaging your burrs?
I get the hesitation. The idea of purposely bringing your burrs together sounds like a recipe for a very expensive repair bill. But here’s the thing: you aren’t trying to grind them into dust; you’re looking for the lightest possible kiss of metal. Technical standards from the Specialty Coffee Association suggest that precise burr alignment and knowing your absolute minimum distance are critical for achieving a uniform particle size distribution. If you don’t know where you start, you’ll never know where you’re going. Have you ever felt like your grinder settings changed overnight for no reason? That usually happens because you’re operating too close to a floating zero point.
The Cost of Grinding Blindly
Early in my journey, I wasted pounds of expensive beans because I didn’t realize my zero was actually set five steps too coarse. I would tighten the dial, but the shots remained fast and hollow. I even thought I needed to start fixing a stuck adjustment ring because I assumed the machine was broken. In reality, I just hadn’t calibrated my baseline. When you find the true zero, you unlock the ability to properly season new steel burrs and get the most out of your gear. Have you ever heard that terrifying chirp and panicked, or are you still wondering why your shots never seem to slow down? Drop a comment and tell me your horror stories, because we’ve all been there. Now, let’s get into the step-by-step process of finding that point without breaking anything.
Execute the Chirp Method Without Damaging Your Gear
Before you even think about touching the adjustment collar, you need to ensure the grinding chamber is pristine. I once spent an hour trying to find zero on a used Mazzer Mini I picked up, only to realize a tiny, fossilized bean fragment was wedged in the threads, giving me a chirp that was actually just a crunch. You should how to clean your grinders discharge chute with a pipe cleaner and vacuum out any loose debris. Residual oils can act like a glue, making the adjustment feel stiffer than it actually is. If your grinder is filthy, you will never get the tactile feedback required for a precise calibration in your home espresso setup.
Clean the Grinding Chamber Before You Start
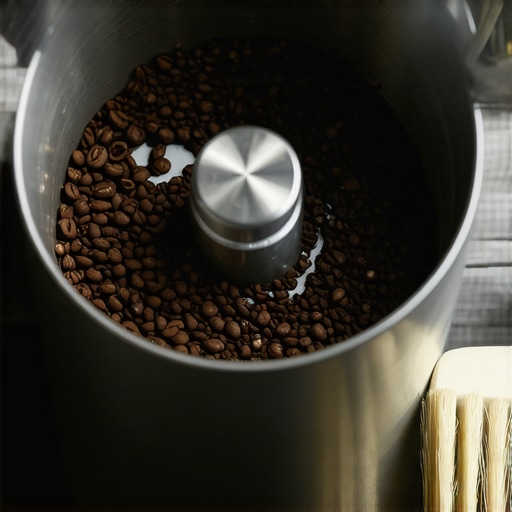
Every piece of barista gear performs better when it is clean, but for calibration, it is a non-negotiable requirement. Old grounds compress and can actually prevent the burrs from touching properly, or worse, they can create an uneven surface that gives you a false zero. This is a common culprit for why your coffee grinder retains more grounds than it should. Start by purging the machine and using a stiff brush to clear the interface between the top burr carrier and the adjustment ring.
Keep the Motor Running During Adjustment
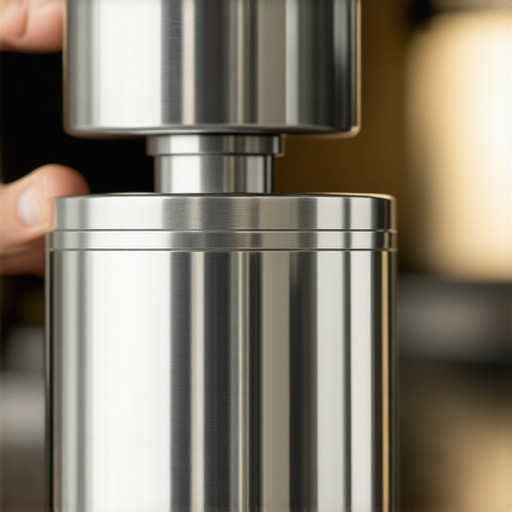
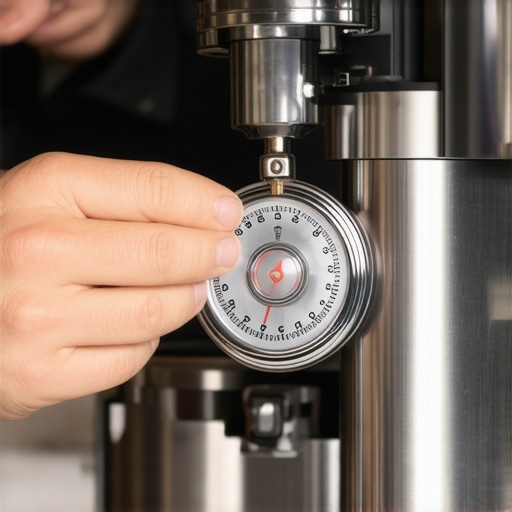
Next, turn the motor on. This is the move that saves your grinder from unnecessary wear. Adjusting burrs while they are stationary can trap particles between the faces, potentially scoring the metal or straining the motor upon startup. With the motor spinning, slowly—and I mean millimeter by millimeter—rotate your collar toward the finest setting. Listen for the pitch change. As the burrs get closer, the air resistance actually changes the hum of the motor. It is like tuning a guitar; you are looking for that specific harmonic frequency where the metal surfaces are parallel and just about to merge.
Identify the Precise Moment of Contact
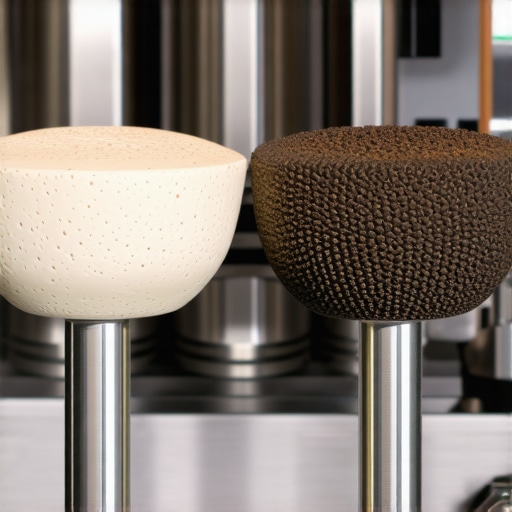
You are listening for a very specific sound. It’s not a grind or a thud; it’s a high-pitched, rhythmic chirp that sounds like a metallic whistle or a bird. This is the sound of the highest points of your burrs just barely kissing. For those using flat burrs in their coffee grinders, the sound is often more distinct than on conical burrs, which may have a more gradual brushing sound. The moment you hear that chirp, stop immediately. Back the adjustment off by a few degrees until the sound vanishes. This is your absolute physical zero, the point of no return for your home espresso shots.
Mark Your True Zero for Consistent Shots
I usually take a piece of electrical tape or a silver sharpie and mark this spot on the body of the machine. It is much more reliable than the factory sticker because it accounts for the actual physical state of your burrs. If you have just finished a session, remember that why your shot extraction time changes every single day often comes down to thermal expansion; metal expands when hot, so your zero point might actually shift slightly after grinding a back-to-back queue of drinks. Once you have this baseline, you can finally understand how to better how to stop static from ruining your grinding workflow by avoiding the ultra-fine dust zone that occurs right at the touch point. This process takes less than five minutes but pays dividends for every bag of beans you buy.
Now that you have marked your true zero, we need to address the biggest lie in the coffee world: the idea that your settings are static. Most home baristas think that once they find that sweet spot for their favorite medium roast, they are set until the bag runs out. In my experience, this mindset is the fastest way to inconsistent results. Your grinder is a living, breathing part of your barista gear. As the burrs heat up during a session, the metal physically expands. According to studies on thermal expansion in precision machining, even a few degrees of temperature change can shift the physical gap between your burrs by microns. This is exactly why your shot extraction time changes every single day, even if you haven’t touched the dial.
The Exchange Trap That Ruins Your First Shot
Everyone talks about retention, but the real silent killer is ‘exchange.’ You might have a low-retention grinder, but there is almost always a gram or two of coffee hiding in the nooks of the exit chute. If you calibrate your zero and then immediately pull a shot the next morning, that first dose is contaminated with stale, oxidized grounds from the day before. This is why your espresso shot tastes like cardboard even when you are using fresh, expensive beans. The ‘oops’ factor here is assuming that a ‘zero retention’ label means you don’t need to purge. Always purge at least two grams after an adjustment or after the machine has sat idle. Have you ever fallen into this trap and wondered why your first latte of the day never tastes as good as the second? Let me know in the comments.

Does the weight of the beans in your hopper actually change your grind size?
This is a nuance many pros overlook. When the hopper is full, the weight of the beans—known as ‘bean column pressure’—pushes the beans into the burrs more aggressively. As the hopper empties, that pressure drops, often resulting in a slightly coarser grind and faster flow rate. If you are serious about home espresso, I recommend either single-dosing or keeping your hopper at least half-full to maintain consistent pressure on the burrs. This minor shift is often the reason people struggle with why your espresso shot is running too fast but the puck is dry. It’s not just about the setting; it’s about the physics of the feed.
Think Beyond the Grinder for Better Shots
While we are obsessing over microns and burr contact, don’t forget that the rest of your kit needs to keep up. I’ve seen people spend $2,000 on a grinder only to use a plastic tamper that doesn’t fit the basket. You need to be choosing the best barista gear for coffee enthusiasts that complements your grinder’s precision. For instance, if you are getting uneven flow, look at the move for better espresso distribution without fancy tools before you blame your calibration. Even your milk prep matters; if your grinder is perfect but your steam wand is acting up, the whole experience falls apart. If you’ve noticed the reason your milk smells like its burning before the temp is right, it might be time to look at your wand’s cleanliness rather than your grind profile. Mastery is about the harmony between every tool on your counter.
Even the most expensive barista gear eventually fails if you ignore the internal hygiene of the machine. If you have invested in one of the top-rated espresso machines for coffee lovers in 2025, you owe it to yourself to look past the shiny stainless steel. I learned this the hard way when my machine started producing shots that tasted like burnt rubber. It turned out I had ignored the danger of leaving old coffee oils in your portafilter spouts, leading to a buildup that a simple rinse couldn’t touch. Now, I make it a habit to perform a full chemical backflush every 50 shots. If you have an E61 machine, you also need to know how to properly lubricate your e61 group head cam because the cleaning process actually strips away the essential oils that keep your lever movement smooth.
How can I maintain my machine’s performance for the long haul?
The secret isn’t a fancy tool; it is the water you put in the tank. According to the SCA Water Quality Handbook, the chemical composition of your water is the single most important factor for machine longevity. Scale is a silent killer that eats through heating elements and clogs solenoid valves. I personally use the easy way to test your machines water hardness at home to ensure my filtration is actually working. I predict that the next big shift in home espresso will be the widespread adoption of built-in reverse osmosis systems or real-time TDS sensors, similar to what we see in high-end commercial bars, making scale a thing of the past for serious hobbyists.
Simple Habits for a Clean Steam Wand
Milk residue is incredibly stubborn. If you are using specialized milk frothers that transform your coffee experience, the same rules apply: heat and protein create a glue that can block your steam tips in hours. I have found that using the one way to fix a clogged steam wand without chemicals is a lifesaver when I forget a daily wipe-down. Speaking of which, always master the best way to purge your steam wand without getting burned to ensure that no milk is sucked back into the boiler when the pressure drops after use.
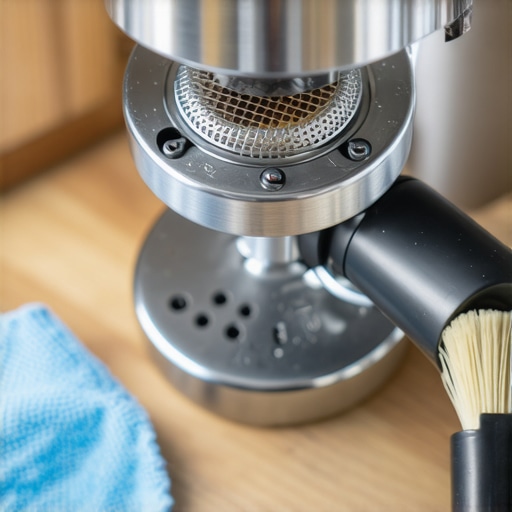
These small rituals are what separate a frustrated owner from a lifetime of great coffee. It is easy to get caught up in the latest coffee grinders or gadgets, but your baseline must be a machine that functions as the manufacturer intended. My challenge to you this week: don’t just pull shots. Take five minutes to unscrew your shower screen and give it a deep soak. You will be shocked at how much better your morning latte tastes when the water can finally flow freely through a clean screen. This simple maintenance task is the foundation of consistency.
The Hardest Lessons I Learned While Chasing the God Shot
Over the years, I’ve realized that the equipment is only half the battle. One major lightbulb moment for me was discovering how much humidity affects my morning routine; if it’s raining outside, I know I’ll likely need to adjust my coffee grinders one notch finer to compensate for the atmospheric moisture. I also learned that consistency beats perfection every single time. Instead of constantly tweaking for a ‘perfect’ shot that doesn’t exist, I started focusing on mastering the art of home espresso tips for beginners to build a solid, repeatable foundation. If you ever find why your coffee grinder is stalling with dark roast beans, it is often a sign that your internal calibration is off or your burrs are overdue for a deep clean. Never underestimate the power of a good purge—if your machine has been sitting idle, that first gram of coffee is already losing its vibrant flavor profile.
The Tools That Made Me a Better Barista
If you are looking to level up your workflow, there are a few resources and items I swear by. First, a high-quality precision basket is the single most cost-effective way to improve your extraction consistency across the board. Second, I always recommend diving into the chemistry of water; it is the silent partner in every cup and dictates the longevity of your heating elements. Third, stop guessing your dose and get a scale that reads to 0.1 grams reliably. When you are how to select the perfect coffee grinder for your brew, you need a measuring tool that can keep up with that level of mechanical precision. Finally, choosing the best barista gear for coffee enthusiasts means investing in small but mighty tools like a dedicated RDT spray bottle to eliminate static before it ruins your kitchen counter.
#IMAGE_PLACEHOLDER_E#
Don’t Let the Learning Curve Discourage You
Becoming a home barista is a marathon, not a sprint. There will be days when the shots are sour, the milk won’t foam correctly, and you feel like your barista gear is actively working against you. But remember, every ‘bad’ shot is just valuable data that helps you understand your home espresso setup better. The more you practice the chirp method and maintenance rituals, the more intuitive these adjustments become. Trust your palate, keep your espresso machines clean, and don’t be afraid to experiment to find what tastes best to you. Did finding your true zero point finally solve your extraction woes, or are you still struggling with a specific type of bean? Let me know in the comments below!