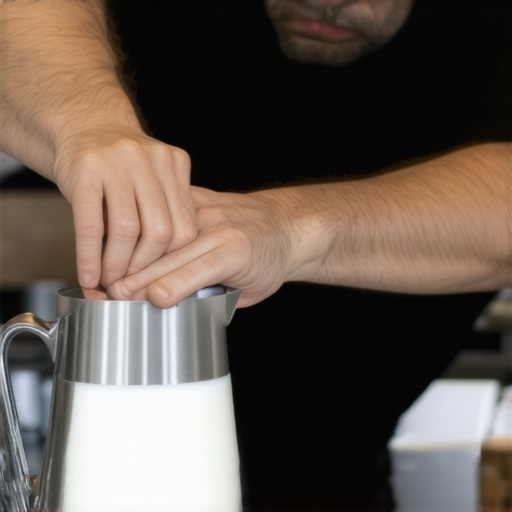
The Secret to Perfecting Your Milk Texture on a Single Boiler
The sound was the first thing that tipped me off. Instead of that gentle ‘tch-tch’ of air meeting milk, my steam wand let out a high-pitched scream that echoed through my quiet kitchen. I watched in horror as my milk transformed from a liquid into something resembling a sea-foam disaster. Five seconds later, I had a pitcher of hot, soapy-looking bubbles instead of that glossy, wet-paint texture we all crave. If you’ve ever felt like your single boiler is working against you, I have been there. I used to think the secret was simply buying a more expensive machine, but the truth is, I was making a massive mistake by waiting too long for the ‘ready’ light to turn on. I was letting the boiler reach its peak temperature and then watching the pressure plummet right when I needed it most. Today, we are going to change that. I am going to show you how to hack your workflow so you never have to settle for ‘good enough’ foam again.
My Morning Battle with the Bubble Bath
When I first started out, I honestly thought how to stop your milk foam from turning into a big bubble was just some unattainable magic trick reserved for people with industrial-grade gear. I would stand there, clutching my barista gear, wondering why my latte art looked like a sad, deflated cloud. My biggest mistake? I was obsessed with ‘stretching’ the milk for way too long. I thought more noise meant better foam. It did not. It just meant I was serving myself a cup of hot air. According to research by the Specialty Coffee Association, the ideal milk texture for latte art is achieved by creating a very specific vortex that breaks down those large bubbles into micro-bubbles, which is notoriously difficult when your steam pressure starts to dip on a small machine.
Isn’t a single boiler just too weak for real art?
I hear this all the time. People tell me their machine just ‘does not have the guts.’ They think because they aren’t using top-rated espresso machines with massive dual boilers, they are stuck with flat whites that are actually just lattes. But here is the thing: some of the best latte art I have ever seen came off a humble single-boiler unit. It is not about raw power; it is about the timing of the steam. If you feel like your steam wand is just wet and spluttery, you are likely fighting the machine’s thermal cycle rather than using it to your advantage. Have you ever felt like you’re in a race against the ‘ready’ light? Let me know if your machine usually wins that race!
The Secret to Timing Your Steam
The ‘lightbulb moment’ for me was realizing that I should not wait for the steam light to stay solid. By the time that light is on, the heating element has often already turned off, and you are coasting on leftover heat. To get that silky microfoam on a single boiler machine, you have to start steaming before the machine thinks it is ready. This keeps the heating element engaged throughout the entire process, giving you a constant, powerful stream of dry steam. It sounds counter-intuitive, I know. But once you master this ‘surfing’ technique, you will realize that texturing milk for a flat white is actually easier than you think, even on a budget. We are going to dive into the exact seconds you need to count and how to position that pitcher to finally see that glossy shine.
Flip the Switch and Start Your Engines Early
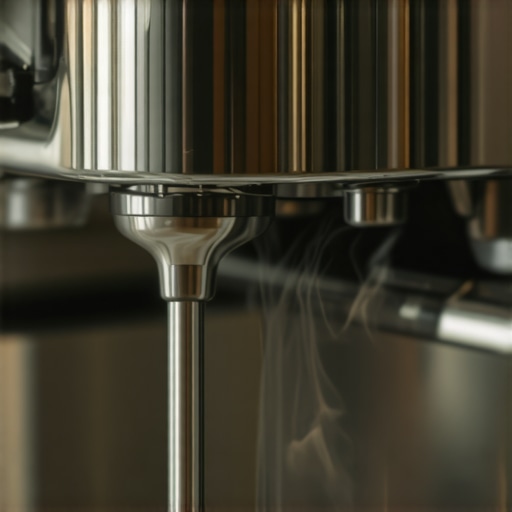
The first rule of single-boiler club is that you never wait for the machine to tell you it is ready. If you wait for that light to stay solid, the heating element shuts off, and you are essentially trying to steam milk with a dying battery. Instead, purge your wand for a few seconds to get rid of any condensation—this stops the why your espresso machine steam is wet and spluttery issue that ruins your texture before you even start—and then hit the steam button. Count to ten. For most entry-level top-rated espresso machines, this is the sweet spot where the boiler is actively heating but hasn’t reached its automatic shut-off point. You want the machine to be ‘fighting’ to keep the heat up while you are drawing steam out, ensuring a constant, aggressive flow.
Find the Sweet Spot on the Clock
Positioning your wand is not just about depth; it is about the geometry of the swirl. Think of your pitcher as a clock face. You want to place the steam wand tip slightly off-center, usually at the 3 o’clock or 9 o’clock position, depending on your machine’s arm angle. This is the only way to create a consistent vortex. If you just stick it in the middle, you get a ‘tsunami’ effect that splashes everywhere, or worse, you end up with why your milk pitcher position is ruining your texture because the air isn’t being properly integrated into the liquid. You need that milk spinning like a tilt-a-whirl to break down the large bubbles into microscopic silk.
Stop Adding Air Sooner Than You Think
I remember the first time I actually got this right. I was using a cheap milk frothers that transform your coffee experience for months before graduating to a real machine, and I carried over the bad habit of ‘paper-tearing’ the sound for the whole duration. One morning, I decided to stop the air intake (the ‘stretching’ phase) as soon as the pitcher felt like the temperature of a lukewarm bath—roughly 100°F (37°C). I spent the rest of the time with the wand submerged, focusing entirely on the trick to getting the perfect swirl in your milk pitcher. When I poured it, the milk didn’t just sit on top like a dry hat; it flowed like white velvet. It was the first time I didn’t have to scoop out a soapy bubble bath with a spoon before drinking.
Keep the Pressure High and the Holes Clear
If you find that the reason your steam pressure dips when you open the valve is becoming a chronic problem, you likely started your steam cycle too late or your boiler is simply too small to handle a large 12oz pitcher. Stick to smaller 6oz drinks while you are learning. Also, keep an eye on your hardware maintenance. If your foam is inconsistent even with perfect technique, check if why your steam wand tip holes keep getting clogged with old milk residue. Even a tiny bit of buildup can redirect the steam at an awkward angle, making it impossible to get that consistent spin. Mastering mastering the art of home espresso tips for beginners is 20% gear and 80% muscle memory, so don’t get discouraged if your first ten tries still look like sea foam.
It is a common trap to assume that upgrading your machine is the only way to solve these texturing issues. Many enthusiasts believe they need to jump straight into top-rated espresso machines with massive dual boilers just to get a decent latte. However, in my experience, the problem isn’t always the hardware; it is a fundamental misunderstanding of steam velocity versus volume. You can have all the volume in the world, but if the velocity is low, you will never get that whirlpool action required for microfoam. Have you ever fallen into this trap where you blamed your machine instead of your technique? Let me know in the comments!
Stop Over-Purging and Save Your Pressure
One of the biggest ‘oops’ factors I see in home kitchens is over-purging. While you certainly need to clear the line to avoid why your espresso machine steam is wet and spluttery, purging for too long on a single boiler unit drains the very pressure you worked so hard to build. You only need a quick, two-second blast to clear condensation. Anything more and you are essentially wasting the ‘head’ of steam that provides that initial, critical stretching power. Even if you have spent a fortune choosing the best barista gear for coffee enthusiasts, your milk will fail if you starve the boiler of its early-cycle kinetic energy. This is often the reason your steam pressure dips when you open the valve right when you need it most.
Why does the number of holes in your steam tip change everything?
This is where the real nuance lives. Many entry-level machines come with a one-hole tip. Aspiring baristas often swap these for three or four-hole versions, thinking more outlets mean more power. But on a small boiler, more holes actually lower the steam velocity, making it significantly harder to create a consistent vortex. It is like putting a firehose nozzle on a standard garden hose—you lose the focus needed to move the milk. Research from the Specialty Coffee Association emphasizes that the stability of your foam depends on the denaturation of proteins, specifically whey proteins like β-lactoglobulin. This chemical reaction happens most effectively when heat is introduced rapidly with high turbulence. If your tip doesn’t match your boiler’s output, you will never reach that silky threshold.
The Ingredient Quality Often Overlooked
Finally, do not overlook your ingredients or your broader workflow. You could have the best mastering the art of home espresso tips for beginners and perfect technique, but if your milk is nearing its expiration, the proteins have already begun to break down due to enzymatic activity. Learning how to tell if your milk is too old for latte art is just as important as knowing how to select the perfect coffee grinder for your brew. If you do end up with a mess, remember that the one way to fix a clogged steam wand without chemicals is through consistent mechanical cleaning after every single session to prevent protein buildup from narrowing your steam path.I used to think my grinder was invincible until I hit a small pebble hidden in a bag of light roast—it was a literal wake-up call. Beyond the occasional foreign object, the slow buildup of rancid coffee oils is the silent killer of flavor consistency. I finally implemented the move that saves your grinder from unnecessary wear by doing a deep clean every two kilos of beans. If you skip this, you will find that the trick to finding the true zero point on your grinder becomes an impossible task because gunked-up threads prevent precision movement. Consistency is not just about the beans you buy; it is about the health of the tools you use to process them.
Why Your Scale is Lying to You Mid-Shot
Nothing ruins a morning workflow like seeing the digital numbers bounce erratically while you are trying to hit a perfect 1:2 ratio. I eventually realized why your espresso scale is jumping numbers while the shot is pulling usually comes down to simple vibration or moisture trapped under the weighing plate. If you are not using a high-quality silicone mat or a dedicated tray, you are essentially just guessing. When you are researching how to select the perfect coffee grinder for your brew, we often focus on the burr geometry, but the scale is the silent partner that validates every single adjustment you make. Without a reliable readout, your ‘dialing-in’ process is just a shot in the dark.
How do I keep my machine running like new for years?
Maintenance starts at the shower screen. If you have noticed why your group head shower screen is getting clogged so fast, it is likely because you are not backflushing with water after every session. I recommend a water-only backflush every single day; it takes thirty seconds and saves you from a bitter, oily mess that ruins your shots. According to Scott Rao’s The Espresso Coffee Professional’s Guide, thermal stability in the group head can vary by as much as 10 degrees during a single shot if the internal passages are restricted by scale or debris. Also, pay attention to your steam wand. Even if you wipe it religiously, milk proteins can bake inside the tip. Remember the one way to fix a clogged steam wand without chemicals is a long steam-soak and mechanical clearing, but daily prevention is far easier than a deep-clean cure.
Precision Is the Only Way Forward
Looking ahead, I suspect the home espresso hobby is moving toward even more ‘smart’ integration. We are already seeing machines that can profile pressure via a smartphone app. But honestly? All the technology in the world will not save a shot if you haven’t first mastered mastering the art of home espresso tips for beginners. The machines of the future will be more forgiving, but the fundamentals of hygiene and calibration will always remain the same. My challenge to you: try the ‘early flip’ on your steam switch tomorrow morning. Don’t wait for the machine to give you the green light—take control of the boiler’s thermal cycle yourself. You will see that microfoam transform from a bubble bath into liquid silk instantly.
The Hardest Lessons I Learned About Home Steam Control
I spent years thinking I needed a commercial setup to get that glossy finish, but the real breakthrough came when I stopped trusting the ‘ready’ light and started listening to the boiler. One of my biggest lightbulb moments was realizing that patience is actually your enemy on a single boiler; if you wait for the light to stabilize, you lose the aggressive pressure needed for a proper vortex. I also discovered that if the reason your steam wand only makes thin hot milk is haunting your mornings, it is usually because you aren’t integrating air early enough in the thermal cycle. Finally, remember that your gear is only as good as your maintenance routine; there was a morning I thought I had a total mechanical failure when actually I just needed to know how to fix a grinder that wont turn on after cleaning to get my workflow back on track.
My Essential Toolkit for Better Brews
Building a professional-level home setup is a marathon, not a sprint, and having the right references makes all the difference. To stay on the right path, I highly recommend diving into The Espresso Coffee Professional’s Guide by Scott Rao for a deep dive into the physics of extraction. When it comes to hardware, focus on choosing the best barista gear for coffee enthusiasts that fits your specific kitchen space rather than just following the latest trends. For those looking to eventually upgrade, keeping an eye on top-rated espresso machines can help you understand the jump from vibration pumps to rotary ones, but never underestimate the impact of how to select the perfect coffee grinder for your brew to ensure your base espresso is as high-quality as your milk texture.
Your Journey Toward Liquid Silk
Your path to the perfect latte doesn’t require a thousand-dollar upgrade today—it requires a shift in how you interact with the machine already sitting on your counter. By mastering the ‘early flip’ thermal cycle and giving your barista gear the daily care it deserves, you are already ahead of most home enthusiasts. Don’t be afraid of a few soapy bubble baths along the way; every failed pitcher is just data for your next success. What’s the biggest frustration you’ve faced when texturing milk on a single boiler machine? Let’s troubleshoot it together in the comments below!