The Reason Your Grinder Makes a Thumping Noise During Use
I was standing in my kitchen at 6:00 AM, eyes barely open, anticipating that first sweet sip of caffeine. I pressed the button on my favorite machine, and instead of the usual high-pitched whir, I heard a rhythmic, heavy thud-thud-thud that shook the entire counter. My heart dropped. I thought for sure I had finally killed my motor or, worse, fed it a literal pebble. It turns out, that thumping noise is one of the most common—and misunderstood—scares in the home barista world. It is visceral, annoying, and enough to make any coffee lover reach for the instant jar in despair. But before you start shopping for a replacement, take a breath. I have been through this exact panic more times than I care to admit, and usually, the fix is much simpler than a total mechanical failure.
Stop Panic-Searching Because Your Grinder Sounds Like a Drum Set
When I first started learning how to select the perfect coffee grinder for your brew, I made the classic rookie mistake of ignoring the subtle signs that something was off. I would just toss in oily beans and hope for the best, only to be met with a sound that felt like a heartbeat inside the casing. That thumping is rarely a random occurrence; it is a physical signal from your machine. Whether it is a result of beans popcorning in the hopper or an issue where you need to balance a grinder that is wobbling on the counter, identifying the source is the only way to save your sanity. We are going to solve this today by looking at the mechanical hurdles that cause these vibrations, from burr alignment to the simple physics of bean density.
Is a little noise really going to break my expensive gear?
It is natural to be skeptical. You might think it is just a quirk of the machine, but ignoring mechanical disharmony is a risky game. According to data from the National Electrical Manufacturers Association (NEMA), persistent, uneven mechanical loads on small appliance motors can lead to premature winding failure, potentially shortening the lifespan of your gear significantly. I once ignored a slight rhythmic knock in my own setup, only to find out later it was the start of a major clog. If you have ever noticed that your coffee grinder is stalling with dark roast beans, you have already seen how much stress bean types can put on the internal components. Have you ever felt that sinking feeling in your stomach when your grinder starts making a sound it definitely should not? Let me know in the comments, because I have been there too, and I promise we can get your mornings back to being quiet and caffeinated. This is about more than just noise; it is about protecting your investment and ensuring your extraction remains consistent every single day.
Diagnose the Source Before Tearing the Motor Apart
The first thing I do when that rhythmic thudding starts is check the hopper for what I call ‘intruders.’ Think of your grinder like a high-performance engine; even a tiny pebble or a piece of wood from a processing plant acts like a wrench thrown into the gears. I remember one Tuesday morning I was convinced my expensive flat-burr set was warped. I spent twenty minutes sweating over the screwdriver only to find a single, unroasted green bean that was hard as a literal rock wedged against the sweepers. It wasn’t a mechanical failure; it was just a physical standoff. Before you panic, empty the hopper and look for anything that doesn’t look like a roasted bean.
Stop Your Machine from Walking Across the Counter
Sometimes the thumping isn’t internal at all, but a result of physics. If your grinder isn’t seated properly, the torque of the motor can create a harmonic vibration that sounds like a hammer hitting the wood. You need to how to stop your espresso machines feet from vibration walking to ensure the surface isn’t amplifying the natural sound of the motor. If the unit is bouncing even a millimeter, every rotation of the burrs creates a percussion effect. I found that placing a heavy rubber mat under my setup instantly turned a scary ‘thump’ into a professional ‘hum.’
Tighten the Adjustment Ring to Prevent Drift
If you notice the noise happens only at specific grind settings, your adjustment collar might be the culprit. A loose collar allows the burrs to chatter against each other. You can often see this visually when your coffee grinder adjustment moves while youre grinding. That movement isn’t just annoying for your recipe; it creates an uneven load on the motor shaft, leading to that ‘thump-thump-thump’ as the burrs struggle to stay parallel. 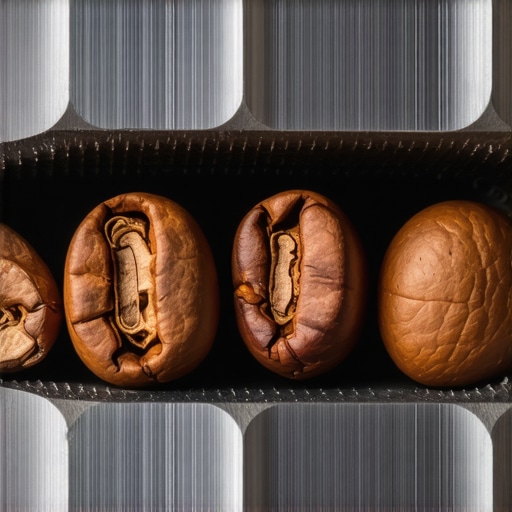
Check for Dull Burrs That Struggle to Grab Beans
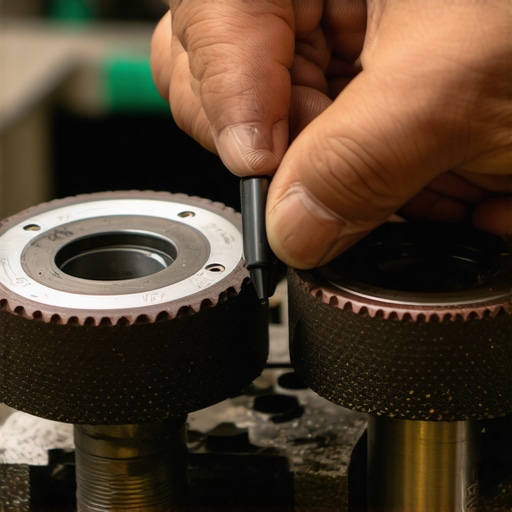
When burrs lose their edge, they don’t slice the beans; they crush them through brute force. This increased resistance makes the motor work in pulses rather than a smooth, continuous flow. Learning how to tell if your espresso grinder burrs are dull is crucial because dull metal creates more heat and more vibration. I once pushed a set of burrs two years past their prime, and the thumping grew so loud it sounded like a heartbeat. Replacing them felt like getting a brand-new machine.
Adopt the Move That Saves Your Motor
Prevention is always quieter than a repair. Most home baristas dump beans into a stationary grinder, which forces the motor to start under a heavy load. Instead, try the move that saves your grinder from unnecessary wear: always turn the motor on before dropping your beans in (if you are single dosing) or use a purge shot to clear out old fragments. This ensures the burrs are already at full speed when they meet resistance, eliminating that initial mechanical jolt that often causes the internal components to knock against the housing.It is easy to assume that once your grinder stops thumping, you have achieved peak performance. But here is the contrarian truth: a quiet grinder isn’t necessarily a precise one. Many enthusiasts believe that ‘seasoning’ burrs is a myth or a way for manufacturers to justify early inconsistencies. In reality, new steel burrs have microscopic ‘teeth’ that are actually too sharp, leading to a massive spread in particle size. You need to properly season new steel burrs for better consistency before you can trust your palate. If you are chasing that god-shot and your gear is brand new, you are likely fighting the metal itself, not the beans.
Why does your grind setting feel like a moving target?
This is the nuance that separates the pros from the hobbyists. Your ‘zero point’ is not a fixed physical location on the dial. As the burrs heat up during a session, the metal expands. A study by the Specialty Coffee Association (SCA) on particle size distribution highlights that thermal expansion can significantly shift the effective distance between burrs, even if the adjustment ring hasn’t moved. If you don’t know the trick to finding the true zero point on your grinder every few weeks, you are essentially guessing. 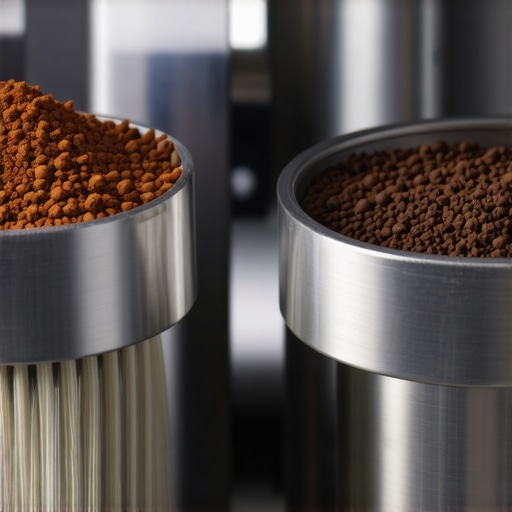
Avoid the stale coffee ghost in your chute
Beware the ‘retention trap’ which is the ultimate ‘oops’ factor. You might have the most expensive flat-burr setup in the world, but if your coffee grinder retains more grounds than it should, your first shot of the day is actually a blend of today’s specialty beans and yesterday’s stale dust. This is why your espresso shot tastes like cardboard despite using fresh roast. I used to think a quick purge was enough, but you really have to clean your grinders discharge chute with a pipe cleaner to clear the oil-caked walls that hold onto old fragments. Have you ever fallen into this trap of thinking a quick purge solves everything? Let me know in the comments. Instead of buying a new distribution tool, focus on these mechanical fundamentals first. You’ll find the move for better espresso distribution without fancy tools often starts with ensuring your grinder is actually delivering the dose it says it is, free from the ghosts of yesterday’s breakfast.Once your grinder is singing the right tune, the focus shifts to the heartbeat of the operation: the espresso machine. I have seen beautiful, multi-thousand-dollar machines reduced to scrap because of a single overlooked variable—water. If you aren’t regularly checking the minerals in your tank, you are essentially playing Russian roulette with your heating element. You need to learn the easy way to test your machines water hardness at home before those white flakes of calcium start clogging your gicleur. I personally use the API GH/KH drops because they are far more accurate than those unreliable paper strips.
Test Your Water Before the Scale Wins
The secret isn’t a deep clean once a year; it is the daily and weekly micro-tasks that prevent a ‘catastrophic leak’ call to a technician. Every evening, I perform a water backflush. It takes thirty seconds, but it prevents coffee oils from baking onto the group head and turning rancid. If you ignore this, you will eventually need to know how to spot a failing solenoid valve before it floods your kitchen. For those of us with E61 groups, you also have to learn how to properly lubricate your e61 group head cam because the detergent you use to clean the oils also strips away the food-grade grease required for smooth lever operation.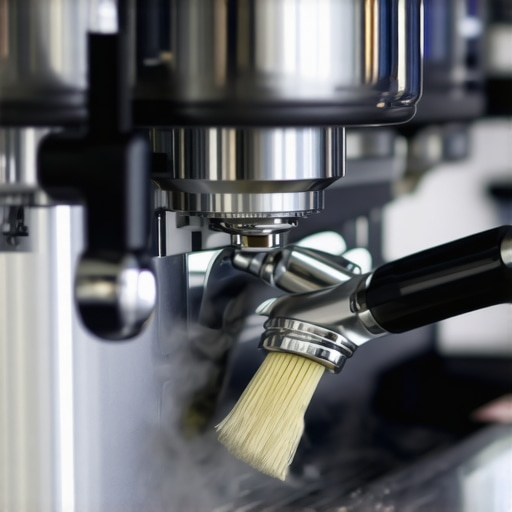
How do I maintain my espresso machine’s internals over time?
Don’t forget the steam side of things. If you have ever wondered why your steam wand tips keep getting blocked by milk residue, it is usually because of a lack of ‘purge and wipe’ discipline. According to the technical documentation for the La Marzocco Linea series, failure to purge immediately after frothing can result in milk being vacuum-sucked into the boiler as it cools—a nightmare scenario for hygiene and taste. I recommend using a dedicated pipe cleaner to clean the inside of your steam wand pipe at least once a month. As we look toward the future, I predict we will see ‘Smart Descaling’ become the norm—sensors within the machine that do not just count shots, but actually measure the conductivity of the water to tell you exactly when the scale buildup is reaching a critical level. For now, we have to rely on our tools and our senses. My top recommendation for any home barista isn’t a fancier tamper; it’s a high-quality water filtration jug. If you start with the right water, 90% of your maintenance headaches vanish. Take five minutes tonight and how to check your espresso machines group head flow rate. If it is uneven or pulsing, it is time for a deep clean. Don’t wait for the machine to stop working; be the barista your gear deserves.
Lessons from My Most Expensive Espresso Disasters
I used to think that the more expensive the gear, the less I would have to worry about the upkeep. That was my first major mistake. A high-end setup is simply a more expensive way to fail if you do not learn to listen to the subtle shifts in its mechanical language. One of the biggest ‘lightbulb moments’ for me was realizing that my ears are actually my best diagnostic tools. That rhythmic thumping we have been troubleshooting? It is not just an annoyance; it is your machine asking for help. I have learned that a ‘sticky’ feeling on a dial is never just a quirk; it is usually a warning sign. If you ever feel how to fix a grinder adjustment ring that wont budge, you are often catching a major mechanical failure before it happens. Don’t ignore these signals just because you are in a rush for your morning caffeine fix; the machine always wins the battle of neglect eventually.
The Gear That Actually Lives in My Coffee Drawer
For those ready to move beyond the basic panic-search, I highly recommend building a small, dedicated maintenance kit. Beyond the fancy scales and milk frothers that transform your coffee experience, you need the tools that handle the ‘gritty’ side of brewing. I keep a dedicated set of stiff pipe cleaners for my discharge chutes and a small tube of food-grade lubricant for my lever cams. If you are just starting your journey, mastering the art of home espresso tips for beginners often comes down to having a maintenance mindset from day one. #IMAGE_PLACE_HOLDER_E# I also suggest keeping an eye on the latest top rated espresso machines for coffee lovers in 2025 to see how newer models are integrating self-cleaning sensors that take the guesswork out of the equation for you.
Take Back Your Morning Ritual
The goal here is not just to stop a scary noise; it is to build a relationship with the tools that start your day. When you know your grinder is perfectly dialed and your machine is free of mineral scale, the coffee simply tastes better because it was made with genuine intention. Do not let a small mechanical hiccup like a thumping noise or the quick way to fix a sticky power switch on your grinder discourage you from the craft. Every repair you perform is a lesson that makes you a more skilled and confident home barista. You have the knowledge now to keep your setup running smoothly for years to come. Have you ever experienced a strange noise that turned out to be a simple fix, or did it lead to a major repair? Let me know in the comments below!