The right way to align your flat burrs for better shots
I remember sitting on my kitchen floor at 6:30 AM, surrounded by three different bags of expensive Ethiopian beans and a growing sense of pure, unadulterated defeat. I had the shiny machine, the professional-grade grinder, and yet, my espresso tasted like a weird mix of battery acid and wet dirt. I was doing everything by the book, but my shots were wildly inconsistent. It felt like I was being pranked by my own kitchen. That was the morning I realized that having great equipment is only half the battle; if your flat burrs aren’t perfectly parallel, you’re basically trying to win a race with a car that has square wheels. We’ve all been there, wondering why your espresso shot tastes like cardboard despite using the best beans. The truth is often hidden inside your grinder’s chamber. [image]
Your Grinder is Probably Lying to You
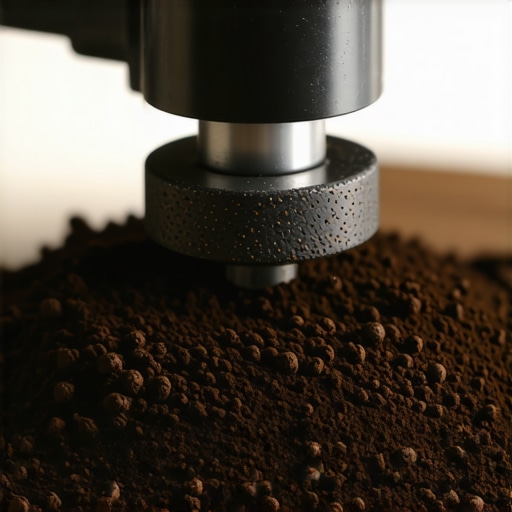
Many of us spend weeks how to select the perfect coffee grinder for your brew, only to trust that the factory sent us a perfectly calibrated machine. But here is the cold, hard truth: even high-end grinders can have tiny manufacturing tolerances that throw the burrs out of alignment by just a few microns. In the world of espresso, a micron is the difference between a syrupy, sweet nectar and a muddy mess. When your burrs are tilted, one side crushes the beans into dust while the other side leaves big chunks. This creates an uneven extraction that no amount of fancy tamping can fix. I used to think I just needed to buy more barista gear for coffee enthusiasts to solve my problems, but the solution was actually much cheaper—and a lot more hands-on. According to research on particle size distribution in the Journal of Food Engineering, even a slight misalignment in grinding discs can increase the production of ‘fines’ by over 20%, leading to those dreaded clogged shots and bitter finishes.
Is this whole alignment thing actually worth the effort?
I’ll be honest with you: it’s a bit of a tedious process, but it’s the single biggest ‘free’ upgrade you can give your coffee. When I first started, I made the classic rookie mistake of thinking I could just eyeball it. I ended up shimming my burrs with way too much material and nearly stripped the screws. Don’t be like me. You don’t need a degree in mechanical engineering, but you do need patience. Have you ever felt like you were chasing your tail trying to dial in a new bag of beans, only to have the flavor profile change every single time you moved the dial? If so, you’re the exact person I wrote this for. We’re going to walk through the ‘marker test’ and how to use simple aluminum shims to get those burrs perfectly flat. Before you assume you need to learn how to tell if your espresso grinder burrs are dull, let’s make sure they are actually meeting each other properly first. It’s time to stop guessing and start measuring.
Clean Every Last Speck from the Chamber
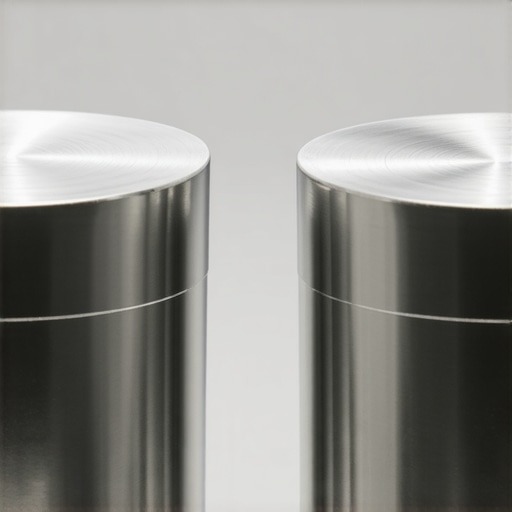
Before you can even think about alignment, you need a pristine workspace. Old coffee oils and compressed grounds act like tiny boulders that can throw off your measurements by several microns. I once spent an hour trying to align a burr set only to realize a tiny piece of parchment-like chaff was stuck under the carrier, making my readings useless. Take the time to learn how to clean the grinder chute without taking it apart for daily maintenance, but for this job, you actually need to open the heart of the machine. Use a stiff brush and a vacuum to ensure the mounting surfaces where the burrs sit are absolutely flat and silver.
Map the High Spots with a Dry Erase Marker
This is the gold standard for home baristas: the marker test. You take a standard dry-erase marker and color the very outer edge—the flat landing area—of the top and bottom burrs. Reassemble the grinder carefully, ensuring you don’t cross-thread the carrier. Now, you need to find the point where the burrs just barely kiss. This is a delicate dance. You should learn the trick to finding the true zero point on your grinder so you don’t accidentally grind the metal teeth into each other with too much force. Spin the motor by hand while the burrs are at that touching point. When you take it back apart, the ink will tell the story. If the ink is wiped off on only one small section, your burr is tilted toward that side. 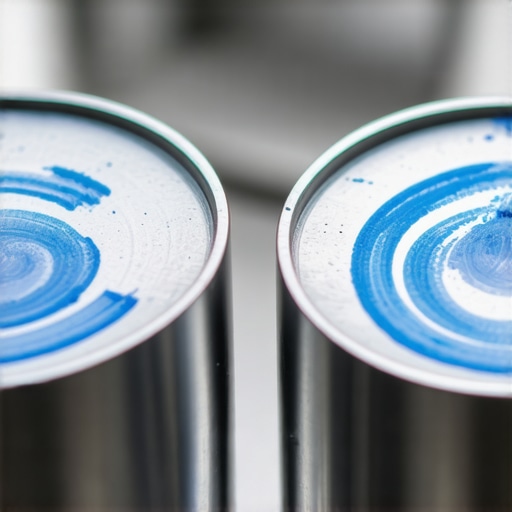
Fix the Tilt with Aluminum Foil Shims
Now comes the surgical part of the process. We use tiny strips of standard kitchen aluminum foil because it is thin, non-compressible, and handles the heat of a motor much better than paper. If the marker was wiped off at the ’12 o’clock’ position, you need to place a shim under the burr at the ‘6 o’clock’ position to lift the low side. I remember my first attempt at this; I used three layers of foil and the burrs were so lopsided they wouldn’t even spin. Start with a single, tiny layer. It is a game of extreme patience. If your alignment stays off, it causes a massive particle size spread where some grounds are over-extracted and others are barely touched. This often explains why your espresso shot tastes salty and how to fix it by ensuring the water hits every coffee particle evenly.
Listen for the Chirp and Season Your Work
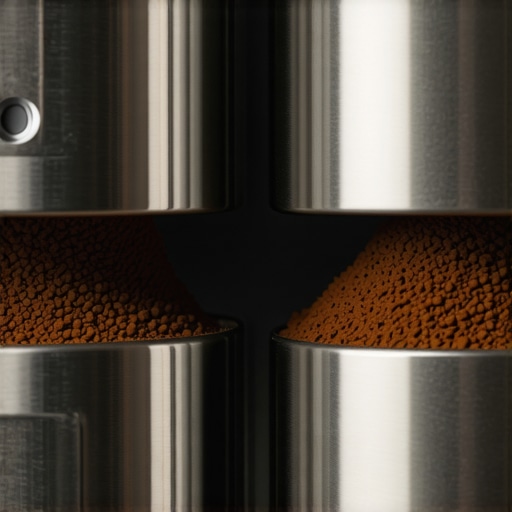
Once you think you have a full circle of ink being wiped away, you are almost there. But don’t just jump into a bag of expensive specialty beans. This process can be hard on the metal if you over-tighten during the test, so always practice the move that saves your grinder from unnecessary wear by backing off the adjustment collar before you ever turn the motor on. I spent four hours on a Tuesday night once, hunched over my counter with a magnifying glass and a roll of Reynolds Wrap. My wife thought I’d finally lost my mind, but that moment when the ‘chirp’ of the burrs became a clean, singular note instead of a rhythmic wobble was worth the frustration. If you’ve installed new burrs during this deep dive, keep in mind they need to settle. You will want to check how to properly season new steel burrs for better consistency before you start judging your final shots. A perfectly aligned burr set will produce a fluffy, uniform mound of coffee that makes your old ‘cardboard’ shots a thing of the past.
Once your burrs are aligned and your grinder is finally telling the truth, you might think you are out of the woods. I see it all the time: a barista spends hundreds on a polished, chrome-plated distribution spinner because they believe it’s the key to a perfect puck. In my experience, these tools are often the culprit behind a beautiful-looking shot that tastes completely hollow. Everyone says you need a perfectly level surface before you tamp, but the secret no one tells you is that those spinners often only redistribute the top 3mm of coffee. Underneath that smooth surface, you might have a cavern of air pockets. This is a primary reason why your distribution tool might be ruining your extraction rather than helping it.
#IMAGE_PLACE_HOLDER_C#
The “Oops” factor here is purely physical. When you use a wedge-style distributor, you are essentially pre-compressing the top layer of coffee. This creates a high-density cap that forces water to find the path of least resistance through the uncompressed grounds below. This imbalance explains why your espresso shot is running too-fast but the puck is dry on the inside. A study by the independent research group Socratic Coffee demonstrated that traditional leveling tools can actually decrease extraction yield compared to simpler, more thorough methods. If you want a real upgrade, look into the move for better espresso distribution without fancy tools, like using a simple needle to break up clumps throughout the entire depth of the basket.
Does tamping harder actually prevent channeling?
This is the most common myth in the home barista community. We’ve been told for decades that we need exactly 30 pounds of pressure. The reality is that once the air is squeezed out of the puck, coffee is non-compressible. Pushing harder doesn’t make the puck “more solid”; it just strains your wrist. If your grind is unevenly distributed, no amount of force will stop the water from boring a hole through the weak spots. This lack of internal consistency is exactly why your espresso shot volume varies even with the same dose every single morning. You are chasing a ghost that can only be caught by better prep, not a heavier hand.
Lastly, we need to talk about the hidden trap of thermal stability. Many enthusiasts obsess over their PID settings but ignore the temperature of the metal they are actually touching. If you don’t account for the heat sink of a cold portafilter, you’ve lost the battle before it started. Furthermore, you have to accept that why the first shot of the day is always a throwaway is a matter of physics—old grinds in the chute and a cold group head are variables that even the best gear can’t fully overcome. Have you ever fallen into this trap? Let me know in the comments.
Beyond the daily workflow, we have to talk about the longevity of the machine itself. I have seen far too many three-thousand-dollar dual-boilers turned into expensive paperweights because the owner used hard tap water for six months. The Specialty Coffee Association (SCA) Water Quality Handbook specifies that your brewing water should have zero chlorine and a very specific mineral balance to prevent internal corrosion. If you want to avoid a massive repair bill or a complete teardown, you need to find the easy way to test your machines water hardness at home and adjust your filtration accordingly.
Stop Letting Scale Kill Your Boiler
Scale is the silent killer of the home espresso world. It does not just change the flavor; it physically chokes the life out of your copper pipes and heating elements. If you start noticing why your espresso machine takes longer to heat up recently, you are already behind the curve. I personally use a BWT Bestsave pouch in my reservoir, but even that is not a permanent solution. You have to be proactive about your machine’s health. If you have inherited an older machine that looks like it has been through a war, you will need to learn how to clean an old copper boiler without damaging the finish before you ever attempt to pull a shot. It is a labor of love, but it is the only way to ensure the machine lasts another decade in your kitchen.
How do I maintain my espresso setup over time?
Maintenance is not just about descaling; it is about managing mechanical friction. If you have a lever-actuated machine, that squeaking sound you hear is not ‘character’—it is metal grinding against metal. Every six months, I take apart my group head to apply a fresh layer of Molykote 111 food-grade grease. Learning how to properly lubricate your e61 group head cam will make the lever action feel buttery smooth and prevent the internal brass pins from wearing down prematurely. While you are in there, take a hard look at your rubber seals. It is easy to ignore how to check if your portafilter gasket is actually sealed until you have a face full of steam mid-shot. I highly recommend swapping for silicone gaskets; they do not get brittle over time like the standard black rubber ones. 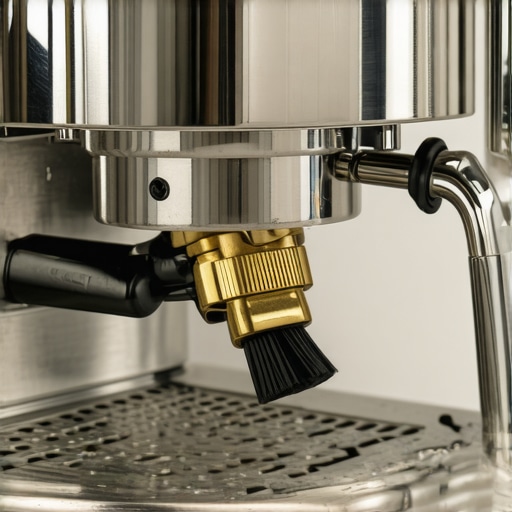
Smarter Gear is Coming for Your Countertop
Looking ahead, the hobbyist side of espresso is moving toward total data integration and automated feedback loops. We already have scales that talk to our grinders, but the next step is real-time water chemistry monitoring. I predict that within five years, high-end home machines will come standard with built-in sensors that warn you the moment your mineral content drifts out of the ‘safe zone’ for your specific boiler material. We are moving toward a world where the ‘art’ of espresso is supported by an invisible safety net of precision sensors. If you want to stay ahead, stop relying on guesswork and start measuring your variables. My challenge for you this week is to actually test your water with a liquid titration kit. It is the single most important thing you can do for the long-term health of your gear. If you need help picking the right maintenance tools for your specific kitchen setup, feel free to contact us and we can point you in the right direction.
The Most Expensive Mistakes I Made So You Dont Have To
Looking back at my early years of brewing, the biggest mistake wasn’t the gear; it was the ego. I thought I could outsmart physics by buying my way out of poor technique. The first hard truth I learned is that the ‘God Shot’ is often a lucky accident until you master consistency. In my quest for the perfect cup, I realized that your palate will almost always evolve faster than your gear. Before you upgrade your machine, revisit your water chemistry and your distribution technique. Another lightbulb moment was realizing that cleaning is maintenance, not a secondary chore. A machine that isn’t backflushed regularly is a machine in a state of slow failure. When I finally embraced that 98% of my beverage is water, I stopped blaming the beans and started fixing my filtration.
My Minimalist Toolkit for Reliable Results
I have bought every gadget marketed to baristas, but only a few stay on my counter every morning because they actually improve the workflow. Instead of high-priced levelers, I rely on a simple WDT tool with thin needles to ensure the basket is uniform. A responsive scale is also non-negotiable; nothing ruins a morning faster than laggy numbers, and it helps to understand why your coffee scale is giving you inconsistent readings before you dump a perfectly good shot. To keep the workspace professional, I finally learned how to pick a coffee mat that doesnt absorb odors, which keeps the kitchen smelling fresh. Even if you prefer straight shots, having one of the milk frothers that transform your coffee experience on hand is essential for serving guests who enjoy a textured latte.
Take Control of Your Home Espresso Journey
Take a breath and remember that coffee is a hobby of passion, not just precision. Whether you are currently mastering the art of home espresso or just trying to get a decent cup before work, every ‘failed’ shot is actually just a data point for your next success. You do not need a five-figure setup to achieve world-class results; you just need curiosity, a bit of patience, and a willingness to get your hands a little dirty. Your home espresso journey is unique to your taste, so trust your tongue more than the influencers. Have you ever spent hours aligning your grinder burrs only to find out that your water hardness was the real culprit? Let me know in the comments below!