How to Replace a Frayed Power Cord on a Grinder
I was standing in my kitchen at 6:15 AM, bleary-eyed and desperate for a double shot, when I saw the spark. It wasn’t a huge flash, just a quick blue snap near the base of my trusty burr grinder, followed by that unmistakable, acrid scent of ozone and burnt plastic. I looked down and there it was: a nasty fray in the power cord, likely caused by years of being shoved back against the backsplash. My heart sank. I knew if I kept using it, I was asking for a fire, but the thought of going without my morning ritual felt like a personal tragedy. You might be tempted to just wrap some electrical tape around it and hope for the best, but I’ve been there and done that early in my coffee journey—it’s a temporary band-aid that eventually fails. Today, I am going to walk you through how to actually replace that cord so your machine is safe and reliable again.
Your Favorite Grinder Deserves a Second Chance
I’ve talked to so many folks who think a damaged cord means the end of the road for their equipment. They start looking up how to select the perfect coffee grinder for your brew as if their current one is destined for the landfill. It’s a waste! Most grinders are built like tanks, and the electronics inside are surprisingly straightforward once you get past the casing. In fact, learning these small repairs is the move that saves your grinder from unnecessary wear over the long haul. When I first started tinkering, I once tried to ‘fix’ a short by just twisting wires together and using masking tape—yeah, don’t do that. It led to the reason your commercial grinder keeps tripping the breaker and a very frantic call to an electrician friend. Replacing the entire cord is the only ‘neighbor-approved’ way to handle this. According to the National Fire Protection Association (NFPA), electrical distribution or lighting equipment is a leading cause of home fires, accounting for roughly 32,000 blazes annually. We aren’t taking those chances with our caffeine fix.
Is This Electrical Work Actually Safe for a Total Amateur?
I know the sight of a screwdriver and exposed wires can be intimidating if you aren’t a ‘handy’ person. You might be worried about frying the motor or, worse, yourself. But here is the secret: if you can follow a recipe for a perfect pour-over, you can swap a power cord. It’s essentially ‘unplug, unscrew, and replace.’ It’s very similar to the process of how to swap out a broken power switch on an older machine, which is another common fix that saves people hundreds of dollars. Have you ever noticed a small nick or fray in your cord and just ignored it because you didn’t want to deal with the hassle? Tell me I’m not the only one who has played ‘electrical roulette’ with their morning latte. We’re going to fix that today with some basic tools and a bit of patience. Grab your screwdriver set, and let’s get into the guts of this thing.
Gather Your Tools Before Cracking the Case
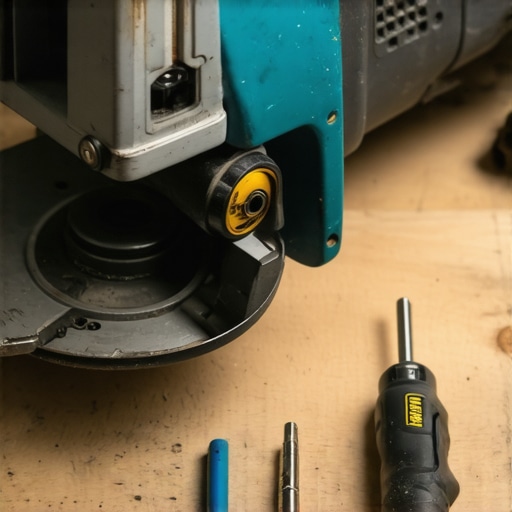
Before you even touch a screwdriver, you need to be organized. For most grinders, you’ll need a set of Phillips and flathead screwdrivers, a pair of wire strippers, and some electrical crimp connectors or a soldering iron, depending on your model. I remember the first time I tried to fix my old Rocky—I thought I could wing it with a pair of kitchen scissors and some duct tape. I ended up with a mess of frayed copper and a headache. Now, I treat it like choosing the best barista gear for coffee enthusiasts: I want the right tool for the job. You’ll also want a replacement cord that matches the gauge of the original; usually, a 16-gauge or 14-gauge grounded cord does the trick.
Getting Past the Bottom Plate Without Stripping Screws
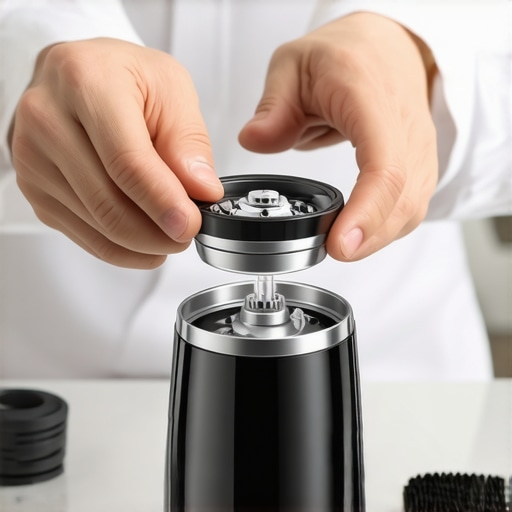
Flip your grinder over on a soft towel to avoid scratching the finish. You’ll see the screws holding the base plate on. This is where most people fail because they use the wrong size bit. One time, I rushed a repair on a vintage Macap and used a bit that was slightly too small. I stripped the screw head so badly I had to use a drill-out kit to get it out. Don’t be me. Once the base is off, you’ll see where the power cord enters the machine. It’s usually held in place by a plastic strain relief nut. If that nut is stuck, don’t force it—it’s similar to how to fix a grinder adjustment ring that wont budge; a little wiggle and maybe a drop of lubricant can save you from snapping the plastic.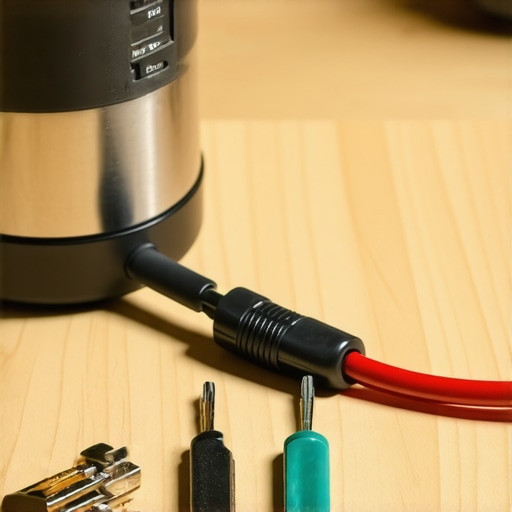
Mapping the Wires Like a Pro
Inside, you’ll find three wires: hot (usually black or brown), neutral (white or blue), and ground (green or yellow/green). Before you disconnect anything, take a photo! This is my golden rule. Even if you think you’ll remember, you won’t. You’ll find these wires connected to a terminal block or directly to the power switch. It’s very similar to the layout when you learn how to swap out a broken power switch on an older machine. If you see charred plastic around these connections, that’s a sign that heat was building up, which is often the reason your commercial grinder keeps tripping the breaker. Snip the old wires, strip about half an inch of insulation off the new ones, and secure them into the same terminal spots.
Sealing Everything Up for Safety
The most important part of this whole process isn’t the wiring itself; it’s the strain relief. This is the little plastic grommet where the cord exits the metal body. Its job is to make sure that if someone trips over the cord, the tension doesn’t pull the wires right out of the motor. If you skip this, you’re just waiting for a short circuit. I once saw a DIY job where someone used a simple knot inside the housing instead of a proper relief—it worked until the vibration of the motor eventually rubbed the insulation raw. This kind of attention to detail is the move that saves your grinder from unnecessary wear. Once it’s tight, tuck the wires away from any moving parts—like the fan or the burr assembly—and screw the base plate back on. Check the cord one last time for any kinks before you plug it back in.Now that the casing is back together, you might think you’re in the clear, but there is a nuance most people overlook. Most DIY enthusiasts assume that if the lights turn on and the motor spins, the repair was a 100% success. However, in my experience, the biggest mistake amateurs make is ignoring the quality of the internal contact points. Everyone says ‘just twist the wires and cap them,’ but that’s how you end up with high-resistance junctions that generate silent heat right next to your expensive motor. If those connections aren’t rock solid, you’re looking at the reason your commercial grinder keeps tripping the breaker just a few months down the line. 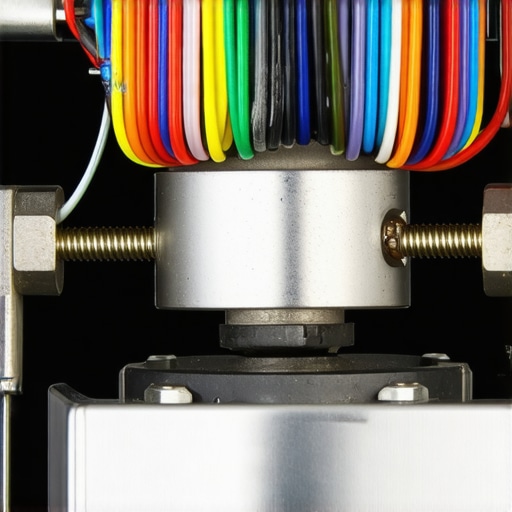 Here is the ‘oops’ factor I learned the hard way: using standard plastic electrical tape inside a grinder housing. Grinder motors get warm, and that heat turns the adhesive into a sticky, conductive mess that can eventually cause a short or attract coffee dust. Always use heat-shrink tubing or high-temperature crimp connectors instead. It’s part of the move that saves your grinder from unnecessary wear. A study by the IEEE (Institute of Electrical and Electronics Engineers) on terminal degradation highlights how even minor oxidation on a copper lead can increase resistance significantly in high-vibration environments. Since coffee grinders are basically vibrating boxes of beans, those connections need to be more than just ‘touching’; they need to be fused or mechanically locked.
Why does your motor still sound sluggish even after a fresh wiring job?
if you’ve replaced the cord and the grinder still sounds like it’s struggling to chew through a light roast, you might be looking at a capacitor issue or, more likely, dull burrs. People often mistake electrical failure for mechanical resistance. While you have the tools out and the machine open, it’s worth checking how to tell if your espresso grinder burrs are dull. If you’re pushing the motor through ‘mashing’ instead of ‘cutting,’ no amount of new wiring will restore that original punch. This is also a great time to recalibrate and learn the trick to finding the true zero point on your grinder so you don’t accidentally bottom out your burrs after reassembly. Replacing a cord is just the beginning of choosing the best barista gear for coffee enthusiasts who want to maintain their kit for a lifetime rather than buying a new plastic machine every two years. Have you ever spent hours on a repair only to realize the problem was something else entirely? Let me know in the comments.Once you’ve mastered a technical fix like a cord replacement, you quickly realize that your toolbox is just as vital as your tamper. I’ve learned the hard way that using cheap, hardware-store-bin screwdrivers on a precision-engineered Italian grinder is a recipe for disaster. Personally, I swear by my Wera Kraftform screwdrivers; the laser-etched tips actually ‘bite’ into the screw head, which is the only way to avoid the stripping issues that haunt amateur repairs. This level of precision is exactly what I look for when choosing the best barista gear for coffee enthusiasts. If you are serious about keeping your machine in peak condition, a dedicated set of electronics-grade tools is a non-negotiable investment.
How do I maintain my grinder’s internal health over time?
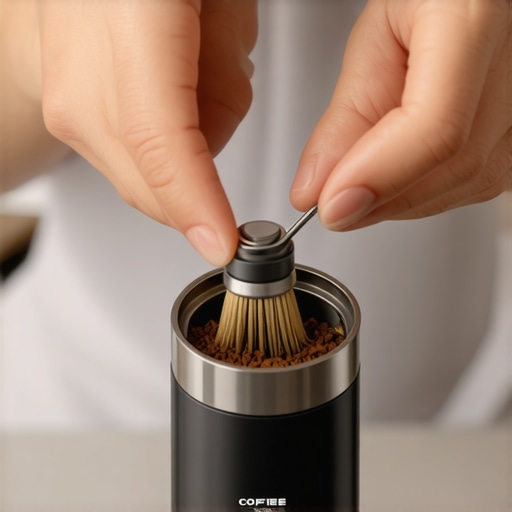
The secret to longevity isn’t just about fixing things when they break; it’s about preventing the environmental stressors that lead to failure. Most internal electrical issues in grinders are actually caused by fine coffee dust infiltrating the housing and attracting moisture, which creates a conductive ‘sludge’ on the circuit board. To prevent this, you should perform a best routine for a weekend-deep-clean that involves a vacuum rather than compressed air—never blow air into a grinder, as it just shoves the dust deeper into the motor bearings. While you have the casing open for maintenance, it is also the perfect time to ensure your burrs are performing optimally by learning the right way to align your flat burrs for better shots. Proper alignment reduces the load on the motor, meaning the wires you just repaired won’t be subjected to unnecessary heat. 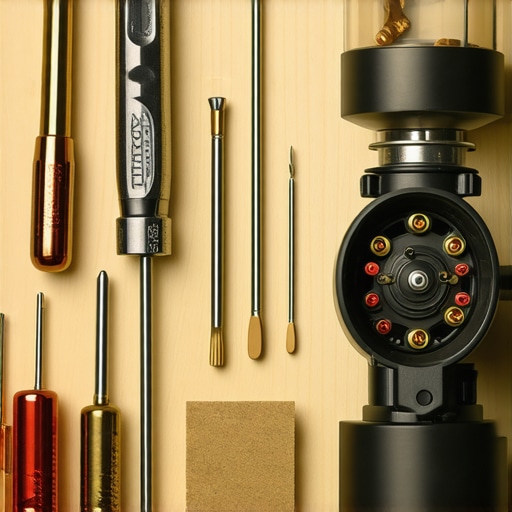 Safety standards are also more rigid than most home baristas realize. For instance, the UL 1082 standard for household electric coffee makers and brewing appliances specifically outlines the requirements for strain relief, noting that the cord must withstand a 35-pound pull for one minute without displacement. This is why that plastic grommet we talked about earlier isn’t just a suggestion; it is a critical safety barrier that prevents the internal connections from being ripped apart. Looking toward the future, I predict we are entering a ‘Right to Repair’ renaissance for coffee equipment. We are seeing a shift away from sealed, unserviceable units toward prosumer machines that utilize standardized, off-the-shelf components. This means that learning these skills now—like how to safely navigate the guts of your machine—will be the difference between a lifetime of great espresso and a countertop full of expensive paperweights. If you want to take your maintenance to the next level, I highly recommend trying the ‘dry-erase marker test’ to check your burr alignment this weekend. It’s a simple, high-impact way to see exactly how your machine is performing under the hood without needing a degree in engineering.
Secrets I’ve Learned from Years of Tinkering
After rebuilding dozens of machines, I’ve realized that electrical repairs are often more about observation than engineering. First, never assume the cord is the only problem if the machine has been running hot. I always check if how to diagnose a faulty espresso machine thermostat is necessary, as heat can travel and damage sensors nearby. Second, always look for hidden screws under the rubber feet or brand badges; forcing the base open will only lead to a cracked housing. If you find your repair was successful but notice the reason your grinder makes a thumping noise during use, it’s likely a loose internal component or a wire touching the motor housing that needs better routing. Finally, the ‘sniff test’ is your best friend—if you still smell ozone after the fix, the motor brushes might be the true culprit. #IMAGE_PLACEHOLDER_E#
The Gear That Makes Maintenance a Breeze
You don’t need a professional workshop, but a few specific items will change your life. I personally trust Wera Kraftform screwdrivers because their laser-tipped grip prevents the heartache of a stripped screw on a precision machine. For wiring, Knipex wire strippers are the gold standard for clean cuts without damaging the copper core. If you find your issues extend beyond the cord, like a stubborn button, check out the quick way to fix a sticky power switch on your grinder. For those just starting their repair journey, I recommend reading mastering the art of home espresso tips for beginners to understand how all these internal components work together as a system.
Ready to Grind Again
Taking the leap to repair your own equipment is the most rewarding part of being a home barista. It transforms a simple appliance into a machine you truly understand and respect. Whether you are maintaining espresso machines or fine-tuning high-end coffee grinders, every small fix adds years to the life of your barista gear. Don’t let a frayed wire be the end of your home espresso journey. You have the tools, the knowledge, and the capability to keep your setup running perfectly. Have you ever felt that surge of pride when a machine you fixed finally whirrs back to life? Let me know about your DIY wins or the most frustrating screw you’ve ever encountered in the comments below!