How to Stop Your Milk Foam From Being Too Dry
I still remember the morning I proudly handed my wife what I thought was a perfect cappuccino, only for her to look at me with genuine confusion. Instead of a velvety drink, she was staring at a stiff, dry mountain of foam that refused to move when she tilted the cup. It looked like a marshmallow had died on top of her espresso. I had spent months tweaking my espresso machine, thinking the gear was the problem, but the truth was much simpler: I was over-stretching my milk into oblivion. We have all been there—that moment where you realize your latte art is failing because your foam is essentially a solid, not a liquid.
Stop Making the Dry Cloud Mistake
If you are tired of spooning foam onto your coffee like it is whipped cream, I am here to tell you that you do not need a $3,000 setup to fix it. Whether you are using a handheld frother or a high-end steam wand, the physics of milk are the same. Today, I am going to show you exactly how to transition from that stiff, old-school foam to the glossy, wet-paint consistency that makes pouring hearts and rosettas actually possible.
Is that expensive wand really the problem?
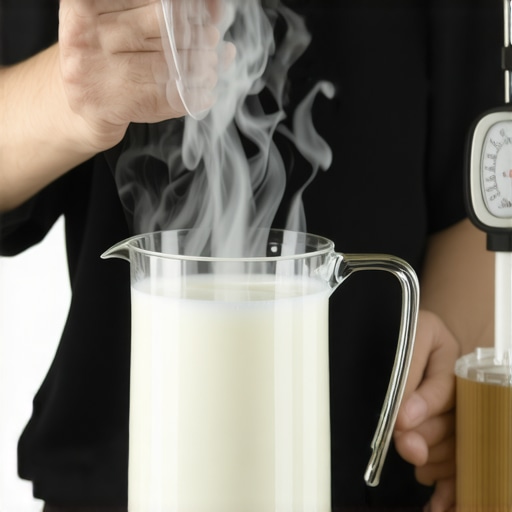
When I first started, I blamed my entry-level single boiler machine. I thought I needed more power. But even with the best barista gear, if you introduce too much air for too long, you will end up with a dry mess. It is a common hurdle when you are mastering home espresso. You are not lacking talent; you are just missing the timing. The science is actually pretty cool. According to research from the University of Guelph Dairy Science and Technology department, the stability of your foam depends heavily on the denaturation of whey proteins, which happens between 60°C and 65°C. If you keep pumping air in past that point, the proteins cannot hold the structure properly, and you end up with dry foam that separates from the liquid milk almost instantly. I used to make the mistake of aerating—that paper-tearing sound—until the pitcher felt hot to the touch. That was my biggest blunder. By the time the milk was hot, I had created a bubbly monster that would not pour. Have you ever felt like you were scooping your milk rather than pouring it? Let me know if that has been your struggle too, because once you see the fix, you will never go back.
Watch the Clock and Your Hands
The transition from dry foam to silky microfoam happens in the first few seconds. If you are aiming for a perfect flat white, the stretch phase should be over before the pitcher even starts to feel warm. I spent years thinking the hiss was the only part that mattered. I was wrong. The secret is the roll. Once you stop stretching, you have to bury that steam tip just enough to create a spinning whirlpool. This vortex is what chops up the big bubbles into tiny, microscopic ones. It is what turns stiff cappuccino foam into that beautiful, pourable texture we all crave. It is about working with the milk, not against it.
Start with the Chirp and End with the Roll
The first thing you need to master is the sound. Think of the stretching phase like tearing a crisp piece of paper. You want short, controlled bursts of air, not a violent splashing. If you hear a loud, guttural gurgling, you have the tip too high. I remember a Saturday morning when I was determined to impress my visiting brother with a heart. I kept the wand at the surface for a full ten seconds, thinking more air meant more foam. By the time I stopped, I had a pitcher of hot milk topped with a three-inch block of dry suds. It was a disaster. The key is to stop stretching the moment the pitcher matches your body temperature. If you are struggling with a single boiler machine, you have to be even more precise because your steam pressure might dip halfway through. Once that pitcher feels slightly warm, it is time to transition.
Bury the Wand to Create the Vortex
This is where the magic happens. You need to move the tip just a few millimeters deeper into the milk. Do not go all the way to the bottom; just find the sweet spot where the ‘chirping’ stops and the milk starts to spin. You are looking for a whirlpool. Imagine a tiny tornado inside your pitcher that is sucking those large bubbles down and shredding them into microscopic microfoam. If your milk frother creates bubbles instead of foam, it is likely because you are not getting this spinning motion. Tilt your pitcher slightly to the side to help the milk find its path. 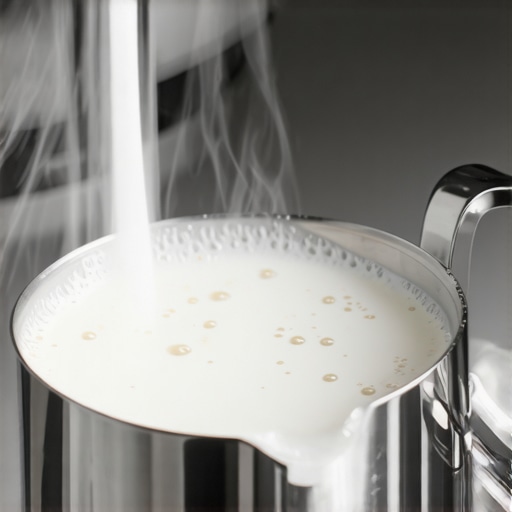
Watch for the Wet Paint Gloss
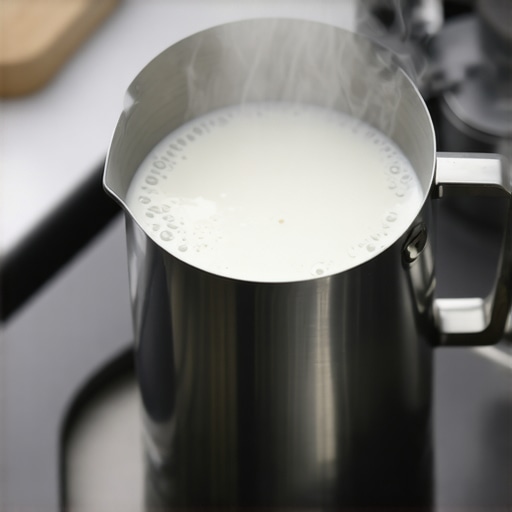
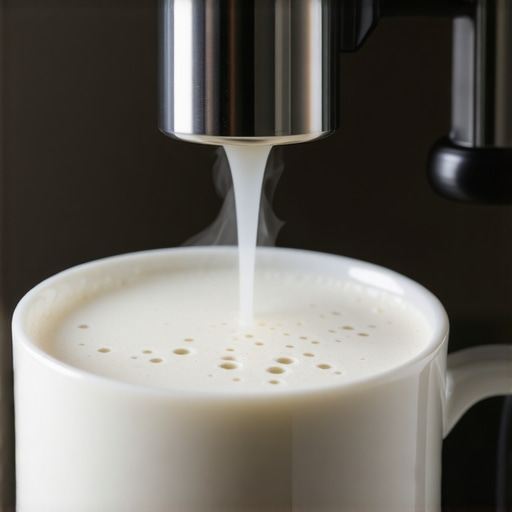
As the milk spins, keep an eye on the surface. You are looking for a texture that resembles half-melted vanilla ice cream or wet gloss paint. If it looks matte or chunky, you have introduced too much air. I found that texturing milk for a flat white requires even less stretching than a latte, so you have to be quick. When the pitcher gets too hot to hold comfortably for more than a second (around 65°C), turn off the steam immediately.
Tap and Swirl to Polish the Surface
Once you have turned off the wand, your work is not quite done. You will often see a few stray bubbles on top. Give the pitcher one firm tap on the counter to pop them, then start a vigorous circular swirl. This keeps the foam integrated with the liquid milk. If you let it sit, the foam will separate from the milk, leaving you with that dreaded dry cap. Mastering the trick to swirling milk is what gives your pour that professional, seamless look. Finally, always remember to purge your wand and wipe it down instantly. If you are tired of the mess, you might even want to learn how to stop using a wet cloth on your gear to keep things even cleaner. Consistency comes from doing these small steps every single time without exception.Most home baristas assume that a more powerful machine is the shortcut to professional-grade lattes. However, there is a contrarian truth I have discovered after years of testing: high steam pressure is often your worst enemy when you are learning. Everyone says you need massive boiler power, but in my experience, too much power simply accelerates your mistakes. If you are using one of the top-rated espresso machines for coffee lovers in 2025, the steam velocity can be so intense that you reach the ‘limit’ of milk stretching in less than three seconds. This leaves zero room for error. If your technique is slightly off, you have already created a pitcher of soap suds before you can even react. Lower-pressure machines actually provide a ‘training wheels’ effect, allowing you to hear and see the air integration much more clearly.
High Steam Power is Actually Your Worst Enemy
If you find that your milk gets too hot too quickly, you might be experiencing a common technical hurdle where the reason your steam pressure dips is actually a blessing in disguise. It forces you to slow down and focus on the vortex rather than just the heat.
Does the fat-to-protein ratio really dictate your microfoam’s life span?
Many advanced enthusiasts obsess over the fat content of their milk, but the chemistry is more nuanced. According to research published in the Journal of Dairy Science, it is the whey proteins, specifically β-lactoglobulin, that are responsible for the initial stabilization of the air bubbles. The fat actually acts as a de-foamer at certain temperatures, which is why your foam might look great at first but collapse if you do not pour it immediately. This is the ‘oops’ factor most people miss: they spend all their time on the wand but ignore the temperature-dependent chemistry of the milk itself.
The Hidden Link Between Your Grinder and Your Foam
Another sophisticated trap is ignoring your extraction quality when trying to fix your milk. You might have the best barista gear, but if your espresso has no crema, your foam has nothing to ‘bond’ to. This is where how to select the perfect coffee grinder becomes relevant even for milk drinks. Without a rich, oily crema acting as a canvas, even perfect microfoam will just slide off the top of the coffee, resulting in a separated mess rather than a cohesive drink. This is a common frustration when mastering the art of home espresso. Have you ever fallen into this trap where you blamed the pitcher when the problem was actually the bean? Let me know in the comments. 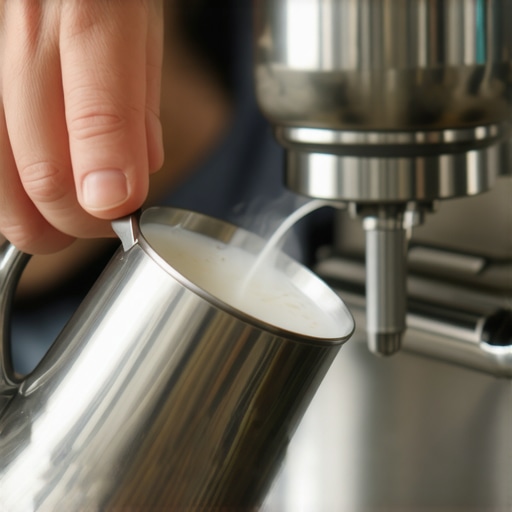
The Danger of the Over-Cleaned Wand
Finally, watch out for the ‘dry wand’ mistake. While keeping your gear pristine is vital, if you are using chemical cleaners too frequently without a thorough rinse, the residual surfactants can actually prevent bubbles from forming correctly. This is one of the more obscure reasons why your milk frother creates bubbles instead of foam. A single microscopic drop of soap can destroy the surface tension required for microfoam. Always purge your wand into a dry cloth before and after use to ensure you are working with pure steam and no chemical interference. Consistency is born from understanding these tiny, invisible variables.Once you have mastered the art of milk texture, the focus must shift to the internal health of your machine. I used to think a quick rinse after every shot was enough to keep things pristine, but I quickly learned that the invisible buildup of coffee oils is the true enemy of flavor. If you are using one of the top-rated espresso machines for coffee lovers in 2025, you owe it to yourself to perform a deep clean regularly. This is not just about aesthetics; it is about protecting your investment. I personally recommend getting into a rhythm because consistency in maintenance leads to consistency in the cup. This is exactly why your machine needs a backflush every single week to prevent rancid oils from ruining your morning.
How do I keep my espresso machine running perfectly for years?
The secret to longevity is replacing the wear-and-tear parts before they actually fail. I always keep a spare group gasket and shower screen in my kitchen drawer. If you wait until you see a leak, you have waited too long. Learning how to replace a group gasket without scratching the chrome is a foundational skill for anyone mastering the art of home espresso. By swapping these low-cost items every six months, you ensure a perfect seal every time you lock in your portafilter.
Stop Fighting Your Grinder and Align Your Burrs
We often blame our beans when a shot tastes muddy, but the culprit is often poor burr alignment. Even the best barista gear can arrive from the factory slightly out of spec. When your burrs are not perfectly parallel, you get an uneven distribution of particle sizes, which makes your microfoam feel disconnected from the espresso. I spent an entire Sunday morning learning the right way to align your flat burrs for better shots using the dry-erase marker method. The difference in clarity was staggering. It turned my muddy lattes into vibrant, structured drinks.
Scale Is the Silent Killer of Espresso Dreams
Water quality is the most overlooked variable in the home setup. According to the Specialty Coffee Association (SCA) water quality standards, total dissolved solids (TDS) should ideally sit between 75-250 mg/L to prevent scale while maximizing flavor extraction. If your water is too hard, you will eventually face a massive repair bill for your boiler. You must learn how to tell if your water hardness is damaging your boiler before the damage becomes irreversible. I predict that by the end of 2025, we will see more prosumer machines with built-in IoT sensors that monitor mineral buildup in real-time, taking the guesswork out of descaling. 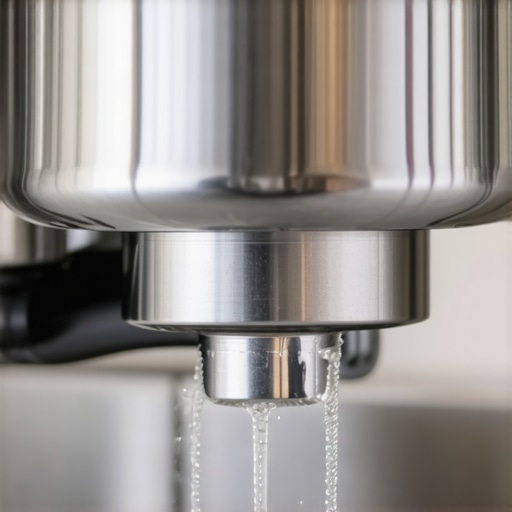 For now, I suggest you take control of your gear manually. If you feel your shots are losing their punch, it might be time for the easy way to test your pump pressure at home. Don’t let your equipment dictate the quality of your coffee; take the lead on maintenance and your taste buds will thank you.
Lessons from the Bottom of the Pitcher
One of the biggest shifts in my workflow came when I stopped trying to see the microfoam and started listening for it. The sound of a perfect chirp is much more reliable than trying to gauge bubble size by eye. I also discovered that practicing with cold water and a single drop of dish soap is a game-changer; it mimics milk texture perfectly without wasting gallons while you are mastering the art of home espresso. Another lightbulb moment was finding that how to tell if your milk is too old for latte art is half the battle, as older milk loses its protein structure and simply refuses to hold a microfoam. Finally, remember that your environment matters—on high-humidity days, your milk might behave differently than on a dry winter morning.
The Kit That Finally Stopped My Foam Frustrations
If you are looking to upgrade your setup, I highly recommend checking out the top-rated espresso machines for coffee lovers in 2025, as many modern boilers now feature specialized steam tips that make finding the vortex much easier. For those who aren’t ready for a full machine yet, there are specific milk frothers that transform your coffee experience by automating temperature control and aeration. If you are a plant-based drinker, you should look into the move for better microfoam with soy milk to avoid the common curdling issues that ruin a drink. Beyond gear, I always suggest keeping The Professional Barista’s Handbook by Scott Rao on your counter for a deep dive into the fluid dynamics of steaming.
From Soap Suds to Silky Hearts
The journey from spooning stiff foam to pouring a glossy heart is rarely a straight line. You will have mornings where the milk just won’t cooperate, but every failed pitcher is teaching your hands the muscle memory they need. Don’t let a few bubbles discourage you; even the best baristas started with a mess of suds. By refining your technique with the right barista gear and staying patient, you will eventually reach that moment where the milk flows like liquid velvet. If you find your texture is still a bit too thick to pour, check out the trick to pouring a heart when your milk is too thick to save the shot. Your morning routine is about to get a whole lot more beautiful. Have you ever struggled with the transition from the stretching phase to the rolling phase? Let me know below.