Why Your Bottomless Portafilter Only Sprays on One Side
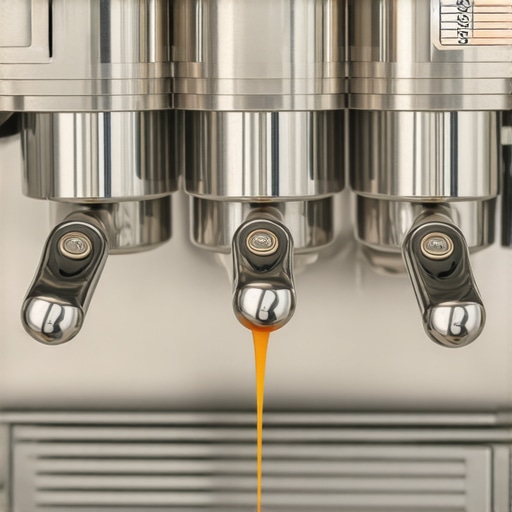
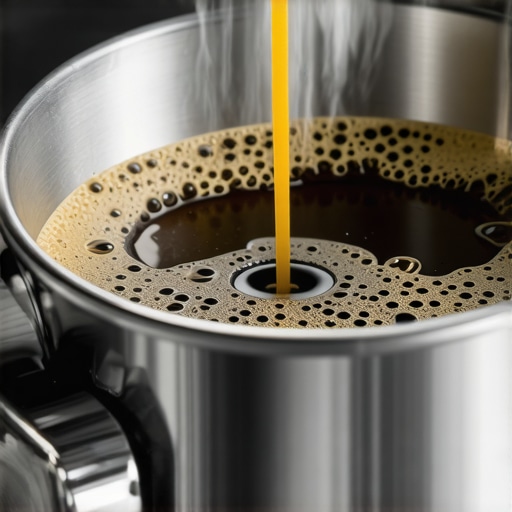
I remember the first time I snapped a naked portafilter into my machine, feeling like a true professional. I expected a beautiful, single stream of honey-like espresso to drop gracefully into my cup. Instead, I got a violent jet of boiling coffee that shot sideways, narrowly missing my eye and leaving a permanent Rorschach test on my favorite white shirt. It wasn’t just a mess; it was a blow to my ego. I stood there, towel in hand, wondering if I had bought a defective piece of gear or if my machine was finally giving up on me.
Your Portafilter Isn’t Broken but Your Technique Might Be
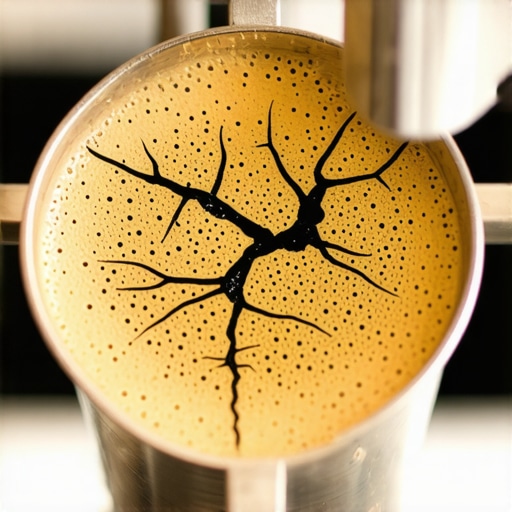
The truth is that a bottomless portafilter is a brutal truth-teller. When your coffee sprays out of only one side, it is screaming at you about a specific failure in your puck prep. Early in my journey, I made the classic mistake of thinking I could just ‘tamp harder’ to fix it. I didn’t realize that I was actually creating uneven density, which is exactly why your espresso shot is extracting from only the edges of the basket sometimes. This lopsided flow happens because water is lazy. It wants the path of least resistance. If one side of your coffee puck is even slightly looser than the other, the water will rush through that gap, creating a high-pressure jet that sprays everywhere but the center of your cup. Mastering home espresso requires acknowledging these messy failures as data points rather than disasters. Have you ever ended up with more coffee on your backsplash than in your latte? Tell me I am not the only one who has faced the dreaded ‘espresso squirt’ in the comments below.
Is a naked portafilter actually worth the morning frustration?
You might be tempted to go back to your spouted portafilter where the mess stays hidden. However, the diagnostic value of a bottomless handle is unmatched. If you want to learn how to prevent channelling in a bottomless portafilter shot, you have to face the spray. According to research on fluid dynamics in porous beds, often cited by the Specialty Coffee Association, even a microscopic fissure in the coffee bed can lead to a total collapse of pressure in that area, causing the liquid to exit at high velocity. To fix this, I had to stop obsessing over my top-rated espresso machines and start looking at the move for better espresso distribution without fancy tools. We are going to look at how to even out that bed so your morning caffeine routine stays clean and delicious.
Stop Blaming the Machine and Fix Your Distribution
Before you blame your equipment for a messy shot, take a close look at the dry grounds sitting in your basket. If you see tiny boulders or uneven mounds, you are already headed for a disaster. This is common because why your coffee grounds are clumping like little rocks is often a result of static or humidity levels in your kitchen. Think of your coffee bed as the structural foundation of a building; if you have air pockets or uneven density, the entire structure will collapse under the 9 bars of pressure your machine exerts. When water hits those inconsistencies, it doesn’t just pass through; it carves a canyon through your puck.
Break the Clumps Before They Break Your Shot
The most effective way to stop the dreaded spray is to ensure the density of the coffee is identical from the center to the very edge of the basket. When you are researching how to select the perfect coffee grinder for your brew, you are essentially looking for a machine that produces fluffy, uniform grounds. However, even the most expensive grinders can produce clumps. I use a thin needle tool—a technique known as the Weiss Distribution Technique (WDT)—to stir the grounds in a deep, circular motion. This is essentially the move for better espresso distribution without fancy tools if you use something as simple as a wine cork and some acupuncture needles. If you skip this, those clumps act like stones in a stream, forcing the water to divert around them and create high-velocity channels that ruin your crema.
Get the Level Right Without Wrist Pain
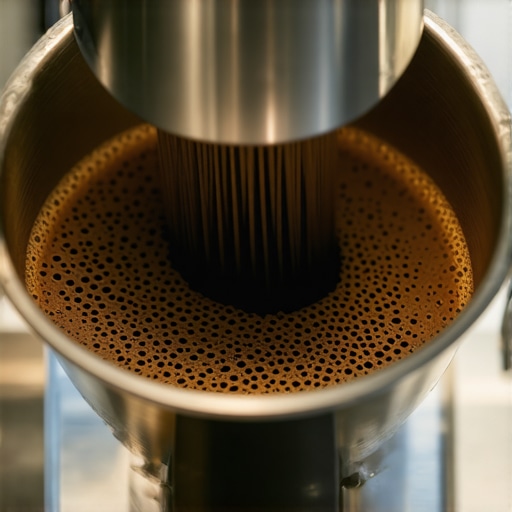
Once the grounds are fluffy and distributed, the tamp must be perfectly level. Most beginners make the mistake of pushing down with extreme force, but the secret isn’t the weight; it is the horizontal alignment. Mastering the best angle for tamping to avoid wrist strain keeps your tamp flat and your joints healthy. A slanted tamp creates a thin spot in the puck where the water will inevitably breakthrough first, leading to a lopsided flow. I also highly recommend the benefit of pre-warming your portafilter head; a cold metal basket can cause slight temperature fluctuations that affect how the coffee oils flow during the first five seconds of extraction, making the stream appear thinner and more prone to breaking.
The Morning I Tried to Cheat the System
I remember a Tuesday morning when I was running five minutes late for a meeting. I figured I could skip the distribution step and just ‘thump’ the portafilter against my palm to level the grounds out. I slapped it into the machine and hit the button, expecting a quick caffeine fix. For three seconds, it looked okay. Then, a violent jet of coffee hit my glasses, and the stream split into three separate directions. It was a classic case of why your bottomless portafilter is creating two streams instead of one. Instead of saving a minute, I spent ten minutes scrubbing coffee off my white backsplash. When choosing the best barista gear for coffee enthusiasts, remember that the tools only work if you respect the process. Consistency is the only way to avoid the ‘espresso squirt’ and actually enjoy the diagnostic benefits of your naked portafilter.
Let’s dig deeper into the technical mechanics that many glossy gear reviews tend to gloss over. You might think that investing in top-rated espresso machines is a one-way ticket to café-quality shots, but the reality is that high-end equipment is often less forgiving than entry-level gear. One of the most common mistakes I see advanced hobbyists make is ignoring the ‘break-in’ period for their hardware. If you have just unboxed a high-end grinder and notice your shots are wildly inconsistent, it is likely because you haven’t learned how to properly season new steel burrs for better consistency. Raw steel burrs have microscopic burrs and ridges that catch coffee particles, creating an unpredictable distribution of ‘fines’ until several pounds of coffee have smoothed them out.
Why does my shot extraction time change every single day?
If you have ever woken up and found that your perfect 30-second pull from yesterday is now running in 18 seconds, you aren’t going crazy. Most people blame the machine, but the culprit is usually the ambient environment. A study published in the journal Matter regarding the computational modeling of espresso highlights how ‘clogging’ and particle distribution are heavily influenced by humidity. When the air is damp, your grounds clump more easily, which is exactly why your coffee grounds are clumping like little rocks in the morning. This leads to a faster, channeled shot. Understanding why your shot extraction time changes every single day requires you to look at your kitchen’s thermostat and humidity sensor as much as your pressure gauge. Have you ever fallen into this trap and blamed your machine? Let me know in the comments.
There is also a pervasive myth that the ‘freshest roast’ is the best roast. In my experience, pulling a shot with beans roasted 24 hours ago is a recipe for frustration and a metallic, sour taste. This is why your freshly roasted beans are making your espresso taste like grass; they are still off-gassing massive amounts of CO2. That gas creates a turbulent barrier between the water and the coffee solids, preventing a smooth extraction. For the best results with home espresso, I wait at least seven to ten days after the roast date to let the bean structure stabilize.
The Dark Roast Trap That Clogs Your Machine
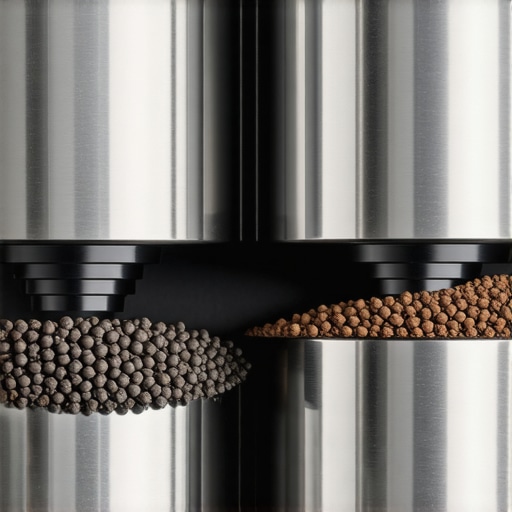
Another nuance that surprises many is that the ‘easiest’ beans to brew—dark roasts—are often the hardest on your equipment. Everyone says dark roasts are more soluble and easier to dial in, but they are also incredibly oily. If you aren’t careful, these oils accumulate in your grinder’s chute and burr chamber, which is a primary reason why your coffee grinder is stalling with dark roast beans. This sticky buildup attracts old coffee dust, creating a ‘cement’ that forces the motor to work harder. I recommend implementing the move that saves your grinder from unnecessary wear by running cleaning pellets through the system every few weeks. This prevents the static buildup that disrupts your workflow and keeps your perfect coffee grinder running smoothly. To avoid the mess entirely, mastering how to stop static from ruining your grinding workflow is essential, especially during the winter months when the air is dry and the chaff starts flying everywhere.
It’s easy to get caught up in the romance of a perfect pull, but the unsexy side of home espresso—the scrubbing and the descaling—is what separates the weekend hobbyists from the long-term pros. I’ve seen beautiful machines turned into expensive paperweights because of simple neglect. For instance, if you notice your machine acting up, you need to know how to spot a failing solenoid valve before it floods your kitchen. This small component is the traffic cop of your machine’s water flow, and when it gets gunked up with scale, your morning routine ends in a literal puddle rather than a caffeine fix.
Don’t let scale destroy your investment
Water is 98% of your espresso, yet it’s the most overlooked ingredient. I used to ignore it until I realized my drip tray was always full without explanation. Knowing why your drip tray is filling up even when you arent pulling shots can save you from a major repair bill, as it often points to an internal leak or a failing seal. I now use a BWT Bestsave pouch in my reservoir, but I always recommend the easy way to test your machines water hardness at home before buying any filters. According to the Specialty Coffee Association (SCA) Water Quality Handbook, the ideal calcium hardness should be between 50-175 ppm CaCO3 to prevent both corrosion and heavy scale buildup. If you ignore this balance, the internal copper tubing will eventually choke to death on mineral deposits.
Your steam wand is a breeding ground for bacteria
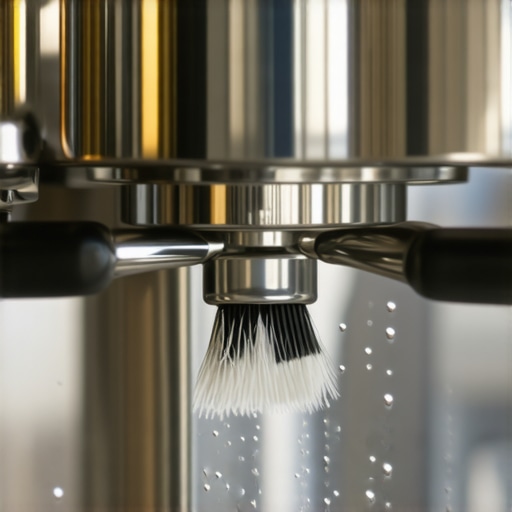
We talk a lot about the coffee, but what about the milk? If you’re using milk frothers that transform your coffee experience, you have to be obsessive about hygiene. I’ve seen steam wands that looked clean on the outside but were horrific when opened. You must learn how to clean the inside of your steam wand pipe to avoid that sour, ‘off’ smell that ruins a latte. It’s not just about the taste; it’s about food safety. Old milk residue can harbor bacteria that survive the heat, eventually clogging the small steam holes and reducing your pressure to a pathetic whistle.
How do I maintain my espresso machine over time?
It comes down to a consistent rhythm of daily, weekly, and quarterly tasks. Daily, you should be backflushing with water to clear the path. Weekly, use a specialized detergent to strip those rancid oils—otherwise, you’ll soon wonder why your group head shower screen is getting clogged so fast. If you have a high-end machine, you also need to learn how to properly lubricate your e61 group head cam to prevent that ‘crunchy’ lever feel that leads to mechanical failure. Looking forward, I predict that in the next few years, we will see ‘smart’ sensors integrated into even entry-level top-rated espresso machines for coffee lovers in 2025 that will alert your phone the second your water hardness drifts or your flow rate drops. Until then, take ten minutes this weekend to perform a deep clean on your gear; it’s the single best thing you can do for the flavor of your coffee.
The Hardest Lessons My Kitchen Floor Taught Me
Reflecting on years of pulling shots, I’ve realized that the ‘perfect’ cup isn’t about expensive chrome; it’s about the small, intentional habits. First, don’t let a bad shot ruin your morning—even a channeled pull can be a teaching moment. Second, your nose is often a better diagnostic tool than your timer. If it smells sweet, it usually is. Finally, remember that mastering the art of home espresso is a marathon, not a sprint. You will have days where everything goes wrong, and that is just part of the craft.
#IMAGE_PLACEHOLDER_E#
Tools That Earned a Permanent Spot on My Counter
I’ve tested dozens of gadgets, but only a few have genuinely improved my daily workflow. When you are choosing the best barista gear for coffee enthusiasts, focus on consistency over flashiness. I never pull a shot without a precise scale anymore; guessing by eye is the fastest way to frustration. Also, I highly recommend you find the easy way to test your machines water hardness at home because water chemistry is the silent hero of great taste. If you’re looking to upgrade, browse the top-rated espresso machines for coffee lovers in 2025 to see how temperature stability has evolved.
Embrace the Messy Path to Caffeine Excellence
At the end of the day, your machine is just a tool, and you are the artisan. Don’t be afraid to make a mess or wonder why your espresso is flowing out of only one spout during your first few weeks. Each failed shot brings you closer to that honey-like flow we all crave. This hobby is about the joy of the process as much as the caffeine hit at the end. Keep practicing your home espresso technique, stay curious about your perfect coffee grinder settings, and the results will follow. Have you ever had a portafilter spray ruin your favorite shirt during a morning rush? Let me know your funniest coffee disasters in the comments below!