How to Fix a Grinder that Keeps Getting Jammed
Have you ever been in the middle of brewing your morning espresso when suddenly, your grinder stalls, and you’re left fumbling in frustration? I remember a Saturday morning just like that—my grinder jammed right before I was about to enjoy a freshly brewed cup. The smell of coffee was wafting through my kitchen, the timer was ticking down, and then—nothing. That sinking feeling of wasted beans and lost time is all too familiar for many coffee enthusiasts.
The Frustration of a Coffee Grinder That Won’t Cooperate
It’s a common headache: a grinder that keeps getting jammed, making the process of brewing your perfect shot more of a chore than a pleasure. This problem isn’t just a minor annoyance; it can impact your entire coffee routine, leading to inconsistent grinds, uneven extraction, and even damage to your machine over time. So, why does this happen, and more importantly, how can you fix it?
Are You Wasting Money on a Grinder That Can’t Keep Up?
Early in my home barista journey, I made a classic mistake—ignoring regular cleaning and maintenance. I thought that as long as the grinder was working, I didn’t have to fuss with it. Turns out, neglecting simple upkeep can turn your trusted grinder into a stubborn beast that refuses to cooperate. Trust me, a little bit of regular care can prevent a lot of headaches.
If you’ve faced similar issues or are tired of dealing with jammed beans, stick around. We’re about to delve into practical, straightforward steps that will help your grinder run smoothly, keeping your mornings (and your coffee) on point. For more on selecting the right equipment that suits your brewing style, check out this guide.
Tighten Loose Components to Prevent Jamming
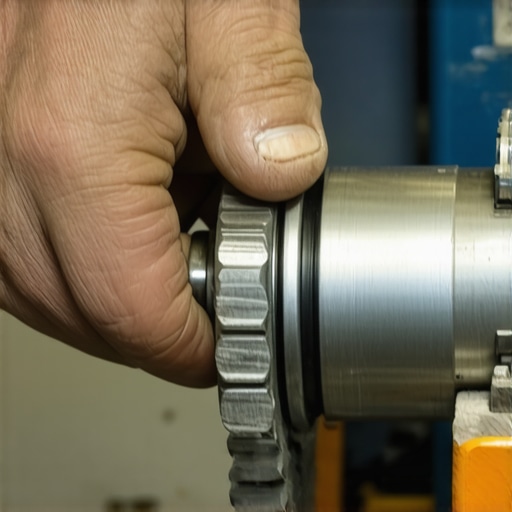
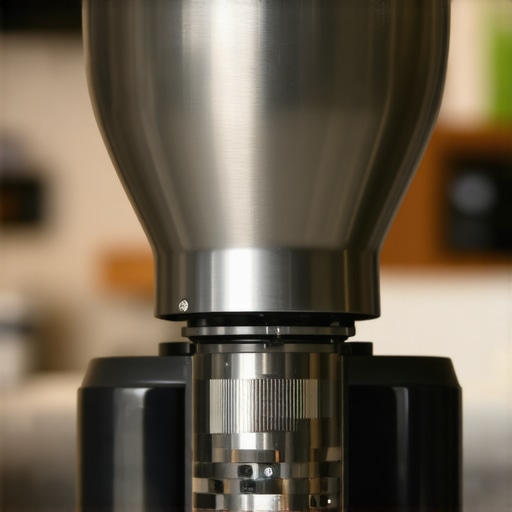
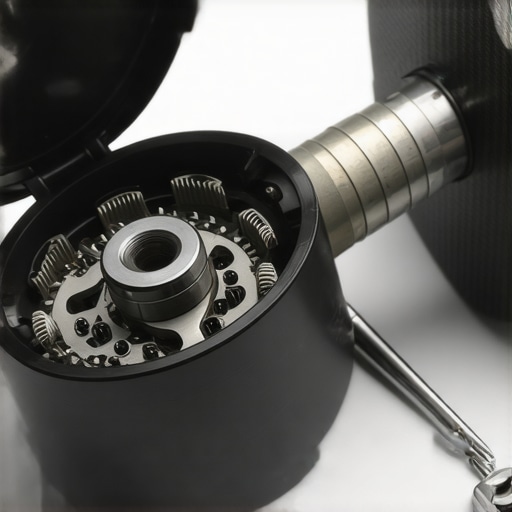
First, unplug your grinder for safety. Remove the hopper and examine the burrs and their housing. Use a brush to clear any accumulated coffee grounds that may cause obstruction. If the burrs are loose, tighten their retention nut with the appropriate tool, typically a wrench or screwdriver. I once had a grinder where the burrs kept wobbling, leading to inconsistent grind sizes. Tightening the retention nut halted the jam and improved grind uniformity.
Deep Clean to Remove Residue and Oils
Next, perform a thorough cleaning. Disassemble removable parts: burrs, hopper, chute. Soak burrs in a cleaning solution or use grinder-cleaning tablets to break down oils and coffee residue. Wipe parts with a damp cloth—avoid harsh chemicals that can damage plastic or metal. Regular cleaning prevents static buildup and friktion, which can also cause jams. Remember, static static-static can make grounds cling, leading to blockages especially with oily beans. Check this guide for tips on reducing static in your grind.
Adjust and Calibrate for Consistency
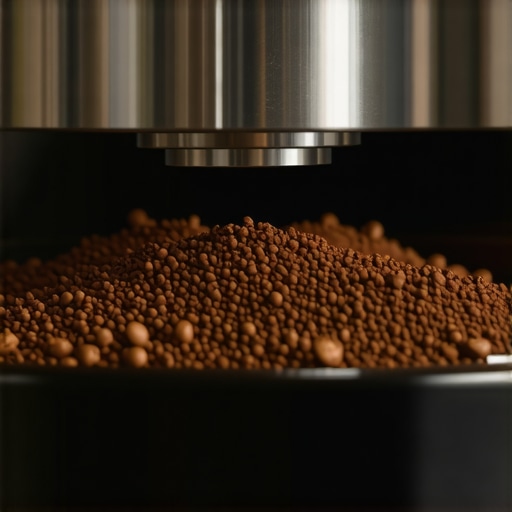
After cleaning, recalibrate your grinder. Use a known weight or measurement to set your grind size—for espresso, aim for a fine, consistent texture. Turn the adjustment dial slowly, testing the grind by running a small amount through the machine. In a recent attempt, I adjusted my conical burr grinder to a slightly coarser setting after noticing uneven shots. This fine-tuning eliminated the clogging issue and enhanced extraction quality. Check this calibration method for precision in your setup.
Control Bean Storage and Feed
Store beans in an airtight, cool, dark container to prevent oils from becoming sticky, which can cause jammed grounds. When filling the hopper, avoid overloading—leave some space for beans to flow freely. Also, periodically tap or gently shake the hopper to encourage smooth feeding, especially if static or sticky beans are involved. I learned this the hard way when my beans stuck almost to the top, creating a blockage. Clearing it involved removing the hopper and manually loosening the beans, which was inconvenient but effective. Review this article for proper bean storage tips.
Maintenance Schedule to Prevent Future Issues
Set a weekly routine to clean and inspect the grinder. Lubricate moving parts if recommended by your manufacturer. Replace worn burrs every 300-500kg of coffee to ensure precise grinding. Recently, I replaced my burrs ahead of schedule after noticing a faint squeal and a slight increase in grind inconsistency. Keeping up with maintenance extends your machine’s lifespan and preserves coffee flavor. For specific replacements, visit this guide.
Many coffee enthusiasts believe that investing in high-end espresso machines or fancy milk frothers automatically guarantees perfect results. However, what most people overlook are the nuanced factors that truly influence espresso quality. For example, it’s a myth that more expensive gear always delivers better coffee; in reality, proper maintenance and understanding specific machine quirks often matter more.
Could Using the Wrong Grind Size or Technique Sabotage Your Coffee Even With Top Equipment?
It’s common to think that high-quality grinders will compensate for improper technique or inconsistent beans, but this isn’t the case. Advanced baristas recognize that even the best grinder can struggle if not calibrated correctly or if beans are stored poorly, leading to static buildup or oil-clogged burrs. Regular calibration, cleaning, and proper bean storage are essential to avoid common pitfalls.
Another overlooked aspect is that many assume milk frothing is purely about the frother itself. In reality, techniques such as controlling your pitcher angling, milk temperature, and steam pressure impact foam quality more than the frother’s features. Static or oily milk can also hinder foam creation, an issue often mistaken for faulty equipment. For advanced users, mastering the finesse of steam wand positioning and milk composition can drastically improve microfoam, as discussed in this guide.
It’s also a misconception that home espresso routines automatically mirror professional setups. While top-tier equipment sets a solid foundation, the operator’s skills—like tamping pressure, dosing consistency, and timing—are the true differentiators. For example, uneven tamping can cause channelling, leading to bitter or sour shots, regardless of machine quality. To elevate your home brewing, focus on developing proper technique and routine calibration, as detailed in this resource.
Being aware of these nuances prevents costly mistakes and helps optimize your setup. Remember, even the most advanced gear is only as good as the person operating it. Have you ever fallen into this trap? Let me know in the comments.
Maintaining your espresso setup isn’t just about occasional cleaning; it involves a nuanced approach to every component, from your grinder to your milk frother. Investing in quality tools and establishing a routine can dramatically extend the lifespan of your equipment and improve your coffee quality over time. One key piece of advice is to use precision calibration tools like a high-quality coffee scale that offers consistent measurement and helps you dial in perfect shots. I personally prefer the calibration method with standard coins because it provides quick, reliable feedback and ensures consistency every time.
For even more precise calibration, especially with commercial-grade grinders, I recommend investing in a Dosing Funnel. It not only minimizes spillage but also helps regulate the flow of grounds into the portafilter, which is critical for maintaining grind consistency. Check out this article for insights into choosing the best dosing funnel for your setup.
How do I maintain my espresso gear for sustainable results?
Great question! Regular cleaning is the backbone of any effective maintenance routine. I make it a point to schedule weekly deep cleans of my burrs and group heads, using specialized grinder-cleaning tablets to prevent residual oils from clogging mechanisms. Additionally, replacing worn burrs every 300-500kg of coffee ensures consistent grind quality, which my local expert at this trusted resource recommends as part of preventive maintenance.
To keep things running smoothly in the long term, I also use a lubricant designed for espresso machines on moving parts like steam wands and levers—just a small amount makes a significant difference in reducing wear and preventing squeaks. Remember to always follow your machine manufacturer’s guidelines to avoid voiding warranties.
The future of home barista gear leans toward smarter, self-diagnosing equipment integrated with maintenance alerts—think of a machine that warns you when burrs are dull or if descaling is needed. While we’re not fully there yet, staying proactive with the right tools now will prepare you for these upcoming innovations. For now, integrating high-quality tools like calibration kits and routine cleaning protocols is the smartest move to keep your gear performing at its best.
If you’re ready to elevate your maintenance game, try calibrating your grinder with a standard coin today. Small steps like this can yield big improvements in your espresso quality and machine longevity. For more insights into optimizing your setup, visit this guide and start experimenting with precision maintenance routines now.
Lessons Only Experienced Baristas Realize
One of the hardest lessons I learned was how crucial precise calibration is—trusting a simple coin to gauge my scale saved me from over-complicating things. I used to think investing in high-end equipment would fix all my issues, but I discovered that routine maintenance and understanding my specific gear made the biggest difference. I also realized that static buildup from oily beans could sabotage my grinder, which led me to explore static reduction techniques—change that static, and your grinder won’t clog as much. Additionally, I found that the tiniest adjustments in tamping pressure created huge shifts in shot quality—it’s more about finesse than force. Lastly, I learned that consistency in bean storage isn’t just about freshness; it’s about keeping oils in check, preventing sticky jams and flavor inconsistencies. These lessons weren’t obvious at first, but they’ve transformed my approach to home espresso and can do the same for you.