How to Replace a Group Gasket Without a Full Teardown
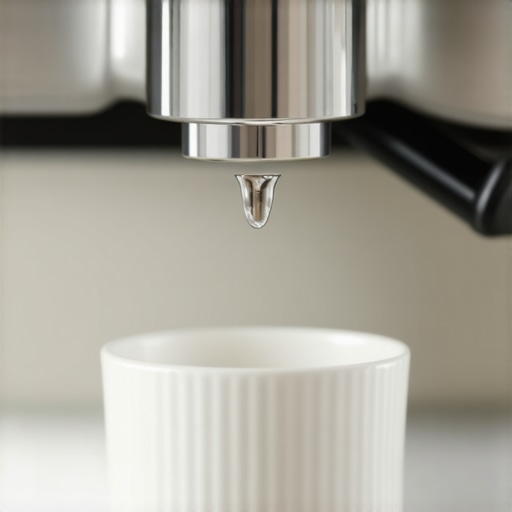
It was one of those mornings—my favorite espresso shot pulled, and suddenly, I noticed a tiny leak around the group head. My heart sank. I had just replaced the gasket a few months ago, but here I was, facing that dreaded drip and a creeping sense of regret. It struck me then—why do so many of us dread gasket replacements, especially when a full teardown seems so intimidating?
Why You Shouldn’t Fear the Full Machine Disassembly
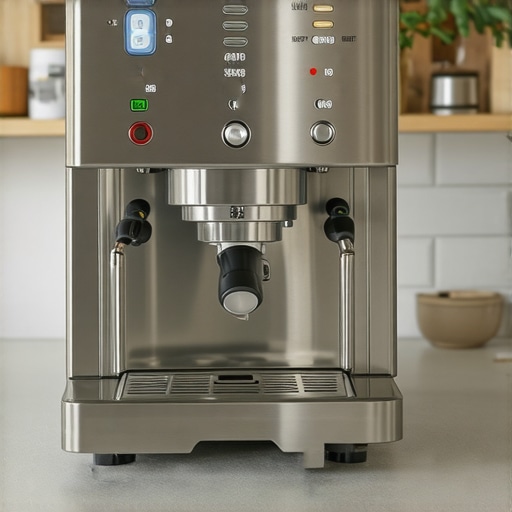
Many home baristas and even seasoned enthusiasts shy away from replacing the group gasket because they assume it’s a complicated, time-consuming process that requires removing the entire machine. The truth? While a full teardown can offer insight into your machine’s inner workings, it isn’t always necessary for gasket replacement. In fact, with a bit of know-how, you can often swap out that worn gasket without disrupting your entire setup. This approach not only saves time but also minimizes wear and tear on other delicate components.
Is Replacing the Gasket Without Full Disassembly Really Worth It?
Initially, I made the mistake of thinking that any gasket issue meant I had to strip down my entire espresso machine. That led to unnecessary frustration and, honestly, more damage in some cases. A better approach? Learning to identify when a gasket can be replaced with minimal fuss. This saves you money, preserves your machine’s longevity, and keeps your espresso routine running smoothly.
Would you like to discover the step-by-step process that allows you to replace a group gasket safely and efficiently—without the hassle of a full teardown? Stick with me, and I’ll walk you through how I learned this skill and how you can master it too. Plus, I’ll share insider tips to avoid common pitfalls, like damaging your portafilter or risking leaks later down the line.
Before we jump into the detailed steps, remember: consistent maintenance extends the life of your beloved machine. As highlighted by Espresso Tech Guide, timely gasket replacement can prevent more costly repairs and keep your shots tasting perfect. Ready to dive into practical tips for a gasket swap that feels less like a chore and more like an art form? Let’s go.
Preparing for Gasket Replacement
Before diving in, ensure your workspace is clean and organized. Unplug your machine and lay out the necessary tools: a screwdriver set, a clean cloth, gasket ruler or calipers for measurement, and replacement gaskets compatible with your model. Wearing gloves can prevent fingerprint oils from contaminating new seals. I once attempted to replace a gasket without proper preparation, causing unnecessary frustration; so, attention to detail upfront saves time later.
Accessing the Group Head
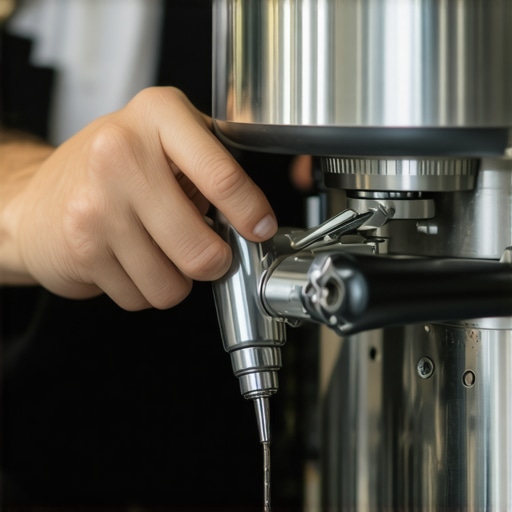
Start by removing the portafilter—think of it as the key to your machine’s heart. Unscrew any covers or panels that give direct access to the group head; often, these are held by screws on the side or underneath. Use a screwdriver to carefully detach these parts—remember, Gentler is better than force. For example, I once used a butter knife to pry a stubborn panel, which gouged the plastic housing. Instead, a proper screwdriver prevents damage and makes reassembly smoother.
Identify the Gasket Location and Size
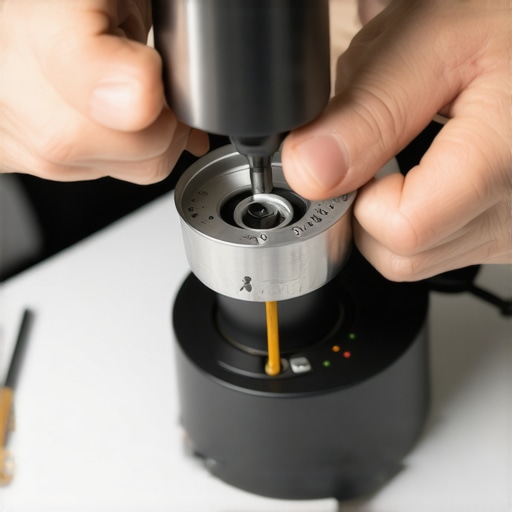
The gasket sits snugly between the shower screen and the metal group head. Use your gasket gauge or calipers to measure its diameter and thickness—accurate measurements ensure procuring the correct replacement. I once ordered the wrong gasket size, which delayed my routine, highlighting the importance of precise measurement. For reference, check your machine’s manual or online guides for typical dimensions.
Removing the Old Gasket
Carefully pry the worn gasket out using a plastic spatula or a gasket removal tool—avoid metal tools that might scratch or deform the metal surface. Gently work around the perimeter, pulling it free without disturbing the shower screen. Take a picture beforehand for reference on placement. During my first attempt, I neglected to note the orientation, leading to leaks later. Remember, a clean edge is essential for a proper seal and future reliability.
Installing the New Gasket
Lightly coat the new gasket’s edge with a bit of high-temperature food-grade lubricant—this eases installation and prevents tearing. Carefully press it evenly into the groove, ensuring it sits flush around the entire perimeter. Align the gasket with the shower screen and reattach the components. Once in place, secure all screws hand-tight to avoid overtightening, which can deform the gasket. I once overtightened, causing the gasket to deform and leak; patience here pays off.
Reassembling the Machine
Replace any covers or panels, securing them firmly but without excessive force. Reattach the portafilter and run a test shot—observe for any leaks or inconsistencies. If leakage persists, double-check gasket placement and cleanliness. During a recent session, I found an imperfect seal due to debris, which was fixed by cleaning both surfaces thoroughly. This step ensures your espresso machine remains in top condition without the need for full disassembly.
Many enthusiasts believe that choosing high-end equipment guarantees perfect coffee every time, but in reality, familiarity with subtle nuances is what sets skilled baristas apart. For instance, a popular misconception is that more expensive grinders always produce better espresso. While they often come with advanced features, the key lies in understanding grind consistency and burr calibration, not just price tags. Regularly inspecting burr alignment can drastically improve flavor clarity, regardless of your grinder’s cost.
Another widespread myth revolves around milk frothers. Many think that fancy steam wands automatically deliver silky microfoam. However, technique matters just as much—using the right angle, pressure, and temperature are crucial. To master this, consult microfoam tips and practice consistently. Overlooking these details can lead to disappointingly flat or uneven foam, no matter how expensive the equipment.
The silent trap many fall into involves home espresso machines with overly complex features. They assume that the more control options available, the better their shots will be. But mastering basic functions—like consistent tamping pressure, proper pre-infusion, and water temperature stability—often yields more satisfying results. Remember, mastery over core techniques beats reliance on gadgetry.
Have you ever fallen into this trap? Let me know in the comments.
In raising the bar from beginner-level understanding, being aware of common misconceptions and hidden details is crucial. For example, many assume that the grind size is a set-it-and-forget-it element; in reality, adjusting grind size for different beans and roast levels is essential for optimal extraction. Furthermore, not all barista gear is created equal—some accessories, like tamper mats or distribution tools, can make or break your consistency. Deep knowledge of these nuances helps you troubleshoot and refine your craft.
Finally, advanced enthusiasts often overlook water quality’s profound impact. Using unfiltered tap water can lead to mineral buildup, affecting flavor and machine longevity. For insights on maintaining water quality, see water filtration tips. Remember, a well-rounded approach that includes understanding equipment quirks, proper maintenance, and technique refinement is what transforms good coffee into great coffee.
Keeping Your Espresso Setup in Prime Condition
For serious home baristas, maintaining consistency over time is crucial. One of my go-to tools is a digital caliper, which I use to measure burr spacing on my grinder with pinpoint accuracy. This simple device helps me identify when my grinder needs recalibration, ensuring grind size remains uniform—vital for quality shots. Additionally, I rely on a dedicated cleaning schedule using specialized brushes designed for espresso machine parts, like the crusher brushes, which effectively remove coffee oils and buildup. These tools, combined with regular descaling products like descaling solutions, extend the life of my equipment and maintain optimal performance.
Looking ahead, I predict that smart calibration tools integrated with IoT technology will become more prevalent, allowing real-time diagnostics and automated adjustments, keeping your machine running flawlessly without manual oversight. This integration will especially benefit busy households and small cafes aiming for consistent quality without constant supervision.
How do I maintain my espresso machine over time?
Establishing a routine that includes weekly wiping of the portafilter and shower screen, monthly backflushing, and biannual descaling is key. Investing in a quality portafilter brush and keeping spare gasket kits handy minimizes downtime. I’ve found that scheduling these tasks on a calendar reminder ensures I don’t forget, so my shots remain consistent. Engaging with comprehensive guides like mastering the art of home espresso has helped me understand the importance of proactive maintenance rather than reactive fixes.
Don’t overlook the importance of water quality. Using a high-quality water filter and testing the hardness periodically prevents scale buildup that can damage heating elements. For in-depth guidance, see water filtration tips.
Crucially, always keep spare parts like shower screens and gaskets in stock—replacing them at the first sign of wear prevents minor leaks from turning into major repairs. Remember, good maintenance is a balance between proper tools, scheduled routines, and educated care. Try implementing a monthly burr calibration check with your caliper; it’s a straightforward step that will significantly improve your espresso’s consistency.
Less is More: Lessons That Hit Home
One of the toughest lessons I learned was the importance of patience over brute force. Rushing into disassembling my espresso machine led to more damage and frustration. Taking a step back, understanding the precise location and proper method to replace a gasket without full teardown saved me time and money—and preserved my machine’s integrity. I’ve also realized that every machine has its quirks; reading the manual or online guides often reveals subtle tips that prevent costly mistakes. Lastly, cleanliness and measurement accuracy aren’t just small details—they’re the difference between a leak-free seal and a soggy disappointment. These insights transformed my approach from trial-and-error to confident maintenance.
My Arsenal of Tools and Resources for Perfect Gasket Replacement
I swear by a good set of plastic gasket removers—they prevent scratches and give you control. A digital caliper has been invaluable for measuring gasket dimensions precisely, ensuring I buy the right replacements every time—check out this resource on machine health calibration. For learning, I regularly revisit tips for home espresso mastery because consistent technique minimizes issues from gasket failures. When it’s time to clean or replace, burr and gasket maintenance guides help me stay ahead. Lastly, I rely on high-temperature food-grade lubricant—small but crucial—to ease gasket installation and ensure long-lasting seals.
Keep Your Passion Brewing: Action Starts Now
Your journey toward a leak-proof, high-performing espresso machine begins with small, confident steps. Embrace the value of simple maintenance routines, invest in quality tools, and stay curious about your machine’s inner workings. Remember, every gasket replaced with care improves your daily coffee ritual—and with time, you’ll master more aspects of your setup. Don’t let fear of disassembly hold you back; mastery is just a few confident moves away. Share your stories or ask your burning questions below—your perfect shot is within reach, and I’m here to help you get there.