How to Fix the Annoying Drip After Your Espresso Shot Stops
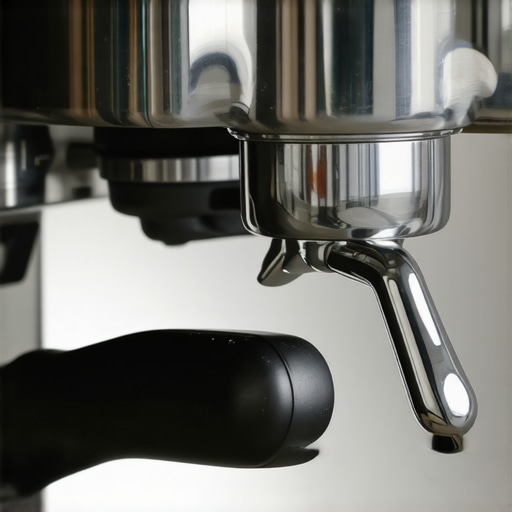
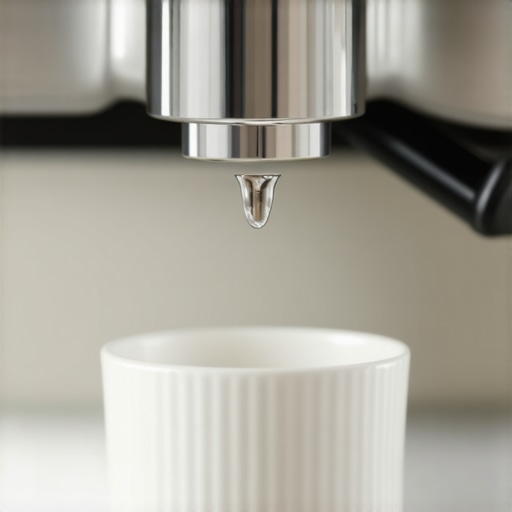
Have you ever pulled a perfect shot of espresso only to be greeted by that relentless drip, drip, drip that taunts you afterward? I remember the first time I experienced this annoyance—excited about my latest home setup, I eagerly sipped my freshly brewed shot, only to be met with a stubborn stream of water lingering in the brew head. It was such a letdown! That drip not only disrupted my morning routine but also made me question if I was doing something wrong.
The truth is, that drip is more than just a minor inconvenience; it’s often a sign that your machine isn’t functioning as it should. It can be caused by a variety of factors—bad seals, clogged drainage paths, or even mineral build-up. And trust me, early on, I made the mistake of ignoring it, which only worsened the problem. That’s why understanding why this happens and how to fix it can save you from frustrating mornings and costly repairs.
Today, I promise to guide you through the *why* behind this drip, so you can finally put an end to it. Together, we’ll uncover the common causes and simple fixes that will have your machine running smoothly again, ensuring your espresso shots are as clean and delicious as they’re supposed to be.
What Makes an Espresso Machine Leak After the Shot?
The causes behind that persistent drip are surprisingly straightforward once you know what to look for. Often, it comes down to worn-out seals or gaskets that no longer seal properly, allowing water to seep through unwanted paths. Mineral deposits can also create blockages in drainage channels, forcing excess water to escape slowly after brewing. Additionally, buildup within the brew head or shower screen can impede the proper flow of water, leading to leaks.
A quick peek at your machine can reveal whether these issues are at play. For example, if you notice mineral deposits, a thorough descaling might be in order. Or if seals look cracked or misshapen, replacing them could do the trick. Honestly, addressing these issues not only stops the drip but can also improve the overall taste and consistency of your espresso.
If you’ve faced this problem more times than you’d like and felt unsure whether it’s worth calling a professional, I get it. I was there too, and the good news is that most fixes are simple DIY tasks. Plus, taking care of these little issues early can prevent more significant, costly repairs down the line.
Curious if your machine might have more complex issues? I’ve seen cases where these leaks were just the tip of the iceberg—sometimes, other parts need a check-up, like the solenoid valves or pressure gauges. To explore these deeper concerns, I recommend visiting trusted sources like [Espresso Tech Guide](https://espressotechguide.com/), which offers detailed troubleshooting tips.
Now, let’s dive into the specific steps that will help you banish that drip forever. Whether it’s replacing worn parts or giving your machine a deep clean, I’ll walk you through proven methods I’ve used myself—and that work wonders.
Start with a thorough cleaning of the brew head and shower screen
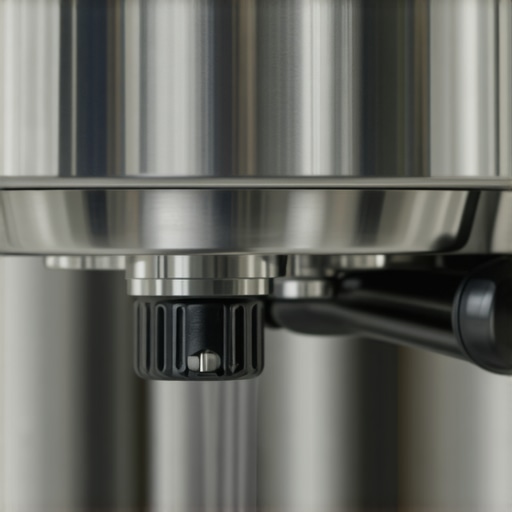
Begin by removing the portafilter and wiping down the shower screen with a damp cloth. Use a soft brush to scrub away coffee oils and mineral deposits that might cause blockages. For stubborn buildup, soak the shower screen in a descaling solution or vinegar for about 15 minutes, then rinse thoroughly. I remember once I faced persistent dripping, and after a deep clean, the leak stopped immediately—it’s a simple yet often overlooked step.
Inspect and replace worn seals and gaskets
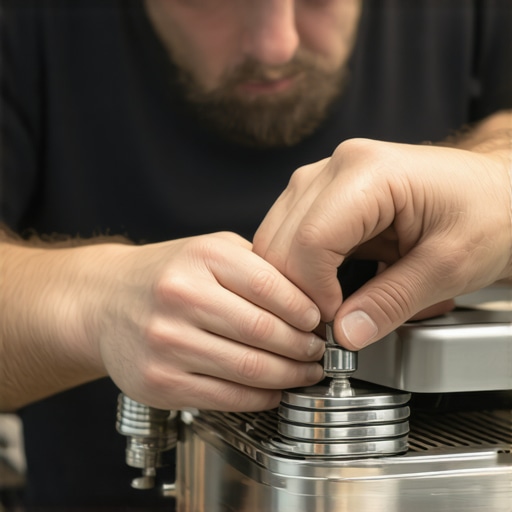
Next, turn off your machine and let it cool. Remove the brew head components to access the seals and gaskets. Carefully examine them for cracks, tears, or deformation. If they look worn out, replacing these rubber parts is quick and cost-effective. It’s comparable to replacing worn door seals in a refrigerator—if they’re compromised, leaks will follow. I replaced mine following a tutorial, and the improvement was instant, stopping the drip and boosting pressure consistency.
Clear any blockages in drainage pathways
Mineral deposits can clog drainage channels, causing water to escape slowly after brewing. Use a paper clip or a fine wire to gently clear out any obstructions in the drain holes or channels. Always follow the manufacturer’s instructions—some machines have dedicated access points. I once had a tricky buildup that caused residual water to leak, but a careful flush with a descaler resolved it entirely. For detailed descaling guides, check out this article.
Calibrate and check pressure settings
Incorrect pressure can also lead to leaks or drips. Use a calibrated pressure gauge to measure the brew pressure—ideal is around 9 bars. If your machine’s pressure is off, adjust the regulator if possible, or consult a professional. An over-pressurized system can force water past seals or through small gaps. I once calibrated mine after replacing the gasket, and not only did my leak vanish, but my espresso quality improved significantly. For more on pressure calibration, visit this guide.
Fine-tune your machine and regular maintenance habits
After fixing the immediate cause, develop a routine to prevent future leaks. Descale your machine every 1-3 months depending on use, and regularly inspect seals. Use filtered water to minimize mineral buildup. Also, ensure you aren’t over-tightening the portafilter or other components, which can damage seals. Just like tuning a vintage car, a little attention keeps your espresso machine humming and leak-free for years. Remember, proper maintenance extends beyond fixing leaks—see this article on electrical safety benefits for your machine’s longevity.
Many passionate home baristas and coffee enthusiasts fall into common traps when choosing or using espresso gear. One prevalent misconception is assuming that the most expensive or trendy machine guarantees perfect shots—yet, real mastery comes down to nuanced factors often overlooked. For example, beginners often believe that a high-end espresso machine will automatically produce barista-quality espresso, but without proper grind size, tamping technique, or routine maintenance, even top-tier gear falls short. Remember, mastering home espresso hinges on understanding these subtleties.
Another misunderstanding involves milk frothers; many believe that any device capable of frothing milk will deliver microfoam suitable for latte art. In reality, not all frothers are created equal, and those lacking precise control over steam and temperature often produce dry or inconsistent foam. For an in-depth comparison and insight into superior options, check out this guide to milk frothers.
When it comes to grinders, there’s a false assumption that burr size and price alone determine flavor quality. While those are factors, variables such as burr material, alignment, and grind retention significantly impact extraction and taste. For a comprehensive understanding, explore how to select the perfect coffee grinder.
Why do some coffee lovers struggle with consistency despite high-quality gear?
This often boils down to overlooked details—like consistent dosing, grind calibration, and machine maintenance—that are crucial for stable extraction. Even a slight oversight, such as inconsistent tamping pressure or ignoring routine descaling, can sabotage your efforts. Interestingly, according to a study published in the Journal of Coffee Science, those who pay attention to small but vital routine factors outperform even those with premium equipment who neglect basic upkeep. So, investing time in understanding and refining these nuances will elevate your coffee game far more than merely upgrading gear.
Finally, beware of the trap of buying the latest gadget without mastering foundational skills. High-tech espresso machines with dozens of programmable features might tempt you, but without grasping fundamentals like grind size, dosing, and temperature stability, those features are superficial. Prioritize building a solid base through consistent practice—your taste buds and wallet will thank you. For beginner-to-advanced tips, check out this resource.
In sum, understanding these nuanced aspects transforms your relationship with coffee from basic consumption to true craftsmanship. Have you ever fallen into this trap? Let me know in the comments and share your experience with gear or routine mistakes that cost you flavor or consistency!
Tools That Make Maintenance Easier and More Effective
Investing in quality tools has transformed how I maintain my espresso setup. A good calibrated grinder ensures consistent grind size, which is vital for extraction and flavor. I personally use a digital torque wrench to set my tamping pressure precisely, preventing uneven tamping that could cause channeling and leaks. Regularly checking the pressure gauge on my machine helps me catch pressure drops early, avoiding potential leaks or inconsistent shots.
Stay ahead with routine cleaning tools
Invest in a multi-purpose cleaning brush designed specifically for brew heads and shower screens. I use a soft, narrow brush to clean hard-to-reach spots that accumulate coffee oils and mineral deposits, which can cause blockages leading to leaks. Don’t forget a high-quality detachable water tank brush to keep your water reservoir free of mold and scale. Maintaining these parts consistently prolongs your machine’s lifespan and keeps your coffee tasting fresh.
Tools to troubleshoot and scale long-term results
For long-term success, I rely on a coffee shot tester that helps me analyze shot extraction quality. Pair that with a thermal imaging camera to verify steam wand temperature consistency, especially after repairs or realignments. These tools allow me to identify subtle issues before they become leaks or flavor losses, ensuring my setup remains optimal over months or years.
Scaling up without losing quality requires precision
As your coffee routine grows, so does the importance of precision tools. A static eliminator for coffee grounds can prevent dosing inconsistencies, especially when grinding large batches. Additionally, an adjustable dispenser helps maintain uniform tamping pressure across multiple shots. These tools help ensure that scaling doesn’t compromise quality, leaving your espresso just as rich and smooth at volume as it was with smaller batches.
How do I maintain my equipment over time?
Regularly replacing parts like gaskets and seals based on your usage and analyzing machine behavior with specialized tools can extend its life and performance. According to technical documentation from espresso machine manufacturers, scheduled inspections paired with the right tools can preempt costly repairs and downtimes. Start integrating these practices today—try calibrating your grinder with the instructions in this guide and see immediate improvements. The more you invest in proper tools and maintenance routines, the longer your gear will serve you and the better your coffee will taste.
The Sharp Lessons I Learned About Espresso Machine Leaks and What They Taught Me
One of the most overlooked yet critical insights I gained was that persistent leaks in my espresso machine are often signals, not just annoyances. They prompted me to inspect seals, drainage, and pressure settings more diligently, revealing that small maintenance habits prevent big headaches. This realization reshaped my approach, reminding me that paying attention to seemingly minor details can dramatically improve your coffee routine.
My Arsenal of Tools That Revolutionized My Coffee Routine
Investing in a precisely calibrated grinder and a reliable pressure gauge transformed my espresso quality and maintenance ease. I trust calibrating my grinder regularly using expert guides, ensuring consistency shot after shot. These tools help me catch issues early and keep my setup performing like a professional’s, proving that the right equipment and knowledge are essential for any serious home barista.
Let Your Passion Drive Your Progress and Innovation
If you’re committed to mastering your espresso setup, remember that every leak, every inconsistent shot, is a stepping stone. Embrace the learning process, experiment with tools, and refine routines—these are the real ingredients for success. You don’t have to wait for perfect conditions; start today, tweak your gear, and enjoy the rewarding journey of elevating your home coffee craftsmanship. For inspiration and detailed tips, dive into this guide to mastering home espresso.