How to Fix a Grinder Adjustment Ring That Is Stuck
I remember it like it was yesterday—a Tuesday morning, pre-dawn, and I was just trying to dial in a new bag of Ethiopian beans. I reached for the adjustment ring on my grinder, expecting that familiar smooth click, but instead, it wouldn’t budge. I pulled harder. Nothing. It felt like the machine had decided to retire right then and there. My heart sank. There is nothing quite like the panic of realizing your expensive barista gear is suddenly a very heavy paperweight. I almost reached for a pipe wrench—a move that would have been a catastrophic mistake.
Stop Forcing It and Take a Deep Breath
Before you do what I did years ago and take a pair of heavy-duty pliers to your adjustment collar, just stop. I learned the hard way that brute force is the fastest path to a $500 repair bill. When that ring locks up, it’s usually not because the metal has fused together; it’s because coffee oils have turned into a literal glue. Over time, those microscopic particles and oils build up in the threads, creating a bond that feels permanent. If you’ve ever wondered the reason your grinder adjustment ring feels gritty or stuck, you’re likely dealing with a buildup that’s been ignored for a few months too many. It is a frustrating reality that even the top rated espresso machines can’t function if the grinder isn’t playing ball.
Is my expensive grinder actually dead for good?
That’s the fear, isn’t it? We spend a lot of time choosing the perfect coffee grinder, and the thought of the threads being cross-threaded or the motor housing being warped is terrifying. But here is a bit of good news: in about 90% of cases, the ring is just jammed with “coffee concrete.” According to expert repair guides at Prima Coffee, coffee oils can actually polymerize over time, creating a sticky residue that is surprisingly strong. It’s a common hurdle when mastering the art of home espresso. We are going to get that ring moving again today. I’ll show you the gentle tricks I use now—the ones that don’t involve power tools or swearing at your kitchen counter. Have you ever found yourself in this spot, gripped by the fear that you’ve just broken your favorite machine? Tell me I’m not the only one who has panicked over a stuck collar!
Why Your Settings Seem to Have a Mind of Their Own
Sometimes the ring isn’t completely stuck, but it feels like it’s fighting you. You might notice why your grinder settings feel like they changed overnight, and that’s often the precursor to a total lock-up. When fine dust gets trapped in the adjustment threads, it creates friction. If you keep forcing it without cleaning it out, you’re eventually going to hit a point where it simply won’t move. I once spent an hour trying to fix why your grinder keeps turning off in the middle of a dose, only to realize the ring was so jammed it was putting physical pressure on the internal safety switch. Dealing with these mechanical quirks is just part of the hobby, much like learning how to maintain milk frothers that transform your coffee experience. Let’s look at how to safely disassemble and clean those threads without losing your mind.First things first, unplug that machine. It sounds like a basic safety warning, but when you are wrestling with a jammed collar, you do not want the motor accidentally engaging if you slip and hit a switch. I once made the mistake of trying to clear a jam while the hopper was still half-full of oily dark roast beans. I thought I could just wiggle the ring loose, but the moment the threads gave way, beans flew everywhere like a caffeinated explosion. It took me an hour just to sweep the kitchen. Lesson learned: clear the path before you start the deep cleaning.
Get Everything Out of the Hopper First
Emptying the beans is just the start. You need to purge the remaining grounds that are sitting in the chamber. Run the motor for a few seconds until it sounds hollow, which reduces the physical pressure against the adjustment threads. If you have a massive clog, you might need to learn how to clear a jammed chute without damaging your grinder before the collar will even move an inch. Think of the chute as the exhaust pipe; if it is backed up, the whole system feels the strain. When the chamber is empty, you are finally ready to address the threads themselves.
How to Safely Loosen the Burrs
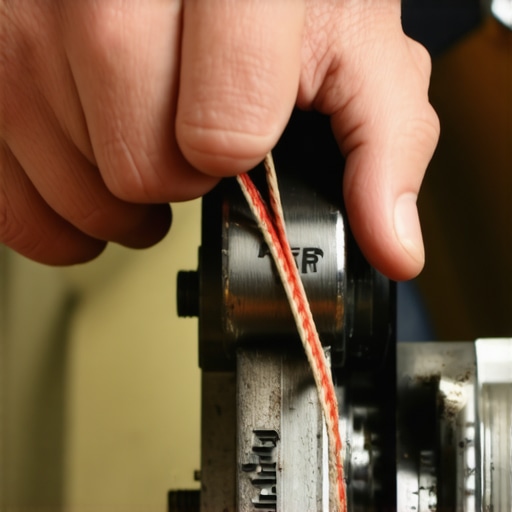
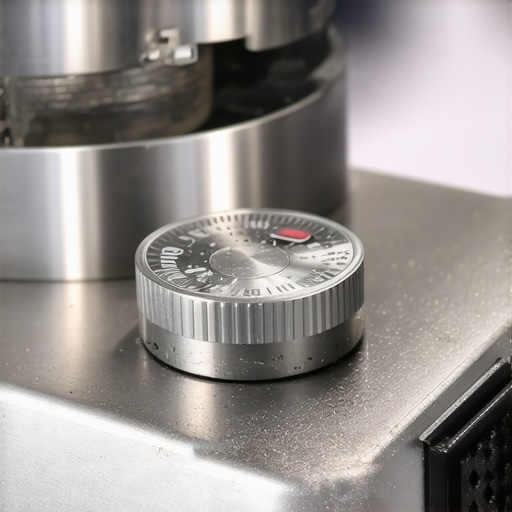
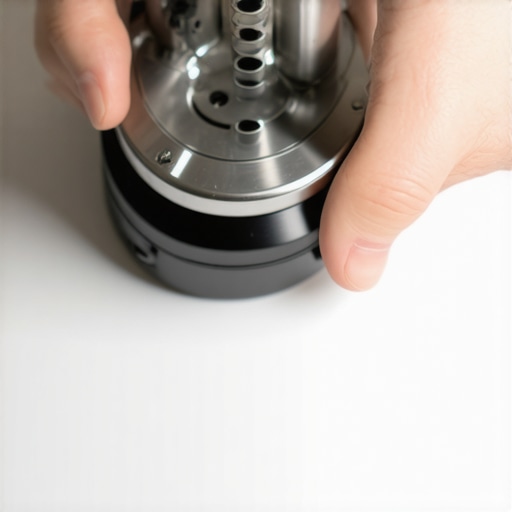
Once the beans are gone, try to turn the ring toward the ‘coarse’ setting. Most grinders lock up when they are dialed too fine or when oil has settled into the narrowest part of the threads. Moving toward coarse opens the gap and provides a bit of breathing room. If it still won’t budge, use a rubber jar opener for extra grip—but never, ever reach for a pipe wrench. I remember a friend who tried to force his high-end machine with a set of pliers; he got it open, but he also stripped the beautiful powder coating right off the side. It was a heart-breaking way to ruin his barista gear. If you can’t get it to move by hand, heat the collar slightly with a hairdryer on a low setting to soften those polymerized oils.
Scrubbing Away the Coffee Concrete
If you manage to unscrew the top burr carrier, you will likely see a thick, black gunk in the threads. This is the ‘coffee concrete’ I mentioned earlier. Take a stiff nylon brush and get to work. For the really stubborn bits hiding in the grooves, I highly recommend using the cotton swab trick for cleaning hidden grinder crevices. It is incredibly effective for pulling out those microscopic oils without marring the metal. You want those threads to look like they just came out of the factory box.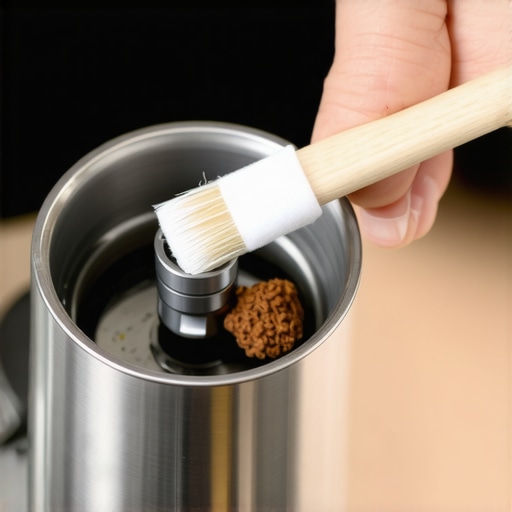
Protect Your Burrs from Cheap Hacks
While you are in there, resist the urge to use ‘natural’ cleaners like white rice. There is a persistent myth in the community that it cleans out oils, but the truth about why you should never use rice to clean your high-end grinder is simple: rice is significantly harder than coffee beans. It can dull your expensive burrs or leave behind starchy residue that attracts moisture and causes rust. If you can’t get the collar off, use a dedicated grinder cleaning tablet instead. It is the safest way to maintain your equipment while mastering the art of home espresso. Once the threads are clean, a tiny dab of food-grade lubricant on the threads will make your next adjustment feel like butter, ensuring you never have to deal with a frozen machine on a Tuesday morning again.Now that those threads move like butter, let’s dig deeper into the nuances that separate a hobbyist from a seasoned pro. Most people assume that once they’ve invested in top rated espresso machines, the battle is won. But here’s the contrarian truth: your expensive gear is actually more temperamental than the cheap stuff. High-end machines have tighter tolerances, meaning a tiny shift in room temperature or humidity can completely throw off your flow. If you find that why your espresso shot slows down midway through the pull, it’s rarely a mechanical failure; it’s usually the coffee bed reacting to the increased pressure and heat in a way that wouldn’t happen on a less precise machine.
Don’t Fall for the Expensive Gear Myth
We’re often told that buying better barista gear solves extraction issues. In reality, I’ve seen $3,000 setups produce swill because the owner ignored their water. The Specialty Coffee Association (SCA) standards suggest that a specific range of mineral hardness is required to ‘pull’ the flavor out of the bean. If your water is a ‘blank slate’ from a heavy-duty filter, the coffee will taste flat. Conversely, if it’s too hard, you’ll be hunting for how to tell if your water is too soft for brewing before you realize your boiler is already choking on lime scale. 
The Descaling Trap That Can Ruin Your Morning
Here is a massive ‘oops’ factor: the over-zealous descaler. I’ve met many home baristas who descale every single month just to be safe. This is a mistake. Aggressive acids can strip the protective oxidation layer off the copper inside your boiler, leading to the reason your espresso tastes metallic after descaling. It’s a metallic tang that no amount of purging can fix easily. You’re better off preventing scale through proper filtration than trying to blast it out after the fact. Also, never use dish soap on your internal parts; the dish soap mistake that ruined your group head seal is a real thing that causes leaks and foul-tasting coffee for weeks.
Does your water chemistry matter more than your burr geometry?
While we obsess over flat vs. conical burrs when learning how to select the perfect coffee grinder, the chemistry of the water hitting those grounds is far more influential on the final cup. Experts like Christopher Hendon, co-author of Water for Coffee, have proven that magnesium ions specifically enhance the extraction of fruitier compounds. If your water lacks these, even a $2,000 grinder won’t give you those bright, floral notes you’re looking for. Have you ever fallen into this trap of upgrading your hardware when your ‘software’—the water and beans—was the real problem? Let me know in the comments.It’s a humbling moment when you realize the water chemistry is the culprit, but once you fix that, you start noticing the smaller mechanical gremlins. For instance, have you noticed why your coffee puck keeps sticking to the shower screen? This isn’t just a messy annoyance; it’s usually a sign that your headspace is off or your group head needs a backflush. I personally keep a dedicated group head brush and a small tub of backflush detergent right next to my machine. If I skip even three days of backflushing, the flavor profile of my light roasts starts to turn ‘muddy.’ It’s the small, daily habits that ensure you are mastering the art of home espresso.
How do I maintain my espresso machine’s performance over several years?
Long-term health for top rated espresso machines comes down to two things: internal scale management and external seal integrity. According to the La Marzocco official Home Maintenance Guide, replacing your group head gasket and shower screen every 6 to 9 months is non-negotiable if you want to prevent pressure loss and leaks. If you wait until the machine actually drips, you’ve waited too long. I’ve seen enthusiasts get five to ten years out of a machine before a single major repair just by using softened water and changing those rubber seals like clockwork. Moving beyond the internal plumbing, the tools you use to prep your coffee can also degrade or, worse, sabotage your results.
Upgrade Your Workflow with Precise Tools
You don’t need a new machine to get better results, but you might need more precise accessories. A tool I swear by is the WDT (Weiss Distribution Technique) tool, but the needle thickness is critical. I learned the hard way that why your wdt tool pins are too thick for light roasts matters—if the pins are over 0.4mm, you’re actually pushing coffee around and creating more clumps than you’re breaking. Switching to 0.3mm acupuncture needles was a total game-changer for my shot consistency. 
The AI Barista is Coming for Your Countertop
Looking ahead, I predict we’re moving toward a ‘smart’ espresso era where machines will use real-time flow-rate sensors to adjust the pump pressure mid-shot based on resistance. We are already seeing the beginnings of this with gravimetric scales integrated into the drip tray. Soon, your machine won’t just tell you the shot was bad; it will explain exactly how to fix the grind size for the next one. Until then, you have to be the primary sensor for your barista gear. My big challenge for you this week is to be more observant: try the flashlight move for finding hidden channeling paths during your next pull. It’s a low-tech way to see exactly where your puck prep is failing, and it’s far more revealing than any digital readout on a screen.
Hard Truths from a Caffeine-Fueled Decade
After years of wrestling with burrs and boilers, I’ve realized that the most expensive gear doesn’t make you a better barista; it just exposes your mistakes faster. Here are a few lightbulb moments from my journey: first, cleanliness is literally a flavor profile. If you ignore the oil buildup, your $20 bag of beans will always taste like rancid rubber. Second, remember that water is the silent partner. You can’t brew gold with leaden water. Finally, small habits save big money. Taking sixty seconds for a 2-minute habit that prevents clogged steam wands is the difference between a lifetime machine and a landfill candidate. It’s about respecting your coffee grinders and the complex plumbing of your setup.
My Personal Coffee Station Toolkit
I don’t recommend products lightly, but these few things have saved my sanity more than once. I always keep food-grade silicone lubricant on hand; it is a must for those grinder threads once they are clean to prevent that ‘concrete’ effect from happening again. I also swear by a stubby screwdriver, which is essential for when you need to fix a milk frother that wont spin or tighten a loose handle without stripping the screw. If you are dealing with a wobbly grip, a simple shim fix for a loose portafilter handle can save you from a nasty spill mid-extraction. Lastly, never underestimate water testing strips to keep your boiler scale-free.
The Journey to the God Shot Never Truly Ends
At the end of the day, your machine is a partner, not just an appliance. It requires a bit of intuition and a lot of patience. Whether you are troubleshooting why your espresso tastes bitter even with a fast pull or finally loosening a stuck collar on your favorite machine, every challenge is a lesson in mastering the art of home espresso. Don’t be afraid to get your hands dirty—it is how you truly learn the soul of your barista gear. Have you ever been blindsided by a mechanical failure just as you were about to pull your morning shot? Let me know in the comments below!