Why Your Milk Pitcher Position Is Ruining Your Texture
I remember the morning I almost threw my pitcher across the kitchen. I had one of the top-rated espresso machines, a bag of expensive beans, and I still ended up with a latte that looked like dish soap. It was frustrating. I thought it was the milk or maybe a steam wand pressure issue, but the truth was much simpler and, frankly, more embarrassing. I was holding my pitcher perfectly level, right in the center, like I was trying to perform a laboratory experiment instead of making coffee. My texture was garbage because I had not learned the off-center secret.
Stop Holding Your Pitcher Like a Scientist
If you are dipping your steam wand straight down into the middle of the milk, you are killing the vortex. Without that swirling whirlpool, you are not integrating the air; you are just heating up big, ugly bubbles. I spent months making this mistake when I was mastering the art of home espresso. I assumed that even meant centered. It does not. Today, I am going to show you how a slight tilt and a specific offset can transform your foam from chunky to silky.
Does a few millimeters really make a difference?
It sounds like nitpicking, does it not? But experts at the Specialty Coffee Association (SCA) emphasize that creating a consistent vortex is non-negotiable for breaking down large bubbles into true microfoam. When you hit that sweet spot just off-center, the milk starts to spin. That spin is what shears the air bubbles into microscopic pieces. Have you ever felt that sinking feeling when your milk looks great for a second, then suddenly turns into a mountain of stiff foam? That is usually a positioning error, not a hardware failure. [IMAGE_PLACEHOLDER]
Find the Perfect Angle for Your Steam Wand
When I first started, I thought choosing the best barista gear would solve my problems. I bought fancy jugs, yet my latte art still looked like a sad blob. I eventually realized that my pitcher was too flat against the wand. You need to tilt it toward you slightly. This creates a deeper well for the steam to push against. If you are struggling with non-dairy options, you might also want to check the secret to steaming alternative milks as the physics change slightly, but the pitcher angle remains king. Have you struggled to get that glossy, wet paint look with your milk foam? Stick with me, and we will get your hand position dialed in.
Move the Wand Off-Center to Build the Whirlpool
Think of your steam wand as a jet engine and the milk as a quiet lake. If you fire that engine straight down into the middle, you create chaos and splashes. To get that silky texture, you need to find the side wall of your pitcher. Place the tip of the wand about halfway between the center of the jug and the side wall. This creates a powerful circular motion. If you are using a jumbo jug for a tiny flat white, you might find that the best way to handle large milk pitchers for small drinks is to tilt the pitcher toward you at a 45-degree angle to keep the wand submerged at the right depth. When the milk starts spinning like a merry-go-round, you have found the sweet spot. This vortex is what sucks the big bubbles down and shreds them into microfoam. If your machine feels weak, check why your steam wand loses pressure halfway through frothing to ensure you have the steam power to maintain the spin. 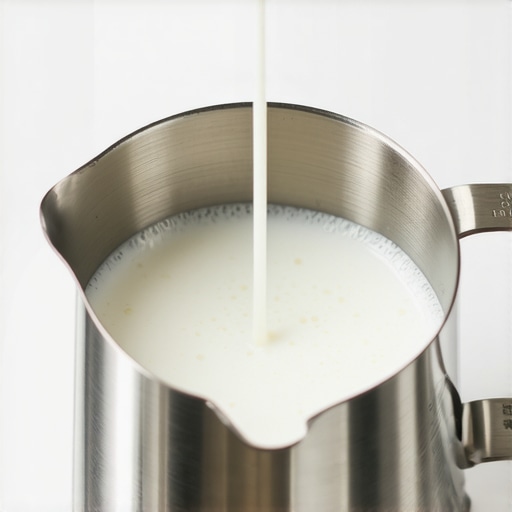
Listen for the Sound of Tearing Paper
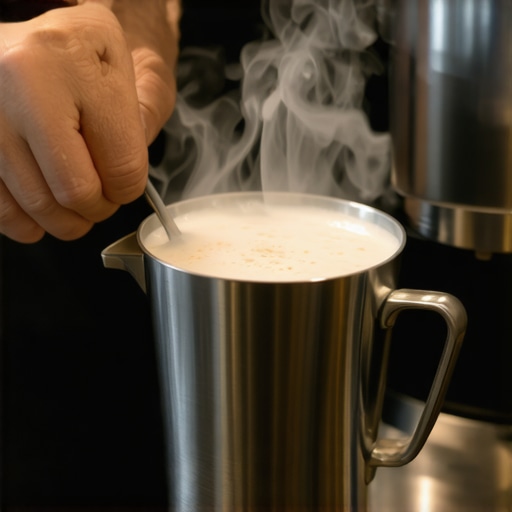
Once you have the spin, it is time to ‘stretch’ the milk. This is the only time you should hear a noise. It should sound like paper gently tearing—a sharp, crisp tss-tss sound. I remember my first month with a prosumer machine; I was so afraid of the noise that I buried the wand too deep. I ended up with hot, flat milk that tasted like cardboard. When I finally dared to keep the tip near the surface, I overdid it and created what looked like a giant marshmallow. The trick is to only stretch the milk until the pitcher feels like it has reached room temperature. This brief aeration is the reason your milk tastes sweet without adding sugar, as it perfectly integrates the proteins and fats.
Bury the Tip to Polish the Texture
As soon as the pitcher feels warm to your palm, lift the pitcher up just enough to submerge the wand tip completely. The tearing sound must stop. Now, you are in the ‘rolling’ phase. You are no longer adding air; you are using the heat and the vortex to polish the bubbles you already created. If you keep adding air too long, you will end up with ‘dry’ foam that sits on top of your coffee like a hat instead of mixing in. If your gear is acting up and the internal whisk isn’t catching, you should look into how to fix a milk frother that wont spin to get back to manual control. Watch the surface of the milk; it should start to look like glossy, wet white paint. Stop the steam the moment the pitcher is almost too hot to hold. Overheating the milk will scald it, and you will have to learn how to stop your milk frother from burning the bottom of the jug to save your equipment. Once you are done, wipe that wand immediately. Developing the 2-minute habit that prevents clogged steam wands is the difference between a pro setup and a sticky mess.I used to think that once I mastered the milk, the rest was just about buying more expensive toys. I was wrong. If you are mastering the art of home espresso, you will eventually realize that the machine is often the least of your worries. The real magic—and the most common pitfalls—happen inside the grinder and the bag of beans. Most enthusiasts fall into the ‘freshness trap.’ We are told that beans should be used as soon as possible after roasting, but if you have ever wondered how to tell if your coffee beans are too fresh for espresso, you know the struggle of trying to tame a gassy bean that refuses to settle. Pulling a shot from a bean roasted only yesterday is a recipe for a sour, bubbly disaster. Have you ever fallen into this trap? Let me know in the comments.
The Grinder Alignment Secret No One Tells You
Everyone talks about how to select the perfect coffee grinder for your brew, but few beginners understand that even a high-end unit can arrive ‘out of whack.’ If your burrs are not perfectly parallel, you get a mix of boulders and dust that ruins your extraction. This is the move for better espresso without buying a new machine: checking your alignment manually. Using the tinfoil shim move for perfectly aligned grinders can transform your consistency by ensuring 100% burr contact. 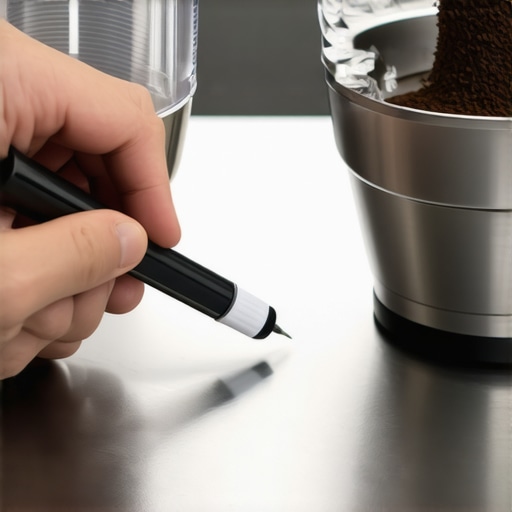
Why is your espresso shot blonde from the very start?
If your coffee looks pale and thin the moment the pump starts, you are not getting enough resistance. While many blame the pump, the expert consensus at the Specialty Coffee Association is that the ‘blonde’ phase usually signals that your puck has already failed. This is why your espresso shot is blonde from the very start; it is a symptom of massive channeling or beans that have simply given up their oils too fast.
Don’t Use Rice to Clean Your Burrs
There is a persistent myth that you can clean your grinder by running white rice through it. Please, for the sake of your equipment, stop. Rice is significantly harder than coffee and can burn out your motor or dull your expensive steel burrs. This is why you should never use rice to clean your high-end grinder. If you notice your grind consistency shifting, it is often more about the environment than the hardware. Understanding why your grinder settings feel like they changed overnight usually comes down to humidity—coffee is a sponge for moisture. If you have noticed a sudden mess on your counter, why your grinder makes more mess with dark roast beans is usually due to the higher oil content creating more static. Investing in choosing the best barista gear means learning to respect the physics of the bean as much as the mechanics of the machine.Once you have aligned your burrs, the next battle for the perfect shot happens in the puck itself. I used to think a quick tap of the portafilter was enough to settle the grounds, but then I started seeing the messy reality through my bottomless portafilter. I eventually upgraded my workflow with a WDT tool, yet I still struggled with consistency until I realized why your wdt tool pins are too thick for light roasts. If those needles are even slightly too beefy, they actually create more channels than they solve. Switching to ultrathin 0.3mm needles was the moment my shots finally stopped spraying the back of my machine. If you suspect your distribution is still failing you, try the flashlight move for finding hidden channeling paths. By shining a light through the basket as the espresso flows, you can spot the tiny, pale holes that signify a failed puck long before the shot turns blonde.
Consistency is the Only Way to Win
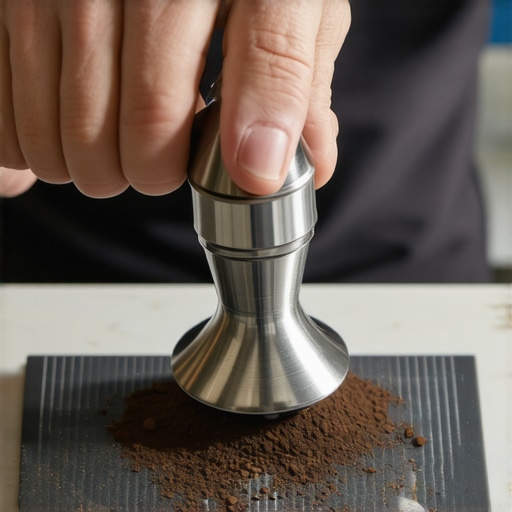
It is not just about the prep; it is about removing the human variable from the equation. I spent years fighting with my tamping pressure until I looked into the truth about using spring-loaded tampers for even shots. Taking the guesswork out of how hard you press allows you to focus entirely on your grind size and bean freshness. This level of mastering the art of home espresso is what separates a lucky shot from a reproducible morning routine.
How do I maintain my espresso machine over time?
The biggest silent killer of even the top-rated espresso machines is scale. It is a slow, chalky death that ruins heating elements and clogs solenoid valves. You might not notice it until you see why your e61 mushroom is covered in white crust during a deep clean. To avoid a total hardware failure, you must learn how to tell if your machine boiler is accumulating lime scale before the water flow begins to drop. According to technical documentation from La Marzocco, maintaining a specific water hardness of 90-150 ppm (parts per million) is the essential “sweet spot” for preventing both corrosion and scale buildup. If your water is too soft, the espresso tastes flat; if it is too hard, your boiler becomes a cave. 
Stop Using Tap Water Before It Kills Your Boiler
I have seen so many beautiful machines ruined because someone thought a simple charcoal filter was enough. It isn’t. If you are serious about longevity, you need to treat your water as a primary ingredient. Small hardware fixes also go a long way in preventing larger headaches. For example, if you notice a drip coming from your handle, knowing the simple o-ring fix for a leaky portafilter spout can save you an expensive service call. Looking toward the future, I predict we will see more home machines incorporating integrated flow-rate sensors and AI-driven channeling detection. But until those become affordable, the best tools you have are your eyes and a disciplined maintenance schedule. I challenge you to open up your group head this weekend and check for scale—catching it early is the best thing you can do for your coffee and your wallet.
The Mistakes That Finally Made Me a Better Barista
Looking back at my journey, I realize that the biggest breakthroughs didn’t come from buying more expensive gadgets, but from paying attention to the small details. First, stop chasing the ‘perfect’ recipe you found online—your kitchen’s humidity and elevation are unique, which is often why your grinder settings feel like they changed overnight. Second, I learned the hard way that a clean machine is a fast machine; developing the 2-minute habit that prevents clogged steam wands saved me hours of scrubbing and hardware repairs later on. Finally, remember that even top-rated espresso machines cannot compensate for stale beans or poorly maintained coffee grinders. Freshness and cleanliness are the two pillars that support everything you brew.
[IMAGE_PLACE_HOLDER_E]
My No-Nonsense Kit for Daily Success
If you want to stop guessing and start brewing like a professional, there are a few items I consider non-negotiable for any setup. I always recommend a high-precision digital scale that fits under your portafilter; without it, you are just throwing darts in the dark. For maintenance, stick to dedicated backflushing powders and avoid the dish soap mistake that ruined your group head seal during my early trials. I also suggest checking how to tell if your basket is too large for your dose, as using the wrong size can lead to watery, disappointing pucks and messy cleanup. These small adjustments to your barista gear will yield much bigger results than any major hardware upgrade.
Chase the Flavor, Not the Perfection
It is easy to get lost in the pressure gauges and the timing, but do not forget why you started this: the love of a truly great cup of coffee. Do not be afraid to pull a ‘bad’ shot—it is just data telling you how to fix the next one. As you continue mastering the art of home espresso, you will find that the ritual becomes just as satisfying as the caffeine itself. Whether you are using manual wands or specialized milk frothers, take your time, enjoy the aroma, and be patient with your progress. Which part of the process is giving you the most trouble right now—the milk texture or getting a consistent flow? Let me know below!