Why Your Espresso Shot Is Extracting from Only the Edges of the Basket
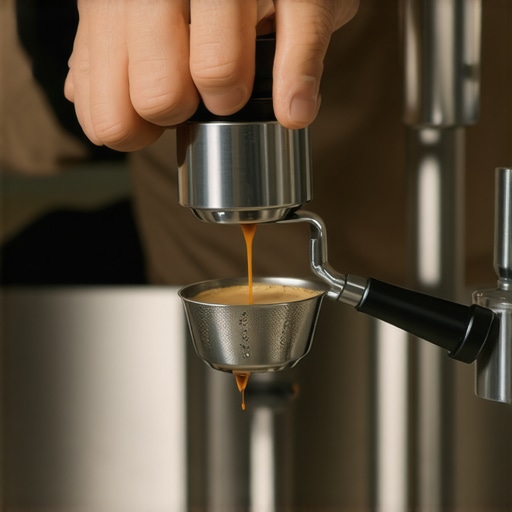
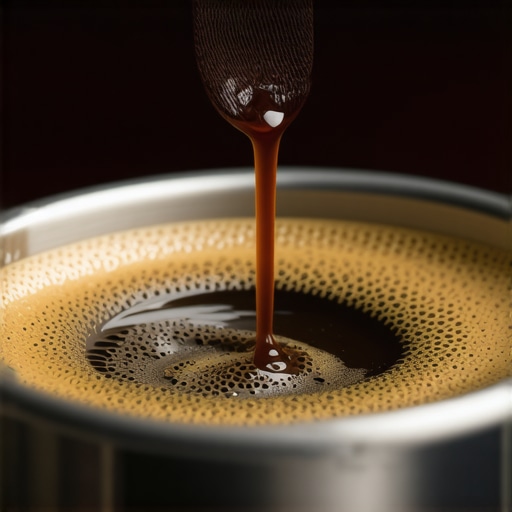
I remember the first morning I used my brand-new bottomless portafilter. I was expecting a glorious, honey-like stream to converge in the center like those satisfying videos we all watch on repeat. Instead, I got what the coffee community calls the ‘donut.’ Dark liquid began weeping only from the very outer rim of the basket, while the entire center stayed bone-dry and pale for nearly ten seconds. It was a mess, and frankly, it tasted like a mix of charcoal and lemon juice. If you have ever felt that sinking feeling of wasting expensive beans on a shot that looks like a literal ring of failure, you are in the right place. We are going to troubleshoot exactly why your water is taking the scenic route around your coffee puck and how to force it back to the middle where it belongs.
The Morning My Espresso Setup Betrayed Me
I will be the first to admit I made a massive mistake when I started this journey. I genuinely believed that if I just upgraded to one of the top-rated espresso machines, the physics of water and coffee would magically align. I was wrong. I spent weeks over-tamping and completely ignoring my distribution, which led to shots that were wildly inconsistent. The problem was not the machine; it was the way I was preparing the ‘bed’ for the water. When you are mastering the art of home espresso, you quickly learn that water is incredibly lazy. It will always find the path of least resistance, and often, that path is the tiny gap between your grounds and the metal wall of the basket.
Is This Really Worth the Mental Math?
You might be tempted to just shrug and drink the shot anyway. After all, it is just coffee, right? Well, not exactly. When your extraction only happens at the edges, you are essentially over-extracting that outer ring—making it bitter and harsh—while the center stays under-extracted and sour. It is the worst of both worlds. According to research published by the Specialty Coffee Association (SCA), achieving a uniform flow is the single most important factor in reaching a balanced extraction yield. Without it, you are leaving the best flavors behind in the grounds. Have you ever noticed that weird ring pattern on your own machine? Let me know, because for the first month, I actually thought my kitchen counter was crooked!
Why Your Water Is Taking the Scenic Route
The most common reason for this edge-biased flow is a lack of proper distribution. If you just dump grounds from your coffee grinder and hit them with a tamper, the density of the puck will be uneven. I used to think my gear was broken because my bottomless portafilter shows channels almost every single time. It turns out, I was creating a ‘rim-tamp’ effect where the edges were slightly less compressed than the center. To fix this, we need to look at tools like spring-loaded tampers to ensure a level press every time. You might even find that a simple paper filter trick at the bottom of the basket can help redistribute that flow more evenly across the entire surface. We are going to dive into the technical adjustments you can make to your workflow right now to stop the bypass.
Stop the Side-Channeling with Better Distribution
The donut extraction happens because water is lazy and seeks the least resistant path, which is usually the smooth wall of your metal basket. Think of it like a crowd of people trying to exit a building; they will naturally hug the walls rather than pushing through the dense center. To combat this, we have to ensure the coffee puck is a perfectly uniform density from edge to edge. I remember one specific Tuesday morning when I was running late for a meeting and skipped my usual distribution routine, thinking a quick finger-level would suffice. The result was a literal geyser from the left side of my portafilter that missed the cup entirely and coated my white shirt in hot espresso. That mess taught me that why your bottomless portafilter shows channels almost always comes down to how you distribute those grounds.
The Needle Tool That Changes Everything
If you are still just shaking the portafilter to level the bed, you are leaving your extraction to chance. Using a Weiss Distribution Technique (WDT) tool—essentially a handle with thin needles—is non-negotiable. You need to deep-stir the grounds to break up the micro-clumps that form naturally. When why your coffee grounds are clumping together becomes an issue, those clumps create air pockets. The water hits these pockets and blasts through them, leaving the center of the puck untouched. Stir in small circles starting from the bottom and working your way up to create a fluffy, level bed before you even think about grabbing your tamper.
Fixing the Basket-to-Dose Ratio
Sometimes the problem isn’t your hands; it is the hardware. If you are putting 16 grams of coffee into a 22-gram basket, you are creating too much ‘headspace’ between the shower screen and the coffee. This gap allows the water to pool and slam into the puck with enough force to erode the edges before the pressure even builds up. You can learn how to tell if your basket is too large for your dose by performing the ‘nickel test’—place a coin on top of the puck, lock it in, and remove it. If the coin is pressed deep into the coffee, you have too little space; if it doesn’t move at all, you likely have too much.
Why Your Tamper Might Be Too Small
A standard 58mm tamper often leaves a tiny fraction of a millimeter around the edge of the basket. This ‘un-tamped’ rim is exactly where the donut starts. I switched to a 58.5mm precision tamper and noticed an immediate decrease in edge-channeling. If you struggle with keeping the puck flat, the truth about using spring-loaded tampers for even shots is that they remove the human error of a slanted press. A slanted puck is a death sentence for a shot, as the water will sprint toward the thin side every single time. To see this in action, you can use the flashlight move for finding hidden channeling paths by shining a light through the bottom of the basket after a shot to see exactly where the puck failed. For those truly stubborn baskets, the simple paper filter trick for better bottomless shots involves placing a small circular filter at the bottom, which helps create enough back-pressure to force the water to spread out horizontally before it exits the holes.Let’s dig deeper. While most forums will scream ‘grind finer’ at you the moment a shot looks watery or shows a donut pattern, I have found that this is often the fastest way to ruin a bag of beans. There is a common belief that the finer you go, the more flavor you get. However, research led by computational chemist Christopher Hendon at the University of Oregon suggests that grinding too fine actually leads to ‘clogging,’ where some parts of the puck are so dense they get no water at all. This creates massive channels elsewhere. If you find that why your espresso tastes bitter even with a fast pull is a recurring nightmare, you might actually need to coarsen up your grind to allow for a more uniform flow. Have you ever fallen into this trap? Let me know in the comments because I spent way too many mornings chasing my tail with a grinder setting that was simply too tight for the pump to handle.
Why do your settings seem to drift by lunch?
It is incredibly frustrating when your first shot of the day is perfect, but the second one—using the exact same dose—runs like an open faucet. You aren’t going crazy. Temperature and humidity play a massive role in how beans behave. I have learned that why your grinder settings feel like they changed overnight often comes down to the beans absorbing moisture from the air or the metal burrs heating up from friction. To combat this, some enthusiasts swear by the freezer trick for cleaner grinding on hot days, which keeps the bean temperature consistent and significantly reduces static.
Stop Treating Your Grinder Like a Kitchen Blender
One ‘oops’ factor that kills many high-end machines is the cleaning process. You might see old-school tips suggesting you run white rice through your machine to soak up oils. Please, stop. There is a very specific reason why you should never use rice to clean your high-end grinder: rice is significantly harder than coffee beans. It can put immense strain on the motor and even dull your expensive burrs. When you are how to select the perfect coffee grinder for your brew, you are investing in precision; don’t ruin that precision with a bag of raw grain. Ultimately, your gear is only as good as your maintenance. If you notice the adjustment collar becoming difficult to turn, it isn’t just ‘character’—it is likely a build-up of rancid oils and grit. Addressing the reason your grinder adjustment ring feels gritty or stuck early can save you a very expensive repair bill down the road. Real espresso mastery is not about buying the flashiest machine from the list of top-rated espresso machines; it’s about understanding the subtle physics of the tools you already have.
Stop Ignoring Your Leaky Group Head
Even if you have mastered the puck prep, your machine has its own set of demands that can’t be ignored. I learned this the hard way when my machine started spraying water from the sides of the portafilter mid-shot. I realized that why your group head gasket is leaking after just one month often comes down to heat and pressure wearing out cheap rubber seals. I eventually switched to silicone gaskets, which stay soft much longer and provide a far superior seal. But gaskets are just the tip of the iceberg. You also need to be vigilant about what you can’t see inside the machine. If you aren’t using properly filtered water, you’re on a fast track to knowing how to tell if your machine boiler is accumulating lime scale. Trust me, you don’t want to wait until the heating element dies to start caring. I always recommend the best way to descale a boiler without using harsh vinegar because vinegar can leave a lingering scent that ruins your next thirty shots. According to technical service manuals from La Marzocco, failing to backflush with detergent weekly at home leads to a polymerized oil buildup that can permanently affect the flavor of your espresso and eventually clog the three-way solenoid.
How do I maintain my espresso machine over the long haul?
Maintenance is about consistency rather than intensity. I set a recurring reminder on my phone for a ‘deep clean’ every Sunday morning. This involves removing the shower screen and using the cotton-swab trick for cleaning hidden grinder crevices. It’s amazing how much old, stale coffee hides in the tiny nooks of your gear. If you are currently choosing the best barista gear for coffee enthusiasts, look for items that are designed to be user-serviceable. A beautiful machine that requires a degree in mechanical engineering just to access the heating element will eventually become a very expensive paperweight.
Tools That Actually Make Your Life Easier
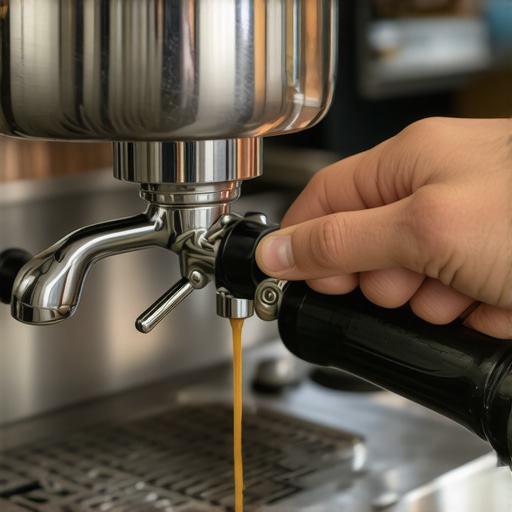
I’ve spent a lot of money on gadgets, but only a few have earned a permanent spot on my counter. One of the most underrated upgrades is actually ergonomic. I’ve found that why you should switch to a lever handle for your steam wand is purely about workflow; it allows for instant on-off control that a standard twisting knob just can’t match. It’s these small changes in mastering the art of home espresso that make the morning process feel like a satisfying hobby rather than a frustrating chore. Looking ahead, I predict we are going to see a massive shift toward ‘smart’ grinders that use AI to auto-adjust the grind size based on real-time flow rate data transmitted from the machine. We are almost at the point where the hardware can learn your taste preferences and fix a donut extraction before you even notice it’s happening. For now, however, the best tool you have is your own attention to detail. I challenge you to try the ‘nickel test’ for headspace tomorrow morning—it might just be the revelation you need to finally fix those messy shots and get back to the honey-like flow we all crave.
What I Learned After Pulling Three Hundred Messy Shots
Reflecting on my journey, the biggest takeaway wasn’t about the price of the machine, but the discipline of the process. First, I realized that cleanliness is actually a flavor; if you skip the purge or forget the best way to clean a grinder without taking it apart, your expensive single-origin beans will taste like old rubber. Second, I learned that pressure must be vertical, not just heavy. If you are struggling with consistency, the simple hack for a more ergonomic tamping position can fix a slanted puck overnight. Finally, I stopped chasing ‘perfect’ and started chasing ‘tasty’—sometimes a shot looks a little wonky but tastes incredible because the extraction hit the sweet spot regardless of the visual.
The Toolset That Finally Tamed My Extraction
If you are ready to move past the frustration of donut shots, there are a few things I genuinely swear by. I always tell beginners that choosing the best barista gear for coffee enthusiasts does not mean buying everything at once. Focus on a high-quality WDT tool and a precision basket first. I also suggest checking out mastering the art of home espresso guides that focus on sensory training rather than just numbers. These resources helped me understand why your espresso shot is blonde from the very start and how to adjust my prep to save the bag.
Start Chasing That Perfect Honey Flow
Do not let a few messy mornings discourage you. Every channeled shot is just data telling you how to improve your next cup. Espresso is a craft that rewards patience and curiosity. By refining your distribution and paying attention to the small details of your gear, you will soon find yourself pulling those beautiful, rich shots consistently. Have you ever had a shot that looked perfect but tasted terrible, or vice versa? Let me know in the comments below!