Why Your Steam Wand Tips Keep Getting Blocked by Milk Residue
It was a cold Tuesday at 6:45 AM, and I was clutching my favorite ceramic mug like a lifeline. I had just ground my beans to perfection using a reliable coffee grinder and pulled a shot that looked like liquid gold. Everything was perfect until I flipped the steam toggle. Instead of that powerful, satisfying hiss, I got a pathetic, high-pitched squeak and three lonely drops of hot water. My steam wand was choked. Again. I’ll be honest with you: in my early days of home brewing, I was lazy. I thought a quick swipe with a damp rag was enough to keep things clean. I even once tried to clear a blockage with a sewing needle and ended up scratching the internal bore of the tip, which only made the milk stick worse next time. It’s a frustrating, messy rite of passage, but today I’m going to show you exactly why that white gunk is winning and how you can take your morning routine back.
Why Your Wand Is Actually Choking on Milk
Most people think milk is just a liquid, but once it hits a hot steam wand, it acts more like a fast-drying glue. According to research published in the Journal of Dairy Science, milk proteins like beta-lactoglobulin begin to denature and bond to stainless steel surfaces at temperatures as low as 140°F (60°C). This creates a tenacious film that hardens almost instantly once the steam stops flowing. If you don’t purge immediately, the vacuum created as the wand cools actually sucks a tiny amount of milk back into the tip. This is often why your steam wand loses pressure or stops working entirely. Even the most expensive espresso machines on the market can’t overcome a tip that’s been neglected for a few days.
Can You Just Use a Paperclip to Fix It?
You might be tempted to just grab the nearest sharp object and start digging, but I strongly advise against it. Using a paperclip or a needle can burr the precision-drilled holes in your steam tip, which ruins the airflow and makes getting that silky microfoam impossible. I’ve seen folks get so desperate they try to force steam through a blockage, only to find that it causes a back-pressure issue that might eventually lead them to wonder how to fix a milk frother or internal valve that has given up the ghost. Proper maintenance isn’t about brute force; it’s about chemistry and consistent habits. Have you ever stood over your machine in the morning feeling personally insulted by a blocked steam tip, or is that just a ‘me’ thing? Don’t worry, because next, we are diving into the simple, non-destructive ways to melt that residue away and keep your wand flowing like new.To truly clear a stubborn clog, you need to think like a chemist rather than a plumber. Instead of poking with sharp tools, you need to dissolve the protein bond. I remember one frantic Monday when my wand wouldn’t even bubble. I tried a dry wipe, but it just smeared the residue into a hard glaze. I ended up having to soak the wand in a tall pitcher of hot water mixed with a dedicated milk cleaner for thirty minutes. It is essentially a spa day for your gear. If you have been mastering the art of home espresso, you know that heat is your friend until it transforms milk into something resembling industrial epoxy. When that residue gets baked onto the stainless steel, it forms a shell as hard as acrylic paint. To soften it, fill your pitcher with hot water and a pinch of espresso cleaner. Submerge the wand just past the holes and let it sit. You will see little white flakes start to drift away like snow, which is the ultimate victory sign.
Master the Art of the Pre and Post Purge
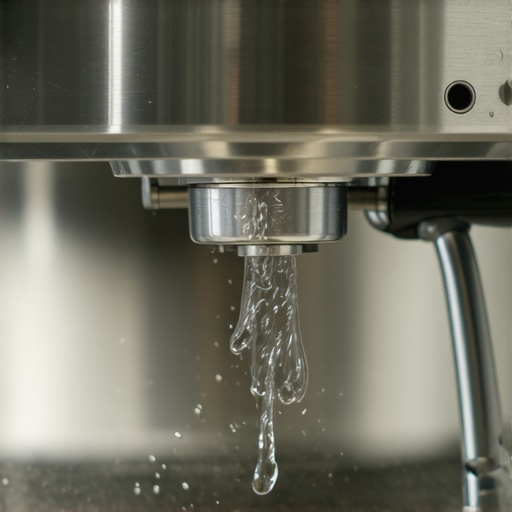
If you are not purging, you are inviting the enemy inside the machine. Think of your steam wand as a two-way street. When you turn the steam off, the cooling air inside the wand creates a vacuum—a literal straw effect—that pulls the last bit of milk from your pitcher deep into the tip. This is a common reason why your steam wand loses pressure halfway through frothing. To stop this cycle, you must learn the best way to purge your steam wand without getting burned. Open the valve for exactly two seconds before you start frothing to clear condensation, and for three seconds immediately after you finish. That final blast of steam acts like an air-lock, pushing out any milk before the internal vacuum can take hold and cause a blockage. 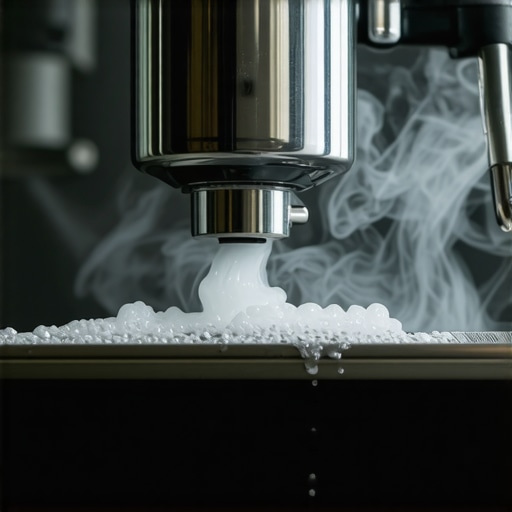
Get Surgical by Removing the Wand Tip
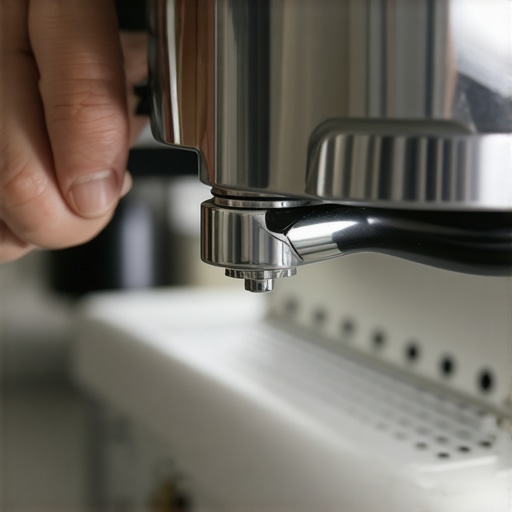
Sometimes a soak is not enough and you have to get mechanical. Most espresso machines have a tip that unscrews for maintenance. I once learned this the hard way after a week of weak air frustration. I finally grabbed a small wrench, protected the metal with a cloth to avoid scratches, and twisted it off. The inside looked like an old plumbing pipe. If you are dealing with a steam wand that only blows out weak air, there is likely a plug of milk sitting right above the tip. Once the tip is off, drop it into a cup of boiling water. Use a thin nylon brush to scrub the internal threads. I once tried to skip the brush and just blow it out with my mouth; let’s just say old milk does not taste like a five-star latte.
Look Deeper at Your Seals and Valves
If the wand is clear but the pressure is still low, the problem might be deeper within the steam circuit. Steam leaks from the top of the assembly can sap the power needed for that perfect vortex. This often happens if the internal O-ring has perished from constant heat exposure. While milk frothers usually have simpler mechanical parts, a full espresso machine requires you to check the tightness of the wand nut. I once spent twenty minutes wondering why my foam was soapy and thin, only to realize the wand itself was slightly loose, letting air bypass the tip entirely. Keep everything snug, but never overtighten, or you will be hunting for a replacement valve by next weekend.
We have talked about the hardware, but let’s get into the chemistry of why your latte might taste off even when the wand is clear. A common mistake I see among enthusiasts is the obsession with ‘lava hot’ milk. Everyone tells you to steam until the pitcher is too hot to touch, but in my experience, that is where the flavor dies. When you overheat milk, you are not just risking a burn; you are literally breaking down the sugars. According to a study in the Journal of Agricultural and Food Chemistry, the thermal degradation of lactose begins to accelerate significantly past 155°F (68°C). This is the reason your milk tastes sweet without adding sugar when you stop earlier. If you push it to 170°F, you lose that natural sweetness and replace it with a flat, cooked-egg aftertaste.
Why Does Your Microfoam Turn Into Big Bubbles?
It is the most common frustration: you start with a hiss and end up with a soapy mess. This usually happens because of ‘late-stage stretching.’ If you are still adding air—that paper-tearing sound—once the pitcher feels warm to your palm, you are too late. The milk proteins have already begun to set, and they can no longer encapsulate those tiny bubbles into a stable matrix. Instead, you get a ‘bubble bath’ effect. If you are struggling with this, you need to learn how to stop your milk foam from turning into a big bubble by finishing your air injection by the time the milk reaches 100°F. After that, it is all about the vortex.

One ‘trap’ I see often is the frantic descaling move. People smell a bit of funk and immediately pour white vinegar into their high-end espresso machines. Please, stop. Vinegar is an acetic acid that is far too aggressive for the delicate copper and brass internals of professional boilers, and it is a nightmare to rinse out. You will end up searching for how to get rid of the vinegar smell after descaling your machine for weeks, or worse, dealing with the reason your espresso tastes like vinegar because the acid reacted with the metal. Always use a citric-based or specialty descaler. Also, consider your water source; learning how to tell if your water is too soft for brewing is just as important as knowing if it is too hard, as ‘hungry’ soft water can actually leach minerals directly from your machine components.
When choosing the best barista gear for coffee enthusiasts, it is easy to get distracted by shiny accessories, but the real secret is in the maintenance of what you already have. Have you ever fallen into this trap of over-heating or over-cleaning with the wrong stuff? Let me know in the comments.
It isn’t just about the wand; it’s about the whole ecosystem living inside your machine. I’ve spent hundreds of hours troubleshooting why shots pull sideways or why the steam pressure drops, and it usually comes back to the one tool we ignore: the grinder. If you’ve noticed why your coffee grounds are clumping together, it’s not just the beans or the humidity. It’s the static and oil buildup on the burr carrier that acts like a magnet for stale grounds. When you are choosing the best barista gear for coffee enthusiasts, the most important tool in your kit isn’t the shiny tamper—it’s a high-powered vacuum and a set of nylon brushes. I personally use a small dental mirror to inspect my shower screen every Sunday morning. It sounds obsessive, but it prevents that uneven flow that ruins a perfectly dialed-in shot. Using a vacuum is the best way to clean a grinder without losing your settings, as it sucks out the dust without you having to touch the adjustment collar. Compressed air is the enemy here; it actually pushes fine coffee dust deeper into the motor bearings, which can lead to a premature death for your expensive burr set.
How do I maintain my espresso setup for the long haul?
Consistency is the only way to avoid the ‘repair shop blues.’ You need to think about the internal components that don’t get daily attention. According to the Specialty Coffee Association’s (SCA) technical standards, water with a total hardness exceeding 150 mg/L will inevitably lead to scale-induced pressure failure within six months. You must learn how to spot a failing solenoid valve before it floods your kitchen by listening for a weak or clicking sound when you engage the brew switch. If you hear a high-pitched buzz instead of a clean snap, that’s your machine crying for help. Checking your group head gasket is another weekly must; a hardened gasket will lose its seal, forcing you to crank the portafilter tighter and tighter until you damage the metal ears on the group head itself. I always keep a spare silicone gasket in my drawer because once it fails, your morning coffee routine is dead until the mail arrives. 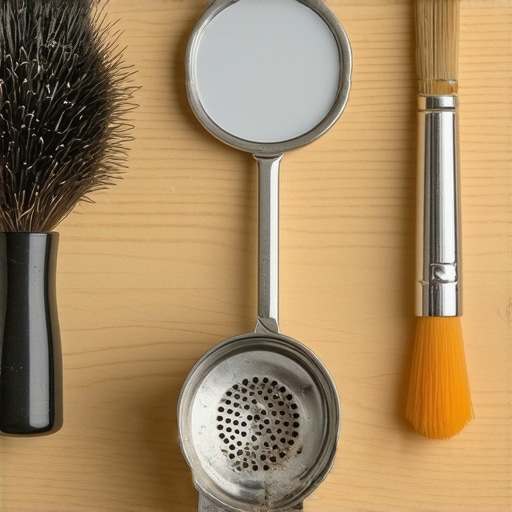 I predict that in the next five years, we will see ‘smart’ steam wands with infrared sensors that detect protein density in real-time, automatically stopping the flow before the milk burns. We are already seeing pressure-profiling machines that adjust on the fly, but the real revolution will be haptic feedback on steam levers that tells you when the milk is perfectly textured based on vibration patterns. Until then, you have to rely on your tools and your technique. It’s about building a relationship with your machine where you can feel a change in the pump’s vibration before a part actually breaks. Tomorrow morning, I want you to try the flashlight move for finding hidden channeling paths. Simply shine a bright LED directly at the bottom of your portafilter during the first five seconds of the shot. You’ll see the micro-spurts and dry spots long before the espresso starts to flow properly, allowing you to fix your distribution technique without wasting an entire bag of beans. It’s the fastest way to bridge the gap between a beginner and a seasoned pro.
Hard Truths I Learned After Breaking My First Steam Wand
I spent years thinking I could outsmart the milk proteins, but the truth is much simpler: the machine always wins if you don’t respect the chemistry. One of my biggest lightbulb moments was realizing that the squeak of a struggling wand isn’t just a nuisance; it is a warning that you are about to bake residue into the internal threads. If you have been mastering the art of home espresso, you have to accept that maintenance is as much a part of the flavor profile as the beans themselves. Another hard lesson? Never trust a visual check alone. I used to think a wand looked clean until I started removing the tip every week and saw the buildup hiding in the crevices. Also, if you notice your espresso machine is leaking steam from the top, it is almost certainly a sign that back-pressure from a partially blocked tip has compromised your internal seals.
#IMAGE_PLACEHOLDER_E#
My Secret Weapons for a Lifetime of Better Microfoam
To keep your setup in showroom condition, you need more than just a damp rag. I swear by a few specific tools that have saved my gear from the scrap heap. First, swap the vinegar for a dedicated citric acid solution; it is the best way to descale a boiler without using harsh chemicals that linger for weeks. Second, invest in a set of specialized brushes designed for steam tips. While you are at it, consider choosing the best barista gear like a spring-loaded tamper to ensure your puck prep is consistent, which reduces the mess you have to clean up later. I also highly recommend the truth about using spring-loaded tampers for those who struggle with uneven extraction, as a level bed prevents the channeling that leads to those annoying coffee splatters all over your wand.
Your Journey to Perfect Home Espresso Starts Tomorrow
Don’t let a bit of milk buildup or a confusing pressure drop discourage you from the craft. Every barista you admire has likely stood over a clogged machine at 6 AM feeling just as frustrated as you do. The difference is simply in the habits you build today. By respecting your equipment and understanding the physics of steam, you aren’t just cleaning a machine—you are ensuring that every latte you pour for years to come is as sweet and silky as the first. Take a deep breath, purge that wand, and enjoy the process of perfecting your home espresso routine. Have you ever accidentally ruined a part of your machine while trying to clean it? Let me know your horror stories in the comments below!