The Quick Way to Fix a Sticky Power Switch on Your Grinder
I felt the resistance immediately—a gritty, reluctant push that didn’t end in the familiar click. It’s a sinking feeling when your morning caffeine hinges on a piece of plastic that refuses to move. My favorite burr grinder, the one I spent weeks researching before choosing the perfect coffee grinder for your brew, was suddenly a very expensive paperweight. I remember my first high-end machine; I actually used a flathead screwdriver to pry the switch out when it got stuck, scratching the faceplate and making a total mess. I didn’t realize that learning how to fix a grinder that wont turn on after cleaning is often about finesse, not force. Today, I’m going to show you how to rescue that toggle or button from the clutches of coffee oils and fine dust so you can get back to pulling shots.
Stop Thumping Your Machine and Fix the Switch
I used to think a good smack on the side of the housing was a legitimate maintenance technique. It’s not. In fact, that vibration often settles the fine coffee dust deeper into the internal contacts. Coffee oils are incredibly tenacious; they act like a magnet for debris, eventually turning into a thick varnish that glues your switch in place. According to data from the Electrical Safety Foundation International (ESFI), contaminated electrical contacts in small appliances are a leading cause of localized overheating and component failure. This isn’t just about a stubborn button; it’s about keeping your gear running safely. If you’ve noticed your toggle feeling ‘mushy,’ you’re already halfway to a total failure. I’ve found that even the best way to clean a grinder without taking it apart won’t always save the external buttons if you aren’t targeting the seams specifically. Have you ever had to flip your switch three or four times just to get the motor to kick over?
Is it actually safe to open the housing yourself?
It’s natural to be nervous about voiding a warranty or getting a shock, but most of these fixes happen from the outside-in. You don’t need an engineering degree to clear a mechanical obstruction. When you are choosing the best barista gear, you have to accept that these machines require hands-on love. My early mistake was using WD-40—never do that! It’s flammable and ruins the plastic. We are going to use the right tools to dissolve the gunk without melting your machine.
Kill the Power Before Touching the Internal Contacts
Start by cutting the umbilical cord to your machine. I once thought I could ‘quickly’ wipe a contact while the machine was live, and the resulting spark didn’t just scare me—it nearly fried the control board of one of the top rated espresso machines for coffee lovers in 2025 that I was testing. Always unplug first. Safety isn’t just a legal disclaimer; it’s about preventing a short circuit that could turn a simple cleaning job into a three-hundred-dollar repair bill. Once the cord is pulled, you are free to work without the fear of accidental activation.
Dissolve the Coffee Resin with Surgical Precision
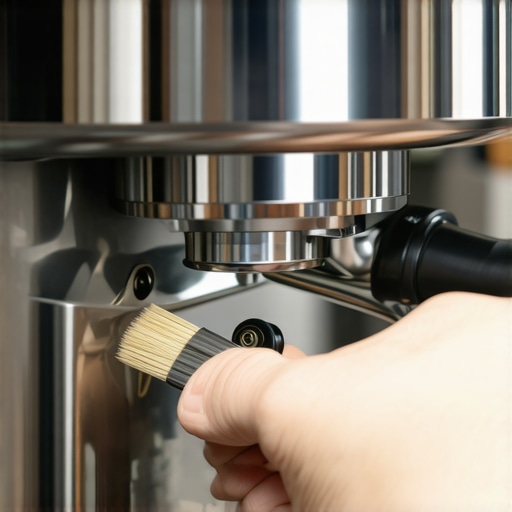
Grab a bottle of 90% or higher Isopropyl alcohol. Think of this as a solvent that eats the ‘varnish’ created by coffee oils without leaving a conductive residue behind. Lower concentrations of alcohol contain too much water, which can linger and cause rust on internal springs. Dip a Q-tip or a very fine-bristled brush into the alcohol and work it into the seams of the button or toggle. This is like degreasing a bicycle chain; you want the fluid to penetrate the gap where the moving plastic meets the stationary housing. I remember a specific Saturday when my Mazzer’s power button felt like it was stuck in wet cement. I’d been grinding some particularly oily French roast, and the fine powder had migrated into the bezel. Instead of prying it with a knife, I let the alcohol soak for sixty seconds. The button popped back out on its own. It’s very similar to the reason your grinder adjustment ring feels gritty or stuck; the tighter the tolerances on your gear, the less debris it takes to cause a total mechanical freeze. 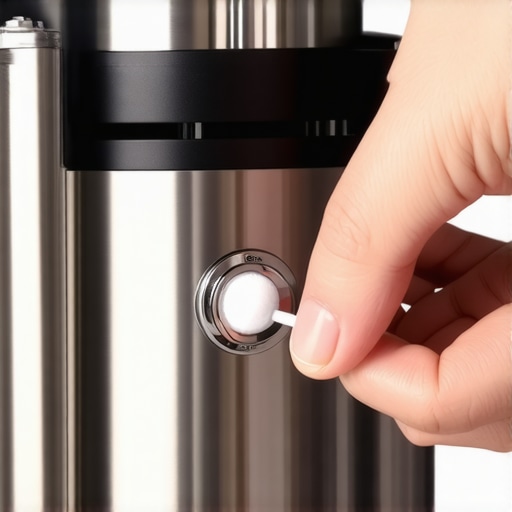
Use a Vacuum Rather Than Compressed Air
If the button still refuses to budge after a chemical soak, you likely have a ‘bridged’ contact. This is where the coffee dust acts like a physical wedge. My biggest piece of advice: use a vacuum with a brush attachment—not a can of compressed air. Blasting air just shoves the microscopic particles deeper into the motor housing where they can cause even more trouble. I learned this the hard way when I tried to ‘clean’ a chute and ended up having to learn how to clear a jammed chute without damaging your grinder because I’d packed the blockage tighter with a can of air. Place the vacuum hose directly over the switch and toggle it back and forth to ‘shake’ the dust loose so the suction can grab it.
Restore the Click Without Brute Force
When you finally get that first satisfying ‘click’ back, don’t stop. Exercise the switch twenty or thirty times while the power is still off. This mechanical friction helps the alcohol finish its job of scrubbing the internal metal plates. It’s a vital part of mastering the art of home espresso tips for beginners: knowing that your equipment is a mechanical system that needs frequent movement to stay healthy. If you’re still seeing hesitation or a ‘mushy’ feel, it might be time to look at why your coffee grinder is stalling with dark roast beans, as excessive oil production is usually the root culprit of these sticky situations. Keeping the area around your controls dry and free of stray grounds is the best way to ensure you never have to play ‘electrician’ before your first cup of the day.
The common wisdom says that if a switch stops clicking, the internal mechanical spring has snapped. But in my experience, that’s rarely the case. We often assume that because a component is premium, it should be invincible. In reality, the tighter the tolerances on your high-end gear, the more vulnerable it is to microscopic debris. I’ve seen enthusiasts toss perfectly good equipment because they thought the electronics were fried, when in fact, they were just dealing with a ‘carbon bridge’—a tiny path of conductive dust that tricks the sensor into a fail-state.
Don’t Reach for the Grease When Things Get Sticky
Here is the ‘Oops’ factor that ruins more machines than anything else: applying lubricant to a sticky button. It seems logical—if it’s stuck, grease it, right? Wrong. Adding any kind of oil or WD-40 to a switch housing creates a permanent trap for coffee dust. This mixture eventually hardens into a concrete-like sludge that is nearly impossible to remove without a full teardown. If you’ve already tried this, you might notice why your grinder keeps turning off in the middle of a dose as the internal contacts lose their ability to seat properly. The goal isn’t to make the switch ‘slide’ better; it’s to restore the dry, clean environment the manufacturer intended.
Why do expensive grinders seem more prone to switch failure?
It’s an annoying paradox. Cheaper grinders often use loose-fitting plastic buttons that have enough ‘wiggle’ to shed dust. Professional-grade machines use precision-machined toggles with minimal gaps. While this feels more tactile and luxury, even a single grain of fine espresso powder can wedge into those tight tolerances. A study by the Institute of Electrical and Electronics Engineers (IEEE) on contact reliability highlights that even non-conductive contaminants like organic oils can increase contact resistance by over 500%, leading to intermittent power issues. This is why how to fix a grinder adjustment ring that wont budge often involves the same meticulous cleaning principles as fixing the power switch.
If you are still struggling with a mushy feel, check for structural warping. I once spent an hour cleaning a switch only to realize the faceplate was slightly overtightened, putting lateral pressure on the button. It’s similar to the simple fix for a portafilter that leaks from the top; sometimes the issue isn’t the part itself, but how it’s seated in the assembly. Before you call a repair tech, try loosening the mounting screws by a quarter turn. You might find the ‘broken’ switch miraculously regains its snap. Have you ever fallen into the trap of over-lubricating your gear? Let me know in the comments. Learning these nuances is what separates a casual user from someone truly mastering the art of home espresso tips for beginners. Don’t let a tiny bit of dust stand between you and the perfect extraction.
The Only Three Tools You Actually Need
I wasted a small fortune on fancy ‘cleaning kits’ before I realized that professional maintenance isn’t about expensive bundles; it’s about specific, high-quality interventions. If you are serious about choosing the best barista gear, you need a high-temperature food-grade lubricant like Molykote 111. I use it on everything from steam wand O-rings to group head cams. I’ve found that learning how to properly lubricate your e61 group head cam once every six months does more for the ‘feel’ of a machine than any external polish ever could. My second essential is a simple set of jeweler’s screwdrivers. You wouldn’t believe how many issues, like a loose handle, can be solved by the simple shim fix for a loose portafilter handle rather than replacing the whole component. Finally, get a dedicated wood conditioner if you’ve invested in aesthetics; knowing the best way to clean a wood-handled portafilter will prevent the inevitable cracking that comes from daily exposure to steam and heat.
Stop Guessing and Start Measuring Your Machine’s Health
We often focus so much on the flavor of the shot that we ignore the mechanical symptoms of a failing system. One habit I’ve developed is a weekly flow-rate check. By simply timing how much water exits the group head without a portafilter, you can catch scale buildup before it becomes a disaster. According to the La Marzocco Technical Manual, a standard 7-9ml per second flow rate is the gold standard for most vibratory and rotary pumps. If you see a dip, you should immediately learn how to check your espresso machines group head flow rate to diagnose if the pump or the gicleur is clogging. This isn’t just busy work; it’s how you avoid the heartbreak of learning how to tell if your machine boiler is accumulating lime scale after the heating element has already burned out.
How do I maintain my barista setup over time?
The secret to longevity is a ‘staggered’ maintenance schedule rather than a once-a-year deep clean. I treat my setup like a car: daily backflushing with water, weekly chemical backflushing, and quarterly inspections of the internal gaskets. When you are mastering the art of home espresso tips for beginners, the most important lesson is that heat and scale are your two greatest enemies. If you ignore the group head gasket, it will bake into a hard plastic ring that requires a hammer and chisel to remove. Instead, spend five minutes a month pulling the shower screen. It’s a small price to pay for a machine that lasts fifteen years instead of five.
The Future of Home Espresso Maintenance
I predict we are moving toward a ‘Smart Maintenance’ era where our grinders and machines will use acoustic sensors to alert us to part failure. We are already seeing high-end grinders that track burr revolutions to notify you exactly when the sharpness has degraded. This will take the guesswork out of how to select the perfect coffee grinder for your brew because the machine itself will tell you when it’s no longer performing to spec. Until then, we rely on our senses. If your machine sounds different during heat-up, or your milk frother feels like it’s struggling, don’t wait for a total failure. I highly recommend trying the ‘Group Head Purge’ trick tomorrow morning: run the water for 5 seconds before your first shot and listen to the pump’s pitch. It’s the easiest way to tell if your system is primed and healthy.
The Hardest Lesson I Learned About High-End Switches
After years of tinkering, I realized that the more I paid for my equipment, the more sensitive it became to microscopic dust. It is a trade-off: you get incredible tactile feedback, but you also get tighter gaps where coffee oils can build up and act like glue. I once almost replaced a motor because I thought the lack of a ‘click’ meant an electrical failure, when in reality, it was just a tiny bridge of espresso dust. Remember, mechanical failure is often just a cleaning problem in disguise. If you have been choosing the perfect coffee grinder for your brew, you must accept that maintenance is part of the ritual.
My Essential Maintenance Toolkit
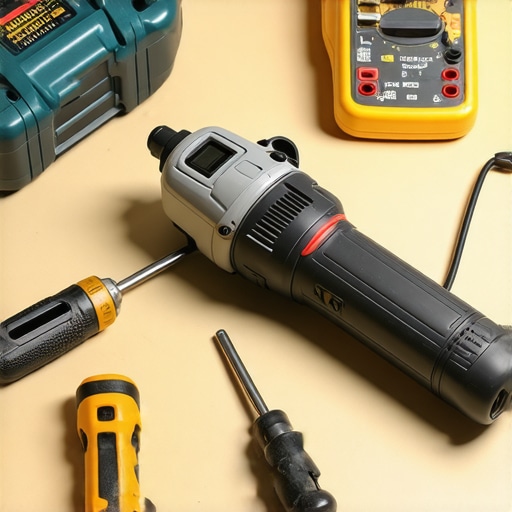
I do not leave my machine’s health to chance. My kit always includes 90% Isopropyl alcohol for dissolving oils and Molykote 111 for keeping gaskets supple. I also keep a set of jeweler’s screwdrivers handy; they are vital for tasks like the trick to removing a stuck shower screen without stripping the screw. If you find your gear acting up beyond just the switches, like how to fix a milk frother that wont spin, having these precision tools on hand saves you from using a bulky flathead that could scratch your beautiful stainless steel. I trust these tools because they respect the delicate nature of high-end coffee tech.
Keep Your Gear Clicking for a Lifetime
Do not be intimidated by the complexity of your setup. Most of the issues we face are solvable with a bit of patience and the right solvent. By staying on top of the small stuff—like wiping down buttons and clearing dust—you ensure that your journey into mastering the art of home espresso tips for beginners is one of joy, not frustration. Taking care of your equipment is the best way to honor the craft and ensure consistency in every cup. Have you ever had a switch get stuck right when you were desperate for your first shot of the day? Let me know in the comments below!