The Move That Saves Your Grinder From Unnecessary Wear
I was standing in my kitchen at 6 AM, bleary-eyed and desperate for caffeine, when I heard it—a sound like a gravel truck dumping its load into a blender. My brand-new, expensive grinder was choking. I’d made the classic rookie mistake: I tried to go finer while the burrs were stationary and packed with beans. I felt the resistance in the adjustment ring, and like a fool, I pushed through it. That’s when the motor stalled. I spent the next hour trying to fix a grinder adjustment ring that is stuck, sweating and cursing my lack of patience. It was a wake-up call. We spend so much time choosing the best barista gear, but we rarely talk about the mechanical sympathy required to keep it running for a decade. Today, I want to share the single most important habit I’ve adopted to protect my gear. It’s a simple move, but it changes everything about how your machine ages. [image_placeholder]
Always Keep the Motor Spinning Before You Tweak Your Settings
If there is one rule I live by now, it is this: never, ever adjust your grind size toward ‘fine’ unless the motor is running. Think about what’s happening inside that chamber. You have two massive metal plates trying to move closer together, but there are half-crushed coffee beans wedged between them. If you force them together while they are still, you are essentially trying to crush those beans using the threads of your adjustment collar as a vise. This leads to why your coffee grinder is stalling and puts immense strain on the motor’s internal components. I learned this the hard way after nearly stripping the brass threads on my first high-end unit. When the motor is spinning, the centrifugal force clears the path, allowing the burrs to glide into position without the mechanical ‘grunch’ that signals impending doom. It doesn’t matter if you are trying to properly season new steel burrs or just dialing in a new bag; that motor needs to be humming.
Is This Extra Step Actually Worth the Hassle?
I know what you’re thinking: ‘I just want a cup of coffee, do I really need to waste a few beans just to move the dial?’ The short answer is a resounding yes. Beyond just preventing a catastrophic jam, this habit ensures your grind consistency remains legendary. According to research from the Specialty Coffee Association, the torque required to crush a bean from a dead stop is significantly higher than during active rotation, which can lead to micro-shifts in the burr alignment over time. This is often the hidden culprit for why your shot extraction time changes every single day. Have you ever felt that terrifying ‘pop’ when turning your adjustment dial? Tell me I’m not the only one who has panicked over a stalled motor!
Start the Motor Before You Touch the Dial
It’s not just a suggestion; it’s a mechanical necessity for anyone serious about mastering the art of home espresso. Think of your grinder like a bicycle gear system. If you try to shift gears while the bike is stationary, you’re just forcing metal against metal under high tension. When you do this with a grinder, especially when moving the setting finer, you are physically wedging coffee fragments between the burrs. This pressure travels directly into the adjustment assembly. If you’ve already made this mistake, you’re likely searching for how to fix a grinder adjustment ring that wont budge. Keeping the motor running allows the burrs to eject the partially crushed beans, clearing the path for the adjustment threads to move freely without resistance.
Purge a Few Grams to Clear the Path
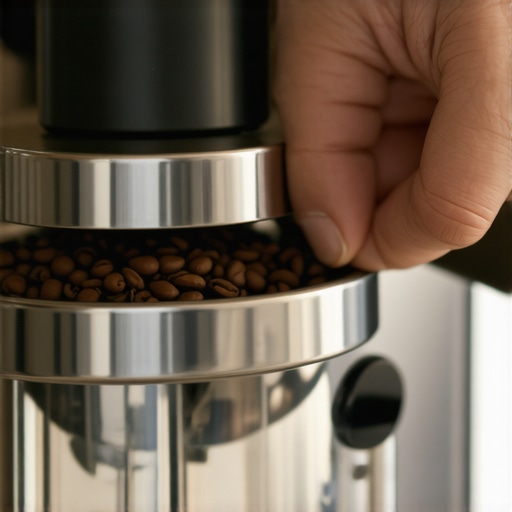
Once you’ve moved the dial, the job isn’t done. There is a pocket of ‘stale’ coffee sitting in the chute between the burrs and your portafilter. This is why you often see why your coffee grounds are clumping like little rocks right after a major adjustment; you’re getting a mix of two different particle sizes. To get a true representation of your new setting, you must purge about 2-3 grams of coffee. I learned this lesson the hard way during a busy brunch for friends. I’d adjusted for a finer grind but didn’t purge. The first shot was a watery mess because half the dose was from my previous ‘coarse’ setting. I ended up wasting more coffee in failed shots than if I had just purged the grinder properly from the start.
Keep the Discharge Chute Crystal Clear
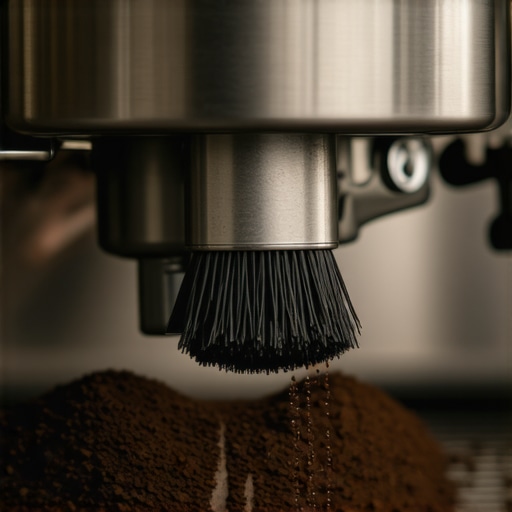
Airflow is your secret weapon for consistency. If the exit path is blocked, the motor works harder, the internal temperature rises, and your beans start to lose their delicate oils before they even hit the water. You should regularly how to clean your grinders discharge chute with a pipe cleaner. This simple maintenance task ensures that grounds don’t bridge or compress inside the machine, which is a major reason why some shots feel ‘stuck’ even when your grind setting seems correct.
Master the Zero Point Without Wrecking the Burrs
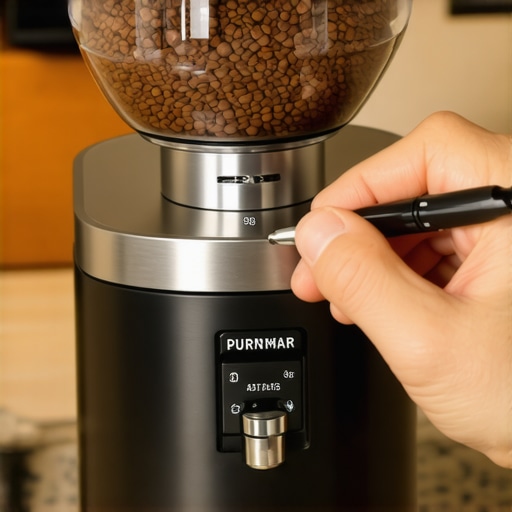
Finding the ‘zero point’—the exact spot where the burrs touch—is the holy grail for dialing in. However, if you do this while the motor is off, you’ll likely slam the burrs together and dull the cutting edges instantly. Turn the motor on and slowly rotate the dial toward the finest setting. You are listening for a very faint, metallic ‘chirp.’ The moment that sound begins, stop. This is your absolute zero. If the roar of the motor makes it hard to hear, you might need to learn how to quiet a loud grinder using only a rubber mat. Reducing secondary vibrations is key to hearing the mechanical feedback your equipment is giving you.
Don’t Let Static Ruin the Workflow
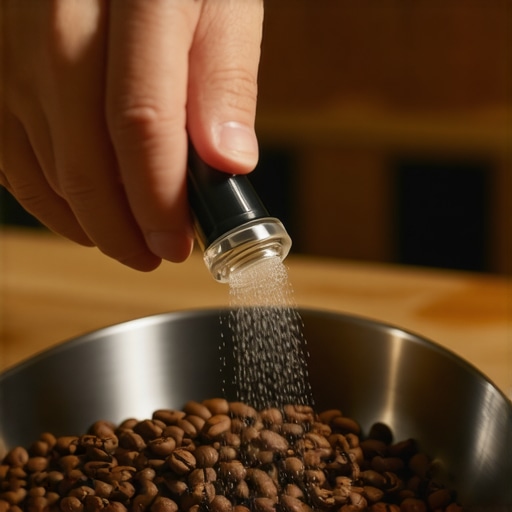
Sometimes the machine is in perfect alignment, but the physics of the room are working against you. Dry air, especially in winter, leads to static electricity that makes your grounds fly everywhere. Learning how to stop static from ruining your grinding workflow is the final piece of the puzzle. I’ve found that a tiny drop of water on the beans before grinding—known as the Ross Droplet Technique—acts as a grounding wire. It prevents that annoying ‘snowstorm’ of coffee and ensures every gram you weigh actually makes it into the basket for a perfect extraction.
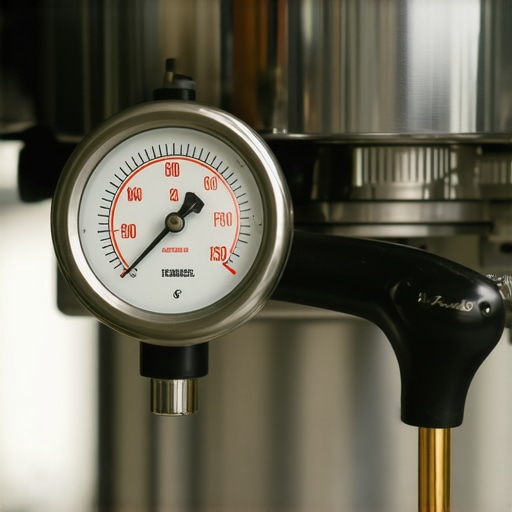
While mastering the motor’s spin and the purge is a solid start, the rabbit hole of espresso goes much deeper. I used to think that as long as my machine hit exactly nine bars of pressure, I was doing everything right. I’d spent a fortune on one of those top-rated espresso machines for coffee lovers in 2025, thinking the hardware would do the heavy lifting. But I was wrong. The industry-standard ‘9 bars’ is actually a relic of the past, often leading to harsh, over-extracted flavors in modern light-roasted coffees. Many enthusiasts are finding that dropping the pressure to 6 or 7 bars produces a far more balanced and sweet cup. This contrarian approach reduces the likelihood of channeling and allows for a finer grind without the bitterness we’ve been taught to accept as ‘strength.’
Lower the Pressure to Save Your Light Roasts
If you find yourself constantly battling a sharp, acidic profile, your machine’s factory setting might be the culprit. High pressure can compress the coffee puck so tightly that water finds the path of least resistance, leading to why your espresso shot is extracting from only the edges of the basket. By lowering the pressure, you allow the water to saturate the puck more evenly. This is especially true for those trying to learn the secret to pulling sweet shots from very dark roasts or finicky light roasts alike. It turns out that mechanical consistency is only half the battle; the physics of fluid dynamics inside the portafilter is where the real magic—or disaster—happens.
Stop Using Beans Straight from the Roaster
The most common ‘expert’ trap is the obsession with freshness. We are told to buy local and buy fresh, but pulling a shot with beans roasted yesterday is a recipe for frustration. Freshly roasted coffee is packed with carbon dioxide. When that gas meets high pressure, it creates a chaotic environment inside the basket, often resulting in why your freshly roasted beans are making your espresso taste like grass. According to a study by the Coffee Excellence Center at ZHAW, beans often need five to ten days of ‘resting’ to de-gas sufficiently for stable espresso extraction. Using them too early leads to massive volume fluctuations and that dreaded metallic tang.
Does Your Water Chemistry Impact the Extraction More Than the Gear?
You can own the most expensive grinder on the planet, but if your water is ’empty’ or overly hard, your espresso will suffer. If your water lacks magnesium and calcium, it simply won’t have the ‘hooks’ needed to pull the flavorful oils out of the grounds, which is a primary reason why your espresso shot tastes like cardboard. Conversely, water that is too hard will lead to rapid scale buildup, forcing you to eventually figure out how to tell if your machine boiler is accumulating lime scale before it chokes the internal copper pipes. The hidden nuance of professional-grade espresso isn’t just about the beans or the burrs—it’s about the solvent you’re using to melt them.
Have you ever fallen into this trap of over-pressurizing your shots or using beans that were too fresh? It’s a frustrating cycle that makes you want to quit the hobby entirely. Let me know in the comments if you’ve noticed a difference after letting your beans rest for a full week! Mastering choosing the best barista gear is just the entry fee; the real skill lies in the patience to let the chemistry work in your favor.
Stop Ignoring the Sludge in Your Boiler
I once ignored my machine’s descaling schedule for eighteen months because I thought my filter was ‘good enough.’ It wasn’t. One morning, I noticed why your espresso machine takes longer to heat-up recently, and by the time I investigated, the heating element was coated in a calcium crust thick enough to survive a hammer blow. This is why you need to learn the easy way to test your machines water hardness at home. Don’t trust the marketing on the filter pitcher; get a titration kit. The La Marzocco Home technical team emphasizes that keeping your Total Dissolved Solids (TDS) between 50-150 ppm is the ‘goldilocks zone’ for preventing both corrosion and scale. If you miss this window, you’ll eventually be forced to learn how to tell if your machine boiler is accumulating lime scale before the blockage becomes permanent.
How do I maintain my espresso setup for a decade?
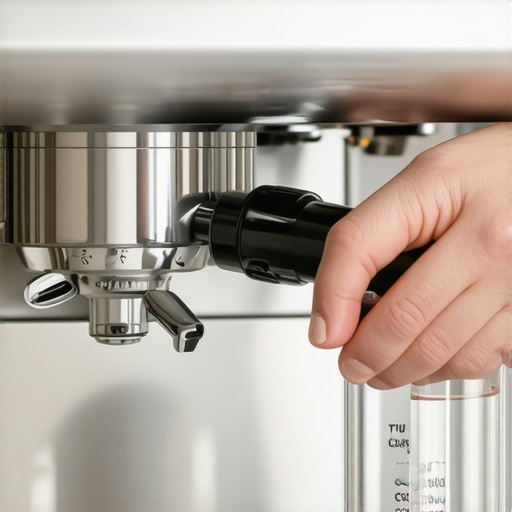
The secret isn’t a magic chemical; it’s a strict routine of backflushing and clearing your pathways. Every time you finish steaming, that half-second purge is vital. If you skip it, proteins in the milk dry instantly inside the tip. This is the primary reason why your steam-wand tip holes keep getting clogged. I personally use a dedicated pipe cleaner for the discharge chute because coffee oils turn rancid and sticky, slowing down your motor and ruining the flavor profile of even the most expensive beans. If you’ve never done it, you should periodically how to check your espresso machines group head flow rate. A sudden drop in flow is often the first warning sign that a solenoid valve is about to fail or that your mushroom valve is choked with debris.
The Future of Home Barista Maintenance
I predict that within the next five years, we will see a shift toward ‘smart’ maintenance sensors integrated directly into the boilers of top-rated espresso machines for coffee lovers in 2025. Instead of guessing when to descale, your machine will analyze the electrical conductivity of the water and alert you to specific mineral buildups. Until then, we have to rely on manual diligence. My favorite ‘secret’ tool isn’t a fancy brush; it’s a simple, high-quality waterproof scale. Without it, you are flying blind. If you’re serious about mastering the art of home espresso, you need to be measuring your output every single time to detect drifts in your equipment’s performance before they become expensive repairs.
If you want to prolong the life of your gear today, go grab a water hardness test kit and check your tap. It takes two minutes but could save you a $500 repair bill next year. For those just starting their journey, choosing the best barista gear is about more than just the shine of the stainless steel—it’s about how easy it is to take apart and clean when things inevitably go wrong.
The Hardest Lesson I Learned About Protecting My Equipment
I used to think that buying the most expensive machine meant I was buying invincibility. I was wrong. The biggest lightbulb moment for me was realizing that most mechanical failures are actually just maintenance lapses in disguise. Here are the hard-won insights I’ve gathered over a decade of brewing:
- Grit is the ultimate enemy: A single grain of coffee trapped in the wrong thread can strip a brass adjustment collar. Always wipe your threads during a deep clean.
- Heat kills electronics: While it is tempting to leave your machine on all day for convenience, the constant thermal expansion and contraction will eventually wear out your control board faster.
- Listen to the pump: If your machine sounds higher-pitched than usual, it’s likely struggling against scale. Don’t wait for the water to stop flowing to take action.
- Gasket care is non-negotiable: If you find you have to lock your portafilter further and further to the right, your gasket is dying. Replace it before it leaks and short-circuits your heating element.
The Small Tools That Save Big Gear
You don’t need a thousand-dollar budget to keep your setup in top shape. Beyond the shiny chrome, I rely on a few specific items to ensure my coffee stays consistent. I always recommend a titration kit; it is the only way to accurately test your machines water hardness at home without guessing. I also keep a set of dedicated pipe cleaners to ensure I don’t see why your steam-wand tip holes keep getting clogged after a busy morning. Finally, a high-quality waterproof scale is my primary diagnostic tool. If the weight is drifting, I know it’s time to how to check your espresso machines group head flow rate to see if a solenoid valve is failing.
Craft Your Own Signature Shot
Stepping into the world of professional-grade brewing can feel like a steep climb, but the reward is a ritual that brings genuine joy to your morning. Don’t be afraid to experiment with your pressure and temperature settings. The journey of mastering the art of home espresso is about developing a relationship with your equipment. When you treat your machine with mechanical sympathy, it will reward you with legendary shots for years to come. Remember that choosing the best barista gear is only the beginning of your coffee story. Have you ever noticed a sudden change in your machine’s sound or performance that led to a major discovery? Let me know in the comments below!