Why You Should Never Leave Water in Your Reservoir Overnight
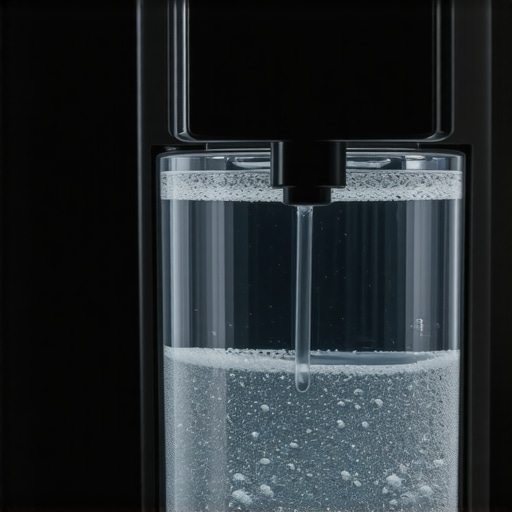
I remember the morning it finally clicked. I had just treated myself to one of the top-rated espresso machines and was feeling like a true kitchen barista. I filled that massive three-liter tank to the brim, pulled a few shots, and went about my week, simply topping it off whenever it got low. Then, during a deep clean, I ran my finger along the inside of the reservoir. It wasn’t smooth. It was slick. A thin, translucent layer of biofilm had claimed my machine as its new home. It was a visceral, stomach-turning realization that the water I was using for my morning ritual was sitting in a literal petri dish. That day, I stopped treating my reservoir like a storage tank and started treating it like a fresh ingredient.
Stop Letting Your Tank Turn Into a Science Experiment
The problem with leaving water in your machine overnight isn’t just about taste; it’s about biology. When water sits stagnant in a dark, often warm environment (thanks to the nearby boiler), it becomes a breeding ground for microorganisms. I used to think my high-end filtration system made the water invincible. I was wrong. In fact, if you don’t know the fix for a clogged water filter, you might be trapping even more debris that encourages growth. Today, we are going to dive into exactly why this habit ruins your gear and how to build a routine that keeps your brew pristine.
Wait, Is It Really That Dangerous?
You might be skeptical. After all, you’ve probably left water in a kettle for years without getting sick. But espresso machines are different. They have nooks, crannies, and internal hoses where slime can calcify and harden. According to a study by the National Sanitation Foundation (NSF), coffee reservoirs are consistently ranked among the top ten germiest places in a typical kitchen, often harboring more mold and yeast than a toilet seat. Early in my journey, I ignored this, thinking a descaling cycle once a year was enough. It wasn’t. Eventually, the water started smelling slightly “swampy,” and I had to learn how to clean a moldy water tank without harsh chemicals just to save the machine. Beyond the health stuff, stagnant water loses its dissolved oxygen, making your coffee taste flat and dull. If you’ve been wondering why your shots lack that vibrant pop, the culprit might be the water that’s been sitting there since Tuesday. Have you ever noticed a weird, slick film on the walls of your tank? Let me know in the comments if you’ve had to deal with the dreaded reservoir slime! To ensure you aren’t compounding the issue with minerals, you should also learn the easy way to test your machines water hardness at home.
Empty the Tank Every Single Night
Think of your water reservoir as an ingredient bowl rather than a storage container. You wouldn’t leave a bowl of soup on the counter for three days and then expect it to taste fresh, so why do the same with your brewing water? The most impactful change you can make today is to empty your reservoir at the end of your brewing session. When water sits, it loses dissolved gases, specifically oxygen, which plays a crucial role in extracting the bright, nuanced flavors from your beans. Stale water leads to flat, dull espresso. When I first started mastering the art of home espresso tips for beginners, I ignored this, wondering why my shots tasted like cardboard despite using expensive beans. The moment I switched to fresh, daily refills, the acidity in my light roasts finally began to sing.
Scrub the Walls to Kill the Slime
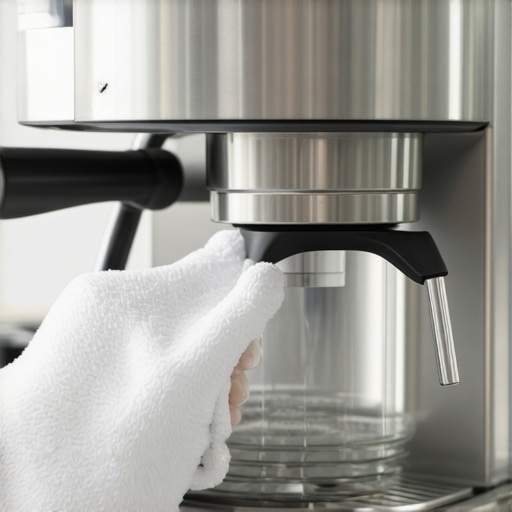
Biofilm is a sneaky, transparent layer of bacteria that loves the plastic surfaces of water tanks. It is often invisible until you actually touch the surface and feel that tell-tale ‘slickness.’ Every Sunday, make it a habit to take the reservoir to the sink. Use a soft microfiber cloth and warm water—no harsh detergents that could leave a floral scent in your morning brew. If you’ve already noticed a funky smell, you’ll need to learn how to clean a moldy water tank without harsh chemicals to ensure your machine remains a safe environment for food preparation. I remember a specific time I neglected this for a month; I found a tiny patch of green near the intake valve. It took three deep cleans to feel confident using that machine again. Now, I treat the reservoir like any other piece of high-end barista gear for coffee enthusiasts: it gets washed as often as my portafilter.
Dry the Reservoir Between Uses
Bacteria and mold thrive in moisture. If you are finishing your coffee routine for the day, don’t just empty the tank—wipe it dry. Leaving the lid slightly ajar allows for airflow, preventing that humid, trapped environment that encourages microbial growth. This is especially important for the internal intake hoses. If you see bubbles or debris inside those tubes, it might be time to look into the fix for a clogged water filter, as a blockage can lead to stagnant water being trapped inside the machine’s internal plumbing even after you’ve emptied the main tank.
Use Only What You Need for the Day
Stop filling your three-liter tank to the top if you only drink two lattes a day. Large volumes of water take longer to cycle through, increasing the chance of mineral precipitation and staleness. Fill your reservoir with just enough water for your shots, your milk steaming, and a quick purge. This ensures that the water moving through your boilers is always at its peak quality. If you notice that your machine is struggling to pull consistent shots despite fresh water, you should how to check your espresso machines group head flow rate to ensure no mineral scale has migrated from the tank into the internal gicleur. Keeping the water fresh also prevents the accelerated scale build-up that explains why your espresso machine takes longer to heat up recently. Finally, remember that external cleanliness is only half the battle; you must also understand why your machine needs a backflush every single week to keep the group head as pristine as your water supply.
High-End Gear Won’t Save a Bad Routine
Common wisdom suggests that upgrading to top-rated espresso machines is the final step toward coffee nirvana. I used to think the same. However, after years of tinkering, I’ve realized that prosumer gear is actually less forgiving than entry-level setups. While a cheaper machine might mask small errors with lower pressure or slower ramps, a high-end E61 group head or a dual-boiler system will highlight every single flaw in your technique. If you haven’t mastered choosing the best barista gear for coffee enthusiasts based on your actual skill level, you might find yourself frustrated by the sheer sensitivity of your equipment. A more expensive pump doesn’t fix a bad puck prep; it just exposes it faster.
Why does your shot timing change every few hours?
This is the question that drives home baristas crazy. You dial in perfectly at 8:00 AM, but by 2:00 PM, the same dose and grind setting result in a shot that runs five seconds faster. Many blame the machine, but the culprit is often atmospheric. According to research by computational chemist Dr. Christopher Hendon, environmental factors like humidity and temperature significantly alter how coffee beans shatter during grinding. This is why your shot extraction time changes every single day and even throughout the afternoon. Professional baristas don’t just ‘set it and forget it’; they are constantly adjusting their grind by tiny increments to compensate for these invisible shifts. Have you ever fallen into this trap? Let me know in the comments.
The Hidden Saboteur in Your Grinder Chute
Even if you know how to select the perfect coffee grinder for your brew, you might be missing a critical step in your workflow: the purge. Most home grinders have a ‘dead space’ between the burrs and the exit. This area can hold anywhere from 0.5 to 4 grams of stale coffee from your previous session. If you don’t learn how to clean the grinder chute without taking it apart or purge a small amount before your first shot, you are mixing fresh grounds with oxidized, flavorless dust. This is a primary reason for that first shot of the day tasting ‘off’ despite everything else being perfect. 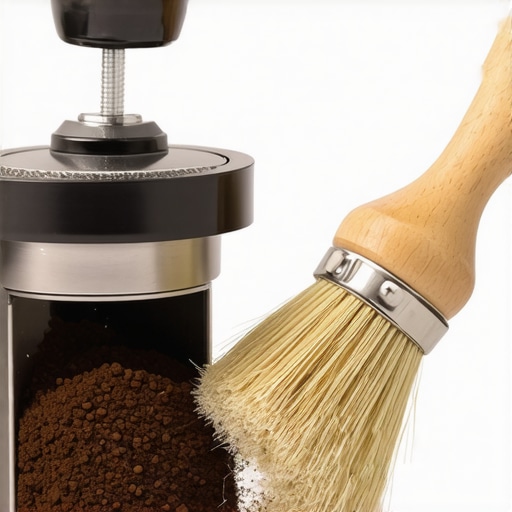
Consistency Requires More Than Just New Burrs
Many enthusiasts believe that if their shots are inconsistent, they simply need to ‘break in’ their equipment. While it is true you need to how to properly season new steel burrs for better consistency, no amount of seasoning will fix a lack of thermal management. I’ve seen people complain about their milk frothers that transform your coffee experience underperforming, only to realize the reason your steam pressure dips when you open the valve is because they aren’t allowing the boiler to recover between tasks. True expertise is about managing the ‘energy’ of the machine, ensuring the portafilter, group head, and water are all in thermal equilibrium before the pump even engages. Furthermore, you must understand why your steam wand tips keep getting blocked by milk residue, as even the smallest obstruction can destroy your steam pressure and ruin your microfoam texture regardless of the machine’s price tag.
Stop Ignoring the Grinder Chute
I learned the hard way that a grinder isn’t just a set of burrs; it’s a series of channels that need constant attention. If you start hearing a weird sound, you need to investigate the reason your grinder makes a thumping noise during use before it becomes a mechanical failure. Personally, I keep a dedicated kit for this. Instead of just brushing the surface, I’ve found that you really need to learn how to clean your grinders discharge chute with a pipe cleaner to reach those narrow bends where oils and fines create a cement-like buildup. This isn’t just about hygiene; it’s about preventing the physical resistance that strains your motor and eventually kills your consistency.
How can I keep my machine running for a decade?
Long-term survival for an espresso machine comes down to proactive parts replacement. Most users wait for a leak before they act, but that’s a recipe for disaster. According to technical documentation from La Marzocco’s Home division, gaskets and seals should be treated as consumables with a strict six-month lifespan, regardless of how much you brew. I’ve started tracking my machine’s ‘vitals’ like an old car. You need to know how to spot a failing solenoid valve before it floods your kitchen or how to identify the subtle clicking that tells you how to fix a stuck pressure stat in an older machine. By swapping these small components before they fail, you prevent the ‘domino effect’ where a small leak causes a short circuit in your expensive control board.
Build a Better Water Source to Save Your Hardware
If you are serious about scaling your home setup, the tiny plastic reservoir eventually becomes a bottleneck. I finally reached a point where I was tired of the daily fill-and-clean routine, so I looked into how to build a custom water reservoir for a plumbed-in machine. This isn’t just a luxury; it allows you to use a dedicated filtration system that delivers perfectly mineralized water directly to the boiler. This level of control is the ultimate ‘scaling’ move because it removes the variable of water quality entirely, ensuring that every shot you pull for the next five years starts with the exact same chemical foundation.
The Future of Home Brewing is More Data
We are moving toward an era of ‘Smart Espresso’ that goes far beyond a simple PID controller. My prediction for the next five years is the mainstream adoption of real-time flow-rate sensors and conductivity probes that communicate with your smartphone. We are already seeing the beginnings of this with high-end Decent machines, but soon, even mid-range setups will offer feedback on puck resistance mid-shot. This will turn the ‘black art’ of espresso into a data-driven science where your machine tells you exactly why a shot failed before you even take a sip. I challenge you to try one advanced maintenance task this weekend: pull your shower screen and check the group head flow rate. You might be surprised at what’s been hiding in your plumbing.
The Hardest Lessons I Learned Caring for My Gear
After years of fixing my own mistakes, I’ve realized that the most expensive equipment doesn’t guarantee quality; discipline does. First, never underestimate the power of a simple gasket. I once thought my pump was dying when in reality a five dollar seal was causing a pressure leak. Second, your senses are better diagnostic tools than any digital sensor. If your water reservoir smells like anything other than clean water, you have already lost the battle for flavor. Lastly, remember that even top-rated espresso machines can suffer if you ignore the small things, like a stray bean stuck in the hopper or a microscopic speck of scale in the group head. I have found that consistency comes from the things we do when we are not pulling shots.
My Survival Kit for the Home Barista
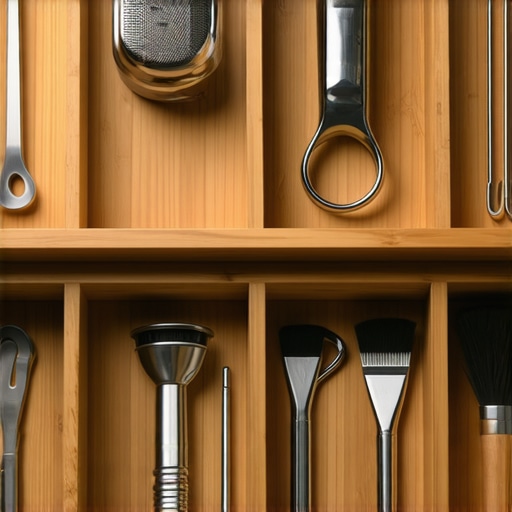
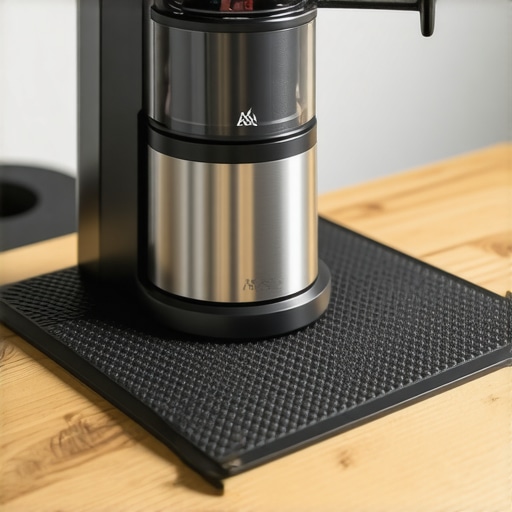
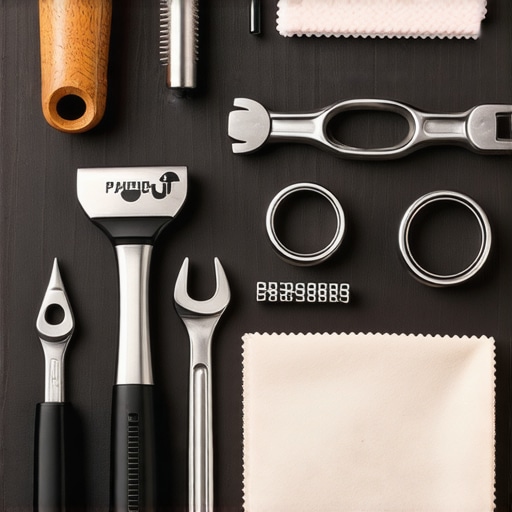
To keep everything running smoothly without a service call, I rely on a few non-negotiables. First, you absolutely need to use the easy way to test your machines water hardness at home because your tap water quality changes with the seasons and can sneakily destroy your heating element. I also swear by using a dedicated flexible pipe cleaner to reach the inner workings of my gear; it is truly the only way to learn how to clean your grinders discharge chute with a pipe cleaner effectively without a full, time-consuming teardown. Finally, I recommend you learn how to pick a coffee mat that doesnt absorb odors to keep your counter clean and prevent moisture from seeping under the machine, which can lead to electrical issues like the reason your espresso machine is tripping the breaker.
#IMAGE_PLACEHOLDER_E#
Master Your Morning Ritual for Good
Owning a machine is a journey of constant refinement and technical curiosity. It is not just about the caffeine; it is about the craftsmanship and the respect you show for the ingredients and the engineering. By treating your water reservoir as a fresh ingredient and your grinder as a precision instrument, you elevate your home espresso from a simple morning drink to a daily masterpiece. Don’t be afraid to get your hands dirty and look inside the panels—your machine will thank you with years of delicious, consistent shots and a much higher resale value down the road. Have you ever discovered something unexpected or slightly gross hiding in your water reservoir during a deep clean? Let me know in the comments below!