Why your bottomless portafilter is making a huge mess
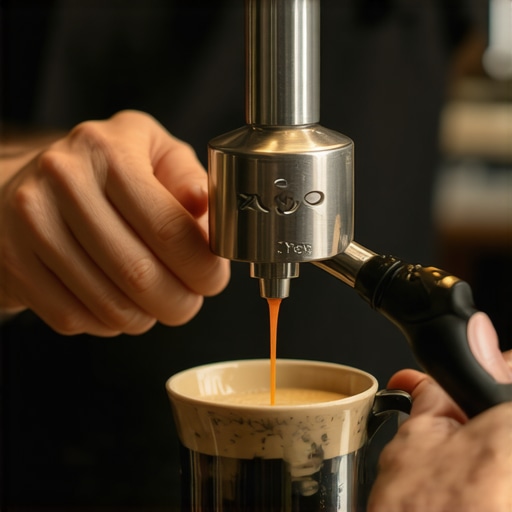
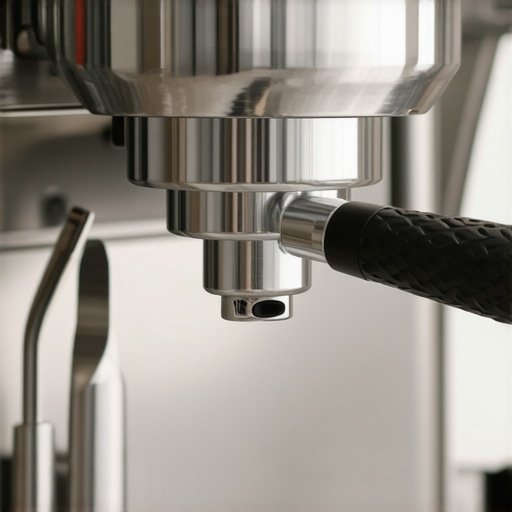
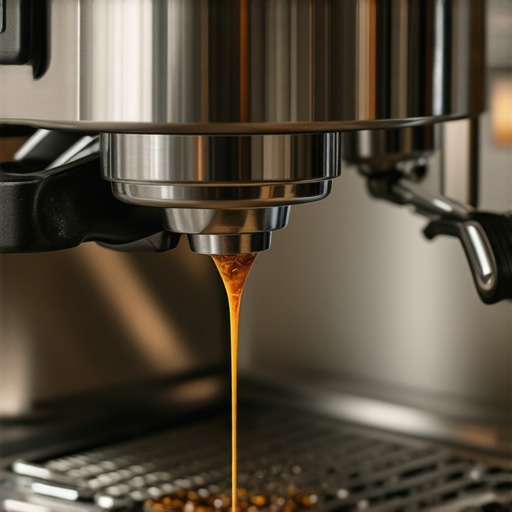
I’ll never forget the morning I decided I was finally ready for a naked portafilter. I had spent weeks watching those mesmerizing, honey-like extractions on social media and thought, How hard can it actually be? I locked it in, flipped the switch on my machine, and braced for beauty. Instead, I got a high-pressure jet of liquid caffeine right in the eye. My kitchen looked like an espresso-flavored Jackson Pollock painting within seconds. If you have been there—wiping brown speckles off your toaster and wondering if your machine is haunted—I promise you are not alone. We are going to stop the spray today and get you those clean, tiger-striped pulls you actually wanted.
Why Your Kitchen Looks Like a Coffee Crime Scene
The truth is, a bottomless portafilter is a truth-teller. It does not cause the mess; it just stops hiding the flaws your puck prep was already making. When I first started, I made the classic mistake of thinking I could skip the finer details of selecting a coffee grinder that could handle the precision needed for a naked basket. I was using a cheap mill that produced boulders and dust, leading to massive channeling—where water finds the path of least resistance and blasts through your coffee puck like a fire hose. It is incredibly frustrating when you have invested in the best barista gear, yet you are spending more time cleaning than drinking. Usually, when your bottomless portafilter only sprays on one side or shoots out tiny needles of water, it is a sign that your distribution is uneven. A fascinating study published in Matter (2020) suggests that grind inconsistency is the primary driver of uneven flow, proving that even expensive setups fail without the right grind profile.
Is This Naked Portafilter Actually Worth the Headache?
You might be tempted to toss the thing in the drawer and go back to your spouted portafilter. I almost did. But here is the secret: that mess is the best teacher you will ever have. It is telling you that your tamping is crooked or your grind is too coarse. Have you ever had one of those volcano shots that ended up on your ceiling, or are you just dealing with annoying little side-sprays? Let me know in the comments, because I have definitely cleaned espresso off my kitchen ceiling fan before. If you are using one of the top-rated espresso machines for 2025, the pump pressure is likely very consistent, which means the variable causing the mess is almost always the puck prep itself. We are going to break down the exact steps to fix your workflow so you can stop wearing your morning coffee and finally start enjoying it.I’ll never forget the morning I decided I was finally ready for a naked portafilter. I had spent weeks watching those mesmerizing, honey-like extractions on social media and thought, How hard can it actually be? I locked it in, flipped the switch on my machine, and braced for beauty. Instead, I got a high-pressure jet of liquid caffeine right in the eye. My kitchen looked like an espresso-flavored Jackson Pollock painting within seconds. If you have been there—wiping brown speckles off your toaster and wondering if your machine is haunted—I promise you are not alone. We are going to stop the spray today and get you those clean, tiger-striped pulls you actually wanted.
Why Your Kitchen Looks Like a Coffee Crime Scene
The truth is, a bottomless portafilter is a truth-teller. It does not cause the mess; it just stops hiding the flaws your puck prep was already making. When I first started, I made the classic mistake of thinking I could skip the finer details of selecting a coffee grinder that could handle the precision needed for a naked basket. I was using a cheap mill that produced boulders and dust, leading to massive channeling—where water finds the path of least resistance and blasts through your coffee puck like a fire hose. It is incredibly frustrating when you have invested in the best barista gear, yet you are spending more time cleaning than drinking. Usually, when your bottomless portafilter only sprays on one side or shoots out tiny needles of water, it is a sign that your distribution is uneven. A fascinating study published in Matter (2020) suggests that grind inconsistency is the primary driver of uneven flow, proving that even expensive setups fail without the right grind profile.
Is This Naked Portafilter Actually Worth the Headache?
You might be tempted to toss the thing in the drawer and go back to your spouted portafilter. I almost did. But here is the secret: that mess is the best teacher you will ever have. It is telling you that your tamping is crooked or your grind is too coarse. Have you ever had one of those volcano shots that ended up on your ceiling, or are you just dealing with annoying little side-sprays? Let me know in the comments, because I have definitely cleaned espresso off my kitchen ceiling fan before. If you are using one of the top-rated espresso machines for 2025, the pump pressure is likely very consistent, which means the variable causing the mess is almost always the puck prep itself. We are going to break down the exact steps to fix your workflow so you can stop wearing your morning coffee and finally start enjoying it.
Get Your Grind Right to Save Your Countertop
If your espresso is gushing out like a broken hydrant, the first culprit is almost always your grind size. When the particles are too large, water doesn’t meet enough resistance, leading to those violent sprays. I remember one Tuesday morning when I was rushing to a 7 AM Zoom call; I skipped the adjustment on my beans and just winged it. The result was a literal volcano that coated my white dress shirt in seconds. You need to know how to select the perfect coffee grinder that can handle micro-adjustments. If you find that your espresso shot is running too fast but the puck is dry in the center, you are likely dealing with coarse pockets that the water is exploiting. Tighten that grind until the flow starts as a slow, thick drip before merging into a single stream.
The Magic of Even Distribution
Even with the best grind, a clumped-up pile of coffee is a recipe for disaster. Think of your coffee puck like a sponge; if one part of the sponge is denser than the rest, water will simply flow around it. This is why I swear by the Weiss Distribution Technique (WDT). By using thin needles to break up clumps, you ensure the density is uniform across the entire basket. You might think you need expensive gadgets, but there is a specific move for better espresso distribution without fancy tools that involves simple, circular stirring to level the bed. Be careful, though, because your distribution tool might be ruining your extraction if you are just pushing the top layer around without reaching the bottom of the basket. 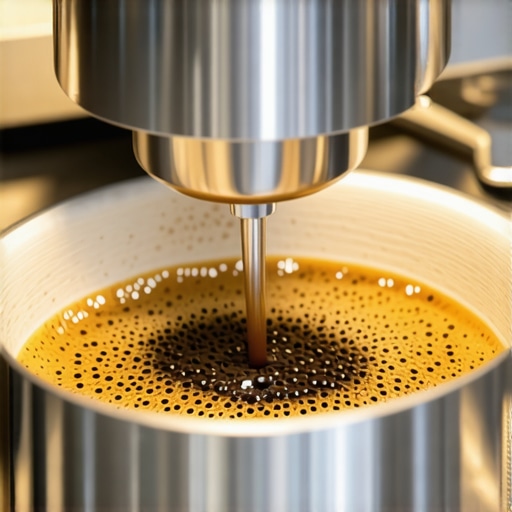
Stop Wrenching Your Wrist During the Tamp
Once your bed is level, you have to compress it perfectly flat. A tilted tamp is the leading cause of the one-sided spray because water naturally gravitates toward the lower, less-compressed side of the puck. When I was starting out, I used to lean my whole body weight into it, which actually caused me to tilt the tamper slightly to the left every single time. Learning the best angle for tamping to avoid wrist strain cured my spray issues almost overnight. You do not need to push with fifty pounds of pressure; you just need to push until the coffee stops compressing and the bed is level. If you are struggling with consistency, remember that the move for better temperature stability on budget machines often starts with a warm portafilter, so make sure your gear is up to temp before you even think about tamping.I used to think that the ‘Roasted On’ date was a race. If I didn’t get those beans into my machine within 48 hours, I felt like I was failing. But the truth is, ultra-fresh beans are an espresso nightmare. When coffee is too young, it is packed with CO2 that hasn’t had time to escape. This gas creates turbulence inside the puck, often explaining why your freshly roasted beans are making your espresso taste like grass or why your shots seem to ‘fizzle’ and spray despite a perfect tamp.
Wait, Do I Really Need to Let My Coffee Rest?
Yes, and probably longer than you think. A study led by coffee scientist Samo Smrke suggests that the peak degassing period for espresso usually happens between days 7 and 14 post-roast. If you try to pull a shot earlier, that escaping gas pushes back against the water, creating micro-channels. It is one of the most common reasons why your shot extraction time changes every single day as the beans evolve. Even when choosing the best barista gear for coffee enthusiasts, no amount of hardware can compensate for the physics of degassing. The same logic applies to your grinder. I have seen people spend thousands on a flat-burr grinder only to complain about clumping. Often, it is simply because they did not know how to properly season new steel burrs for better consistency. Those burrs need a few pounds of ‘junk’ beans run through them to smooth out the microscopic burrs left from manufacturing. If you are getting weird sprays on just one side, it might be time to look at the right way to align your flat burrs for better shots rather than just buying a more expensive tamper.
When Your Barista Gear Works Against You
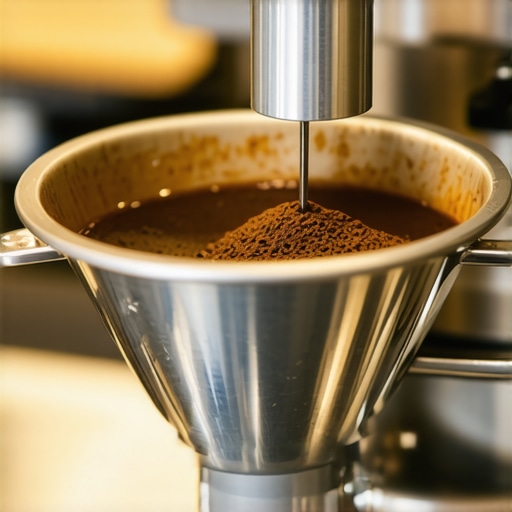 Here is the ‘oops’ factor I learned the hard way: distribution tools are not always your friends. Many of those fancy spinning ‘levelers’ actually compress the top two millimeters of the coffee bed while leaving the bottom loose and airy. This creates a false sense of security; the top looks flat, but the water will find the soft spots underneath and blast through them. This is exactly why your distribution tool might be ruining your extraction. I personally went back to a simple WDT needle tool and saw my spray issues vanish almost instantly. Have you ever fallen into this trap of buying a tool that actually made your coffee worse? Let me know in the comments.Once you’ve mastered the puck prep, you have to realize that espresso machines are basically tiny, high-pressure plumbing systems that want to kill themselves with scale and old oils. I learned this the hard way when my first machine started wheezing like it had a cold. You absolutely have to know why your machine needs a backflush every single week. If you skip this, coffee oils turn into a rancid varnish that will make your $20-per-bag beans taste like a burnt tire. For those of you with a high-end setup, learning how to properly lubricate your e61 group head cam is a game-changer. I use Molykote 111 because it stays put under high heat, unlike cheaper greases that wash away within days. Technical guides from experts at Home-Barista emphasize that metal-on-metal friction in the lever assembly is the primary cause of ‘crunchy’ lever feels, which eventually leads to internal part failure.
How do I maintain my espresso setup over time?
Consistency isn’t just about your tamping; it’s about the machine’s health. I keep a small toolkit in my coffee drawer specifically for the trick to removing a stuck shower screen without stripping the screw. If you haven’t pulled your screen in a month, do it tonight—you might be horrified by what’s hiding behind it. 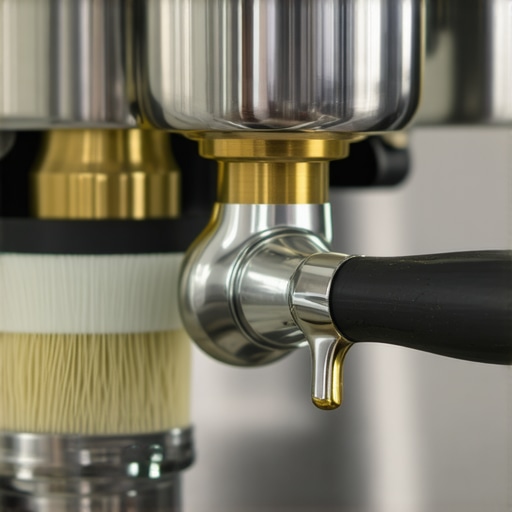 Beyond the hardware, your water is the silent killer. I started using the easy way to test your machines water hardness at home after I noticed a drop in steam pressure. Scale buildup is essentially a heart attack for your boiler. In the next few years, I expect we’ll see more entry-level machines incorporating real-time TDS (Total Dissolved Solids) sensors, but for now, we have to be the monitors. I’ve also noticed that people underestimate the impact of physical stability. I spent months chasing a ‘ghost’ in my dose weights until I realized my machine’s vibration was messing with my sensor. You should look into how to stop your espresso machines feet from vibration walking to keep your workflow quiet and precise. It sounds small, but these micro-annoyances add up over 1,000 shots. Also, if you use a scale (which you should), check why your coffee scale is giving you inconsistent readings; sometimes it’s as simple as a low battery or a draft from an AC vent. Don’t forget your grinder, either. Learning the move that saves your grinder from unnecessary wear—which is simply adjusting the grind setting while the motor is running—will double the life of your adjustment collar. If you’re really ready to level up, try my favorite advanced tip: do a ‘clean water backflush’ every single night after your last shot. It takes ten seconds but keeps the group head pristine. You’ve already got the best barista gear, now let’s make sure it lasts a decade.
Lessons from a Thousand Messy Countertops
I’ve pulled enough shots to realize that perfection is a moving target. One day you’re a god of espresso, and the next, you’re wondering why your portafilter is acting like a lawn sprinkler. The biggest lightbulb moment for me was accepting that the first shot of the day is always a throwaway, or at least a calibration point. Your grinder and machine need to warm up to reach true thermal stability. I also learned that a single spray doesn’t always mean a bad taste; if the flavor is balanced, don’t let a tiny needle of water ruin your morning. Finally, I stopped blaming the beans and started looking at my own technique—specifically my tamping angle—which solved the vast majority of my channeling issues.
The Only Tools I Actually Keep on My Counter
You don’t need a museum of gadgets to make great coffee. I’ve narrowed my station down to three essentials that actually make a difference. First, a reliable WDT tool is non-negotiable for better espresso distribution without fancy tools. Second, I recommend everyone pick a coffee mat that doesn’t absorb odors; it keeps your workspace clean and protects your countertop from the inevitable splatter of a bottomless portafilter. Lastly, I rely on a fast-response scale. If you’ve ever wondered why your espresso scale is jumping numbers, it’s often due to heat or moisture, so keeping it dry is key to consistency. Beyond gear, I always keep a copy of James Hoffmann’s The World Atlas of Coffee nearby for troubleshooting flavor profiles.
Embrace the Messy Path to Mastery
Espresso is as much a hobby as it is a science. Don’t be discouraged when your machine decides to decorate your walls; it’s simply a sign that you’re learning the nuances of mastering the art of home espresso. Every messy shot is a data point that helps you refine your workflow and understand your equipment better. By choosing the best barista gear and staying patient with the process, you’ll eventually find that those perfect, honey-like pulls happen more often than the sprays. Keep practicing, keep tasting, and most importantly, keep enjoying the journey. Have you ever had an espresso shot spray so far it hit something completely unexpected in your kitchen? Let me know your funniest espresso fail in the comments below!