Why Your Espresso Machine Trips the Circuit Breaker
It was 6:30 AM on a Tuesday, and I was about ten seconds away from my first caffeine hit of the day. I’d spent five minutes obsessively aligning my flat burrs and another three prepping the puck. I flipped the lever. Click. The lights died, the fridge stopped humming, and I was left standing in a silent, dark kitchen with a half-extracted, lukewarm mess. If you’ve ever felt that soul-crushing silence, you know exactly what I’m talking about. Your espresso machine didn’t just fail; it threw a tantrum and took the whole room down with it. Today, I am going to help you stop the darkness and get your morning routine back on track by identifying exactly why your machine is acting like a power-hungry monster.
Your Kitchen Circuit is Fighting a Losing Battle
Most people don’t realize that top-rated espresso machines for coffee lovers in 2025 are basically industrial-grade space heaters disguised as beautiful appliances. They pull an enormous amount of current to flash-boil water in seconds. When I first started my journey, I made the classic rookie mistake of plugging my dual-boiler beast into the same outlet as my heavy-duty commercial grinder. I thought a cheap power strip would handle it. Spoiler alert: it didn’t. In fact, running too many high-wattage devices on a single 15-amp circuit is the quickest way to meet your local electrician. We are going to figure out if your issue is a simple too many gadgets problem or something more sinister hiding inside the stainless steel chassis.
Is your machine actually a total fire hazard?
It’s a terrifying thought. You see sparks or hear that ominous pop, and suddenly you’re wondering if your kitchen is about to go up in flames. While a tripped breaker is usually just a safety mechanism doing its job, you can’t ignore it. According to the Electrical Safety Foundation (ESFI), electrical malfunctions are a leading cause of home fires, and high-wattage kitchen appliances are frequently the culprits. If you’ve noticed that your machine takes longer to heat up recently, it might be a sign of a degrading heating element drawing irregular current. We need to talk about why this happens—from the simple overloaded circuit to the dreaded faulty espresso machine thermostat. Have you ever had your morning ruined by a tripped breaker? Drop a comment and let me know if it’s a recurring nightmare or a one-time shock. I’m here to help you get back to brewing without needing a flashlight.
Stop the Overload Before it Starts
The first thing you need to do is play detective with your kitchen’s power grid. Think of your circuit like a narrow hallway; if too many people try to rush through at once, everyone gets stuck. High-end home espresso setups can pull 1500 watts or more. If your fridge kicks on while your machine is preheating, that’s the proverbial watermelon trying to fit through a straw. I once spent an entire morning resetting my breaker every twenty minutes because I didn’t realize my perfect coffee grinder was on the same 15-amp line as the dishwasher. The fix was simple but annoying: I had to move the espresso station to a different wall. Before you tear the machine apart, unplug everything else on that circuit and see if the ‘pop’ disappears. If it still trips when it’s the only thing plugged in, the problem is definitely inside the stainless steel chassis.
Hunt Down the Hidden Moisture
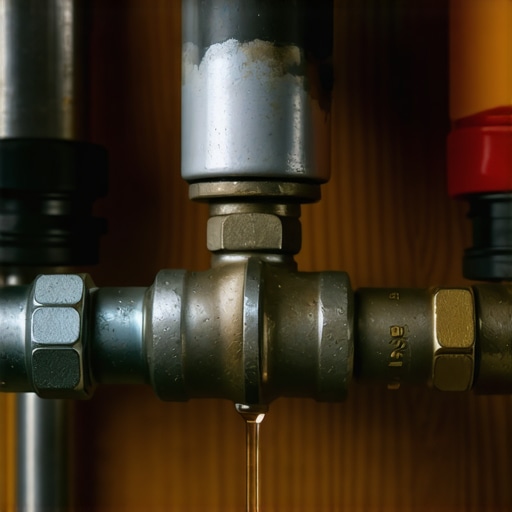
Water and electricity are the worst of neighbors, and inside an espresso machine, they share a very small apartment. A tiny, microscopic pinhole leak in a copper pipe can spray a fine mist directly onto an electrical terminal. This happened to me with an old prosumer machine I bought second-hand. I noticed a slight hiss for weeks but ignored it until the GFCI outlet started clicking off every time the pump engaged. When I finally pulled the shell off, one of the wires was green with corrosion from a stuck steam valve that had been weeping for months. Inspect every fitting for ‘white crust’ or green oxidation. If you find a wet spot, dry it completely with a microfiber cloth and tighten the fitting. Sometimes, just performing a group gasket replacement or tightening a loose nut can stop moisture from migrating toward the electronics and causing a short.
Check the Heating Element for Resistance Issues
If the breaker trips the very second you flip the power switch, your heating element might be ‘grounded.’ This happens when the outer metal sheath of the element cracks, allowing water to touch the internal electrical filament. It’s essentially a short circuit waiting to happen. You can often spot the early stages of this if your machine takes longer to heat up recently or if the water feels slightly ‘tingly’ (don’t actually test this with your bare hands, as it is a major safety risk). A healthy element should have a specific resistance; if it’s zero or infinite when tested with a multimeter, it’s dead. Replacing an element is a tedious job, but it’s far cheaper than a new machine. While you’re in there, check if your machines water temperature fluctuates, as this often points to a failing PID or thermostat that might also be causing electrical spikes. Keeping your internal components dry and ensuring your machine gets a backflush every week prevents the kind of scale buildup that eventually kills these high-wattage heating elements.Even after you’ve sorted out the electrical load on your circuit, the rabbit hole of high-end home espresso goes much deeper. Many enthusiasts believe that more power and more pressure automatically equate to a better shot, but that’s one of the most common myths in the industry. Let’s dig deeper into the nuances that separate a hobbyist from a seasoned home barista.
High Pressure is Usually Your Worst Enemy
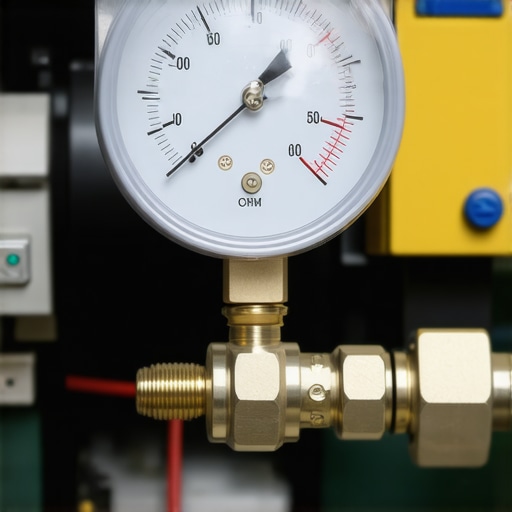
Every cheap machine at the big-box store brags about ’15 bars of pressure’ on the box. In reality, a professional extraction almost always happens at 9 bars or even lower. When you force water through a puck at 15 bars, you aren’t getting more flavor; you’re actually compressing the coffee grounds so tightly that the water creates tiny tunnels—called channeling—instead of flowing evenly. This is why your espresso shot tastes like paper or bitter ash. When you are choosing the best barista gear for coffee enthusiasts, look for machines with an adjustable Over-Pressure Valve (OPV). If your pump is pushing too hard, it’s not just ruining the taste; it’s putting unnecessary strain on your internal plumbing and increasing the risk of a leak that could trip your GFCI again.
Why Does Even the Best Gear Sometimes Fail Your Taste Buds?
If you’ve invested thousands and your coffee still tastes inconsistent, the culprit is often ‘thermal mass’ rather than mechanical failure. You can have a perfectly aligned grinder and a $3,000 dual-boiler, but if you don’t allow the portafilter itself to heat sink for at least 20 minutes, the first 50ml of water will lose 10 degrees the moment it hits the cold metal. This temperature drop causes a sour, under-extracted mess. Many people try to fix this by over-complicating their prep, but sometimes your distribution tool might be ruining your extraction by over-compressing the edges of the basket. Have you ever fallen into this trap of over-gearing to solve a simple thermal problem? Let me know in the comments.
Stop Killing Your Boiler with Pure Distilled Water
This is the ultimate ‘oops’ factor for advanced users. You hear that scale is the silent killer of espresso machines—which is true—so you decide to use 100% distilled or R.O. water. This is a massive mistake. According to water quality standards set by the Specialty Coffee Association (SCA), water needs a specific mineral content (around 150 mg/L) to properly extract coffee flavors. More importantly for your machine’s health, distilled water is ‘hungry.’ Because it lacks minerals, it will actually leach metal ions directly out of your copper boiler and brass fittings, leading to premature ‘pitting’ and permanent damage. Furthermore, most auto-fill sensors in prosumer machines rely on the conductivity of the water to know when the boiler is full. If the water is too pure, the sensor won’t ‘see’ it, the pump will never stop running, and you’ll eventually burn out the heating element. Understanding the truth about using distilled water in your machine is the difference between a machine that lasts twenty years and one that ends up in the scrap heap in three. You must learn how to tell if your water hardness is damaging your boiler by using a titration kit, rather than just guessing. Maintaining that delicate balance between scale prevention and mineral-rich extraction is the hidden nuance of the craft.
The Weekly Ritual That Saves Your Pump
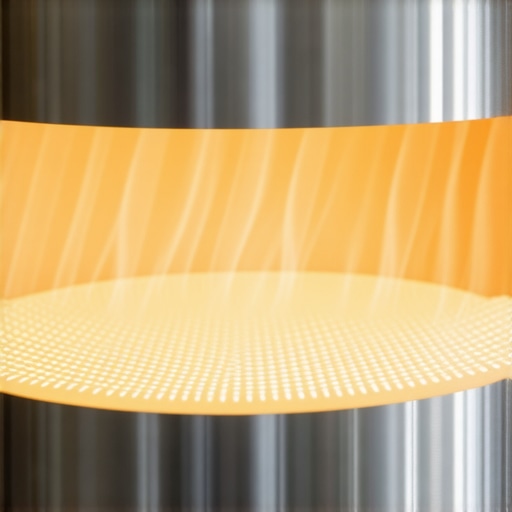
I’ve seen too many beautiful machines end up as expensive paperweights because their owners ignored the basics. If you want to keep top-rated espresso machines for coffee lovers in 2025 humming, you have to treat maintenance like a religious ceremony, not a chore. Every Sunday, I pull the shower screen and soak it in backflush detergent. It’s the only way to prevent oils from rancidifying and clogging the tiny holes. While the screen is soaking, I check the group head. If you haven’t learned how to replace a group gasket without scratching the chrome, now is the time to learn. A hardened gasket doesn’t just leak; it forces you to over-tighten the portafilter, which eventually warps the ears of the group head itself. My rule is simple: if the rubber feels like plastic, it’s already dead.
Why Your Grinder is a Secret Dust Magnet
We obsess over the machine, but the grinder is where the flavor—and the mechanical failures—actually start. Most people think they are done once they empty the hopper, but coffee oils and ‘fines’ (microscopic dust) are building up inside the chute. This is the hidden culprit when the reason your commercial grinder keeps tripping the breaker isn’t an electrical overload, but a physical jam. I personally use a small handheld vacuum and a stiff nylon brush every single time I switch bean bags. It sounds obsessive until you realize that the trick for getting ground coffee out of tight corners is often the difference between a clean, vibrant shot and one that tastes like a dusty attic. For those using steel burrs, remember that they need a ‘break-in’ period. I always recommend learning how to properly-season new steel burrs for better consistency by running a few cheap bags of beans through before you ever try to dial in your expensive Ethiopian Yirgacheffe. Dr. Christopher Hendon, a computational materials chemist known in the coffee world, has even suggested that bean temperature significantly affects grind consistency, which is why I’ve started storing my beans in a sealed cellar environment to keep the grinder from heating up too fast during back-to-back shots.
How do I keep my gear running for a decade?
The secret isn’t a magic tool; it’s consistency. I keep a logbook next to my station. I note when I last descaled, when I swapped the burrs, and when I deep-cleaned the steam wand. If you notice your machine takes longer to heat up recently, your logbook will tell you if it’s time to check the element or if you’ve just been lazy with the descaling solution. I predict that in the next few years, we will see ‘Smart Maintenance’ sensors built into high-end machines that will alert your phone the second a scale buildup is detected in the heat exchanger. Until then, you are the sensor. Don’t wait for a ‘pop’ or a leak to take action. Take ten minutes this weekend to perform the best routine for a weekend deep clean and see if your shots don’t suddenly taste a whole lot cleaner. My challenge to you: pull your shower screen today. If it’s black on the back, you’ve found your problem. Clean it, and let me know if your morning latte tastes like a new machine.
What Decades of Burnt Circuits Taught Me About Machine Longevity
Most failures aren’t sudden; they are whispers you ignored for weeks. That tiny hiss from the steam wand or the slight flicker in the lights was your machine asking for help before it finally gave up. One thing I’ve learned is that maintenance isn’t a chore; it’s a relationship. If you ignore the internals, the internals will eventually ignore your request for caffeine. The most expensive machine on the market is still just a collection of copper and wires that requires logic to maintain. Never underestimate the power of a clean workspace—a frayed power cord on a grinder or a wet counter is a recipe for a blown fuse and a very bad morning. Always remember that silence is your enemy; if the pump sounds even slightly different than it did yesterday, it is time to investigate.
The Gear I Actually Use When Things Go Wrong
You don’t need a degree in electrical engineering to keep your setup running, but you do need a few specialized tools that go beyond the standard screwdriver. I never touch my machine’s internals without a digital multimeter—it is the only way to truly know if your heating element is dead or just resting. I also swear by a small tube of Molykote 111; it is the secret to keeping your valves moving smoothly and preventing the tiny leaks that eventually lead to electrical shorts. Finally, keep a titration kit handy to check your local tap water, because knowing the truth about using distilled water in your machine will save you from an incredibly expensive boiler replacement down the road.
The Future of Your Home Cafe is in Your Hands
Taking apart a piece of high-end barista gear can be intimidating at first, but it is also the most rewarding part of the hobby. When you finally fix that leak or balance that circuit, the coffee tastes better because you earned it. Mastering the art of home espresso is as much about the hardware as it is about the beans themselves. Don’t be afraid to get your hands a little dirty to ensure your morning routine stays bright and caffeinated. Have you ever opened up your machine only to realize you were way over your head? Let me know your biggest DIY fail or success in the comments below!