How to Clean Burnt Milk Off a Teflon Steam Wand
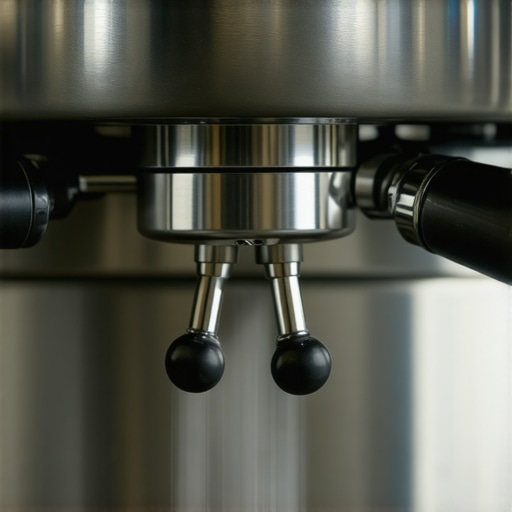
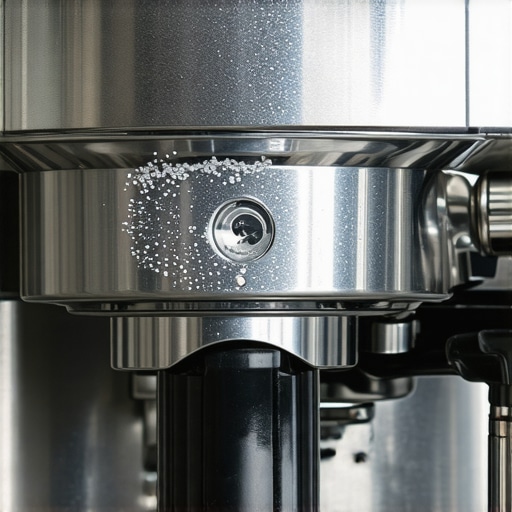
The smell hit me before I even saw the damage—that acrid, sickly-sweet scent of scorched lactose. I had just finished pulling what I thought was a decent shot on one of my top-rated espresso machines for coffee lovers in 2025, and in my rush to serve my guests, I skipped the purge. Big mistake. When I finally looked down, my beautiful, non-stick Teflon-coated wand was wearing a crusty brown sleeve of shame. It looked like it had been dipped in wood varnish and left to bake. Have you ever looked at your machine and felt that immediate pang of regret? If you are staring at a blackened wand right now, do not reach for the screwdriver yet.
The Non-Stick Lie That We All Believe
We buy these Teflon-coated wands because we’re promised a maintenance-free life. We think the milk will just slide off like an egg on a fresh frying pan. But let me tell you from experience: milk proteins are stubborn, and they do not care about marketing claims. If you let that wand sit for even sixty seconds without a wipe, those proteins bake on. I used to be incredibly lazy about my post-steam routine. I figured the coating would protect me. One morning, after a particularly frantic session, I realized the steam wasn’t flowing right. I had let so much gunk build up that I ended up needing the fast way to unclog your steam wand tip as my only priority. It’s a frustrating spot to be in, especially when you are just trying to enjoy a quiet morning.
Will scrubbing too hard actually kill my steam wand?
This is the fear that keeps most of us from really getting in there. And honestly? It’s a valid fear. I once took a green abrasive scouring pad to a Teflon wand in a fit of rage. I got the milk off, sure, but I also took the coating right along with it. Now, that wand is permanently sticky and catches every drop. You have to be smarter than I was. We need to use chemistry and patience, not brute force. Have you ever accidentally scratched your gear trying to keep it clean?
Why Milk Sticks Even to the Best Coatings
It’s not just a lack of non-stick power; it’s actual science. When milk reaches temperatures above 150°F, the proteins—specifically whey and casein—begin to denature. According to research published in the Journal of Dairy Science, these proteins form a complex structural matrix that can actually chemically bond to surfaces when dehydrated by high heat. This is why that crust feels like it has become part of the metal. If you’re dealing with this right now, do not panic. Whether you are using standalone milk frothers that transform your coffee experience or a prosumer machine, the solution is about rehydration. If your wand is acting up in other ways, such as the reason your steam wand is leaking water into your milk, that is a different mechanical beast. But for the burnt-on crust? We have a gentle plan that works.
Stop Scrubbing and Start Soaking
The biggest mistake I ever made was thinking I could out-muscle burnt milk. I remember one Sunday morning, after a back-to-back latte session, I noticed a patch of brown film that just would not budge. I spent ten minutes with a fingernail and a rough towel, and all I got was a sore hand and a scratched wand. Instead of friction, you need thermal expansion.
Start with a Deep Steam Soak
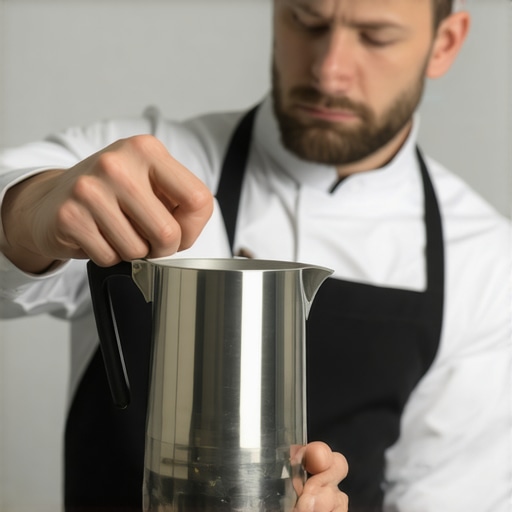
If the milk is truly fossilized, fill your frothing pitcher with hot water—not boiling, just hot from the tap—and a drop of dish soap. Submerge the wand and let it sit for at least fifteen minutes. This is exactly like soaking a lasagna pan; you are waiting for the water to penetrate the dehydrated protein layers. After the soak, turn the steam on for a three-second blast. This creates internal pressure that pushes against the crust from the inside out. It is the same logic used in the best way to purge your steam wand without burning your hand, using the steam’s own energy to do the heavy lifting for you.
Chemical Softening is Your Best Friend
If water does not do the trick, it is time to bring in the pros. I keep a bottle of alkaline milk cleaner under my sink specifically for these oops moments. These cleaners are designed to break down fats and proteins without eating the Teflon or stainless steel. When you are the secret to perfecting your milk texture on a single boiler, you are already dealing with a lot of heat, which makes the milk more likely to bond. A dedicated cleaner acts like a chemical wedge, sliding between the wand and the residue. I once saved a friend’s machine that had not been cleaned in months using this method—it took three soaks, but the milk eventually slid off in one satisfying sheet.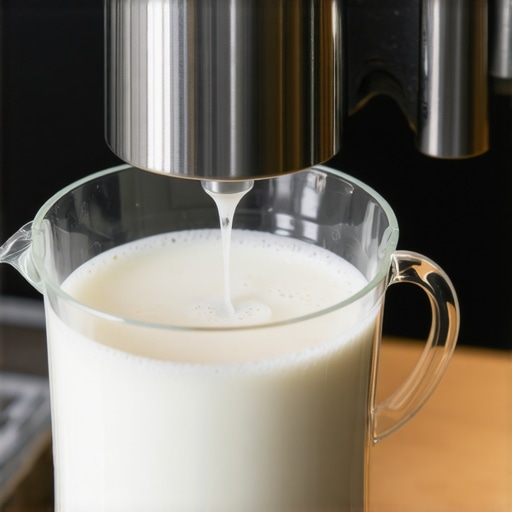
Prevention Beats a Deep Clean Every Time
Once you get that wand back to its factory shine, you have to change your habits. The goal is to never let the milk reach that baked-on state again.
Master the Immediate Wipe
Every time you finish steaming, you have roughly five seconds to act. I keep a dedicated, damp microfiber cloth specifically for the wand. Using a dry cloth is a recipe for disaster because it does not provide the evaporative cooling needed to stop the cooking process on the wand’s surface. Learning how to stop using a wet cloth on your steam wand for everything else is fine, but for the wand itself, moisture is a necessity. If you skip this, you will find that why your milk frother creates bubbles instead of foam becomes the least of your worries as the airflow gets restricted by gunk.
Keep Your Purge Game Strong
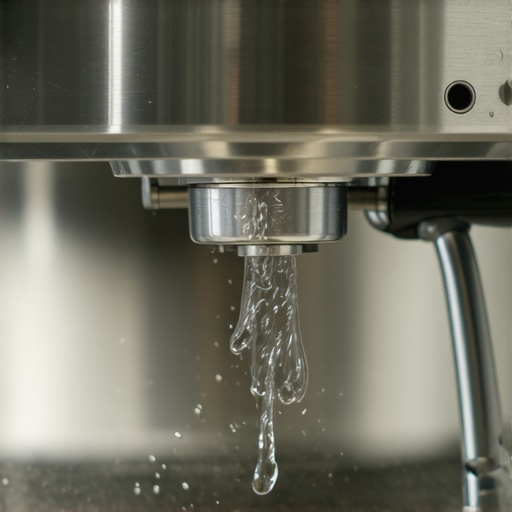
Think of the purge as a reset button for your machine. When I was first mastering the art of home espresso tips for beginners, I thought purging was just for show. It is not. It clears out any milk that was sucked back into the tip via the vacuum created when you turned the steam off. If that milk stays inside, it cooks from the inside out, creating a clog that no amount of external soaking will fix. I now purge before and after every single pitcher, and my Teflon coating has lasted three years without a single scratch.While purging is the golden rule, there is a deeper nuance that most hobbyists miss: the relationship between boiler capacity and steam quality. Most enthusiasts chase the highest bar of pressure possible, assuming more power equals better texture. In my experience, high pressure on a small-diameter steam wand tip actually works against you. It creates ‘dry’ foam that sits on top of the milk rather than integrating smoothly. It is often better to have consistent, lower-pressure steam than a high-pressure blast that tapers off halfway through your stretching phase.
The Steam Pressure Trap
We often get obsessed with the ‘power’ of our top-rated espresso machines for coffee lovers in 2025, but raw power without stability is a recipe for chunky foam. If you find yourself struggling with uneven textures, consider the move for better temperature stability on budget machines to ensure your boiler is not fluctuating while you are mid-swirl. I have seen countless baristas blame their technique when the culprit was actually a boiler that simply could not keep up with the demand.
Why does my microfoam collapse before I can finish a heart?
This is the ultimate frustration for anyone mastering the art of home espresso tips for beginners. If your foam looks perfect in the pitcher but turns into a stiff, dry cap the moment it hits the coffee, you likely have a ‘wet steam’ problem. According to research in the International Journal of Food Science & Technology, the stability of milk foam is heavily dependent on the lipid-protein interface remaining undisturbed by excess moisture in the steam. If your wand is spitting water, it dilutes the proteins that hold those tiny bubbles together. This is often linked to the reason your steam wand is leaking water into your milk, which ruins the structural integrity of your latte art. When your milk is behaving badly, the trick to pouring a heart when your milk is too thick might offer a temporary fix, but the root cause is usually thermal instability inside the machine.
Don’t Ignore the Source of Your Steam
We spend so much time cleaning the outside of the wand, but we frequently forget where that steam actually comes from. I once spent weeks trying to figure out how to fix a steam wand that has lost its power, only to realize the issue was deep inside the water circuit. There is a significant and often ignored the risk of leaving your machines water intake tube dirty. Biofilm can build up in those tubes, affecting the sensors and the pump’s ability to feed the boiler efficiently. Furthermore, many people make the mistake of using the wrong water type. While it sounds ‘pure,’ the truth about using distilled water in your machine is that it can actually prevent your sensors from detecting water levels, leading to a dry-fired heating element or inconsistent steam pressure. Have you ever fallen into this trap of over-cleaning the exterior while neglecting the internals? Let me know in the comments.  While we are on the subject of internals, we have to talk about the other engine in your kitchen: the grinder. Most people think maintenance stops at wiping the hopper, but that is a fast track to bitter shots. I have learned the hard way that a neglected grinder is actually more detrimental to your flavor than a slightly dirty steam wand. If you have just upgraded to one of the top-rated espresso machines for coffee lovers in 2025, you need to know the best way to season new grinder burrs fast or you will be chasing your tail with inconsistent extraction for weeks.
How do I keep my espresso setup running perfectly over time?
It comes down to a rhythm of preventative strikes. Every Saturday, I perform what I call the zero-retention purge. I use a vacuum and a small brush to handle how to clean the grinder chute without taking it apart. This prevents old, rancid oils from tainting the fresh beans I just dialed in. For the machine itself, I stick religiously to the best routine for a weekend deep clean, which includes backflushing with a dedicated detergent. According to the technical documentation from Mahlkönig, even a 0.1mm misalignment in burr seating—often caused by compacted grit—can increase the percentage of fines by up to 15%, leading to that muddy taste we all hate. Learning how to tell if your espresso grinder burrs are dull is a skill that will save you hundreds of dollars in unnecessary bean waste.
The Tools That Actually Earn Their Counter Space
You do not need every gadget on the market. When you are choosing the best barista gear for coffee enthusiasts, focus on items that solve a specific problem. For me, a high-quality RDT spray bottle was a game-changer for static. If you are still struggling with your current setup, it might be time to look at how to select the perfect coffee grinder for your brew that matches your workflow. I personally prefer a single-dose workflow because it forces me to interact with the machine and stay aware of any changes in the burr gap.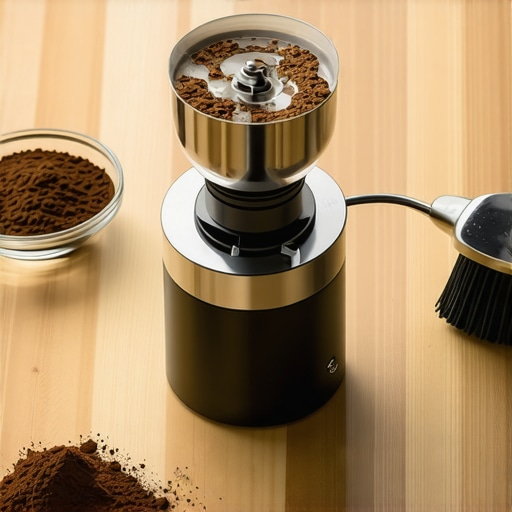
Where the Home Barista Movement is Heading
The future of home espresso isn’t just bigger boilers; it’s smarter data. We are seeing a massive shift toward flow profiling and IoT integration. Soon, your machine will likely alert you to scale buildup before you even notice a drop in pressure. This is vital because knowing how to tell if your water hardness is damaging your boiler is currently a guessing game for many. We are moving toward a set and monitor era where the machine handles the variables, leaving us to focus purely on the sensory art of the pour as we keep mastering the art of home espresso tips for beginners together. If you want to take your skills to the next level today, stop guessing your yield. Grab a scale and start timing every single shot against its weight. It is the single most effective way to see if your maintenance routine is actually paying off.
What My Most Expensive Failures Taught Me About Machine Longevity
After years of tinkering with various setups, I’ve realized that maintenance isn’t just a chore; it is the fundamental foundation of flavor. One of my biggest lightbulb moments was realizing that even the top-rated espresso machines for coffee lovers in 2025 are only as good as the water you put in them. Here are a few things that changed the way I look at my counter:
- The ‘Second Purge’ Insight: I used to only purge the wand. Now, I run a two-second water flush through the group head after every shot. This prevents coffee oils from baking onto the shower screen, which is just as prone to ‘scorched’ flavors as a dirty steam wand.
- Listen to the Rhythm: Your pump has a specific song. If the pitch changes or starts ‘stuttering,’ it’s often an early warning that you need to check how to tell if your water hardness is damaging your boiler before a component fails entirely.
- Temperature Surfing is a Skill: Even with high-end gear, understanding the thermal lag of your machine helps you time your shots for peak sweetness rather than just following a green light.
The Daily Toolkit I Trust for Professional Results
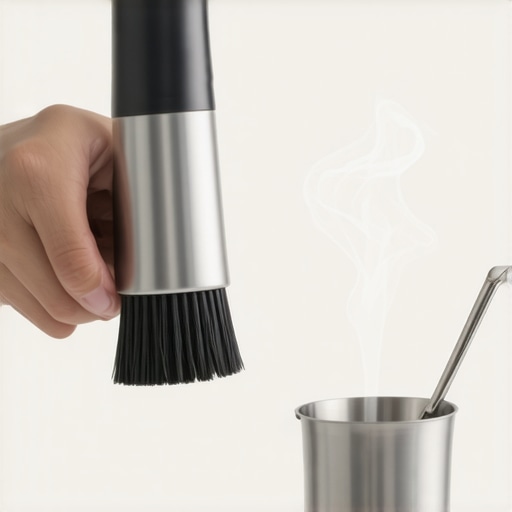
When it comes to my workflow, I prefer a lean setup over a cluttered counter. When you are choosing the best barista gear for coffee enthusiasts, focus on these three essentials that have never let me down. First, a high-quality, 300gsm microfiber cloth—I keep three in rotation so one is always clean and dry. Second, a jeweler’s scale that measures to 0.1g; without it, you are just guessing your extraction. Finally, a simple Pallo brush for the group head. These tools don’t just keep things clean; they ensure the consistency required for mastering the art of home espresso tips for beginners. I trust these specific items because they survive the daily grind of a busy kitchen without losing their effectiveness.
#IMAGE_PLACEHOLDER_E#
Why Your Best Cup of Coffee is Still Ahead of You
The journey to the perfect shot is paved with a few sour espressos and a lot of messy steam wands. Don’t get discouraged if your first attempt at cleaning or dialing in doesn’t result in a cafe-quality drink. Every time you wipe that wand or adjust your grind, you are building the muscle memory and the sensory palate needed to excel at this craft. The joy of home espresso isn’t just in the caffeine—it is in the ritual. Keep experimenting, keep cleaning, and most importantly, keep enjoying the process of improvement. Which part of your cleaning routine do you find the most satisfying to finish? Share your tips in the comments below!