Why Your Espresso Scale Turns Off Right When You Start the Shot
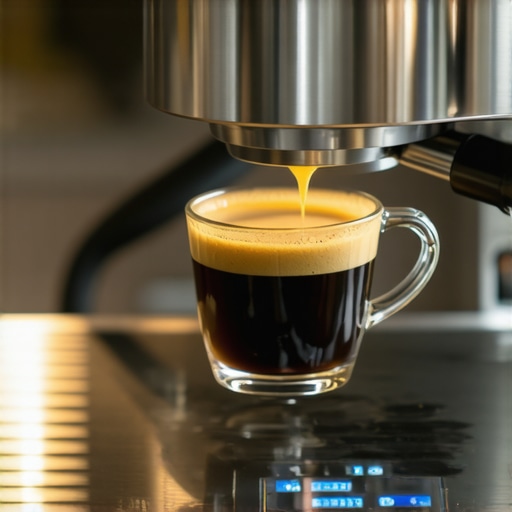
I am standing in my kitchen at 6:30 AM, the house is quiet, and the smell of freshly ground beans is the only thing keeping me upright. I have got my portafilter locked in, everything is dialed. I hit the start button. The first thick, syrupy drops of espresso hit the cup. And then—the scale goes black. No numbers. No timer. Just me, staring at a blank screen while my shot continues to pour, completely unmeasured. It is the ultimate betrayal of the morning ritual. If you have ever felt that specific spike of caffeine-deprived rage, you are in the right place. Today, we are going to stop your scale from ghosting you and finally fix that ‘auto-off’ gremlin for good.
The Ghost in the Machine That Ruins Your Morning Shot
I will be honest with you: I used to think I just had terrible luck with electronics. Years ago, when I was still mastering the art of home espresso, I actually threw a perfectly good $100 scale into the bin because I was convinced the battery was defective. I thought the thing was broken because it would die the second the pump kicked in. It turns out, the scale was fine—I was the one making the mistake. Most of the time, your scale isn’t actually ‘broken.’ It is usually being ‘helpful’ in all the wrong ways. High-end scales are packed with features like vibration compensation and aggressive power-saving modes that can backfire when placed on a vibrating drip tray of top-rated espresso machines. Understanding why your coffee scale is giving you inconsistent readings is often the first step toward realizing that a simple setting tweak can save your sanity.
Is a high-end smart scale actually worth the headache?
I totally get the skepticism. When a $15 kitchen scale stays on until the sun goes down but your $150 ‘smart’ scale shuts off mid-extraction, it feels like a total scam. However, according to research by the Specialty Coffee Association, precision within 0.1 grams is the absolute bedrock of repeatable espresso. You need that accuracy, but you also need a device that doesn’t have a panic attack the moment your machine starts to rumble. We are going to dive into the settings and physical hacks that make choosing the best barista gear actually pay off. Have you ever had your scale quit on you right at the 20-second mark? Drop a comment and let me know—I need to know I am not the only one fighting with my gear. It is time to look at the three main reasons this happens and how you can override those annoying factory settings.
Tame the Rumble to Keep the Numbers Moving
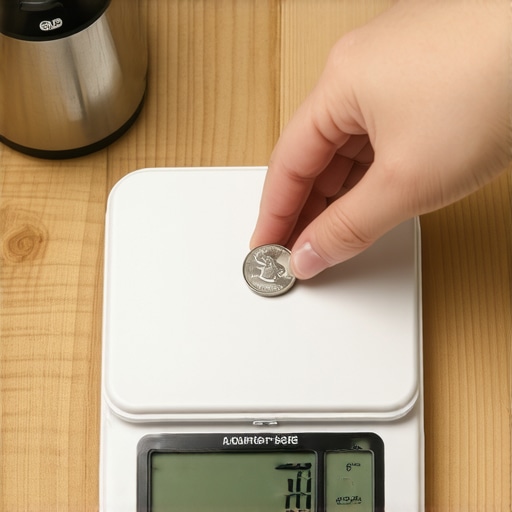
Think of your coffee scale like a tightrope walker trying to count jellybeans during an earthquake. That is exactly what is happening when your 15-bar pump starts hammering away. Most scales use a load cell—a tiny piece of metal that bends slightly under weight. When the machine vibrates, the load cell cannot decide if the weight is changing or if the world is ending, so it just ‘locks’ or shuts down to protect its circuitry. I remember a particularly caffeinated Tuesday when I tried to pull a double shot on an old vibrating machine; the scale actually shimmy-danced right off the drip tray and into my lap. It was a $50 puddle of espresso that could have been avoided with a simple piece of shelf liner. To stop the ghosting, you need to decouple the scale from the machine. You can learn how to fix a vibrating drip tray without tools by using a thin silicone mat or even a few cut-up pieces of a rubberized coaster. This absorbs the high-frequency ‘noise’ before it reaches the sensors, letting the scale focus on the liquid gold actually hitting the cup. 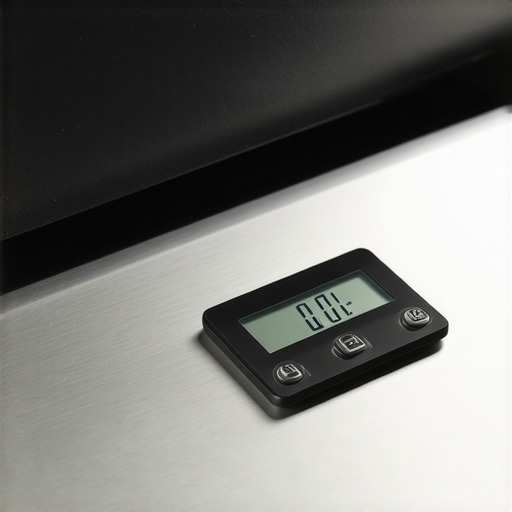
Hack the Sleep Settings for Longer Extractions
Most scales come out of the box with a ‘green’ setting that shuts the power off after 60 to 120 seconds of inactivity. In the world of mastering the art of home espresso, 60 seconds is an eternity, but the timer often starts the moment you turn it on, not when the first drop hits. If you spend too long prepping your puck, you are already halfway to a blackout before the pump even engages. Look for a button combination—usually holding the ‘Units’ or ‘Tare’ button while powering on—to enter the hidden internal menu. You want to set this to ‘0’ or ‘Off’ to disable the auto-sleep entirely. If your scale does not have a menu, try keeping the scale plugged into a USB power source if possible. Many models stay awake indefinitely when they detect a constant power supply. This is a lifesaver when you are still learning why your coffee scale is giving you inconsistent readings and need every second of data.
Stabilize the Surface and the Signal
It is not just about the machine; it is about where the scale sits. Your how to position your grinder to minimize countertop vibration techniques actually apply to your scale too. A scale that is not perfectly level will experience ‘drift,’ where the numbers slowly climb or fall even when nothing is happening. I once spent an hour recalibrating a scale only to realize my portafilter handle was resting slightly on the machine’s frame, transferring the pump’s motion directly into the sensor. Ensure there is a clear ‘air gap’ between the scale and the machine’s walls. This physical isolation is the difference between a successful 36-gram yield and a messy overflow because you were flying blind. By treating the scale as a separate entity from the machine, you ensure the sensor only hears what the coffee is saying, not the roar of the boiler.Beyond the scale, there is a nuance in choosing the best barista gear that most influencers won’t tell you: more contact isn’t always better. We have been told that we need to stir, level, and spin the coffee bed into submission. However, I’ve found that the more you ‘groom’ the surface with those heavy metal spinning levelers, the more you risk creating a compressed skin that prevents water from penetrating evenly. This is exactly why your wdt tool is actually causing more channeling when used excessively or without intention. You are essentially sorting the fines to the bottom and creating a path of least resistance for the water around the edges. Have you ever fallen into this trap of over-prepping? Let me know in the comments.
Can excessive distribution actually lower your extraction yield?
It sounds counterintuitive, but research by Socratic Coffee suggests that minimal agitation often leads to more consistent results than using multiple grooming tools. When you use those spinning wedge distributors, you aren’t actually distributing the coffee deep in the basket; you’re just compressing the top few millimeters. This creates a false sense of security. You see a perfectly flat surface and think you’re ready, but underneath, the density remains a mess. If you’ve been struggling with ‘dead spots’ or spraying in your bottomless portafilter shots, this top-heavy compression is likely the culprit.  Another ‘oops’ factor involves moisture. While we focus heavily on how to select the perfect coffee grinder for your brew, we often ignore the simple physics of the tamper in our hands. If you wipe your steam wand and then immediately touch your tamper with a damp hand, you are inviting disaster. The problem with using a wet tamper on dry grounds is that it causes ‘puck lifting.’ The moisture creates a temporary seal, and when you pull the tamper away, it acts like a piston, sucking the edges of the coffee bed upward. It’s a tiny mistake that leads to massive side-channeling. Similarly, don’t buy into the ‘heavy tamp’ myth. Once the air is out of the coffee, you can’t compress it further. Using why your plastic tamper is making your espresso sour as a case study, the issue isn’t usually the weight, but the fit. A tamper that is even 0.5mm too small leaves a ring of uncompressed coffee around the edge. Finally, remember that your equipment needs a break-in period. This is the best way to season new grinder burrs fast: run several kilograms of older beans through the machine before you start fine-tuning your expensive specialty roasts. New burrs produce more static and inconsistent fines, making even the best mastering the art of home espresso techniques feel like a failure. Once the burrs are seasoned, those ‘phantom’ extraction shifts will finally disappear.Once you have sorted out the scale and your prep habits, the real challenge begins: consistency over the long haul. I have seen too many home baristas invest in top-rated espresso machines only to let them degrade into expensive paperweights because they ignored the ‘unsexy’ side of the hobby. Maintenance is not just a chore; it is the only way to ensure the shot you pull today tastes exactly like the one you pulled last Tuesday. If your lever starts to feel gritty or your espresso develops a weird, metallic tang, you are already behind on your chores. Cleanliness is the difference between a hobby and a headache.
Stop the Rancid Oils Before They Ruin Your Roast
Coffee is inherently oily, and those oils are incredibly volatile. When they sit in your group head and bake under 200-degree heat, they polymerize into a sticky, bitter varnish. This is exactly why your machine needs a backflush every single week with a dedicated detergent. If you skip this, that varnish will eventually clog the tiny pathways in your three-way solenoid valve. I once helped a friend who complained his machine had ‘lost pressure,’ only to find a solid plug of coffee gunk blocking the exhaust. According to technical bulletins from Urnex, the surfactants in espresso cleaners are specifically designed to break these carbonized bonds without pitting the brass components. Don’t just rinse with water; use the chemicals designed for the job.
How do I maintain my espresso setup over time?
Consistency over years, not just weeks, comes down to water chemistry. You can have the best how to select the perfect coffee grinder for your brew strategy, but if your water is too hard, your boiler will eventually scale up and die. Understanding how to tell if your water hardness is damaging your boiler is the single most important ‘advanced’ skill you can learn. I personally use a BWT Bestsave pouch in my reservoir, but if you want to scale up your setup, you should look into how to fit a plumbed-in machine in a rental apartment using a five-gallon carboy and a demand pump. This allows you to use perfectly mineralized ‘coffee water’ like TWW (Third Wave Water), which protects your internals while making the flavors in your cup pop. 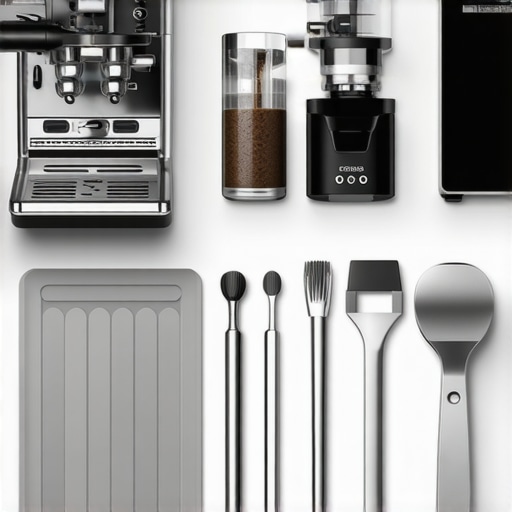
Declutter Your Workflow to Speed Up Your Morning
A cluttered workspace leads to a cluttered mind, and that is when you start making mistakes like forgetting to tare your scale or double-dosing the basket. I spent years with portafilters and WDT tools rolling around my counter until I figured out how to organize your barista tools in a single drawer using custom foam inserts. By giving every tool a ‘home,’ you reduce the cognitive load of making your morning drink. This trend toward ‘minimalist coffee stations’ isn’t just an aesthetic choice on Instagram; it is a functional necessity for repeatable results. I predict that over the next few years, we will see even more integration between devices—grinders that automatically adjust their timing based on the age of the beans or scales that communicate directly with the machine’s pump to stop the shot at a precise weight. We are moving toward a ‘smart’ ecosystem where the hardware does the heavy lifting, leaving us to focus purely on the taste. If you want to see an immediate improvement in your coffee today, try this: give your machine a full chemical backflush and deep-clean your grinder chute tonight. You’ll be shocked at the clarity you’ve been missing.
Hard Truths I Learned from a Decade of Messy Drip Trays
After years of wrestling with sensors and solenoids, I have realized that the scale blacking out is often a symptom of a larger workflow issue. One of the biggest ‘lightbulb moments’ for me was realizing that espresso gear is a team; if the machine is vibrating too hard because the feet are uneven, the scale cannot do its job. I also learned that obsessing over 0.01g variations often leads to ‘analysis paralysis.’ Sometimes, you just need to trust your eyes and the flow rate. Another hard truth? Your first attempt will likely fail if you don’t account for why the first shot of the day is always a throwaway. The temperature of the group head and the stale grinds in the chute are variables no scale can fix. Lastly, I discovered that maintenance is the ultimate consistency hack. I stopped having gear ‘ghost’ me once I committed to the best routine for a weekend deep clean. If you treat the machine like a precision instrument, it will behave like one.
The Bare Essentials for a Frustration-Free Coffee Bar
If you are tired of fighting your equipment, there are a few things I personally keep within arm’s reach to ensure a smooth morning. First, a high-quality silicone mat is non-negotiable for dampening vibration—it is the simplest fix for an unstable scale. Second, I always keep a spare group gasket in my ’emergency kit’ because knowing how to replace a group gasket without scratching the chrome is the difference between a quick fix and a week of waiting for parts. I also swear by a dedicated water testing kit to monitor hardness before it kills my boiler. Finally, for those who want to move beyond the technical and into the craft, I highly recommend focusing on texture; mastering the secret to a perfect flat white at home will teach you more about milk science and espresso balance than any digital sensor ever could.
Reclaim the Joy of Your Morning Extraction
At the end of the day, all these settings, mats, and cleaning routines serve one purpose: to let you enjoy your coffee without the ‘caffeine-deprived rage’ of a malfunctioning scale. Espresso is a journey of small adjustments and continuous learning. By decoupling your scale from the machine’s vibration and taking charge of your maintenance, you are setting yourself up for success every time you lock in that portafilter. Don’t let a small technical glitch ruin the ritual that starts your day. Take a breath, check your settings, and get back to pulling that liquid gold. Have you ever had a piece of gear completely quit on you right in the middle of a perfect shot? Let me know in the comments below!