How to Stop Your Espresso Machine From Rattling the Counter
I’ll never forget the morning my wife thought a small earthquake was hitting our kitchen. It was 6:15 AM, the sun wasn’t even up, and I had just engaged the lever on my machine. Instead of the sweet melody of a brewing shot, I got a ‘rat-tat-tat’ so loud it practically shook the beans right out of the hopper. My cups were migrating across the top of the machine like they were trying to escape, clinking together in a frantic ceramic dance. It’s a common frustration: you invest in top-rated espresso machines only to find they sound like a diesel engine on your granite countertop. Today, I’m going to help you reclaim your morning peace and quiet by tackling that rattle head-on without needing a degree in engineering.
Silence the Shakes Without Buying a New Machine
Most of the time, the noise usually comes down to simple physics rather than a failing motor. When your pump fires up, it creates intense kinetic energy that has to go somewhere. If your machine isn’t properly isolated, that energy travels straight into your counter, turning your expensive cabinets into a giant speaker box. I’ve spent years tinkering with everything from the best barista gear to DIY hacks to dampen that vibration. It’s not just the machine, either; I found that learning how to position your grinder to minimize countertop vibration made a world of difference in the overall resonance of my coffee station. We often overlook how these devices interact with each other on a shared surface.
Is a loud machine just an unavoidable part of the hobby?
Many folks assume that if they have a vibration pump, they’re destined to live with a loud kitchen. I used to be one of them. In fact, early in my journey, I actually wasted nearly a hundred dollars and an entire Saturday on a replacement pump because I was convinced mine was failing. It turned out the pump was perfectly healthy; I just needed to fix a vibrating drip tray that was rattling against the frame. If you hear a rhythmic metallic tapping, it might even be the reason your pump makes a clicking sound, which is often just a loose internal mounting. According to architectural acoustics research from the University of Salford, rigid surfaces act as resonators, meaning your heavy countertop is actually helping your machine yell at you. By identifying these contact points and using the right materials—like knowing how to pick a coffee mat that doesn’t absorb odors—you can drop your machine’s volume significantly. Have you ever been embarrassed to pull a shot while guests were sleeping because of the noise? I certainly have, and that’s why we’re going to fix this today. Let’s start by looking at where that vibration actually starts.
Dampen the Desktop Drum
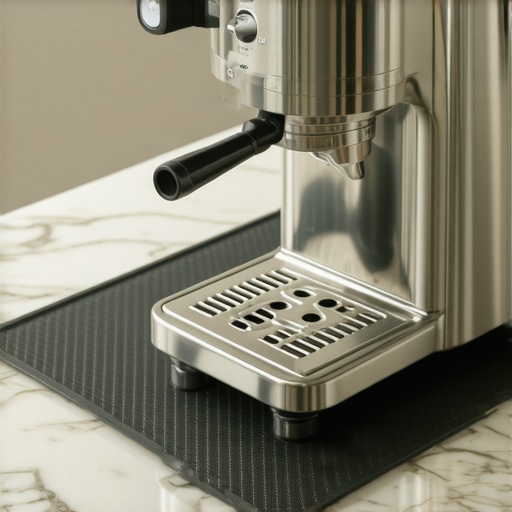
Think of your kitchen counter as the skin of a bass drum and your machine as the mallet. Every time the vibratory pump cycles, it strikes the surface, sending waves through the stone or wood. To kill that noise, you need a decoupler. I once got so desperate with a rattling machine that I shoved a folded-up pizza box under the front feet. It looked terrible, and the first time I purged the steam wand, the cardboard turned into a soggy, brown mess, but for five glorious minutes, the rattling stopped completely. This taught me that mass and material matter more than anything else. A thick, high-density silicone mat is your best friend here. When you are choosing the best barista gear for coffee enthusiasts, prioritize a mat that covers the entire footprint of the machine rather than just a small tamping square. 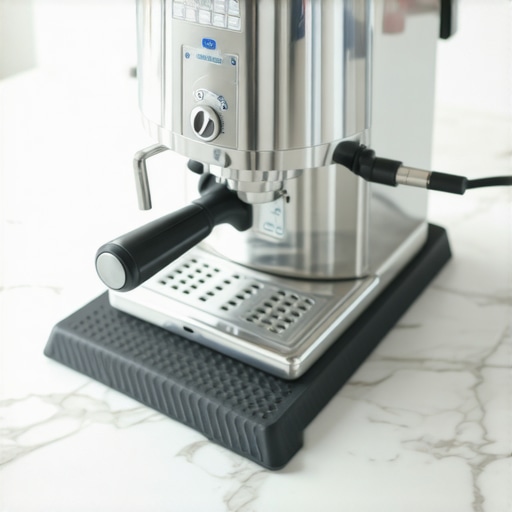
Stop the Metal-on-Metal Rattle
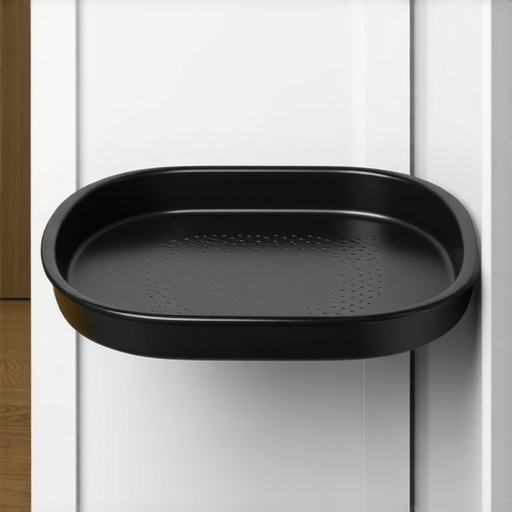
Most of the terrifying sounds you hear are actually just two pieces of metal or plastic flirting with each other at high speeds. Start with the drip tray. If it isn’t seated perfectly, it will dance against the frame with every shot. You can often solve this by applying a small strip of electrical tape or a tiny dab of food-safe silicone to the contact points where the tray meets the body. It acts like a gasket, absorbing the shock before it turns into a clatter. It is a similar principle to how to stop your milk pitcher from vibrating on the tray; you want to eliminate the tiny gap where kinetic energy builds up. If the tray is secure but you still hear a rhythmic tapping, check the portafilter. A worn-out spring or an ill-fitting basket can cause a frantic chatter. Learning how to fix the wobble in your coffee portafilter will not only save your ears but also prevent messy leaks during a high-pressure extraction.
Check Your Internal Plumbing
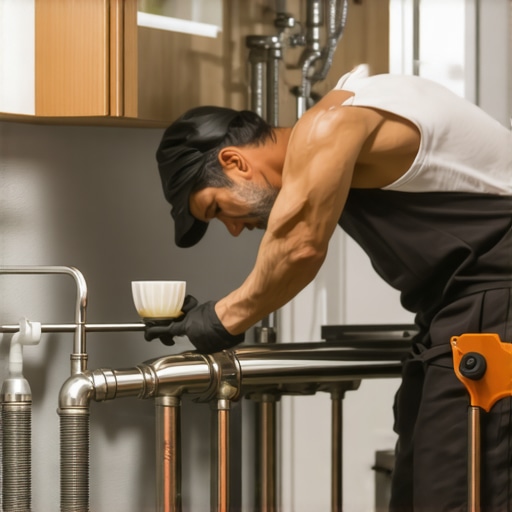
If the noise sounds like it is coming from the ‘gut’ of the machine, it is likely a hose or a wire vibrating against the outer shell. I once opened up my prosumer unit to find the braided water line was resting directly against the stainless steel side panel. Every time I pulled a shot, it sounded like a mini-jackhammer was in the kitchen. By simply zip-tying that hose half an inch away from the wall, the machine became whisper-quiet instantly. This is a common issue when mastering the art of home espresso; we focus so much on the coffee that we forget the machine is a collection of moving parts that need occasional adjustment. If you hear a sharp, repetitive sound, look into the reason your pump makes a clicking sound, which is frequently just a mounting bracket that has shaken loose over months of use. Tightening a single screw can often do more for your morning peace than buying a whole new setup.We often get caught in the ‘upgrade loop,’ thinking that top-rated espresso machines or the latest gadgets will solve our consistency problems. But there’s a nuance most beginners miss: the more variables you add, the harder it is to find the ghost in the machine. One of the biggest traps I see involves water. I’ve seen enthusiasts use distilled water thinking they are being ‘ultra-clean,’ but the mistake of using distilled water in your boiler can actually lead to your machine’s sensors failing to detect water levels, potentially burning out your heating element.
Stop Blaming Your Puck Prep for Bad Shots
It’s a common belief that more ‘grooming’ leads to a better shot. However, in my experience, over-handling the grounds often does more harm than good. I’ve seen people spend three minutes with a needle tool only to find why your wdt tool is actually causing more channeling. The ‘Oops’ factor here is simple: by over-stirring, you might actually be segregating fines to the bottom of the basket, creating a clogged layer that forces the water to find a path of least resistance around the edges. This is why mastering the art of home espresso requires restraint. Sometimes, a simple, firm tamp is better than a complex ritual involving four different distribution tools.
Can a Full Hopper Actually Ruin Your Dial-In?
You might notice your shots running faster as the day goes on, even if you haven’t touched the dial. Many blame heat drift, but the hidden culprit is often ‘hopper pressure.’ Research into the physics of coffee grinding shows that the physical weight of beans in the hopper—known as the ‘head pressure’—changes the way beans feed into the burrs. This explains why your shots taste different on a full hopper compared to when you’re down to the last few grams. If you’re chasing the perfect profile to pair with milk frothers that transform your coffee experience, consistency in how you load your perfect coffee grinder is just as vital as the grind setting itself. 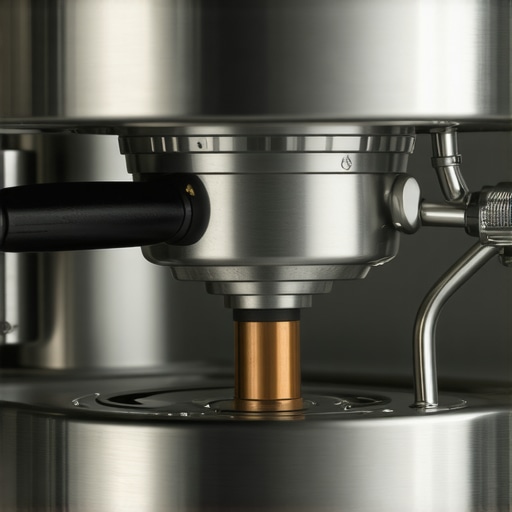
Don’t Kill Your Boiler with Kindness
The most dangerous myth in the community is that ‘pure’ water is best. While you want to avoid scale, water with zero TDS (Total Dissolved Solids) is aggressive and will actually leach metals from your copper or brass boiler over time. Furthermore, your machine’s auto-fill probe relies on the electrical conductivity of minerals to know when the boiler is full. According to the Specialty Coffee Association (SCA) water standards, a specific range of hardness is required for both flavor and machine longevity. If you use distilled water, the probe ‘sees’ nothing, and the pump will keep running until the machine overflows or errors out. Check out the truth about using distilled water in your machine before you make this expensive mistake. Have you ever fallen into this trap? Let me know in the comments.
Give Your Machine a Professional Life Support Routine
Maintenance isn’t the sexy part of the home barista hobby, but it is the difference between a machine that lasts three years and one that lasts thirty. I’ve learned the hard way that a single weekend of neglect can turn into a $300 repair bill for a seized solenoid valve. Most people think they are doing enough by just wiping the shower screen, but you need to go deeper. Specifically, you should understand why your machine needs a backflush every single week. This process clears out the rancid coffee oils that accumulate behind the group head, which eventually carbonize and ruin the flavor of even the most expensive beans. According to technical bulletins from Chris’ Coffee Service, group gaskets lose their elasticity every 6 to 12 months due to heat cycling, so knowing how to replace a group gasket without scratching the chrome is a skill you should master early.
How do I maintain my machine’s performance over several years?
Longevity comes down to internal hygiene and water chemistry. Beyond the daily purge, you should establish the best routine for a weekend deep clean to prevent scale buildup. If you ignore this, you’ll eventually find yourself wondering how to tell if your water hardness is damaging your boiler after it’s already too late. I personally use a simple calendar alert to remind me to check my reservoir; why you should never leave water in your reservoir overnight is a tip that prevents bio-film and algae from ever taking hold. 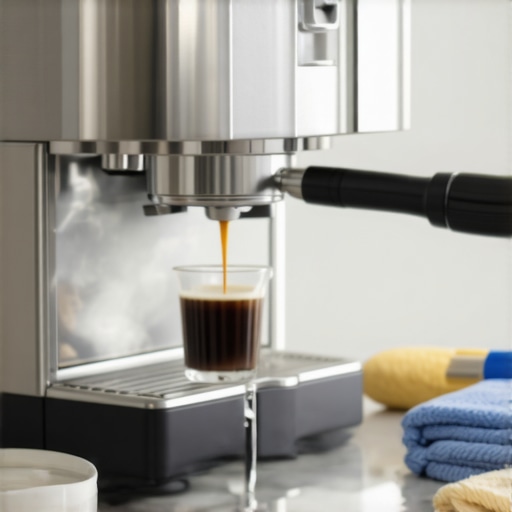
Align Your Burrs for Better Extraction
We often talk about the perfect coffee grinder as if it is a static tool, but burrs can drift out of alignment. If your shots are tasting muddy or inconsistent, it’s worth looking into the right way to align your flat burrs for better shots using the ‘marker test’ method. This tiny adjustment ensures the burrs are perfectly parallel, which reduces the production of ‘fines’ that clog your filter basket. As the industry moves forward, I predict we will see more top-rated espresso machines featuring built-in AI sensors that alert you to scale buildup or burr wear before you can even taste the difference.
Keep Your Milk Gear Food-Safe
If you are using milk frothers that transform your coffee experience, you must be vigilant about hygiene. Milk proteins bake onto steam wands instantly, creating a breeding ground for bacteria. Don’t panic if you’ve been a bit lazy; learning how to clean burnt-milk off a teflon steam wand without using abrasives is essential to keeping your gear pristine. When you are choosing the best barista gear for coffee enthusiasts, look for steam wands with non-stick coatings, but treat them with respect. I challenge you to open up your group head this weekend and do a full chemical backflush—you will be shocked at the color of the water that comes out, and your Monday morning latte will thank you for it.
The Hardest Lesson I Learned About Chasing the Perfect Shot
I spent years thinking that more equipment was the solution to bad coffee. I’ve since learned that the best coffee comes from a deep relationship with the gear you already own. First, remember that why the first shot of the day is always a throwaway often comes down to temperature stability rather than your bean choice. Second, noise is a diagnostic tool—listen to your pump, because it tells you when it is struggling with air locks or scale. Finally, if you ever find that the reason your double ristretto tastes like vinegar isn’t your grind size, it is likely a hidden temperature stability issue or a dirty group head.
The Gear That Actually Earned a Permanent Spot on My Counter
I trust these specific tools because they have survived my trial-by-fire in a busy home kitchen. I always keep a high-precision scale—without one, you are simply guessing. When you are choosing the best barista gear for coffee enthusiasts, I look for items that are easy to clean and built to last. I also recommend a simple water hardness testing kit to monitor your boiler’s health, as water is ninety-eight percent of your drink. If you are still looking for your first real setup, check out these top-rated espresso machines that prioritize both performance and build quality.
#IMAGE_PLACEHOLDER_E#
Your Journey Toward the Ultimate Home Café
Developing a quiet, efficient, and clean routine is the secret to making home espresso a joy rather than a daily chore. By applying these small maintenance hacks and silencing those annoying rattles, you have turned a simple kitchen appliance into a precision instrument. Don’t be afraid to dive into mastering the art of home espresso by experimenting with your variables one at a time. Keep learning, keep cleaning, and most importantly, keep enjoying the process of crafting the perfect cup. Have you ever struggled with a machine that was too loud for your morning routine? Let me know in the comments below!