The Secret to Better Microfoam with Almond Milk
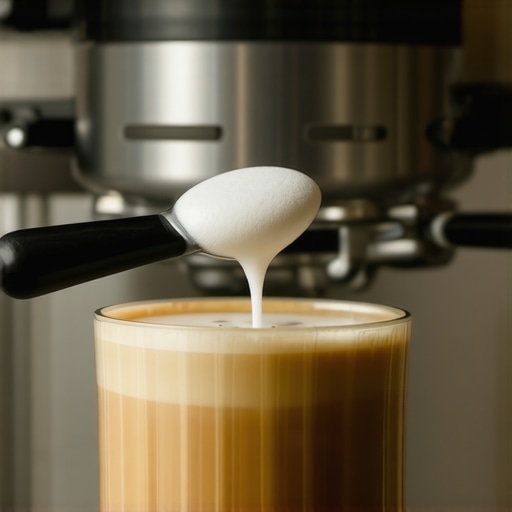
I stood in my kitchen at 6:15 AM, the grey dawn light barely hitting my countertop, staring at a cup of coffee that looked like it was topped with bath bubbles. I had just invested in one of those top-rated espresso machines for coffee lovers in 2025, but my almond milk lattes still tasted like watery disappointment. I remember the literal clink of my pitcher hitting the sink in frustration. I wanted that thick, glossy, wet paint texture, but all I got was separation and a dry, stiff cap that sat on top of the espresso like a lonely island. It was a classic case of how to stop your milk foam from being too dry, but with the added complexity of a non-dairy milk that often seems to hate being heated. I almost gave up and went back to dairy, but my stomach—and my pride—wouldn’t let me. I was determined to find the trick that professional baristas used to make plant-based drinks look like art. After weeks of wasted cartons, I finally found the rhythm. Today, I am going to show you exactly how to pivot your technique so you can stop settling for subpar lattes and start enjoying the creamy, integrated microfoam you deserve.
Stop Making Soap Suds in Your Morning Cup
The biggest lie we are told about dairy-free coffee is that you can treat all milks the same. When I first started my journey into mastering the art of home espresso tips for beginners, I used the same aggressive aeration technique for almond milk that I used for whole milk. Huge mistake. Almond milk has a fraction of the protein found in cow’s milk, and if you stretch it for more than a second or two, you end up with those giant, unappealing bubbles. You know the ones—they pop before you even take your first sip. I have found that the real milk frothers that transform your coffee experience aren’t just about raw power; they are about control. You need to stop thinking about making foam and start thinking about creating a delicate emulsion. I used to stand there for five minutes straight, trying to rescue a pitcher by swirling it like a madman on the counter. It never worked. If the foam isn’t right by the time you hit the target temperature, it is not going to be right, period. You are better off starting over—which is a painful realization when you are using the expensive barista-blend stuff, but it is the only way to learn.
Is Almond Milk Actually Worth the Hype for Latte Art?
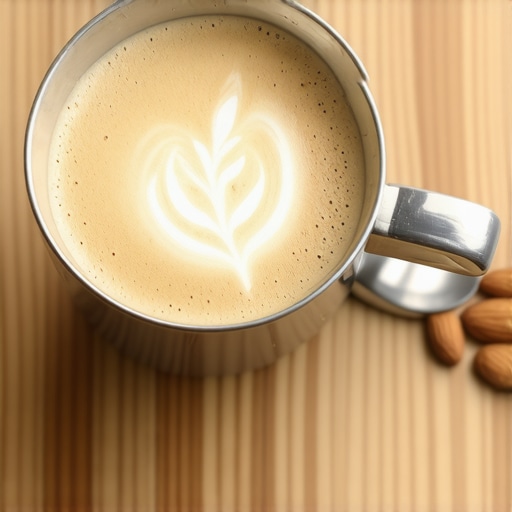
It is the question I get from neighbors every time they see my barista gear setup. Can you actually pour a heart with nut milk? The skepticism is real because almond milk is notoriously finicky. If you do not nail the temperature, it curdles; if you do not nail the vortex, it separates. The Specialty Coffee Association (SCA) notes that the chemical composition of milk, specifically the protein-to-fat ratio, is the primary driver of foam stability. Because almond milk lacks casein, the air-to-liquid bond is much weaker, requiring a much more delicate touch during the incorporation phase. Have you ever felt like your almond milk was actively fighting against your steam wand? You aren’t crazy. But today, I am going to show you how to win that fight by mastering the trick for steaming cold milk faster while maintaining that delicate structural integrity. We are moving past the science experiment phase and getting you closer to the secret to a perfect flat white at home. By the end of this, you will understand exactly why your milk frother creates bubbles instead of foam and how to fix it for good.
You Only Have Three Seconds to Get the Air In
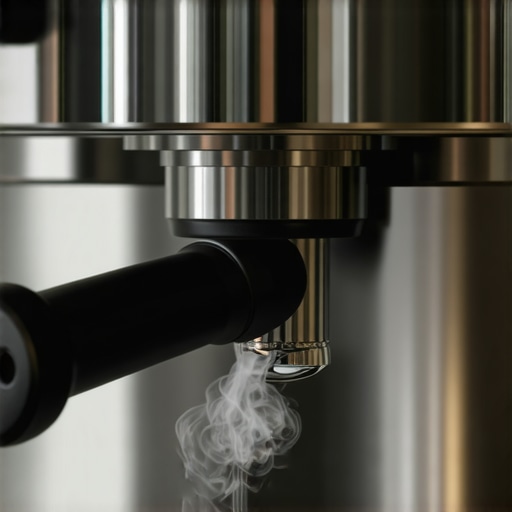
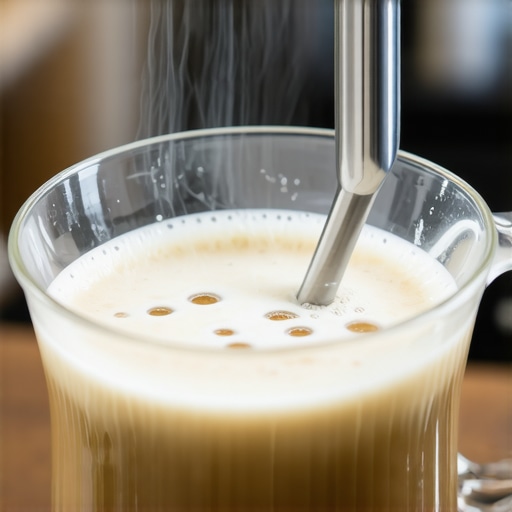
The first thing I learned the hard way is that almond milk hates a long stretch. Unlike cow’s milk, which can handle a sustained aeration phase, almond milk has a very fragile protein structure. You need to introduce the air while the liquid is still ice-cold to prevent those brittle bubbles from forming. Position the tip of your steam wand just below the surface—about half the width of a pea—until you hear that distinct paper tearing sound. Do this for exactly three seconds. If you push it any longer, why your milk frother creates bubbles instead of foam will become the central theme of your morning. Think of it like spray painting: if you hold the nozzle in one spot too long, the paint drips and clumps. You want a fine, even mist of air, not a violent injection of wind.
Sink the Wand to Create the Whirlpool
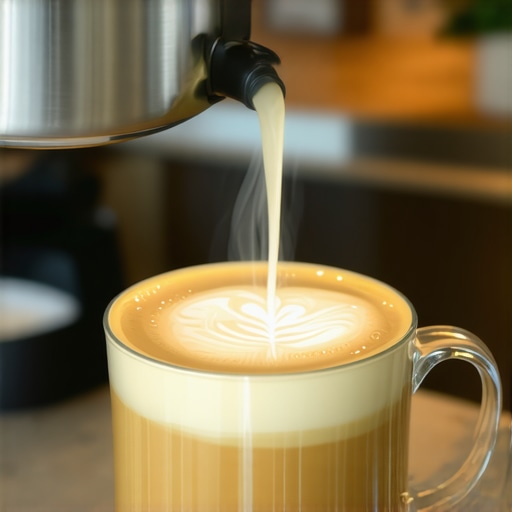
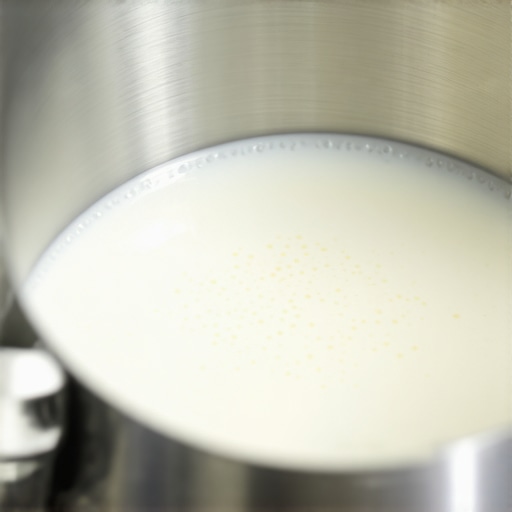
Once those three seconds are up, your job shifts from adding air to refining it. Sink the wand about half an inch deeper and tilt the pitcher slightly to the side. You are looking for a vortex—a powerful whirlpool that drags those surface bubbles down and shreds them into silky microfoam. I remember one Tuesday morning, bleary-eyed and desperate for caffeine, I tried to show off my skills for a visiting friend. I let the aeration go on for way too long, maybe seven or eight seconds. By the time I tried to transition into the vortex, the foam had already stabilized into a stiff, dry block. It looked like a giant marshmallow had died on top of my espresso. When I tried to pour a heart, a giant white blob just fell out and splashed coffee all over my shirt. That was the moment I realized that with non-dairy, your margin for error is razor-thin. Even if you are working with the move for better temperature stability on entry-level units, this vortex is what saves your drink by integrating the foam back into the liquid.
Stop Before the Heat Destroys the Texture
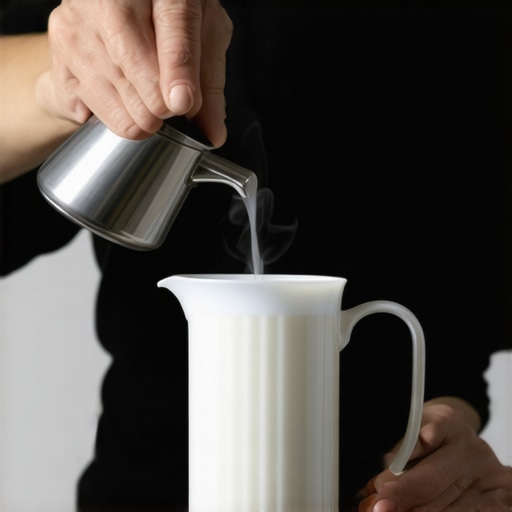
Temperature is the final hurdle. Almond milk typically begins to degrade and taste bitter if it climbs above 145°F. I always aim to shut off the steam when the pitcher feels hot to the touch but not painful—roughly 130°F—because the residual heat from the wand will carry it the rest of the way. If you try to use the trick for steaming cold milk faster without watching the thermometer, you will likely overshoot your target. High heat causes the almond solids to separate, leaving you with watery coffee and a grainy top. After you finish, immediate maintenance is non-negotiable. If you don’t purge the wand immediately, you will be searching for the fast way to unclog your steam wand tip before the next shot is even pulled. Once that residue bakes on, it is a nightmare to remove, often requiring you to learn how to clean burnt milk off a teflon steam wand without scratching the finish. Keep a damp cloth handy and wipe it down the second the pitcher leaves the machine.
Stop Pushing So Hard on Your Tamper
Common wisdom suggests you need exactly thirty pounds of pressure to pull a decent shot. I spent months obsessing over a bathroom scale under my portafilter, trying to hit that magic number. But here is the truth: consistency is king, not force. If you are using the problem with cheap spring-loaded tampers, you might think you are doing everything right, but if your puck isn’t level, the pressure doesn’t matter. In fact, over-tamping can actually lead to channeling where the water finds the path of least resistance, leaving half your grounds under-extracted. I eventually realized that the move for more consistent puck compression is all about the vertical alignment of your wrist and shoulder, not the raw power of your triceps. If you apply 15 pounds of pressure perfectly level every time, your shots will be infinitely better than 30 pounds applied at a slight angle.
Your First Shot Is Lying to You
One of the most frustrating nuances I discovered is that the first espresso you pull in the morning will almost always taste different than the second. This happens because of ‘retention’—the stale coffee grounds left inside the chute from the day before. If you don’t purge a few grams, your fresh beans are being mixed with yesterday’s oxidized dust. I used to wonder why my morning latte tasted like cardboard until I realized why the first shot of the day is always a throwaway. It is an expensive habit, but necessary unless you know how to stop your grinder from retaining coffee without a bellows. Beyond retention, the ‘thermal mass’ of your machine plays a role; your group head might feel hot, but the internal components haven’t reached a stable equilibrium yet. Have you ever fallen into this trap? Let me know in the comments, because for the longest time, I thought my beans had just gone bad overnight.
Why Is Your Water Chemistry Ruining Your Boiler?
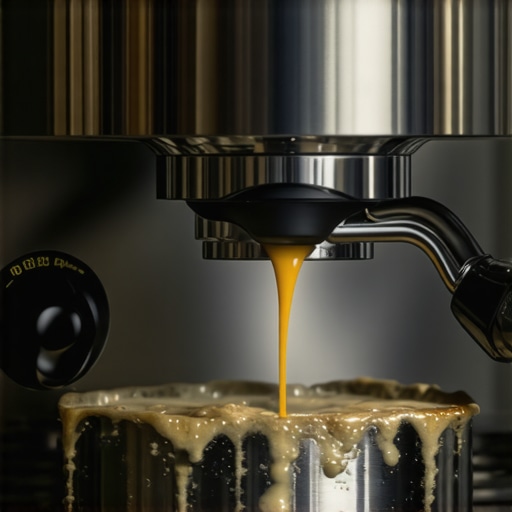
We often focus so much on the beans that we forget that espresso is 98% water. There is a huge myth that using distilled water is ‘cleanest’ for your machine. In reality, distilled water is hungry for minerals; it will literally leach metal from your copper boiler to balance itself out, leading to catastrophic failure. Furthermore, the Specialty Coffee Association (SCA) specifies that a certain amount of calcium and magnesium is required to actually extract the flavors from the coffee solids. Without these minerals, your shot will taste flat and acidic, no matter how much you spent on top-rated espresso machines for coffee lovers in 2025. I have seen enthusiasts fall for the truth about using distilled water in your machine the hard way, ending up with a repair bill that costs more than a new grinder. If you want to dive deeper into technical maintenance, understanding the move for better temperature stability on budget machines is your next logical step to achieving cafe-quality results at home. Real expertise isn’t just about brewing; it is about protecting the gear that makes the brew possible.
The Weekend Ritual That Saves Your Machine
I learned the hard way that a neglected machine is a ticking time bomb. For months, I just wiped the surface of my E61 group head and called it a day. Then, the shots started tasting muddy, and I realized I had ignored the internals. Now, I swear by the best routine for a weekend deep clean to keep everything tasting crisp. This isn’t just about aesthetics; it is about removing the rancid coffee oils that build up behind the shower screen. If you aren’t doing this, why your machine needs a backflush every single week will become painfully obvious when your espresso starts tasting like a burnt rubber tire. I personally use a stiff nylon brush and a dedicated backflushing powder every Sunday morning while the machine is warming up—it takes five minutes but adds years to the machine’s life.
How Do I Keep My Grinder From Dying Early?
Your grinder is the heart of your kitchen, but it is also a magnet for static and old debris. I used to think that as long as it was spinning, it was fine. But then I noticed the reason your portafilter gasket is getting brittle wasn’t just heat—it was the grit getting into every seal. Maintaining a grinder requires a hands-on approach. I recommend a monthly deep dive into the burr chamber. Learning the mess free way to clean a conical burr grinder changed my workflow entirely. I stopped using those compressed air cans and started using a dedicated vacuum and a fine-bristle brush to reach the nooks where the fine dust settles. According to the technical documentation from Baratza, allowing coffee dust to accumulate around the motor housing can actually lead to overheating and premature failure of the drive belt. Don’t wait for a breakdown to start caring for your barista gear.
Stop Buying Gadgets and Start Buying Brushes
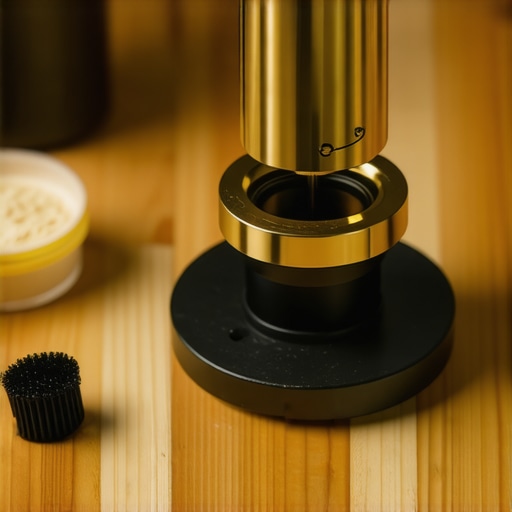
It is easy to get caught up in the hype of new accessories. I’ve seen people spend hundreds on fancy distribution tools only to realize why your wdt tool is actually causing more channeling rather than fixing it. The most important tool in my kit isn’t my $200 scale; it’s a simple set of dental picks and micro-brushes. These allow me to perform maintenance tasks like how to replace a group gasket without scratching the chrome with precision. If you are struggling with measurements, check your environment before buying a new one; often, why your coffee scale is giving you inconsistent readings is just a matter of moisture on the sensors or an uneven countertop. Invest in quality maintenance tools before you upgrade your perfect coffee grinder for your brew.
The Future of Smart Maintenance
I predict that in the next few years, we will see sensors become standard in home machines to track scale buildup in real-time. We are already seeing high-end machines provide alerts for water quality, and knowing how to tell if your water hardness is damaging your boiler will soon be a notification on your phone rather than a manual titration test. This shift will make the mastering the art of home espresso tips for beginners much more accessible, as the machine itself will guide you through the technical upkeep. For now, take matters into your own hands: tonight, pull your shower screen off and see what’s hiding behind it. You might be surprised at what you find.
The Expensive Lessons I Learned While Chasing the Perfect Pour
After years of steaming, I realized that patience is more important than pressure. Here are the lightbulb moments that finally fixed my routine:
- Texture over Temperature: If you focus too much on the heat, you will miss the moment the proteins stabilize. Always prioritize the visual ‘gloss’ over the reading on the thermometer.
- Purging is not optional: I used to think a quick wipe was enough, but failing to purge the wand before and after steaming is the fastest way to ruin your machine’s internal valves.
- Respect the bean and water ratio: No amount of perfect milk can save a shot pulled with hard tap water. The minerals matter as much as the roast.
- Trust your hands: While gauges are helpful, learning the vibration of a perfect vortex through the pitcher handle was the true game-changer for my mastering the art of home espresso tips for beginners journey.
The Bare Essentials That Actually Live in My Coffee Corner
You don’t need a thousand-dollar gadget for every step, but you do need tools that perform consistently. I swear by my Third Wave Water packets because they eliminate the chemistry guesswork that often ruins home brews. I also keep a dedicated set of stiff-bristle nylon brushes; they are the only things that truly get into the burr teeth during a deep clean. For those looking to level up, how to select the perfect coffee grinder for your brew is the single most important guide I’ve followed, as a quality grinder makes every other piece of barista gear perform at its peak. I also suggest keeping a small bottle of food-safe lubricant for your lever arms—it prevents that dreaded metal-on-metal squeak before it starts.
#IMAGE_PLACEHOLDER_E#
Your Journey to Better Home Espresso Starts Tomorrow Morning
Don’t let a few bad shots or a watery latte discourage you. Every barista you admire started with a sink full of soapy bubbles and a bitter espresso shot that went straight down the drain. With a bit of practice and an eye for maintenance, you’ll be pouring cafe-quality hearts in no time. Tomorrow, try one small adjustment—maybe stretch the milk for one second less or purge your grinder for two seconds longer—and see how the flavor shifts. The beauty of home espresso is that the perfect cup is always just one adjustment away. You’ve got this, and your taste buds will thank you for the effort.
Have you ever managed to get that perfect ‘wet paint’ texture with almond milk, or does it still feel like a struggle? Let me know in the comments below!