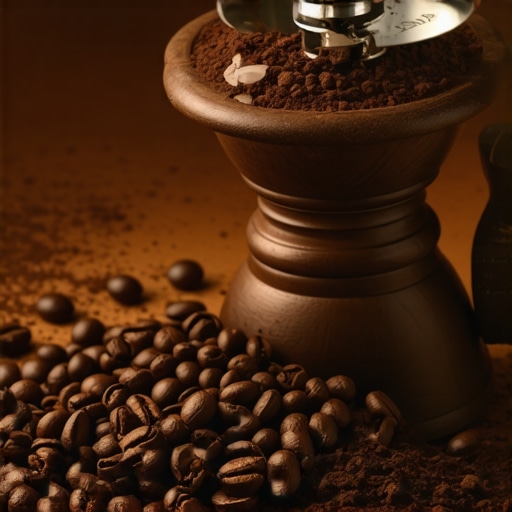
The Best Way to Clean a Grinder Without Taking the Burrs Out
Yesterday morning, I woke up craving a bright, sweet washed Ethiopian brew. I dialed in, pulled the shot, and took a sip. It tasted like a burnt tire dipped in stale cardboard. My heart sank. I knew exactly what had happened: weeks of built-up, rancid coffee oils had finally colonized my grinding chamber. But looking at the clock, I had exactly ten minutes before my first work meeting. The thought of grabbing my screwdrivers, meticulously removing the top burr, cleaning it, and then spending the next three days trying to re-align my burrs made me want to throw my machine out the window. I needed a clean grinder, but I absolutely did not have the time or patience to disassemble my gear.
The Secret to Fresh Coffee Without the Toolkit Headache
We have all been told that to keep our espresso tasting sweet, we must regularly tear our grinding units apart. It is a massive lie that keeps home baristas frustrated and coffee tasting like old ashes. Over time, rancid coffee oils coat every nook and cranny. When fresh beans pass through, they pick up these stale flavors. But here is the good news: you do not have to go through a full-blown mechanical teardown every single week just to get a clean cup. By using the right routine, you can sweep away stale grounds, strip out stubborn oils, and keep your machine pristine in less than five minutes.
When you avoid taking your setup apart, you also prevent a host of other issues, such as the fix for a grinder that wont turn on after cleaning because a safety switch was misaligned during reassembly. Learning how to stop your grinder from retaining coffee without a bellows starts with keeping the internal path clean and slick, not necessarily stripped down to the bare metal every Sunday.
Are cleaning pellets actually safe for your expensive burrs?
I used to believe that throwing anything other than coffee beans into my hopper would instantly ruin my machine. Early in my coffee journey, I even tried running uncooked rice through an old hand grinder because a random forum thread told me to. It stalled the motor, chipped the burrs, and left me with a very expensive paperweight. I learned the hard way that uncooked rice contains hard starches that can easily destroy coffee-specific motors. According to coffee science experts at the Specialty Coffee Association (SCA), specialized, gluten-free cleaning tablets made from grain and organic binders are actually designed to expand, absorb oils, and gently sweep away debris without putting undue stress on your motor or dulling your cutting edges. Utilizing these pellets is the safest, fastest way to deep-clean your gear while keeping your factory alignment perfectly intact.
Keeping those oils in check also prevents structural problems. For instance, did you know that excessive oil buildup actually worsens static issues during drier seasons? You can read more about why your grinders static gets worse-in winter to see how cleanliness affects daily workflow. Have you ever spent an entire hour struggling to put your burr carrier back together, only to realize your grind settings are completely ruined? Let me know in the comments below if you have ever faced this frustrating situation, because we have all been there. Now, let us dive into the exact tools and steps you need to get those burrs sparkling clean while they stay safely bolted inside your machine.
Sweep, Absorb, and Purge in Three Easy Steps
Cleaning your grinder without taking it apart is like cleaning a narrow hallway; instead of knocking down the walls, you send in a specialized sweeping crew to clear out the debris. I remember the first time I tried this hands-free approach. I was running a busy weekend brunch for my family, and my grinder started choking on oily dark roast beans. I didn’t have twenty minutes to grab my Allen keys, so I grabbed my specialized cleaning tablets instead. Within three minutes, the machine was running smoothly, and the shots tasted incredibly crisp. Here is the exact three-step routine you can use to achieve the same result at home.
Step 1: Clear the Hopper and Prepare the Chamber
First, shut off the bean gate at the bottom of your hopper or empty the remaining beans completely. Turn your grinder on and run it until the chamber is completely empty of any residual coffee beans. To ensure you have captured every stray particle, use a small brush. Learning the trick for getting ground coffee out of tight corners around the throat of your grinder will prevent old, stale grounds from falling back into your fresh shots later.

Step 2: Run the Cleaning Tablets Through the Burrs
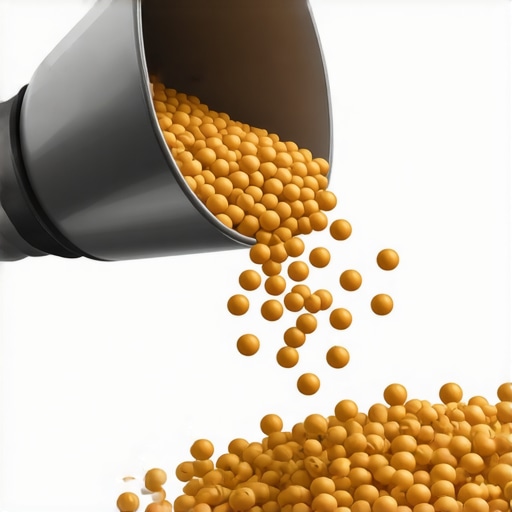
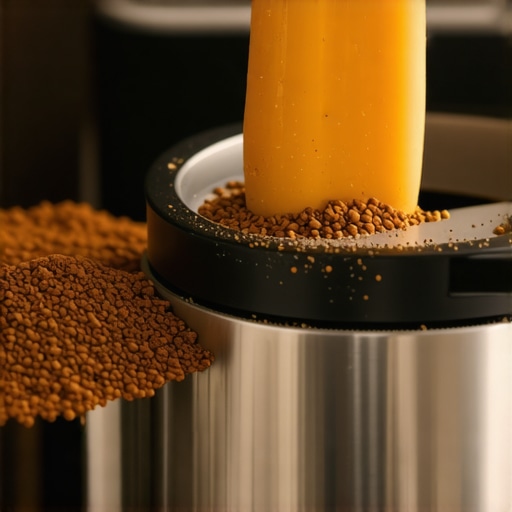
Measure out the recommended dosage of specialized cleaning pellets—usually about 30 to 40 grams for a standard home grinder. Toss them directly into the empty hopper. Adjust your grind size to a medium-coarse setting. Running them through too fine can sometimes cause the organic binder to compact, while a medium setting acts like a stiff broom scrubbing the burr teeth. Turn the motor on and let the tablets grind through. As they pass through the chamber, they will absorb built-up oils like a sponge and pull out compacted particles that cause bad flavors. If you are using high-end barista gear, this gentle friction keeps your cutting surfaces polished without affecting their razor-sharp factory alignment.
Step 3: Purge with Coffee Beans to Clean the Path
Once the tablets have completely passed through, you will see a pale yellow or white powder in your dosing cup. To make sure none of this harmless organic binder ends up in your morning cup, throw in about 15 to 20 grams of cheap or old coffee beans. Grind these beans through at your normal espresso setting. This sacrificial purge sweeps away any remaining tablet dust. If you skip this step, your first espresso might have a slightly dry, papery mouthfeel. Mastering this quick purge is one of the most fundamental tips for beginners who want to maintain professional-grade flavor consistency without wasting their expensive single-origin beans.
While sweeping out loose grounds and running organic tablets through your burrs will keep your shots tasting exceptionally crisp, we need to address a massive elephant in the specialty coffee room. Most home baristas believe that a clean grinder is the final, ultimate variable to achieving espresso perfection. They buy top-tier barista gear and assume that as long as the internal path is spotless, every shot will pull identically. But in my years of dialing in temperamental light roasts, I have realized this is a comforting myth. If you do not account for the weight of the beans resting in your hopper, your cleanliness routine will not save you.
Why does my espresso run fast even after a deep clean?
When you run your grinder completely empty or use a single-dose workflow, you lose the crucial benefit of downward physical force. Coffee professionals refer to this mechanical phenomenon as the “hopper load effect.” In simple terms, when your hopper is full, the weight of the beans pushes down on the seeds entering the burrs, forcing a consistent feed rate. When you single-dose or grind with an almost empty chamber, the beans bounce around wildly—a process known as popcorn effect—resulting in a highly uneven grind size distribution and a faster, more watery extraction. This physical reality is why your shots taste different on a full hopper compared to when you are brewing the very last few beans in the throat of the machine.

Another dangerous trap that even seasoned baristas fall into is wet cleaning. Because we are conditioned to believe that water and soap equal cleanliness, many well-meaning enthusiasts take a damp microfiber cloth to their toolset. In my experience, using any moisture inside your grinding chamber is a recipe for absolute disaster. Residual moisture causes micro-fine coffee dust to instantly paste itself into the crevices of your burr carriers. When this paste dries, it hardens like concrete. This not only chokes your motor, but it is also the primary reason why your grinder screeches only when grinding fine as the motor struggles to spin against compacted, dried-on debris.
A fascinating study on grind dynamics published by the Association for Coffee Science and Information confirms that even microscopic levels of moisture alter the friction coefficient of steel and ceramic burrs, leading to rapid heat buildup and localized roasting of the coffee during the grinding process. This thermal stress degrades delicate volatile aromatics before the water ever touches the puck. Have you ever fallen into this trap and used a damp cloth, only to wonder why your machine sounded like a wood chipper afterward? Let me know in the comments below, because we have all made these advanced blunders while chasing the perfect cup.
Ultimately, keeping your gear pristine does not require over-engineering or stressful mechanics. By using specialized dry pellets, performing a sacrificial bean purge, and understanding the physical dynamics of bean pressure, you can enjoy commercial-grade flavor consistency every single morning. If you are ready to elevate other parts of your setup, check out our guide on top rated espresso machines for coffee lovers in 2025 to pair your ultra-clean grinder with the perfect extraction partner.
My absolute favorite tool to maintain this pristine, high-performance environment is a heavy-duty, dual-ended wooden brush. I personally use the Redecker natural pig-bristle brush. Unlike cheap plastic brushes that bend and melt when they touch warm components, the stiff boar bristles of a premium brush lift stubborn dust from the exit chute with a single pass. I pair this with a simple high-volume manual air bellows. Every single morning, right after my last shot, I give the exit chute three fast, sharp blasts of air. This simple five-second routine blows out any loose grounds before they have a chance to cool down, settle, and oxidize in the dark crevices.
How do I maintain my grinder over time?
To keep your grinder running like new for years to come, you need a consistent schedule that blends daily micro-habits with monthly deep-cleaning. On a daily basis, simply purge two grams of coffee before your first shot to clear out overnight staleness. Once a week, use a specialized brush to clear the chute. On the first Sunday of every month, run your organic cleaning pellets through to strip away accumulated oils, and always check the physical alignment of your collar to make sure it is not drifting. I also highly recommend using a dry microfiber cloth to wipe down the bean hopper. This routine prevents structural wear and keeps you from having to learn how to swap your grinder burrs without losing your settings prematurely due to unnecessary damage.

As the home barista space continues to evolve, I predict we will see a massive industry shift toward smart, self-cleaning burr geometry and anti-static chamber coatings. Manufacturers are already experimenting with diamond-like carbon (DLC) and titanium-coated burrs that naturally repel oils and micro-fine dust. Until those futuristic machines land on our kitchen counters, we must rely on smart maintenance practices. If you want to dive deeper into maximizing your current setup, you can learn how to tell if your grinder is retaining too much coffee to benchmark your machine’s current performance. My biggest advice to you right now is to try the sacrificial bean purge tomorrow morning. Grab some older beans, run them through after your quick tablet clean, and taste the incredible difference in your very next shot.
Crucial Lessons I Learned After Ruining My First Flat Burr Set
When I first started diving deep into specialty coffee, I made almost every maintenance mistake in the book. I used to think that unless I stripped my machine down to the bare metal and scrubbed each individual tooth with wire brushes, I was being lazy. That obsession actually caused more harm than good. Here are three hard-won realizations that completely changed how I look at keeping my gear pristine:
- Over-cleaning is a real mechanical hazard: Taking your burrs out every weekend is the fastest way to strip delicate brass threads and misalign your collar. Every time you tighten those screws, you risk microscopic shifts that ruin your grind consistency.
- Water is the ultimate enemy inside the chamber: If you use even a slightly damp cloth on your burrs, you are creating a sticky cement out of micro-fine dust. This stubborn buildup is a major reason why your grinder screeches only when grinding fine. Keep your cleaning completely dry.
- A clean grinder cannot fix stale coffee: You can have a clinically sterile grinding chamber, but if your beans have been sitting in a warm hopper for a month absorbing light and oxygen, your shots will still taste flat and watery.
My Daily and Weekly Maintenance Toolkit
You do not need a toolbox full of heavy wrenches to keep your shots tasting sweet and vibrant. Over the years, I have pared my maintenance kit down to just three essential items that live right next to my espresso machine:
- Natural Pig-Bristle Brush: Avoid cheap synthetic plastic brushes that melt or generate static. A high-quality wood-and-boar-bristle brush is stiff enough to sweep the chute clean but gentle enough not to dull your burr edges.
- High-Volume Manual Air Bellows: A simple hand-squeeze rocket blower is perfect for blasting loose grounds out of the chute. Using this daily is the best way how to stop your grinder from retaining coffee without a bellows attachment built into your hopper.
- Gluten-Free Organic Cleaning Tablets: These grain-based pellets are specifically designed to absorb oils and expand safely in the chamber. They do all the heavy lifting without putting any strain on your motor.
Step Up Your Daily Coffee Workflow
Now that you know how to sweep away stale oils and grounds in under three minutes without touching a single screwdriver, it is time to put this simple routine into practice. Do not wait until your morning espresso starts tasting like burnt cardboard. Making this quick, dry-cleaning ritual a regular habit will completely transform your morning workflow and keep your high-end barista gear running like new for years to come.
If you want to keep expanding your home barista skills, check out our comprehensive guide on mastering the art of home espresso tips for beginners to dial in your extractions like a seasoned professional.
Have you ever run into issues after attempting a full disassembly of your coffee grinder? Let me know in the comments below!