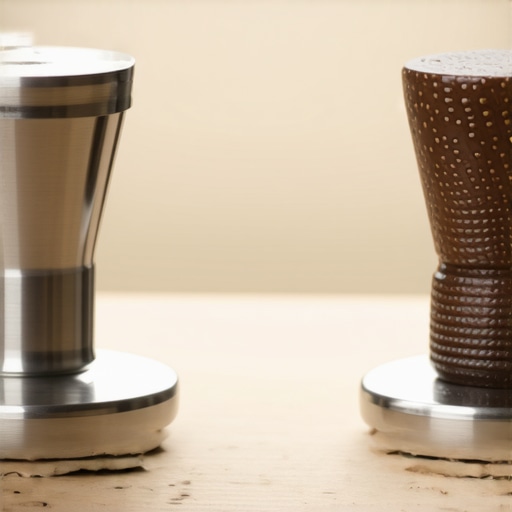
How to Choose Between a Flat and a Rippled Tamper Base
I still remember the crunch of dry coffee grounds under my slippers at 6 AM. It was one of those mornings where I just wanted a simple caffeine hit before my first meeting, but my portafilter had other plans. Instead of a beautiful, syrupy stream, my espresso shot looked like a garden hose with a thumb over the end—spraying hot coffee across my white shirt and the kitchen backsplash. I was devastated. I had already invested in one of the top-rated espresso machines for coffee lovers in 2025, and I thought I was doing everything right. But the mess didn’t lie. My espresso shot was spraying the back of my cup because I was failing at the most basic step: the tamp. I was using a cheap, generic flat-based tamper that I’d picked up without a second thought. That was the moment I realized that choosing the best barista gear isn’t just about the big-ticket items like the grinder; it’s about the small contact points where the physics actually happens.
The Day I Stopped Blaming My Machine and Looked at My Tamper
For a long time, I was convinced that as long as I pushed down hard, the shape of the tamper didn’t matter. I spent weeks frustrated, googling how to prevent channelling in a bottomless portafilter shot while ignoring the tool in my hand. I made a classic beginner mistake: I was using a 58mm tamper in a 58.5mm precision basket. That tiny gap allowed water to rush through the uncompressed edges, leading to a sour, watery mess. If you’ve ever noticed that your espresso shot is extracting from only the edges of the basket, you know exactly what I mean. I want to help you avoid that sink-drain fate. We’re going to break down whether you really need those fancy ripples or if a flat base is the tried-and-true winner for your morning routine.
Is a rippled base just a marketing gimmick for coffee snobs?
It’s a completely fair question to ask. When you see a tamper with those concentric circles on the bottom, it looks like something designed more for Instagram than for actual brewing. Many traditionalists will tell you that a flat base is the only way to go, arguing that it creates the most uniform surface for water to hit. However, there’s some interesting science at play here. Research often cited by the Specialty Coffee Association suggests that the surface area and the way water interacts with the ‘topography’ of the puck can significantly impact the initial bloom of the extraction. The ripples are designed to increase the surface area and potentially guide the water to settle more evenly, acting as a sort of safety net if your levelness is slightly off. Have you ever felt like your shots are wildly inconsistent even when you think you’re doing the same thing every time? If you’re struggling with that, you might want to look into the truth about using spring-loaded tampers for even shots alongside a base change. I used to think mastering the art of home espresso required a degree in fluid dynamics, but it’s often about finding the gear that compensates for our human errors. We’re also going to explore how to stop your tamper from vacuum sealing the coffee puck when you pull it out, a common flat-base frustration that can ruin a perfect tamp in a split second. Let’s get into the nitty-gritty of which one belongs on your counter.
Leveling the Field Before the Metal Hits the Beans
Distribution is the unsung hero that makes or breaks any tamper’s performance. Think of your coffee bed like a fresh snowfall; if you walk across it before leveling it out, your footprints create permanent weak spots. I remember one Tuesday morning when I was in a rush and skipped my WDT tool. I just smashed my flat tamper down. The result? A ‘volcano’ shot that sprayed my machine’s mirror because the water found a massive air pocket I’d ignored. If you are choosing the best barista gear for coffee enthusiasts, do not overlook the distribution tool. It ensures that when you apply pressure, you aren’t just compressing air gaps. Ensuring your coffee is flat before the tamp is as vital as the pressure itself. If your grounds are clumping, you might find why your coffee grounds are clumping together is a result of static or roast level, making your tamping choice even more critical.
Stop the Vacuum Seal from Ruining Your Hard Work
One major annoyance with high-precision flat tampers is the ‘suction’ effect. Because the fit is so tight, pulling the tamper out can actually lift the edges of the puck. This is why you need to know how to stop your tamper from vacuum sealing the coffee puck. I’ve found that a slight twist—though controversial in some circles—or simply lifting the tool extremely slowly can prevent this accidental sabotage. If the puck lifts even a millimeter, you’ve just created a ‘side-channel’ where water will bypass the coffee entirely, leading to that thin, sour taste we all hate. 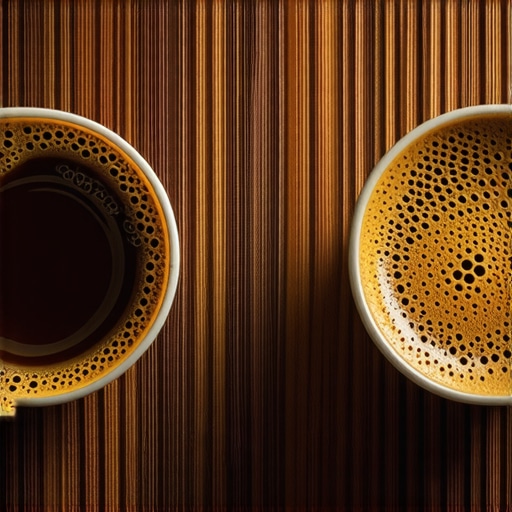
Use the Grooves to Your Advantage
If you opt for a rippled base, your technique shifts slightly. The ripples aren’t just for show; they increase the total surface area of the coffee puck. Imagine a flat roof versus a corrugated one; the corrugated one handles the flow of water differently. In espresso, these tiny ridges help distribute the initial hit of water from the group head. If you have been wondering how to prevent channelling in a bottomless portafilter shot, the rippled texture can act as a series of tiny speed bumps for the water, forcing it to spread out into the grooves rather than finding a single path of least resistance. It is a fantastic safety net for those of us who haven’t yet mastered a perfectly vertical press every single time.
The Vertical Pressure Rule
Whether you go flat or rippled, the ‘elbow out’ technique is non-negotiable for success. I spent months tamping with my wrist at an awkward angle until I realized I was consistently tamping deeper on the left side. This is why your espresso shot is extracting from only the edges of the basket or leaning heavily to one side. You want your forearm to behave like a straight piston. If you find it impossible to keep things straight, investigating the truth about using spring-loaded tampers for even shots might save your wrists and your morning brew. Consistent 30lbs of pressure is actually less important than consistent levelness; water is inherently lazy and will always find the tilt in your puck.I see so many home baristas obsessing over hitting exactly 30 pounds of pressure, as if their portafilter was a bathroom scale. Here is the contrarian truth: once you reach a certain level of compression, adding more weight does absolutely nothing for the quality of your extraction. Research by coffee scientists like the team at Socratic Coffee has shown that after about 15 to 20 pounds of force, you hit a point of ‘terminal density.’ Pushing harder won’t make the coffee more compact; it just increases the risk of a slanted tamp or a repetitive strain injury in your wrist. If you’re looking for the move for better espresso without buying a new machine, focus on your levelness rather than your muscle power. While you might spend hours researching how to select the perfect coffee grinder for your brew, you can ruin that expensive grind in a second by over-tamping with a tilt.
Does Your Basket Shape Demand a Specific Tamper?
This is where the nuance gets really interesting. Most people don’t realize that baskets aren’t always perfectly cylindrical; many high-end precision baskets have a slight taper towards the bottom. This is a massive ‘trap’ for flat-base users. If your flat tamper is a hair too wide, it might bottom out against the walls of the basket before it actually compresses the coffee fully. This creates a false sense of resistance. You think you’ve tamped hard, but the coffee underneath is still loose. This hidden gap is a primary reason why your espresso shot slows down midway through the pull as the puck structure collapses unevenly. A rippled base, because of its concentrated pressure points, can sometimes navigate these slight wall variances more effectively than a rigid flat edge.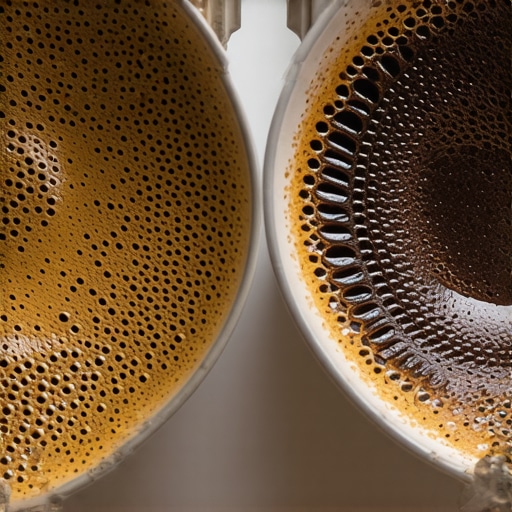
Stop Doing the ‘Polishing Twist’
We’ve all seen baristas do that fancy little spin at the end of a tamp to get a shiny surface. It looks professional, but it’s often an ‘oops’ factor waiting to happen. If you apply even a tiny bit of pressure while twisting a flat tamper, you risk breaking the seal between the coffee puck and the basket wall. Once that bond is broken, water will bypass the coffee entirely, racing down the sides. This lack of resistance could be why your espresso basket is always wet after a shot—the water never properly saturated the center. Rippled tampers actually discourage this twisting motion because the friction is higher, which might be their greatest ‘secret’ benefit: they force you to use better, more vertical technique. Have you ever fallen into the ‘more pressure is better’ trap? Let me know in the comments.It isn’t just about the tools you use, but how you treat them when the morning rush is over. I learned the hard way that a neglected grinder is a recipe for a bitter Tuesday. If you’ve ever wondered the best way to clean a grinder without taking it apart, you know that keeping those burrs free of old, oxidized oils is the only way to maintain the flavor clarity you paid for when choosing the best barista gear. I personally use a stiff brush and a vacuum after every bag of beans because those tiny particles hiding in the chute are exactly why your coffee grinder retains more grounds than it should.
How do I keep my espresso setup running perfectly for years?
The secret isn’t a magic pill; it’s your water. I’ve seen beautiful top-rated espresso machines for coffee lovers in 2025 reduced to scrap metal because of lime scale. Knowing how to tell if your water is too soft for brewing—or too hard—is the difference between a machine that lasts a decade and one that leaks within a year. Scott Rao, author of The Professional Barista’s Handbook, famously points out that water chemistry is the most overlooked variable in extraction. If your water isn’t balanced, you’ll be constantly searching for how to remove scale from a heat exchanger without a teardown. 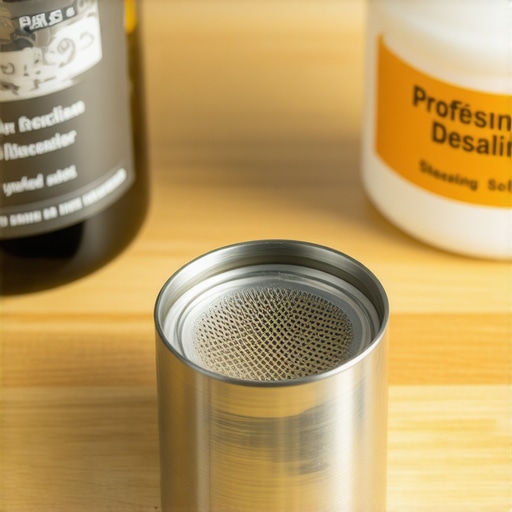
The Five-Cent Paper Filter Hack for Better Extraction
If you really want to scale your results, try the simple paper filter trick for better bottomless shots. By placing a small circular paper filter at the bottom of your basket before adding the grounds, you provide a barrier that prevents ‘fines migration’ from clogging the holes of your basket. This allows you to grind finer without the shot choking. It’s a trick used by world-class competitors that you can do in your kitchen for pennies. When you combine this with mastering the art of home espresso basics, your shots will have a clarity that rivals the best cafes in the city. I also recommend looking into milk frothers that transform your coffee experience if you’re moving beyond straight shots into more complex lattes. Looking ahead, I predict we are entering the era of ‘Smart Puck Prep.’ We are already seeing prototypes of grinders that auto-distribute and tamp with sub-millimeter precision. Soon, the human error of a slanted tamp will be a relic of the past. For now, take my advice: grab some cheap paper filters and try that bottom-of-the-basket trick tomorrow morning—your taste buds will thank you.
The Hard Truth About My Morning Workflow That Gear Couldn’t Fix
Over the years, I’ve realized that even the most expensive tamper won’t save a shot if you ignore the fundamentals. Here are a few lightbulb moments from my journey:
- Precision is a double-edged sword: A tighter fit means less side-channeling, but it requires much better technique to avoid the vacuum seal. I learned this the hard way while mastering the art of home espresso.
- Water is the foundation: You can have the best beans and a perfectly level tamp, but if your water isn’t right, the flavor will always be flat. Always check how to tell if your water is too soft for brewing before blaming your gear.
- Consistency over pressure: Stop trying to hit exactly 30lbs and focus on being perfectly level. Water is lazy; it follows the path of least resistance.
What’s Actually on My Counter and Why
If you’re looking to build a setup that grows with you, these are the pieces of choosing the best barista gear that I swear by:
- Precision Baskets: I swapped my stock baskets for precision ones years ago. They have more consistent hole sizes, though they are more prone to why your espresso shot is extracting from only the edges of the basket if your tamp is uneven.
- A High-Quality Grinder: You simply cannot out-tamp a bad grind. Learning how to select the perfect coffee grinder for your brew is the single biggest upgrade you can make.
- Frothing Tools: For those who love milk drinks, investing in milk frothers that transform your coffee experience is essential for that cafe-quality microfoam.
Your Journey Toward the God Shot Starts Tomorrow
Espresso is a hobby of millimeters and seconds, but don’t let the technicality rob you of the joy. Whether you choose a flat or rippled base, the most important thing is the ritual itself and the delicious cup waiting at the end. Don’t be afraid to experiment with the simple paper filter trick for better bottomless shots to see how it changes your flavor profile. Improving your home espresso is a marathon, not a sprint, and every “sink shot” is just a lesson in disguise. Do you prefer the classic flat base or do you like the extra security of a rippled tamper? Let me know in the comments below!