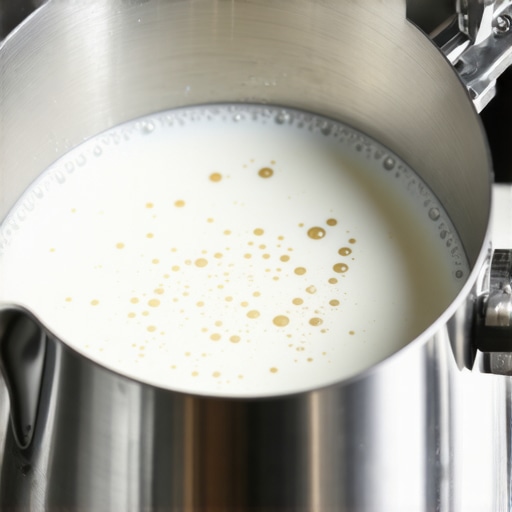
The Reason Your Milk Is Bubbling Instead of Foaming
I’ll never forget the morning I nearly tossed my milk pitcher across the kitchen. I had the beans dialed in, the shot looked like liquid gold, but the milk? It was a disaster. Large, soapy bubbles hissed at me from the surface, and by the time I finished pouring, I had a sad, dry mountain of foam sitting atop a watery latte. It felt like I was back at square one of mastering the art of home espresso. If you are currently staring at a pitcher that looks more like a science experiment than a silky cloud, I promise you aren’t alone. Today, we are going to fix the ‘dish soap effect’ once and for all so you can finally pour that heart you’ve been dreaming of.
The Real Culprit Behind Your Bubble Bath Latte
When I first started, I thought I just needed better barista gear. I blamed the machine, the wand, and even the temperature of the room. But the truth is, why your milk frother creates bubbles instead of foam usually comes down to how much air you are letting in and when. You see, those big, ‘angry’ bubbles are caused by ‘stretching’ the milk too long or too late in the process. I used to keep the tip of the wand right at the surface for the entire steam, which is a classic rookie mistake that leads to milk foam that is way too dry. According to the Dairy Science and Technology education series from the University of Guelph, the stability of foam is dictated by the surface tension and the denaturation of proteins—if you introduce air after the milk has already reached 100°F (37°C), those proteins can’t ‘catch’ the air as effectively, resulting in loose, fragile bubbles.
Is my milk frother just a cheap piece of junk?
It is easy to look at a budget machine and think it’s the hardware’s fault. While a steam wand that has lost its power can certainly make things harder, most entry-level units are perfectly capable of creating microfoam if you treat them right. I’ve seen people pull incredible art from a hundred-dollar machine and absolute soap suds from a three-thousand-dollar professional setup. The secret isn’t the price tag; it’s the ‘vortex.’ If you aren’t spinning the milk into a whirlpool, those bubbles will never break down into the velvet texture we want. Have you ever felt like your machine was working against you, or are you currently struggling with a ‘screaming’ wand that won’t behave? Drop a comment below and let’s troubleshoot. Before we dive into the mechanical fixes, we need to talk about the ‘paper-tearing’ sound you should—and shouldn’t—be hearing.
Purge the Water and Find Your Angle
Before the wand even touches your milk, you have to get rid of the ‘dead water’ sitting in the line. I remember a particularly groggy Tuesday when I skipped this step; the resulting condensation turned my expensive whole milk into a watery, gray disappointment that wouldn’t foam no matter how hard I tried. Always use the best way to purge your steam wand without burning your hand by pointing it into the drip tray for two seconds until you see pure, dry steam. Once you are ready, think of your milk pitcher like a clock face. You don’t want the steam wand dead center. If you place it in the middle, you just get a turbulent hot mess. Instead, aim for the 3 o’clock position, about halfway between the center and the side of the pitcher. This off-center placement is what creates the essential whirlpool. If you are using a machine with less oomph, you might need to troubleshoot how to fix a steam wand that has lost its power to ensure you have enough pressure to actually move the liquid.
Listen for the Paper Tear
This is where most people go wrong. You want to submerge only the tip of the wand—just a few millimeters. When you turn on the steam, you should hear a crisp, intermittent ‘tss-tss’ sound, almost like someone is delicately tearing a sheet of paper. This is the ‘stretching’ phase where you are introducing air. If you hear a deep roar, the wand is too deep. If it sounds like a bubble bath, the wand is too high. I used to think I needed to do this for the whole process, but that is the fastest way to end up with milk foam that is way too dry. You only want to ‘stretch’ the milk until the pitcher feels like it has reached room temperature (about 100°F). After that, the window for adding air is closed. 
Sink the Wand and Start the Vortex
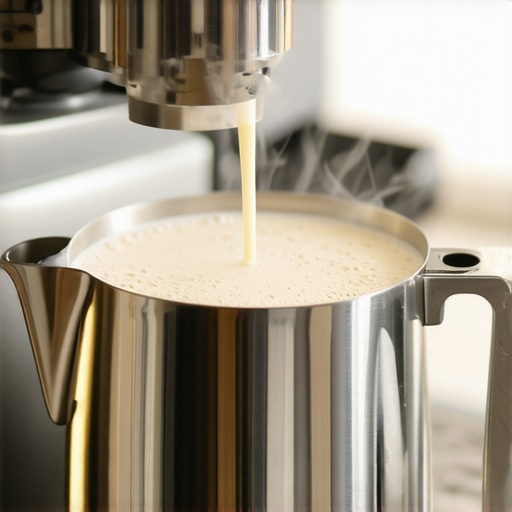
Once the pitcher is no longer cold to the touch, tilt the pitcher slightly and submerge the wand tip about a half-inch deeper. Your goal now is to stop adding air and start ‘grooming’ the bubbles you just made. This is the integration phase. The milk should be spinning in a violent, silent whirlpool. This vortex takes those larger bubbles you created in the first step and shears them down into microscopic ones. It is the same principle as choosing barista gear that prioritizes precision; your technique here must be surgical. If the milk isn’t spinning, you’ll end up with a layer of foam on top and hot milk on the bottom.
The Hand-as-a-Sensor Trick
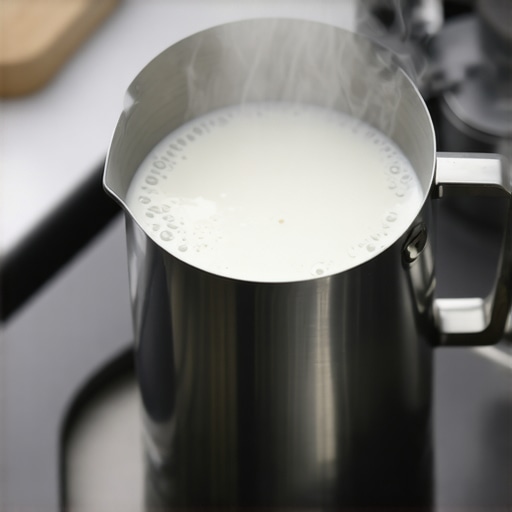
You don’t need a thermometer to know when to stop. Keep your palm on the side of the pitcher. The moment it becomes too hot to hold comfortably—usually around 140°F to 150°F—turn off the steam. If you go further, you’ll scald the milk, destroying the sweetness. I once tried to ‘power through’ the heat to get extra-thick foam for a large latte, and the resulting drink tasted like burnt cardboard. If you are aiming for the secret to a perfect flat white at home, stop a second earlier than you think. The residual heat will do the rest. Once the wand is off, give the pitcher one firm tap on the counter to pop any stray surface bubbles and swirl it vigorously. The milk should look like wet white paint. If it doesn’t move when you swirl it, you’ve over-stretched it, and it’s time to revisit why your milk frother creates bubbles instead of foam to refine that initial air intake.
Why More Steam Power Isn’t Always Better
Most beginners believe that the path to better lattes is simply buying more expensive hardware. You’ll hear people rave about the massive boilers in top-rated espresso machines for coffee lovers in 2025, claiming that high-velocity steam is the only way to get true microfoam. However, in my experience, a high-powered commercial-style wand can actually be a curse for someone still learning. These machines can heat milk to 140°F in under ten seconds, giving you a tiny, unforgiving window to incorporate air. If your technique is off by a fraction of an inch, you’ve created a pitcher of bubbles before you even realized the steam was on. Sometimes, a slower, more deliberate steam from mid-range barista gear is actually better for developing the muscle memory needed for that ‘wet paint’ texture.
The Distilled Water Trap That Kills Machines
One of the most dangerous ‘expert’ tips I see circulating is the advice to use distilled water to prevent scale buildup. It sounds logical—no minerals, no scale, right? But this is a massive mistake. Most espresso machine sensors rely on the conductivity of the water to detect levels. Distilled water doesn’t conduct electricity well, which can lead to your boiler overfilling or, worse, running dry and burning out the heating element. It can also cause your pressure gauge to stay at zero because the machine simply isn’t functioning as intended. Check the mistake of using distilled water in your boiler for a deeper dive into why your machine needs a specific mineral balance to survive.
Why does my foam fail even when my technique is perfect?
If you’ve mastered the vortex and your wand is clean, but you’re still getting ‘flabby’ foam that collapses instantly, the culprit might be the biology of the milk itself, not your skill. A study published in the Journal of Dairy Science highlights that the concentration of free fatty acids (FFAs) in milk—which increases through a process called lipolysis—is a major foam inhibitor. This often happens seasonally when cows’ diets change, or if the milk has been subjected to temperature fluctuations. Even the most expensive milk frothers that transform your coffee experience can’t fix milk that is chemically predisposed to fail. If you’re hitting a wall, try switching brands or moving to a fresher batch of milk before you start questioning your own talent.
Stop Cleaning Your Wand with a Dirty Rag
Here is a nuance that separates the pros from the amateurs: how you handle your cleaning cloth. I see so many home baristas use a soggy, milk-crusted rag to wipe their steam wand. Not only is this a health hazard, but it also introduces moisture back into the wand tips, which can lead to the reason your steam wand is leaking water into your milk. Always use a dedicated, slightly damp—never soaking—microfiber cloth and purge immediately after wiping. If you let milk sit for even a minute, it gets sucked back into the wand as it cools, creating a disgusting buildup inside the machine. Have you ever fallen into the trap of blaming your gear when it was actually a simple chemistry or maintenance issue? Let me know in the comments. Before we wrap up, we need to ensure your espresso base is actually ready for all this perfect milk, which starts with how to select the perfect coffee grinder for your brew to ensure your shots aren’t as thin as the foam you’re trying to fix.I spent years ignoring the hidden parts of my setup until a faint, metallic tang in my Americano forced my hand. We often obsess over the steam wand but completely ignore the problem with leaving water in your reservoir too long. If you can feel a slimy film on the walls of your tank, you’re already losing the battle against biofilm. This isn’t just a hygiene issue; it is a flavor killer. Those microorganisms eventually migrate, and I’ve found that the risk of leaving your machines water intake tube dirty is a primary cause of pump failure and inconsistent pressure.
Stop Letting Your Reservoir Become a Science Project
To keep my shots tasting like a specialty cafe, I follow a strict ’empty and dry’ rule every Sunday night. If you live in an area with hard water, you also need to be vigilant about scale. I use a simple titration kit once a month because knowing how to tell if your water hardness is damaging your boiler is the difference between a ten-year machine and a two-year paperweight. According to the technical specifications from La Marzocco’s preventative maintenance schedule, failing to address mineral buildup leads to catastrophic heating element failure and erratic temperature swings. If you notice why your machines boiler pressure is pulsing, it is often a sign that scale has already begun to narrow your internal copper lines.
Give Your Burrs the Respect They Deserve
Your grinder is the heart of your workflow, but most people treat it like a ‘set it and forget it’ appliance. I’ve learned that the trick to keeping your grinder adjustment dial from wandering is regular deep cleaning of the internal threads. Coffee oils act like glue, and when they go rancid, they ruin even the most expensive beans. If you are noticing a high-pitched whine, you need to investigate why your grinder screeches only when grinding fine. It might be simple friction, or it could be that your burrs are out of alignment. I personally take the time for the right way to align your flat burrs for better shots every six months. It sounds tedious, but the clarity in the cup is undeniable.
How do I maintain my espresso machine without a degree in engineering?
You don’t need to be a mechanic to keep things running; you just need a routine. Start with a daily backflush with water and a weekly backflush with a dedicated detergent. I also keep a spare set of gaskets on hand because the reason your portafilter gasket is getting brittle is simply heat and time. Swapping it out before it leaks is much easier than scraping out baked-on rubber later. Looking forward, I expect to see more ‘smart’ machines that use built-in sensors to alert you to scale before it becomes a problem, but for now, your best tool is your own observation. This weekend, I want you to commit to the best routine for a weekend deep clean. Pull your shower screen, soak your baskets, and scrub that reservoir. Your Monday morning latte will taste twice as good when you know the plumbing is pristine.
Realizations That Finally Fixed My Foam
Looking back at those early days of soapy bubbles, I realized the biggest hurdle wasn’t my equipment—it was my impatience. I used to rush the stretching phase, thinking more air meant more foam, but I only ended up with milk foam that is way too dry. The lightbulb moment happened when I stopped focusing on the volume and started focusing on the sound. If you don’t hear that delicate paper-tearing noise, your texture will never be right. Another hard-earned lesson: your milk’s temperature is just a safety rail, not the primary goal. The real magic happens in the vortex, where those big bubbles are shredded into the microfoam needed for the secret to a perfect flat white at home.
The Gear and Guides That Keep My Coffee Lab Running
I’m often asked what resources actually made a difference in my journey. Beyond just practicing, I constantly return to a few pillars of knowledge. First, I always keep an eye on top-rated espresso machines for coffee lovers in 2025 to see how boiler technology and temperature stability are evolving. For those just starting, choosing the best barista gear isn’t about buying the most expensive items, but the ones that offer the most tactile feedback. I also highly recommend the “World Atlas of Coffee” by James Hoffmann for understanding bean origin, as the age and roast level significantly change how milk proteins react during the steaming process. #IMAGE_PLACEHOLDER_E#
Your Path to Barista-Level Skills
Don’t let a few bad pitchers of milk discourage you. Every professional barista you admire has poured thousands of dish soap lattes before they ever truly understood mastering the art of home espresso. The beauty of this hobby is that you get to drink your mistakes, and each failed pour teaches you something specific about your steam wand’s personality and pressure. Take these techniques, head to your machine, and listen for that crisp paper tear. Have you ever struggled with the transition from stretching the milk to the vortex? Let me know in the comments below!