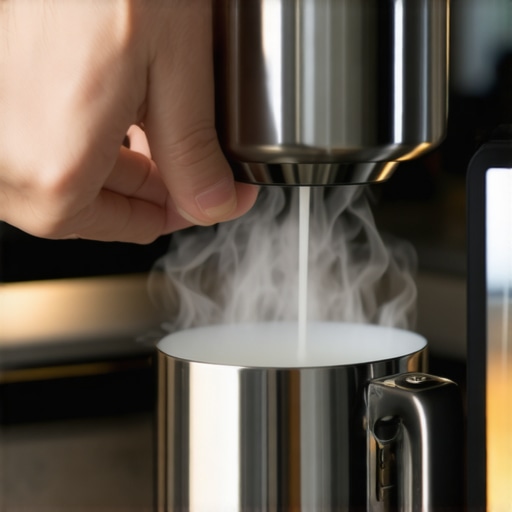
The Trick for Steaming Cold Milk Faster
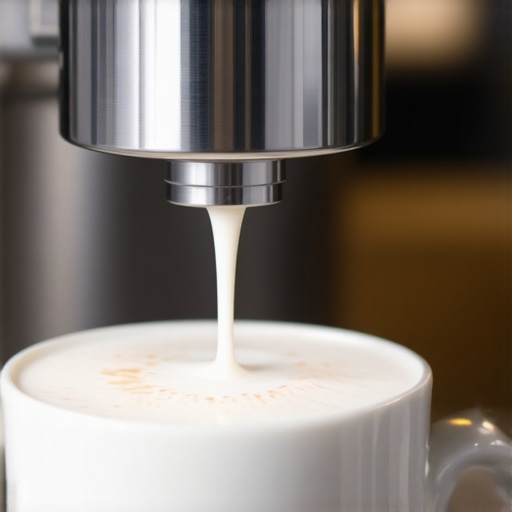
I was standing in my kitchen last Tuesday, bleary-eyed and desperate for a latte, when I realized I’d spent nearly three minutes just waiting for my milk to reach 140 degrees. My espresso shot was dying on the counter, its crema fading into a sad, grey memory. I’ve been there—we’ve all been there. You invest in one of those top-rated espresso machines for coffee lovers in 2025, thinking it’ll turn your kitchen into a high-speed cafe, only to find yourself staring at a lukewarm pitcher while the clock ticks. I used to make the amateur mistake of filling my pitcher way too high, thinking more milk meant more stability. It didn’t. It just meant I was heating a lake with a candle. I even once tried to use a handheld frother because I was so fed up with my machine’s slow boiler. That was a dark day for my morning caffeine fix.
Stop Waiting for Your Steam Wand to Catch Up
When I first started mastering the art of home espresso, I thought the only way to get faster steam was to buy a bigger boiler. I spent weeks frustrated, blaming my gear. But the truth is, most of us are fighting the physics of our machines rather than working with them. If you’ve ever noticed the reason your steam pressure dips when you open the valve, you know that heat management is everything. Today, I’m going to show you the simple adjustments that cut my steaming time by nearly 40%. It’s not about buying a new coffee grinder; it’s about how you prep the air and the water before you even touch the steam knob. We often focus so much on the beans that we forget the steam wand is essentially a jet engine that needs the right fuel. According to research by the Specialty Coffee Association, the chemical structure of milk begins to break down if it’s heated too slowly, often leading to a flat, uninspired texture that won’t hold latte art. If your steaming process drags on for over a minute, you’re losing the battle before you even pour.
Is Shaving Off Seconds Really Worth the Effort?
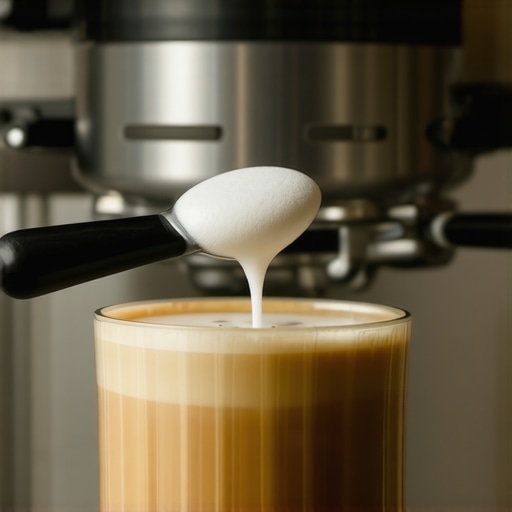
You might be wondering if saving thirty seconds actually changes the taste of your morning brew or if it’s just for the impatient among us. Trust me, it does. When you steam faster, you create better microfoam because you aren’t over-stretching the milk while trying to get it to temp. Early on, I actually managed to clog my steam wand tip holes because I was so slow that the milk started baking onto the metal during the long cycle. It was a mess. By speeding up the process, you also keep your espresso shot fresh. There is nothing worse than perfect milk poured into a cold, bitter shot. Have you ever felt like your machine is intentionally taking its sweet time while you’re running late for work? Have you tried switching to specialized milk frothers just to avoid the hassle? Let me know if you’ve ever wanted to give up on the foam and just drink it black out of sheer impatience. We are going to fix that today.
Purge the Water to Save Your Pressure
The first thing you have to do is stop treating the purge like a quick flick of the wrist. Most people open the valve for a half-second, see a puff of steam, and dunk the wand into the milk. That is a mistake. When your machine sits, the steam in the wand condenses back into water. If you don’t clear that out entirely, you are literally injecting cold water into your drink, which is the reason your steam wand is leaking water into your milk and diluting your foam. Open that valve wide until you hear a consistent, dry hiss. I remember my first week with a prosumer machine; I was so timid about the ‘blast’ of steam that I barely purged it. I ended up with a watery mess that tasted like a sadness-flavored cappuccino. Once I started purging for a full three seconds, my steam stayed hotter and more consistent throughout the entire cycle. If you feel like the steam is still weak, you might need to look at how to fix a steam wand that has lost its power to ensure your internal gaskets aren’t failing.
Timing the Boiler for Maximum Velocity
If you are working with a single-boiler machine, you have to play a game of chicken with the heater. If you wait for the ‘steam ready’ light to turn on, the heating element actually shuts off because it thinks its job is done. The trick is to start steaming just before that light hits. This keeps the element active and firing while you are actually using the steam, providing a much higher ‘peak’ pressure. This is a huge part of the secret to perfecting your milk texture on a single boiler. I used to wait for the light, and by the time I was halfway through my 12oz pitcher, the pressure would die out like a balloon losing air. By ‘surfing’ the temperature and starting early, I cut twenty seconds off my total time because the steam never lost its punch.
Choose the Right Pitcher for Your Gear
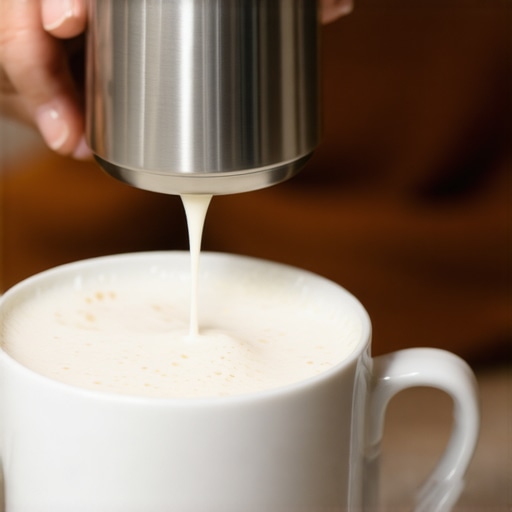
Physics doesn’t care about your aesthetic. If you have a small home machine and you’re trying to use a massive 20oz pitcher, you’re trying to boil an ocean with a matchstick. Use the smallest pitcher possible for the drink you are making. A smaller volume of milk reaches the ‘vortex’ stage faster, which is where the real heating happens. Also, make sure you aren’t fighting mechanical issues like how to stop your milk pitcher from vibrating on the tray, which can distract you from the actual sound of the aeration. When I switched to a narrow, 10oz stainless steel pitcher for my flat whites, the milk started spinning almost instantly. It felt like switching from a heavy sedan to a nimble sports car.
Fix Your Angle for Better Vortex Efficiency
If you aren’t getting a whirlpool, you aren’t getting speed. Speed comes from the kinetic energy of the milk spinning around the pitcher, distributing heat evenly and quickly. If the milk is just bubbling or splashing, it takes twice as long to reach temp. Angle your wand toward the side of the pitcher—think of it like aiming a garden hose at the edge of a bucket to make it swirl. If you still struggle with the mechanics, it might be worth looking at milk frothers that transform your coffee experience as a secondary option, but mastering the wand is all about that 45-degree angle. I once spent a whole Saturday morning just steaming water with a drop of dish soap to practice this. The moment I found the ‘sweet spot’ where the water turned into a silent, spinning cyclone, I knew I’d never go back to slow, clunky steaming again. Always remember that even top-rated espresso machines for coffee lovers in 2025 require this manual finesse to really shine.Beyond just the steam wand, there is a trap most enthusiasts fall into when choosing the best barista gear for coffee enthusiasts. We often assume that if a tool looks professional and costs a hundred dollars, it must be improving our espresso. But here is the contrarian truth: your fancy gravity-fed distribution tool might be the very reason your shots are channeling. While it makes the surface of the puck look like a zen garden, the reality of why your distribution tool might be ruining your extraction comes down to the fact that it often compresses only the top layer while leaving the bottom loose. This creates a false sense of security before you even pick up the tamper. According to a data-driven study by Socratic Coffee, depth-based levelers can actually decrease extraction yield by creating localized areas of high resistance, leading to bypass. If you are chasing the perfect shot, sometimes less is more.
The Expensive Tool That’s Quietly Ruining Your Extraction
One massive mistake I see constantly is what I call ‘reservoir rot.’ Understanding why you should never leave water in your reservoir overnight is about more than just freshness; it is about preventing biofilm and scale buildup that can eventually choke your boiler. I once had to deep-clean a machine where the owner thought they were being helpful by using ‘pure’ water, not realizing the truth about using distilled water in your machine: it can actually strip minerals from the copper and confuse your water-level sensors, leading to a complete system failure. It is an expensive ‘oops’ that takes more than a descale to fix.
Do You Really Need to Toss Your First Espresso Shot?
The short answer is: almost always. We talk about why the first shot of the day is always a throwaway because of the stale grounds sitting in the ‘dead space’ of your grinder’s chute. Even if you have a high-end setup, the thermal mass of your machine likely hasn’t fully stabilized in the portafilter head. I used to wonder why your hand grinder is getting harder to turn or why my electric one was so erratic until I realized I wasn’t accounting for the importance of ‘seasoning.’ You need to understand how to properly season new steel burrs for better consistency before you can actually trust your morning dial-in. Finally, please stop cranking your portafilter like you are trying to seal a submarine hatch. Knowing why your portafilter handle should never be tightened too far will save you a fortune in group gaskets and handle repairs. Have you ever fallen into this gear trap where you bought something that actually made things harder? Let me know in the comments below.I’ve learned the hard way that owning top-rated espresso machines for coffee lovers in 2025 is a bit like owning a high-maintenance sports car. You can’t just ignore the oil changes and expect it to hit top speeds. If you’ve noticed your shots becoming erratic, it’s usually not the beans; it’s the ghost of espressos past haunting your machine.
Keep Your Gear From Dying a Slow Death
The single most neglected part of any home setup is the internal plumbing. I used to think a quick wipe of the screen was enough until I realized why your machine needs a backflush every single week. Coffee oils turn rancid, and that bitter note you’re blaming on the roast is often just old gunk. I once helped a friend who complained their milk tasted like charcoal, only to find the one way to fix a clogged steam wand without chemicals was actually just proper, consistent purging and a deep soak. If you let milk residue sit, it doesn’t just clog the tip; it travels back into the valve. La Marzocco’s official preventative maintenance guides suggest replacing group gaskets every three to six months regardless of how many shots you pull, because heat alone will turn that rubber into brittle plastic that leaks pressure.
How do I maintain my grinder’s precision over time?
Your grinder is the heart of the operation, but it’s also a dust factory. I used to get so frustrated with mess until I learned how to stop static from ruining your grinding workflow by using just a single drop of water on the beans. But the real precision killer is retention. You have to know how to clean the grinder chute without taking it apart to ensure you aren’t grinding today’s expensive single-origin onto yesterday’s stale dust. Over time, burrs lose their bite. If you aren’t sure, learning how to tell if your espresso grinder burrs are dull will save you from chasing your tail with finer and finer settings.
Kill the Scale Before It Kills Your Boiler
Looking ahead, I suspect we’re going to see home machines with built-in sensors that actually measure the thickness of scale inside the boiler. Until then, you are the sensor. Scale is the silent killer of heating elements. I always tell people that choosing the best barista gear for coffee enthusiasts isn’t just about the flashy stuff; it’s about having a solid water filtration strategy. I’ve seen $3,000 machines turned into paperweights because of a few months of hard tap water. If you really want to level up, stop guessing and start mastering the art of home espresso by taking control of your maintenance schedule. My advanced tip for you today? Try the RDT (Ross Droplet Technique) tomorrow morning—just one tiny spray of water on your beans before grinding—and watch your static mess disappear. You’ll thank me when your counter stays clean for once.
What I Wish Someone Told Me Before I Blew My Budget on Accessories
After years of trial and error, I realized that the shinier the tool, the more likely it is to distract you from the basics. Here are a few hard-won truths: First, your technique with the wand matters more than the machine’s price tag. Second, if you aren’t testing your water, you’re essentially playing Russian roulette with your boiler’s lifespan. Third, the most expensive grinder in the world won’t save you if you don’t know how to tell if your espresso grinder burrs are dull. Lastly, remember that consistency comes from routine, not just gear; knowing why the first shot of the day is always a throwaway changed my morning routine from frustration to flow.
Tools That Actually Earned a Permanent Spot on My Counter
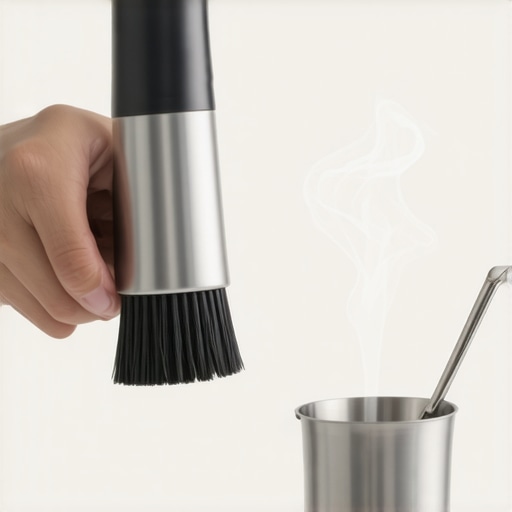
I’ve tried dozens of gadgets, but only a few are truly non-negotiable. I always keep a simple, high-quality stainless steel pitcher—specifically a smaller 10oz one—because it makes achieving that vortex so much easier. I also swear by a dedicated cleaning brush for the group head; it’s a tiny investment that prevents big clogs. For those just starting, I highly recommend checking out my curated list for choosing the best barista gear for coffee enthusiasts. It cuts through the marketing fluff and focuses on what actually impacts flavor. Finally, never underestimate a good set of water filters; they are the best insurance policy for your machine.
Stop Chasing Perfection and Start Enjoying the Process
It’s easy to get caught up in the technical specs and the pursuit of the ‘god shot,’ but don’t let the quest for the perfect latte art ruin your morning. Even with the top-rated espresso machines for coffee lovers in 2025, you will have off days where the milk won’t stretch or the shot runs fast. Embrace the mess. Every failed pour is just a lesson in mastering the art of home espresso. The more you play with the variables, the more intuitive the process becomes. Soon, you won’t even need to think about the angle of the wand—you’ll just feel it.
Have you ever struggled with getting that silky microfoam on a single-boiler machine? Let me know in the comments below, and let’s troubleshoot it together!