How to Fix a Vibrating Drip Tray Without Tools
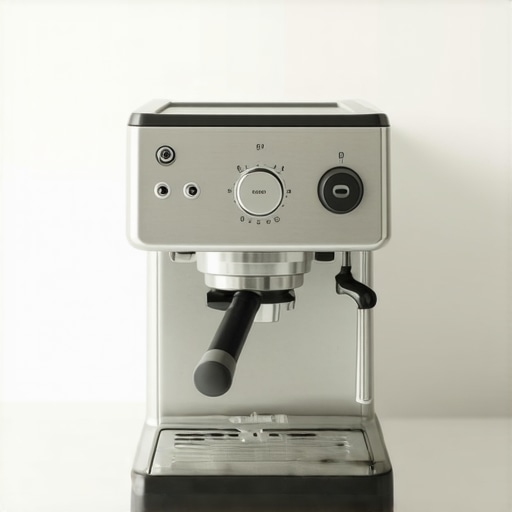
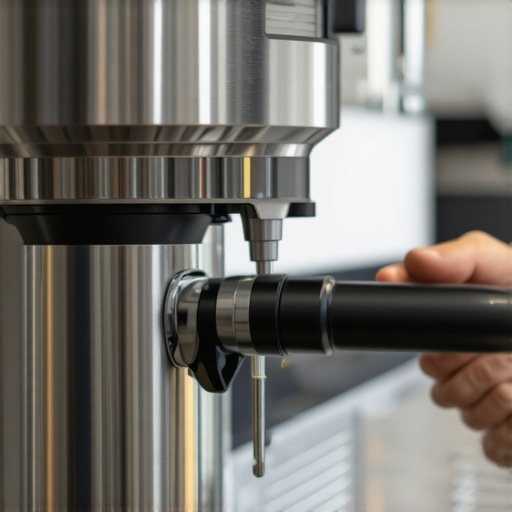
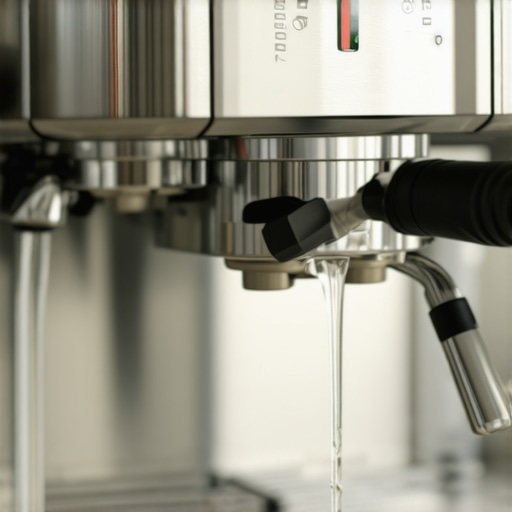
It was 6:15 AM, the house was silent, and I was just seconds away from that first glorious sip of a double shot. Then, I flipped the lever. Instead of the gentle hum of a rotary pump, I got a ‘CLATTER-CLATTER-ZING’ that echoed through the kitchen like a drum kit falling down stairs. My metal drip tray was doing a frantic dance against the frame, nearly vibrating my favorite ceramic cup right off the edge. If you’ve ever felt that spike of morning cortisol because your gear sounds like it’s self-destructing, you aren’t alone. We buy these top-rated espresso machines for the ritual, but a noisy tray turns a peaceful moment into a headache. Today, I am going to show you exactly how to kill that vibration for good using things you likely have in your kitchen junk drawer. No toolbox, no technical degree, and definitely no expensive replacement parts needed. [IMAGE]
Why Your Machine Sounds Like a Loose Toolbox
Most drip tray noise comes down to metal-on-metal contact. It is rarely a sign of a mechanical catastrophe, though it certainly sounds like one. I remember my first year mastering the art of home espresso; I was so convinced my machine’s frame was warped that I almost sent the whole unit back for repair. The ‘lightbulb moment’ came when I realized the tray wasn’t broken—it was just floating slightly off its seat. When the vibratory pump kicks in, that tiny gap becomes a megaphone for every cycle of the motor. It is annoying, sure, but it is also remarkably easy to dampen if you know where the friction points are.
Does a noisy tray mean the pump is dying?
This is the biggest fear I hear from fellow enthusiasts. They think the rattle is a symptom of a failing internal component or that the reason your drip tray is filling up might be related to a loose pump. Most of the time, it is just resonance. According to research on mechanical resonance, even a fraction of a millimeter of clearance between two hard surfaces can create significant noise pollution when a motor is involved. I once spent nearly sixty bucks on a ‘premium’ replacement tray, only to find the new one rattled just as much because the issue wasn’t the tray—it was the contact points. Have you ever had a machine that rattled so loud it felt like it was going to walk right off the counter? It’s a common frustration, but we can fix it in five minutes. Before you start looking into how to stop your milk pitcher from vibrating, let’s get the base of your machine quiet first.
Identify Where the Metal Meets the Metal
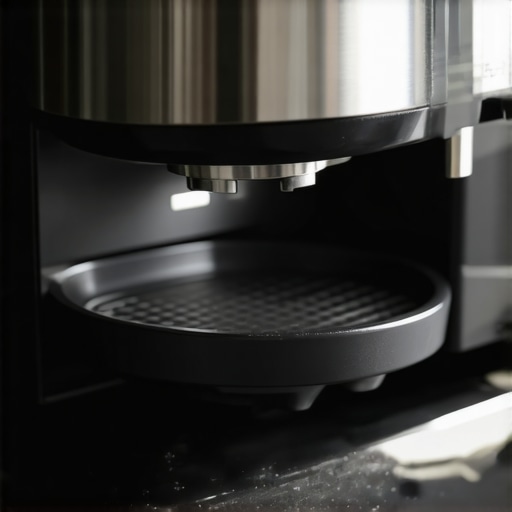
To stop the noise, you first have to find the source. Think of your machine like a car with a loose muffler; the vibration is constant, but the sound only happens when two hard parts touch. Pull your tray out and look at the “rails” where it slides into the chassis. Usually, you’ll see tiny scratch marks or shiny spots where the paint has worn thin. This is where the tray has been dancing against the frame. While you are at it, check the top grate where your cup sits. If the grate has even a millimeter of wiggle room, it will act like a cymbal every time the pump starts. I once tried to ignore this on a machine that had the easy way to test your pump pressure at home, thinking the high-pressure vibe was just part of the charm. It wasn’t; it was just a poor fitment that turned a quiet morning into a construction zone.
Line the Contact Rails with Electrical Tape
The simplest fix is often the most effective. Take a roll of black electrical tape—the kind that’s slightly stretchy and rubberized. Cut two thin strips about an inch long and apply them directly to the underside of the drip tray rails. This acts as a makeshift gasket. When you slide the tray back in, the tape compresses, creating a snug fit that absorbs the vibration before it can turn into sound. This is much more effective than buying expensive choosing the best barista gear for coffee enthusiasts only to find the new metal parts have the same loose tolerances. 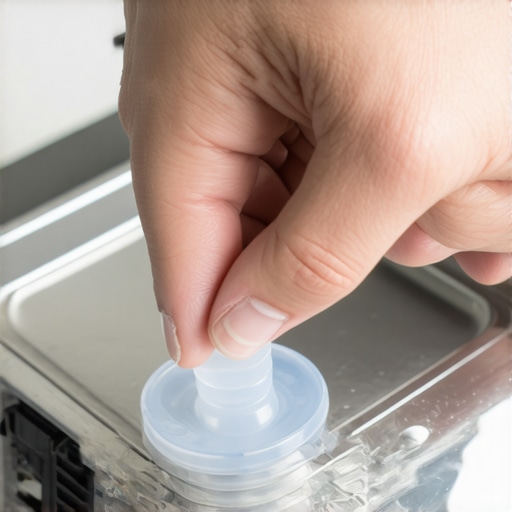
Apply Heat-Resistant Silicone Dampeners
If the tape doesn’t quite do the trick, or if the noise is coming specifically from the top grate, you need something with a bit more “squish.” Small, clear silicone bumper dots (the kind used for kitchen cabinet doors) are a lifesaver. Stick one in each corner of the tray where the grate rests. This lifts the metal grate just enough so it isn’t clattering against the tray walls. I remember my first attempt at this; I used a thick folded-up paper towel tucked under the tray. It worked for three shots until I purged the steam wand. The towel soaked up the hot water, turned into a soggy gray mush, and eventually left a nasty residue. Using silicone avoids that mess and stays put even when the reason your drip tray is filling up faster than normal means everything is getting wet.
Stop Your Cup from Dancing Away
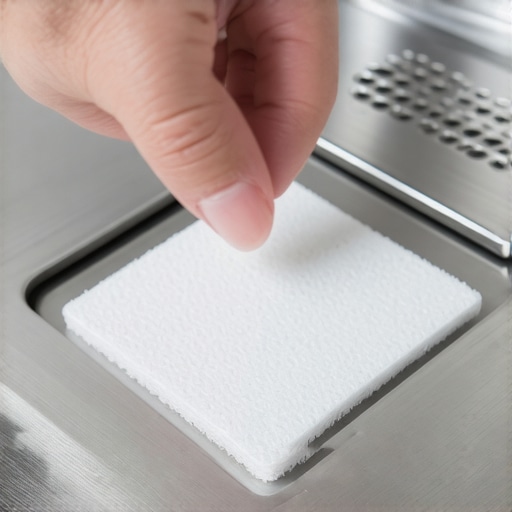
Sometimes the tray itself is silent, but your favorite ceramic mug is the culprit. If your cup is vibrating toward the edge of the grate, it’s because the stainless steel surface is too slick. You can find specialized drip tray mats that are basically thin rubber mesh. They allow water to pass through but keep the cup anchored. This is a crucial step before you start worrying about how to stop your milk pitcher from vibrating on the tray. Keeping the base stable is the foundation of a quiet workflow. If you still hear a high-pitched hum after these steps, it might be time to check the internal pump mounts, but 90% of the time, these external contact points are the real villains.One mistake I see almost every day in the enthusiast community is the assumption that a quieter machine is a better machine. We look at those top-rated espresso machines and expect them to whisper like a luxury car. But here is the nuance: high-end prosumer machines often use vibratory pumps that are intended to be audible. The sound is feedback. When you hear that steady, rhythmic thrum, it tells you the pump is working correctly against the resistance of the puck. If it suddenly goes silent while brewing, you might actually have a cavitation problem or a internal blockage. The ‘trap’ most people fall into is trying to muffle the pump itself with thick insulation, which can cause the motor to overheat and fail prematurely. Instead of silencing the heart of the machine, focus on the extremities where that energy is released as noise, like the tray and the cup grate.
Why does my pressure gauge stay at zero even when the pump is screaming?
This is a classic ‘oops’ moment for many who are mastering the art of home espresso. You have followed all the steps, you hear the vibration, and the tray is quiet, but the needle doesn’t move. You might think the pump is dead, but why your espresso machine pressure gauge stays at zero often has nothing to do with mechanical failure. It is usually a simple lack of resistance. If your grind is too coarse or your dose is too low, the water rushes through without building any back-pressure. It is like trying to blow up a balloon with a giant hole in it; no matter how hard you blow, the pressure won’t rise. Before you take a screwdriver to your machine, check your how to select the perfect coffee grinder for your brew settings and ensure you are grinding fine enough for espresso. #IMAGE_PLACE_HOLDER_C# Another myth that needs busting is the ‘Soupy Puck Obsession.’ I cannot tell you how many emails I get from people worried that why your espresso puck is always soupy at the end of a shot means their machine is broken or their technique is flawed. In reality, a wet puck is often just a sign of a large headspace between the coffee and the shower screen. It has zero impact on the flavor in the cup. In fact, research published in the Journal of Food Engineering suggests that extraction uniformity is far more dependent on the initial wetting phase and the grind distribution than the state of the waste puck after the 3-way solenoid valve has engaged. If your coffee tastes great, stop worrying about the mud in the basket. The real danger to your machine isn’t a wet puck, but the ‘Water Trap.’ Many enthusiasts think using ultra-pure water protects their machine from scale. However, the truth about using distilled water in your machine is that it can actually leach minerals directly from your copper boiler and confuse your water-level sensors. Always aim for a balanced mineral content to protect your internals and keep the sensors reading correctly. Have you ever fallen into this trap of over-correcting a minor issue and making things worse? Let me know in the comments.Once the rattles are gone and the pressure is dialed in, the real challenge begins: keeping that performance consistent for the next five to ten years. Most people wait for a leak or a weird noise to act, but the most successful home baristas I know treat their gear like a high-performance engine. I personally commit to the best routine for a weekend deep clean because it’s the only way to prevent rancid coffee oils from coating the group head and ruining the flavor of expensive beans. When those oils bake onto the metal, they create a bitter film that no amount of puck prep can fix. Beyond just cleaning, you have to think about mechanical longevity. For instance, always purging the steam wand before and after use isn’t just for hygiene; it’s the move that saves your grinder from unnecessary wear by preventing moisture from migrating into nearby dry components in smaller, cramped setups. 
Keep Those Grinder Burrs Sharp and Fast
Your grinder is the literal heart of your workflow, but it is often the most neglected. If you have noticed that your why your hand grinder is getting harder to turn, it is usually a sign of coffee dust packing into the bearings or dulling the burr edges. Many enthusiasts ask me how to tell if your espresso grinder burrs are dull, and the answer is usually found in the consistency of your spent pucks. If you see a lot of ‘fines’ or dusty residue even at coarser settings, those steel edges are likely rounded off. According to the Specialty Coffee Association (SCA) Water Quality Handbook, the chemical composition of your water also plays a role here; excessive scale can actually migrate into the grinder area if you are steaming heavily in a small kitchen. I recommend choosing the best barista gear for coffee enthusiasts that includes a dedicated burr brush and a vacuum nozzle specifically for getting those tiny particles out of the adjustment collar.
How do I maintain my machine over the long haul?
Maintenance isn’t just about scrubbing; it’s about monitoring. The single biggest threat to any boiler is ‘the silent killer’: limescale. You can avoid a thousand-dollar repair bill by learning the easy way to test your machines water hardness at home. I do this once a month because municipal water supplies can fluctuate with the seasons. If you don’t know your numbers, you won’t know how to tell if your water hardness is damaging your boiler until it is too late and the heating element burns out. Looking forward, I predict we will see more prosumer machines equipped with built-in TDS (Total Dissolved Solids) sensors that alert your phone the moment your filtration system starts to fail. For now, we have to rely on manual testing and a bit of discipline. I strongly encourage you to grab a titration kit this week and test your tap or bottled water—it is the most impactful maintenance step you can take today.
What Five Years of Morning Rattle Taught Me
After working with dozens of setups, I realized that the best machines aren’t always the quietest out of the box—they are the ones we’ve learned to listen to. One of my biggest lightbulb moments was realizing that noise is data. If your tray is rattling, it is often telling you about the specific vibration frequency of your pump. If you over-muffle the internals with foam or insulation, you lose that diagnostic connection. I also learned that the trick to finding the true zero point on your grinder is just as important for noise reduction as it is for flavor; a grinder that is struggling with poorly calibrated burrs will vibrate the whole counter, making your drip tray rattle even more. Finally, remember that perfection is the enemy of a great morning. A tiny, steady hum is fine; it is the chaotic, construction-site clatter we want to eliminate. [IMAGE]
The Essential Toolkit for a Silent Kitchen
You don’t need a professional workshop or expensive modifications to maintain high-performance gear. My personal kit for keeping things smooth includes: Clear Silicone Bumper Dots (essential for every contact point between the grate and the tray), High-Temp Electrical Tape (perfect for lining those hidden tray rails), and a Simple Titration Kit to ensure the easy way to test your machines water hardness at home remains a monthly habit. When choosing the best barista gear for coffee enthusiasts, I always prioritize items that offer tactile feedback and easy maintenance. I also highly recommend keeping a small notebook near your station to track when you last performed a deep clean or replaced your group gasket, as mechanical stress often shows up in the sound before it shows up in the shot.
Reclaim Your Morning Ritual
Your journey with top-rated espresso machines should be one of joy and ritual, not annoyance. Taking ten minutes to apply a few strips of tape or a silicone dot isn’t just about the noise; it is about taking ownership of your craft and your equipment. When you eliminate the mechanical distractions, you can finally focus on the nuances of the bean, the pressure of the pull, and the texture of the pour. You are well on your way to mastering the art of home espresso, and a quiet, well-maintained machine is the perfect companion for that journey. Have you ever found a DIY fix for your machine that worked better than the official parts? Let me know in the comments below!