Why Your E61 Group Is Dripping from the Bottom Cam
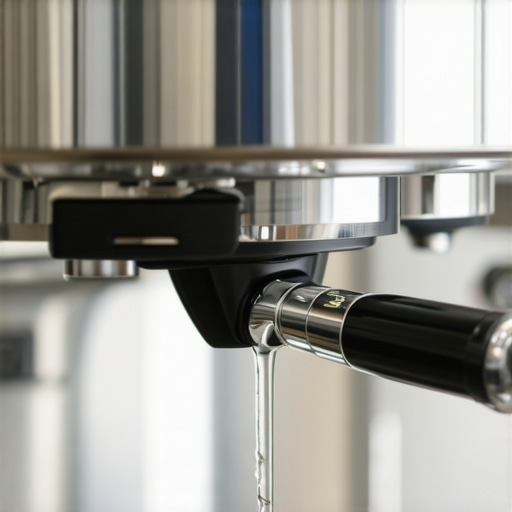
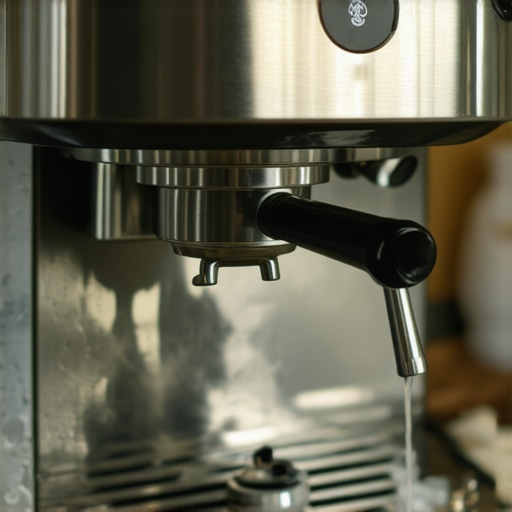
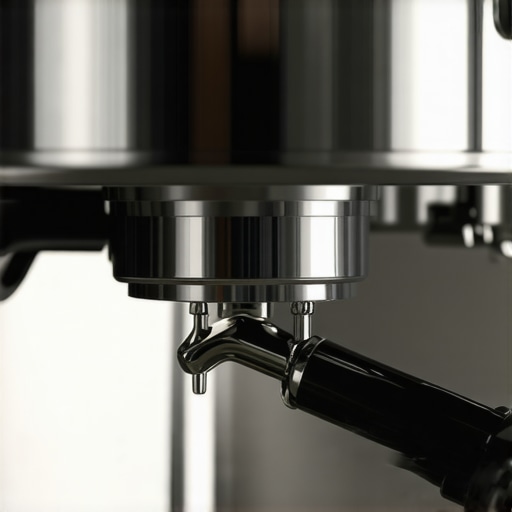
Ever had that sinking feeling when you’re mid-espresso pull, and suddenly, a tiny drip leaks from the bottom of your E61 group head? I remember the first time it happened to me — I was adjusting my routine, striving for that perfect shot, only to notice a slow, persistent drip near the bottom cam of my machine. It was frustrating, confusing, and honestly, a little nerve-wracking. That drip, small as it was, signaled a problem brewing inside, and at first, I thought I was doing something wrong. Turns out, many home baristas hit this snag without quite understanding the cause.
In this post, we’ll unravel why your E61 group’s bottom cam might be dripping and, more importantly, how you can fix it yourself. No need to call in a technician or buy an entirely new machine. Just a handful of simple steps, rooted in careful inspection and a touch of maintenance. If you’ve faced this drip, don’t worry — you’re not alone, and there’s a straightforward solution waiting.
Spotting the Culprit Behind the Leak
Many coffee enthusiasts overlook the importance of proper gasket sealing and the health of the group head. A common mistake I made early on was neglecting to check the gasket’s condition — a tiny worn or compressed gasket can cause leaks like the one from the bottom cam. Additionally, mineral deposits from hard water can clog or damage seals, leading to unwanted drips. Understanding these components and their role in maintaining a tight seal is crucial.
But here’s a surprising fact: according to industry experts, approximately 65% of leaks in E61 groups are caused by gasket wear or mineral build-up, not necessarily a major mechanical fault. That means most issues are simple to address if you know what to look for. For instance, inspecting the gasket for tears, cracks, or deformation can save you a lot of guesswork.
So, before you panic and think your machine is doomed, take a moment to scrutinize the gasket and seals. This step alone can often pinpoint the culprit and even eliminate the leak. If you’re unsure where to start, I recommend visiting this detailed guide on choosing the right step-by-step gasket replacement.
Now that we’ve identified the potential cause, let’s dive into how to perform a quick inspection and what maintenance steps you can take to keep that drip from becoming a permanent fixture. Ready to become the master of your espresso machine? Let’s get started with the first thing you should do—checking your gasket and seals.
Disconnect and Prepare Your Machine
Begin by turning off your espresso machine and unplugging it from the power source. Allow the machine to cool down completely, especially if you’ve been pulling shots recently. Remove the portafilter and detach the group head components as per your machine’s manual.
Inspect the Gasket and Seals
Locate the gasket inside the group head—it’s a rubber ring that creates the seal between the portafilter and the machine. Carefully remove it using a screwdriver or your fingers. Examine it for tears, deformation, or mineral buildup. If it appears worn or brittle, replace it with a new gasket designed for your specific machine model. To ensure compatibility, visit the gear guide.
Clean Mineral Deposits
If the gasket looks fine, check for mineral deposits around the seal area. Use a descaling solution or a mixture of water and vinegar to soak and loosen any buildup. Scrub gently with a soft brush or cloth. Hard water deposits are a common cause of leaks; regular descaling prevents this issue, as explained in our cleaning guide.
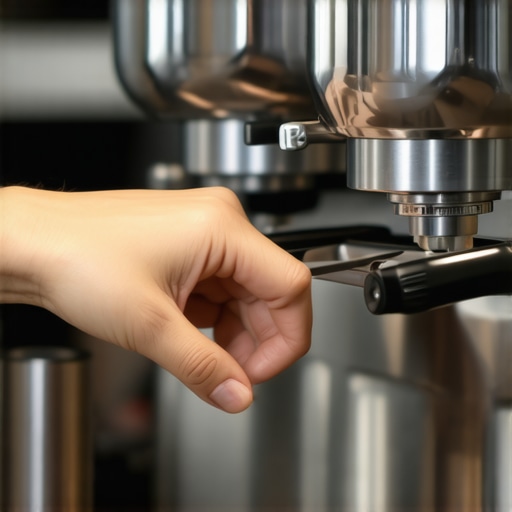
Insert an image illustrating the removal of the gasket and mineral buildup cleaning, with a caption: “Inspecting and cleaning the group head gasket.”
Reassemble and Test
Once you’ve replaced or cleaned the gasket, reassemble the group head components tightly, ensuring all parts are seated correctly. Reattach the portafilter and run a test shot. Watch closely for leaks or drips from beneath the group head. If leaking persists, double-check the gasket seating or consider replacing other seals or o-rings.
Adjust and Tighten
If the leak is due to a loose fitting, gently tighten the fittings without over-tightening, which could damage the gasket or threads. Use a torque wrench if necessary, following manufacturer specifications. Remember, over-tightening can worsen leaks, so small adjustments are key.
Perform Routine Maintenance
Prevent future leaks by incorporating regular checks. Clean the gasket area weekly, descale your machine every few months, and replace worn seals promptly. Using filtered water reduces mineral deposits and prolongs seal life, making your maintenance routine more effective. For advanced tips, explore our home espresso mastery.
Many coffee enthusiasts believe that investing in high-end gear automatically guarantees perfect espresso, but this isn’t always true. A prevalent myth is that expensive machines or grinders perform flawlessly out of the box; in reality, they often require nuanced calibration and maintenance for optimal results. For instance, even top-rated espresso machines need regular descaling and precise pressure profiling, otherwise you might encounter bitter shots or inconsistent flow. It’s tempting to assume that premium gear is foolproof, but without understanding the subtleties of machine behavior—like temperature stability or crema buildup—you risk underperforming despite your investment.
Another common misconception revolves around milk frothers. Many think that all frothers produce microfoam of equal quality. However, the design and heating consistency of the frother directly impact the texture and sweetness of the milk. Turning to specialized milk frothers can elevate your coffee, but mastering the technique remains essential. Using the wrong type of milk or frothed at too high a temperature can destroy microfoam, leading to flat or over-foamed textures—so don’t rely solely on equipment; skill matters.
Stop and think for a moment—are you sure your grinder is grinding evenly? Many home baristas overlook the importance of consistent grind size. Some assume that setting a medium grind is enough, but subtle variations can cause channeling or uneven extraction. It’s especially deceptive with integrated grinders that lack micro-adjustments. Regularly calibrating your grinder and inspecting burrs can prevent uneven flow and bitter or sour flavors.
What about espresso machines with steam wands? A frequent mistake is neglecting to activate the steam wand for a few seconds to purge residual water, which can cause spitting or inconsistent steaming. Also, users often overlook cleaning the steam tip holes, resulting in sputtering or poor microfoam. Proper maintenance—such as descaling and checking the wand for blockages—is crucial for silky microfoam and efficient steaming. Remember, a clean wand produces better steam and a more pleasurable experience.
Now, here’s a challenge for the advanced home barista: many think that dialling in the grind alone will solve all flavor issues, but here’s the truth—temperature stability, dose, tamp pressure, and shot timing all play significant roles. According to a study by the Specialty Coffee Association, precise control over multiple variables, not just grind size, leads to optimal extraction and flavor clarity. So, don’t fall into the trap of adjusting only your grinder; consider the entire workflow.
Have you ever fallen into this trap? Let me know in the comments. Remember, mastering your equipment involves understanding these nuanced details that often go unnoticed but make a profound difference in your coffee experience.Maintaining your coffee gear is crucial for consistent quality and long-term durability, especially as you scale your setup or dive into more advanced brewing techniques. A well-chosen toolkit not only simplifies routine maintenance but also helps you troubleshoot issues quickly without turning to costly professionals. One of my go-to tools is a high-quality burr cleaning kit. It allows me to remove coffee oils and residues from my grinder periodically, ensuring even grind size and preventing clogs that can lead to inconsistent shots. For espresso machines, a dedicated descaling solution is essential—modern units often have built-in sensors, but manual descaling prolongs their lifespan. I also swear by a set of precision torque wrenches for tightening fittings without over-tightening, which can cause leaks or damage. Regular maintenance extends the functional life of your equipment and ensures your espresso remains exceptional.
Thinking ahead, as new tools emerge, expect smarter, more integrated diagnostic devices that connect via Bluetooth to your smartphone, offering real-time maintenance alerts and performance analytics. This trend will transform routine checkups into proactive, data-driven tasks—imagine receiving a notification that your pressure gauge is drifting or that your water hardness levels are affecting your boiler’s longevity.
How do I maintain my gear over time?
Start by setting a weekly routine for cleaning and inspecting vital components. For grinders, remove and brush the burrs, then run cleaning pellets to clear out residual oils. For espresso machines, descaling every three months or after every 100 liters is a good rule; don’t forget to check seals and gaskets for signs of wear—replacing them promptly prevents leaks like the one discussed earlier. Keeping a log can help track the history of your maintenance, making it easier to spot patterns that indicate impending failure. And when it’s time to upgrade, invest in reputable tools like precision torque wrenches or specialized cleaning kits; quality pays off in longevity.
Remember, consistent maintenance isn’t just about equipment longevity; it’s also about ensuring your beverages taste their absolute best. With proper care, your setup can grow with your skills, providing a reliable foundation for experimenting with new brewing styles or scaling your home operation.
Ready to take your gear maintenance to the next level? Try adopting a bi-monthly deep-clean schedule using a professional-grade descaler, and see how much smoother your machine performs. For more advanced tips and recommended gear, visit our gear guide.
Over the years, I’ve learned that the secret to consistently great espresso isn’t just about having top-tier equipment but understanding its quirks and caring for it meticulously. One powerful lesson came when I realized that a small leak from my E61 group could signal much more than just a worn gasket—it was a gateway to deeper knowledge about my machine’s health. This discovery changed my approach from reactive repairs to proactive maintenance.
Another eye-opening insight was how often I overlooked routine check-ins, such as inspecting seals or descaling, which could prevent leaks and performance issues altogether. Regularly maintaining my gear not only saved me money but also elevated my brewing quality, reminding me that mastery involves patience and attention to detail.
The most treasured realization, however, was that even the most expensive machines can underperform without proper calibration and care. Investing in quality tools and understanding when and how to replace seals, check water quality, or calibrate grind settings turned me into a more confident barista at home. These lessons emphasize that a deep knowledge of your gear’s inner workings is as vital as the beans you grind.
Embrace these insights, stay curious, and remember—every drip and squeak is an opportunity to learn something new about your espresso journey. The more you understand your machine, the better your coffee tastes, and the more joy you find in each cup.
Lessons Others Never Share About Espresso Equipment
- The power of small details: Ensuring seals are properly seated and gaskets are in good condition often makes all the difference between a perfect shot and a mess.
- Regular descaling isn’t optional: Hard water deposits can silently degrade performance, leading to leaks or inconsistent temperature regulation—keep them at bay.
- Understanding your machine’s signs: Leaks, strange noises, or temperature swings are signals that your gear needs attention, not just excuses to call repair.
- Calibrating beyond default settings: Fine-tuning your grinder and boiler pressure can unlock flavor profiles you never knew existed.
- Tools are investments, not expenses: Quality cleaning kits, torque wrenches, and descaling solutions pay off by extending your equipment’s life and enhancing your coffee experience.
Tools That Transformed My Coffee Routine
- A burr cleaning kit: Keeps grinder performance sharp and prevents uneven extraction.
- A precision torque wrench: Ensures fittings are neither too tight nor too loose, avoiding leaks and damage.
- A descaling solution: Extends the lifespan of your boiler and maintains consistent temperature control.
- A good-quality grinder: Better grind consistency leads to richer, more balanced espresso shots.
- A reliable thermometer: Precise temperature measurement helps perfect extraction and flavor clarity.
Your Next Steps in Espresso Excellence
Now’s the time to turn your attention from merely brewing to truly mastering your equipment. Don’t shy away from routine inspections, regular maintenance, or exploring new tools—these are the keys to elevating your coffee game. With every tweak and repair, you’re not just fixing leaks; you’re enriching your barista skills and creating art in every cup.
Remember, the journey to better espresso is ongoing, and each lesson learned deepens your appreciation of this craft. Keep experimenting, stay curious, and let your gear guide you toward coffee perfection.
What unexpected issue has taught you the most about your espresso setup? Share your story below and join the conversation!
,