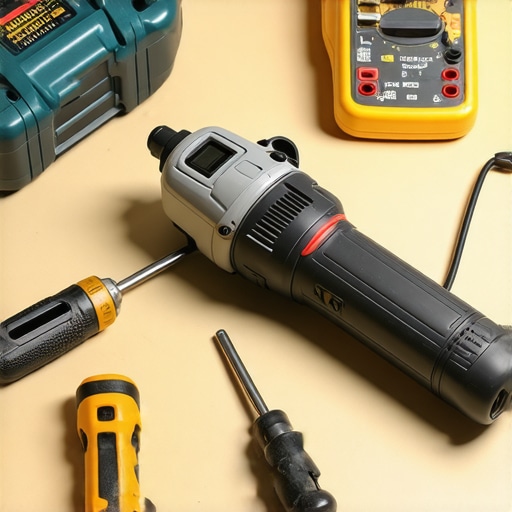
How to Fix a Grinder That Won’t Turn On After Cleaning
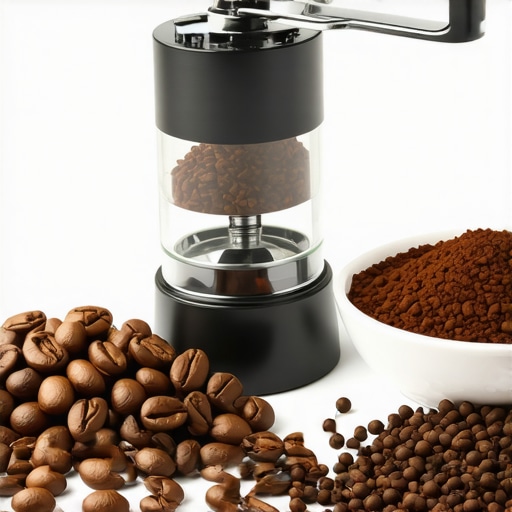
I stood in my kitchen, the morning sun hitting my countertops, holding a bag of beans that smelled like blueberries and heaven. I had just spent forty-five minutes deep-cleaning my grinder. I was proud. Every speck of old, oily dust was gone. I reassembled everything, clicked the hopper into place, and flipped the switch. Nothing. Absolute, deafening silence. My heart dropped. I had guests coming over in twenty minutes, and I was staring at a very expensive paperweight. This isn’t just about coffee; it is about that moment of panic when you think you’ve broken the heart of your morning routine. If you are in that spot right now, don’t throw your screwdriver across the room just yet. We are going to get it running. [image placeholder]
Your Grinder Isn’t Dead It is Just Being Stubborn
When I first started obsessing over choosing the best barista gear, I assumed these machines were tanks. I thought they were invincible. But coffee grinders, especially the high-end ones we love for home espresso, are surprisingly sensitive. They have these little safety features designed to keep your fingers safe, but those same features can be a total nightmare after a cleaning session. My biggest mistake early on? I once spent three hours thinking I had fried the motor of my high-end burr grinder, only to realize I had not tightened the adjustment ring by a fraction of a millimeter. I felt like an idiot, but that is how I learned that ‘clean’ does not always mean ‘ready to grind.’ Today, I am going to walk you through the checklist I wish I had that morning. We will look at the hidden switches, the common reassembly blunders, and how to tell if you have actually tripped a fuse.
Is deep cleaning even worth the risk?
It is a fair question. Why bother taking the whole thing apart if it might not turn back on? You might be tempted to just stick to cleaning a grinder without taking it apart, and honestly, for most days, that is enough. But eventually, those oils build up. You have to go deep. The fear that you will break something is real, but as long as you know what to look for during the ‘dead’ phase, you can handle it. Most of the time, the machine is actually protecting itself from you. Have you ever flipped that switch and felt that cold spike of adrenaline when nothing happens? I want to hear your horror stories—did you manage to fix it, or did you end up calling a technician? It is worth noting that modern grinders are equipped with thermal protection circuits. According to the engineering standards for small appliances (UL 1082), these thermal cutoffs are designed to permanently or temporarily disable a motor if it detects too much resistance or heat—which can happen if you accidentally jammed a burr during reassembly. If you have been struggling with how to clear a jammed chute, you might have inadvertently triggered one of these sensors. We are going to make sure your perfect coffee grinder gets its spark back.Most high-end grinders have a ‘kill switch’—a tiny plastic tab or magnetic sensor that prevents the motor from spinning unless the hopper is perfectly locked. Think of it like a car that refuses to ignite because you haven’t put it in park. If you have just finished a deep clean, there is a 90% chance your hopper is sitting 2 millimeters too high. I remember a frantic Sunday morning where I practically bruised my palms trying to force a bean hopper into place, only to realize a single stray coffee bean had wedged itself into the locking track. Check the rim of your machine for debris and ensure you hear that distinct ‘click’ when you twist the hopper back on. 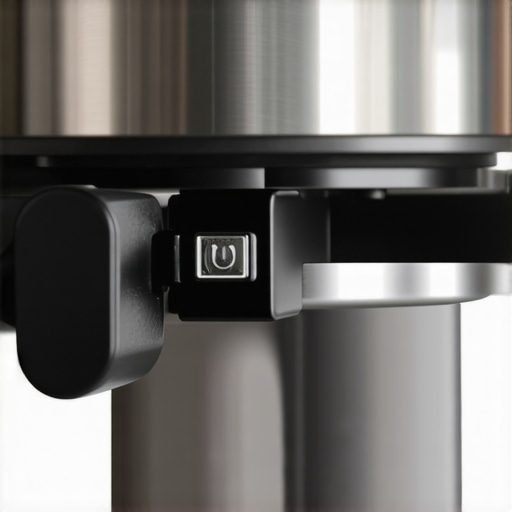
The Hidden Safety Switches That Halt Everything
If the hopper is secure and you are still met with silence, the problem might be your adjustment setting. In your quest for mastering the art of home espresso, you might have dialed the burrs so close together that they are physically touching. When the motor tries to turn, it detects the resistance and refuses to move to prevent burning out. This often happens if you reassembled the machine while it was set to the finest possible grind. Always back your settings off to a coarse level before hitting the power button for the first time. If you find the collar won’t budge, you will need to learn how to fix a grinder adjustment ring that is stuck before you can get the motor to engage.
Did You Accidentally Jam the Burrs?
Sometimes, it is not the electronics; it is a physical roadblock. Even a tiny piece of debris or a clump of compressed grounds can act like a wedge. If you hear a faint ‘hum’ but no spinning, turn it off immediately. You are likely dealing with a jam. You should know how to clear a jammed chute without damaging your grinder because forcing it will only strip the gears. I once found a tiny pebble—a literal rock—inside a bag of specialty beans. It did not break the burrs, but it jammed the drive shaft so effectively I thought the motor had seized.
When the Thermal Sensor Takes a Break
Modern grinders are smarter than we give them credit for. If you have been toggling the switch repeatedly, you might have triggered the thermal overload protection. This is a common culprit for why your grinder keeps turning off in the middle of a dose. If the machine feels warm to the touch, walk away for thirty minutes. It needs to cool down to reset its internal circuit. While you wait, check your kitchen’s GFCIs. It is rare, but a sudden surge from a heavy-duty motor can be the reason why your home circuit breaker trips, especially if you have other appliances running on the same circuit. Give the machine a dedicated outlet and a bit of breathing room.
Stop Over-Cleaning Your Precision Burrs
While it feels productive to scrub every surface until it shines, there is a contrarian truth in the specialty coffee world: a perfectly clean grinder often produces less consistent shots than one that is properly ‘seasoned.’ When you remove every microscopic layer of coffee oil, you are essentially resetting the friction coefficient of the burrs. This can lead to unexpected static and erratic flow rates during your first few extractions. I always recommend using the best way to clean a grinder without losing your settings to avoid this ‘break-in’ period every single time you open the machine. If you have ever put your gear back together only to find the espresso tastes thin or hollow, it is likely because those bare metal surfaces are interacting with the beans differently than they were before the deep clean.
The Hidden Cost of a Spotless Exit Chute
The biggest ‘oops’ factor I see with high-end barista gear is not the cleaning itself, but the re-zeroing and alignment process that follows. If you do not calibrate the burrs with surgical precision after a teardown, you might think the motor is dying when the machine is simply struggling with uneven resistance. This misalignment is frequently why your grinder settings feel like they changed overnight. You might think you have set the dial to your usual espresso range, but a slight tilt in the burr carrier can create a massive variance in particle size. 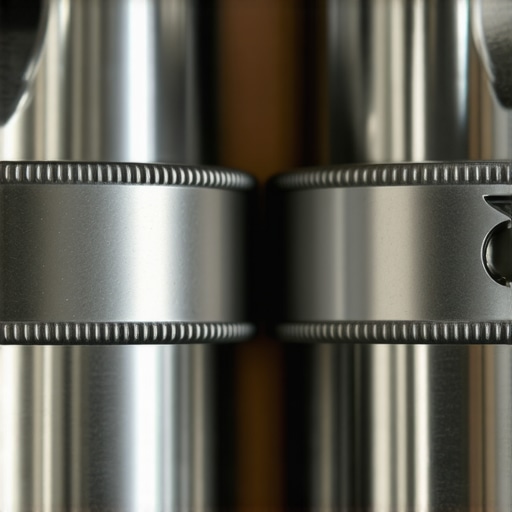
Why does the first shot after a deep clean always taste hollow?
This is a sophisticated nuance that trips up even seasoned home baristas. Most grinders have a small amount of ‘dead space’ or retention. When you deep clean, you empty the internal buffer of grounds that normally fills the exit path. Consequently, your first shot will often be underweight because the machine is busy refilling its internal voids, a common hurdle when mastering the art of home espresso. Furthermore, a study by the Coffee Science Foundation highlighted that thermal expansion in burrs can shift the grind gap by several microns. This physical shift is why your grinder burrs are getting hot during a single dose, especially if the burrs were reassembled too tightly.
Avoiding the Common Cleaning Traps
Whatever you do, steer clear of the old-school ‘hacks’ like using uncooked rice to scrub the internals of a high-end burr set. It is a dangerous trap that can lead to stalled motors and a buildup of starch that is harder to remove than coffee oil. You need to understand why you should never use rice to clean your high-end grinder before you accidentally void your warranty. This residual starch is a major factor in why your coffee grounds are clumping together and causing frustrating channels in your puck. Have you ever fallen into this trap and spent a whole afternoon wondering where you went wrong? Let me know in the comments.It is one thing to get your machine running again; it is another to keep it performing like the day you unboxed it. I used to be reactive, only fixing things when the steam wand hissed or the shots tasted like battery acid. Now, I am proactive. One tool I absolutely swear by is the silicone group head gasket. Most stock machines come with rubber ones that bake into hard plastic after six months of intense heat cycles. I switched to a Cafelat silicone seal, and it is a game-changer because it never gets brittle. If you find why your group head gasket is leaking after just one month, you likely have the wrong size or failed to seat it properly during your last deep clean. I also keep a set of precision picks nearby to clear the tiny holes in my shower screen. When you are choosing the best barista gear, do not overlook these small, high-impact maintenance items. 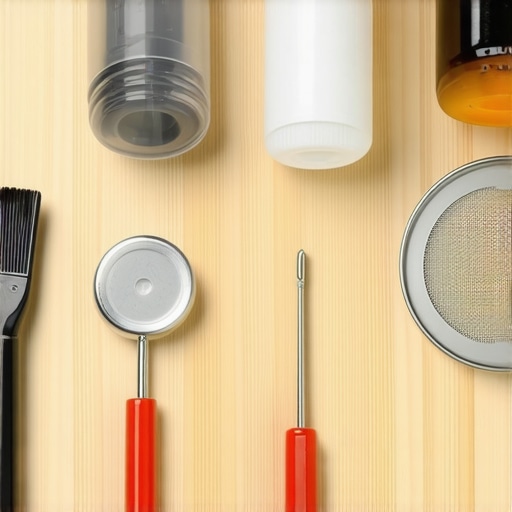
Upgrade the Small Stuff Before the Big Stuff Breaks
My routine now includes a weekly inspection of my puck screen and portafilter baskets. If you use a screen, you probably know the frustration of why your puck screen keeps falling into the knock-box, but it is worth the hassle for the way it keeps the group head clean. According to the Scace II technical manual—the gold standard for espresso machine thermal testing—even a two-degree variance in the group head can radically alter the solubility of your coffee oils. This is why I also use a dedicated group head brush after every session to prevent the buildup that causes those temperature fluctuations.
How can I keep my espresso setup running for years?
The secret to the secret to getting consistent shots on a dual boiler isn’t just about the electronic PID settings; it is about the water. Scale is the silent killer of even the top-rated espresso machines for coffee lovers in 2025. I use a BWT Bestsave pouch in my reservoir because it swaps calcium for magnesium, which actually enhances the flavor of light roasts while protecting the heating elements. If you aren’t sure about your water chemistry, you must learn how to tell if your machine boiler is accumulating lime scale before the damage becomes irreversible.
The Next Frontier: Why Sensors Are Replacing Instinct
Looking ahead, I see a shift toward AI-integrated flow profiling. We are already seeing machines that can ‘learn’ a bean’s resistance. Soon, how to select the perfect coffee grinder will mean looking for sensors that adjust pump pressure in real-time to prevent channelling. It is the move for better espresso without buying a new machine every three years. Even milk frothers that transform your coffee experience are getting smarter with infrared sensors that stop at the exact degree of sweetness. My challenge to you this week: pull your shower screen off. If it is coated in black sludge, give it a soak in Cafiza and see how much cleaner your next shot tastes.I stood in my kitchen, the morning sun hitting my countertops, holding a bag of beans that smelled like blueberries and heaven. I had just spent forty-five minutes deep-cleaning my grinder. I was proud. Every speck of old, oily dust was gone. I reassembled everything, clicked the hopper into place, and flipped the switch. Nothing. Absolute, deafening silence. My heart dropped. I had guests coming over in twenty minutes, and I was staring at a very expensive paperweight. This isn’t just about coffee; it is about that moment of panic when you think you’ve broken the heart of your morning routine. If you are in that spot right now, don’t throw your screwdriver across the room just yet. We are going to get it running. [image placeholder]
Your Grinder Isn’t Dead It is Just Being Stubborn
When I first started obsessing over choosing the best barista gear, I assumed these machines were tanks. I thought they were invincible. But coffee grinders, especially the high-end ones we love for home espresso, are surprisingly sensitive. They have these little safety features designed to keep your fingers safe, but those same features can be a total nightmare after a cleaning session. My biggest mistake early on? I once spent three hours thinking I had fried the motor of my high-end burr grinder, only to realize I had not tightened the adjustment ring by a fraction of a millimeter. I felt like an idiot, but that is how I learned that ‘clean’ does not always mean ‘ready to grind.’ Today, I am going to walk you through the checklist I wish I had that morning. We will look at the hidden switches, the common reassembly blunders, and how to tell if you have actually tripped a fuse.
Is deep cleaning even worth the risk?
It is a fair question. Why bother taking the whole thing apart if it might not turn back on? You might be tempted to just stick to cleaning a grinder without taking it apart, and honestly, for most days, that is enough. But eventually, those oils build up. You have to go deep. The fear that you will break something is real, but as long as you know what to look for during the ‘dead’ phase, you can handle it. Most of the time, the machine is actually protecting itself from you. Have you ever flipped that switch and felt that cold spike of adrenaline when nothing happens? I want to hear your horror stories—did you manage to fix it, or did you end up calling a technician? It is worth noting that modern grinders are equipped with thermal protection circuits. According to the engineering standards for small appliances (UL 1082), these thermal cutoffs are designed to permanently or temporarily disable a motor if it detects too much resistance or heat—which can happen if you accidentally jammed a burr during reassembly. If you have been struggling with how to clear a jammed chute, you might have inadvertently triggered one of these sensors. We are going to make sure your perfect coffee grinder gets its spark back.Most high-end grinders have a ‘kill switch’—a tiny plastic tab or magnetic sensor that prevents the motor from spinning unless the hopper is perfectly locked. Think of it like a car that refuses to ignite because you haven’t put it in park. If you have just finished a deep clean, there is a 90% chance your hopper is sitting 2 millimeters too high. I remember a frantic Sunday morning where I practically bruised my palms trying to force a bean hopper into place, only to realize a single stray coffee bean had wedged itself into the locking track. Check the rim of your machine for debris and ensure you hear that distinct ‘click’ when you twist the hopper back on. #IMAGE_PLACE_HOLDER_B#
The Hidden Safety Switches That Halt Everything
If the hopper is secure and you are still met with silence, the problem might be your adjustment setting. In your quest for mastering the art of home espresso, you might have dialed the burrs so close together that they are physically touching. When the motor tries to turn, it detects the resistance and refuses to move to prevent burning out. This often happens if you reassembled the machine while it was set to the finest possible grind. Always back your settings off to a coarse level before hitting the power button for the first time. If you find the collar won’t budge, you will need to learn how to fix a grinder adjustment ring that is stuck before you can get the motor to engage.
Did You Accidentally Jam the Burrs?
Sometimes, it is not the electronics; it is a physical roadblock. Even a tiny piece of debris or a clump of compressed grounds can act like a wedge. If you hear a faint ‘hum’ but no spinning, turn it off immediately. You are likely dealing with a jam. You should know how to clear a jammed chute without damaging your grinder because forcing it will only strip the gears. I once found a tiny pebble—a literal rock—inside a bag of specialty beans. It did not break the burrs, but it jammed the drive shaft so effectively I thought the motor had seized.
When the Thermal Sensor Takes a Break
Modern grinders are smarter than we give them credit for. If you have been toggling the switch repeatedly, you might have triggered the thermal overload protection. This is a common culprit for why your grinder keeps turning off in the middle of a dose. If the machine feels warm to the touch, walk away for thirty minutes. It needs to cool down to reset its internal circuit. While you wait, check your kitchen’s GFCIs. It is rare, but a sudden surge from a heavy-duty motor can be the reason why your home circuit breaker trips, especially if you have other appliances running on the same circuit. Give the machine a dedicated outlet and a bit of breathing room.
Stop Over-Cleaning Your Precision Burrs
While it feels productive to scrub every surface until it shines, there is a contrarian truth in the specialty coffee world: a perfectly clean grinder often produces less consistent shots than one that is properly ‘seasoned.’ When you remove every microscopic layer of coffee oil, you are essentially resetting the friction coefficient of the burrs. This can lead to unexpected static and erratic flow rates during your first few extractions. I always recommend using the best way to clean a grinder without losing your settings to avoid this ‘break-in’ period every single time you open the machine. If you have ever put your gear back together only to find the espresso tastes thin or hollow, it is likely because those bare metal surfaces are interacting with the beans differently than they were before the deep clean.
The Hidden Cost of a Spotless Exit Chute
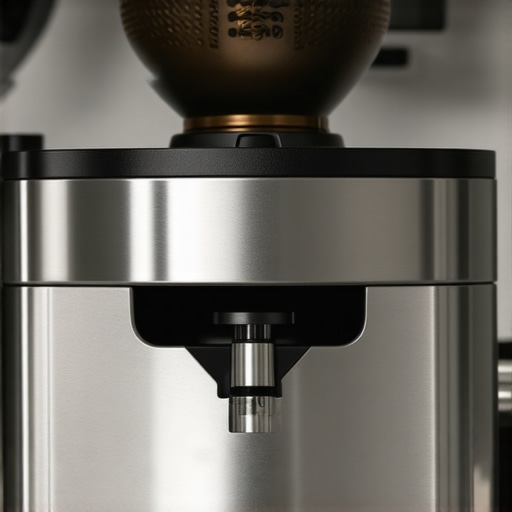
The biggest ‘oops’ factor I see with high-end barista gear is not the cleaning itself, but the re-zeroing and alignment process that follows. If you do not calibrate the burrs with surgical precision after a teardown, you might think the motor is dying when the machine is simply struggling with uneven resistance. This misalignment is frequently why your grinder settings feel like they changed overnight. You might think you have set the dial to your usual espresso range, but a slight tilt in the burr carrier can create a massive variance in particle size. #IMAGE_PLACE_HOLDER_C#
Why does the first shot after a deep clean always taste hollow?
This is a sophisticated nuance that trips up even seasoned home baristas. Most grinders have a small amount of ‘dead space’ or retention. When you deep clean, you empty the internal buffer of grounds that normally fills the exit path. Consequently, your first shot will often be underweight because the machine is busy refilling its internal voids, a common hurdle when mastering the art of home espresso. Furthermore, a study by the Coffee Science Foundation highlighted that thermal expansion in burrs can shift the grind gap by several microns. This physical shift is why your grinder burrs are getting hot during a single dose, especially if the burrs were reassembled too tightly.
Avoiding the Common Cleaning Traps
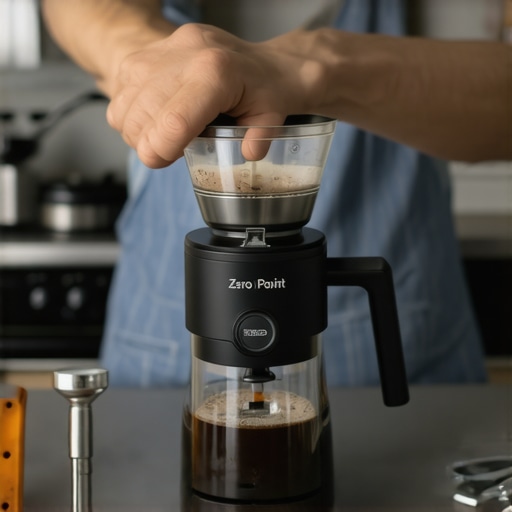
Whatever you do, steer clear of the old-school ‘hacks’ like using uncooked rice to scrub the internals of a high-end burr set. It is a dangerous trap that can lead to stalled motors and a buildup of starch that is harder to remove than coffee oil. You need to understand why you should never use rice to clean your high-end grinder before you accidentally void your warranty. This residual starch is a major factor in why your coffee grounds are clumping together and causing frustrating channels in your puck. Have you ever fallen into this trap and spent a whole afternoon wondering where you went wrong? Let me know in the comments.It is one thing to get your machine running again; it is another to keep it performing like the day you unboxed it. I used to be reactive, only fixing things when the steam wand hissed or the shots tasted like battery acid. Now, I am proactive. One tool I absolutely swear by is the silicone group head gasket. Most stock machines come with rubber ones that bake into hard plastic after six months of intense heat cycles. I switched to a Cafelat silicone seal, and it is a game-changer because it never gets brittle. If you find why your group head gasket is leaking after just one month, you likely have the wrong size or failed to seat it properly during your last deep clean. I also keep a set of precision picks nearby to clear the tiny holes in my shower screen. When you are choosing the best barista gear, do not overlook these small, high-impact maintenance items. #IMAGE_PLACE_HOLDER_D#
Upgrade the Small Stuff Before the Big Stuff Breaks
My routine now includes a weekly inspection of my puck screen and portafilter baskets. If you use a screen, you probably know the frustration of why your puck screen keeps falling into the knock-box, but it is worth the hassle for the way it keeps the group head clean. According to the Scace II technical manual—the gold standard for espresso machine thermal testing—even a two-degree variance in the group head can radically alter the solubility of your coffee oils. This is why I also use a dedicated group head brush after every session to prevent the buildup that causes those temperature fluctuations.
How can I keep my espresso setup running for years?
The secret to the secret to getting consistent shots on a dual boiler isn’t just about the electronic PID settings; it is about the water. Scale is the silent killer of even the top-rated espresso machines for coffee lovers in 2025. I use a BWT Bestsave pouch in my reservoir because it swaps calcium for magnesium, which actually enhances the flavor of light roasts while protecting the heating elements. If you aren’t sure about your water chemistry, you must learn how to tell if your machine boiler is accumulating lime scale before the damage becomes irreversible.
The Next Frontier: Why Sensors Are Replacing Instinct
Looking ahead, I see a shift toward AI-integrated flow profiling. We are already seeing machines that can ‘learn’ a bean’s resistance. Soon, how to select the perfect coffee grinder will mean looking for sensors that adjust pump pressure in real-time to prevent channelling. It is the move for better espresso without buying a new machine every three years. Even milk frothers that transform your coffee experience are getting smarter with infrared sensors that stop at the exact degree of sweetness. My challenge to you this week: pull your shower screen off. If it is coated in black sludge, give it a soak in Cafiza and see how much cleaner your next shot tastes.
The Hard Truths I Learned After Breaking My Third Grinder
First, realize that over-tinkering is a real danger. I used to think that unless I stripped my gear down to the bolts every weekend, I wasn’t a ‘serious’ barista. The truth? Constant disassembly leads to stripped threads and frayed wires. Second, trust your ears; that slight rattle or high-pitched whine is the machine telling you something is loose before it actually fails. Finally, keep a spare manual hand grinder in the cupboard. There is no worse feeling than having a fresh bag of beans and no way to crush them during a technical glitch. Every machine has a personality, and learning its unique noises will save you more money than any warranty ever could.
The Gear That Keeps My Morning Smooth
If you want to avoid the dreaded ‘dead grinder’ panic, I highly recommend building a small maintenance kit. I always keep a bottle of specialized burr cleaner on hand to avoid unnecessary teardowns; this is the best way to clean a grinder without taking it apart while keeping the motor running cool. For your espresso machine, switching to silicone seals is a game-changer. It solves the mystery of why your group head gasket is leaking after just one month almost instantly. When you are choosing the best barista gear, prioritize these small, high-impact replacements over flashy accessories.
Your Espresso Journey is Just Getting Started
Don’t let a stalled motor or a stuck adjustment ring discourage you. Every single one of these hiccups is just a masterclass in how your equipment works. Once you overcome the fear of opening up your gear, you stop being just a user and start being a true home barista. The world of coffee grinders and high-end extraction is complex, but the reward—that perfect, syrupy shot—is worth every troubleshooting session. Have you ever flipped the power switch and been met with total silence? What was the culprit for you? Let me know in the comments below.