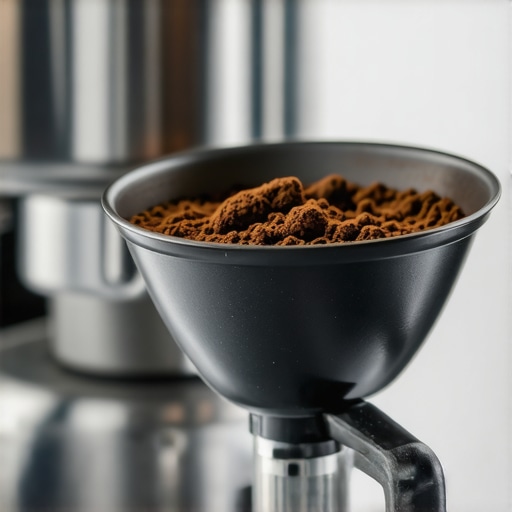
Why Your Espresso Shot Is Running Too Fast but the Puck Is Dry
There’s a specific kind of frustration that only a home barista knows. You wake up, preheat your machine, and weigh out those beautiful beans you’ve been saving for the weekend. You press the button, expecting that thick, honey-like stream. Instead, you get a geyser. The coffee gushes out in a blond, watery mess that fills the cup in seconds. But here’s the kicker: when you go to clean the portafilter, the coffee puck is dry. It’s a total head-scratcher. Why did the water move like a runaway train if it barely touched the grounds? I’ve been there, staring at a bone-dry puck in utter confusion, wondering if I’d somehow defied the laws of physics.
Let’s be real—this is one of the most annoying hurdles when you’re mastering the art of home espresso. In this guide, I’m going to show you exactly why your shot is behaving like a sieve and how to get that back-pressure where it belongs. Have you ever stood there staring at a dry puck, feeling like your machine is playing a prank on you? Don’t worry, we are going to fix it together.
The Mystery of the Runaway Espresso Stream
When I first got serious about my setup, I thought a dry puck was the ultimate sign of success. I’d pull a 10-second shot, look at the dry grounds, and think, ‘Well, at least it’s clean!’ I was wrong. Dead wrong. A dry puck after a fast shot is usually a red flag that you have a massive air pocket or a ‘channel’ where water is bypassing the coffee entirely. It’s like pouring water through a pipe instead of a filter. If you’ve noticed your espresso shot is channeling on the left side only, you’re seeing this phenomenon in its most frustrating form.
Does a dry puck actually mean you’ve pulled a perfect shot?
Actually, research suggests the opposite. A study published in the journal Matter by a team of mathematicians and coffee experts suggests that uneven distribution causes water to find the path of least resistance, leaving huge portions of the coffee bed completely dry. This means most of your coffee remains untouched while a small portion is violently over-extracted. If you find your coffee grounds are clumping together, you’re already fighting a losing battle with flow rate. You might even need to learn how to select the perfect coffee grinder to ensure those particles are uniform enough to create actual resistance. We’re also going to look at whether your basket is too large for your dose, which is a common culprit for that ‘fast but dry’ mystery. Let’s dive into the practical steps to slow things down.
Stop the Water From Taking Shortcuts
The reason your puck is dry despite a fast-flowing shot is that water is lazy. It wants the path of least resistance. When you have clumps in your coffee bed, the water doesn’t move through them; it moves around them. This is called channeling. I remember my first month with a bottomless portafilter. I was so proud of my new setup, but the first shot I pulled sprayed coffee all over my white shirt and the kitchen wall. The shot finished in eight seconds. When I knocked the puck out, the bottom half of the grounds was still dry, powdery, and smelled like absolutely nothing. I had essentially created a coffee-flavored straw in the middle of my basket.
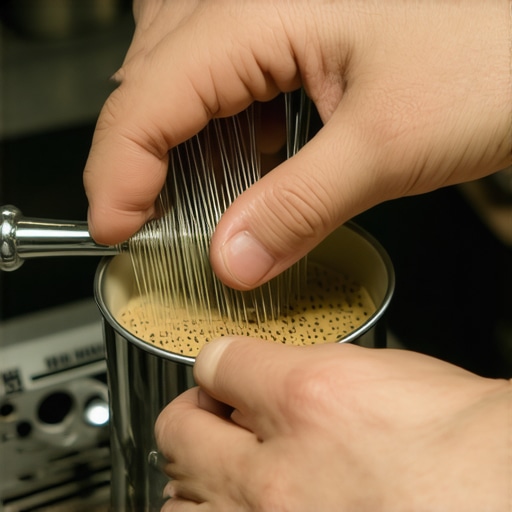
To fix this, you must prioritize distribution. If you notice your coffee grounds are clumping like little rocks, you need to use a WDT (Weiss Distribution Technique) tool. Think of it like raking a garden before planting; you want a perfectly level, fluff-filled bed. By stirring the grounds with thin needles, you break up those dense pockets that cause the water to divert. This is the single most effective way to prevent channelling in a bottomless portafilter shot.
Fill the Gap Between the Screen and the Puck
Another silent killer of espresso quality is headspace. If you have a massive gap between the top of your coffee and the shower screen, the pressurized water hits the dry puck with the force of a fire hose. Instead of soaking the grounds evenly, it punches a hole through the weakest point. You need to learn how to tell if your basket is too large for your dose. If you see a deep crater in the center after you brew, you’re likely under-dosing. On the flip side, if the puck is too close, you might find your coffee puck keeps sticking to the shower screen. Finding that ‘Goldilocks’ zone of about 2mm of headspace ensures the water disperses gently and hits the entire surface at once.
Tamp for Levelness Not Just Force
Many beginners think they need to put their entire body weight into the tamp. They don’t. Consistency and levelness are far more important than raw power. If your tamp is even slightly slanted, the water will rush toward the shallow side, leaving the thick side bone-dry. If you find yourself struggling with a crooked bed, you should check how to fix a portafilter that wont stay level on your tamping mat. A level tamp acts like a uniform dam; it forces the water to work for its exit, which is exactly how you get that rich, slow syrupy flow.
Dial in Your Grinder for Uniformity
If your distribution is perfect and your tamp is level, but the shot is still gushing, your grind is simply too coarse. Imagine trying to stop water with a pile of pebbles versus a pile of sand. The pebbles (coarse grounds) have huge gaps that let water through instantly. You need to select the perfect coffee grinder that can achieve the fine, flour-like consistency required for espresso. If you’re grinding in a hot kitchen, try the freezer trick for cleaner grinding on hot days to reduce static and ensure those grounds don’t clump up before they even hit your basket. For those using a bottomless setup, you might even consider the simple paper filter trick for better bottomless shots, which adds a layer of resistance and helps catch any micro-channels before they ruin your crema.
Now, let’s dig deeper into a nuance that many experienced home baristas overlook: the obsession with high pressure. Most entry-level machines are factory-set to 12 or 15 bars, which is often the primary reason your shot gushes while the puck stays dry—the pressure is so high it literally blasts a hole through the coffee bed rather than saturating it. Even if you have top-rated espresso machines, sticking to the traditional ‘9-bar rule’ isn’t always the answer. In my experience, dropping to 6 or 7 bars can produce a much sweeter, more forgiving shot by reducing the likelihood of catastrophic channeling. If you’re struggling with stability across different sessions, mastering the secret to getting consistent shots on a dual boiler can help you isolate whether the issue is your pressure profile or your prep technique.
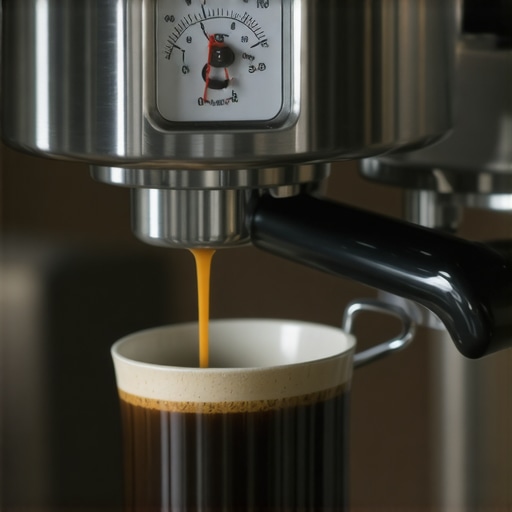
One of the most common traps for those choosing the best barista gear is the ‘freshness fallacy.’ We are taught that fresher is always better, but brewing beans that were roasted 24 hours ago is a recipe for a fast, bubbly mess. The excessive CO2 creates micro-turbulence that disrupts the water flow, causing it to skip over parts of the puck. This is why your freshly roasted beans are making your espresso taste like grass; the water simply hasn’t had a chance to extract the sugars. According to research by Dr. Christopher Hendon, a leading expert in coffee chemistry, the interaction between water ions and coffee particles is highly sensitive to the gas content in the bean. Without proper degassing, you’ll see why your espresso pressure drops suddenly during the shot as the gas pockets collapse and leave gaping holes in your puck.
Why does your espresso taste bitter even with a fast pull?
It sounds like a contradiction—fast shots are usually sour because they are under-extracted. However, if you have a fast shot that results in a dry puck, you are likely experiencing ‘localized over-extraction.’ Because the water is forced through a tiny channel, it washes out every bit of flavor from that one specific spot, leading to why your espresso tastes bitter even with a fast pull. The rest of the puck remains dry and wasted, while that one channel provides a harsh, ashy finish. Have you ever fallen into this trap of chasing a ‘clean’ dry puck only to realize your flavor was completely off? Let me know in the comments below, and let’s troubleshoot your specific setup together.
p>Once you’ve solved the mystery of the dry puck and the runaway stream, the real challenge begins: keeping that perfection consistent day after day. I used to think that once I ‘dialed in’ a bean, I was set for the week. I was wrong. Espresso is a living thing, influenced by everything from the humidity in your kitchen to the microscopic buildup of oils inside your machine. If you find that your shots are starting to drift toward that dreaded bitterness again, it might not be your technique at all—it might be your gear crying out for a deep clean. Developing a rhythm for mastering the art of home espresso means becoming as much a mechanic as you are a barista.p>h2>Don’t Let Old Coffee Kill Your Morning Flowh2>p>The biggest enemy of flavor is old coffee oil. It hides in the nooks of your grinder and the mesh of your shower screen, turning rancid and adding a harsh, metallic edge to even the most expensive beans. I’ve found that many people ignore their grinders until they jam, but you should really be looking for the best way to clean a grinder without taking it apart at least once a month. This prevents the ‘stale-seed’ effect where yesterday’s leftovers ruin today’s extraction. If you ignore this, you’ll eventually wonder why your group head shower screen is getting clogged so fast. When the screen is blocked, water can’t disperse evenly, which brings us right back to the channeling and dry spots we worked so hard to avoid.p>h3>How do I maintain my espresso machine over time?h3>p>Longevity comes down to two things: water quality and cleanliness. You need to be proactive about scale. Even if you use filtered water, minerals will eventually build up on your heating elements. I highly recommend learning the best way to descale a boiler without using harsh vinegar, as citric acid based cleaners are much gentler on your internal copper and brass components. According to the technical maintenance guidelines from La Marzocco Home, group gaskets should be replaced every 6 to 12 months because the heat eventually causes the rubber to lose its elasticity. A brittle gasket is a primary reason for leaks and pressure loss during a pull. Keeping these small parts fresh is truly the move for better espresso without buying a new machine.p>h2>Precision Tools That Actually Change the Gameh2>p>As you scale your skills, you’ll realize that ‘eyeballing’ it is the enemy of excellence. I used to think a scale was overkill, but now I won’t pull a shot without one. However, high-end gear has its own quirks. You might find why your espresso scale is jumping numbers while the shot is pulling—often due to vibration or steam—and learning to stabilize your setup is a must for accuracy. In the next few years, I predict we will see a massive shift toward fully integrated IoT scales that automatically adjust your top-rated espresso machines in real-time based on flow rate. For now, we have to be the computer.p>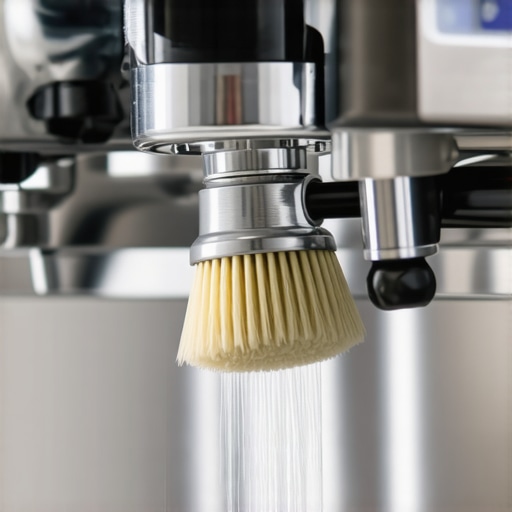 p>If you really want to take it to the next level, I challenge you to try a puck screen. It’s a simple stainless steel mesh that sits on top of your grounds. It not only keeps your group head pristine but also forces the water to disperse with surgical precision, virtually eliminating the chance of a dry puck. If you’re serious about choosing the best barista gear, this $15 addition will do more for your consistency than a $200 tamper ever could. Give it a shot on your next brew and watch how that honey-like stream becomes a daily reality rather than a weekend fluke.p>
The Lessons My Kitchen Counter Taught Me About Flow Control
After years of trial and error, I realized that chasing the ‘perfect’ puck look was a distraction from what actually matters: the taste. Here are a few hard truths I learned. Consistency is the result of habit, not just equipment. If you aren’t pre-heating your portafilter, you’re introducing a massive temperature variable that ruins flow stability. Also, stop obsessing over the 30-second rule if the coffee tastes great at 25. Your palate is the ultimate judge, not the timer. I’ve found that mastering the art of home espresso often means unlearning rules that don’t fit your specific beans.
The Gear That Actually Made a Difference for Me
If you’re looking to upgrade, don’t just buy a more expensive machine. Focus on the tools that provide data. A reliable scale is non-negotiable, even if you have to troubleshoot why your espresso scale is jumping numbers while the shot is pulling. I also swear by a high-quality distribution tool. If you’re still using your finger to level the grounds, you’re inviting the very channeling we’ve been trying to fix. Check out my guide on choosing the best barista gear for more deep dives into what works. Lastly, keep your equipment pristine; knowing how to clean the inside of your steam wand pipe ensures your lattes stay fresh and sweet.
#IMAGE_PLACE_HOLDER_E#
Take the Leap Into Better Brewing
There is nothing quite like the feeling of watching that first perfect, slow-motion extraction hit your cup. It transforms your morning from a routine into a ritual. Don’t get discouraged by a few bad shots or a dry puck; every mistake is just a data point helping you on your journey. Whether you are using one of the top-rated espresso machines or a modest starter setup, the principles of puck prep remain the same. You have the tools and the knowledge now—it’s time to go brew something incredible. Have you ever had a shot that looked perfect but tasted terrible, or vice versa? Let me know in the comments below!